

Page 1
miniAV-LT Quick Reference
Foreword:
Thank you for purchasing the miniAV-LT Low Temperature
automated viscometer–part of the popular CANNON minAV family.
This quick reference is intended to provide the operator with key
information on operating the miniAV-LT and the few operational
differences between the miniAV and the miniAV-LT.
• Introduction
• Specifications/Installation
• Preparing the miniAV-LT for testing
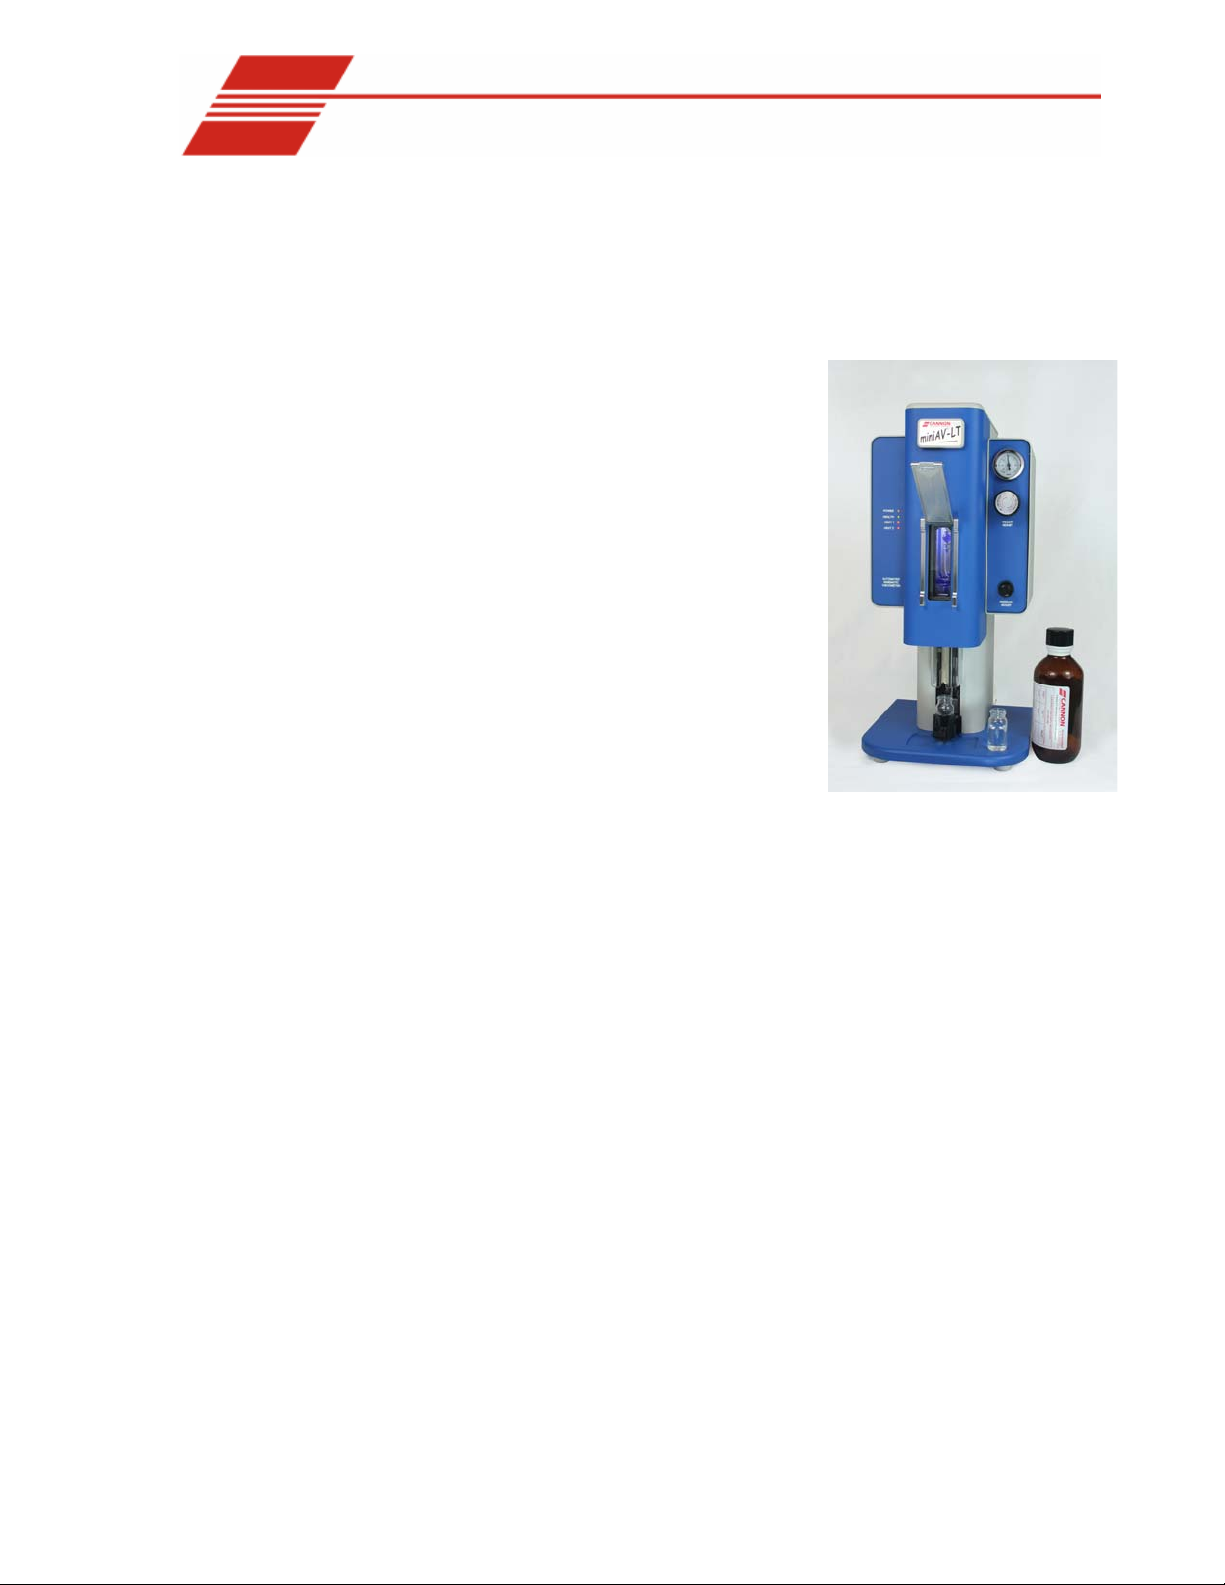
miniAV-LT Function:
The miniAV-LT is a fully automated kinematic viscometer specially
designed to handle the unique needs of low temperature (sub-zero)
kinematic viscosity determination of jet fuels, turbine lubricants, and
hydraulic fluids. The miniAV-LT offers ASTM D445 and D2532
precision. At the core of the instrument resides the miniAV
instrument–providing a familiar system and software user interface.
miniAV-LT Apparatus:
The miniAV-LT test apparatus consists of the same three major
units as the miniAV; the Bath Unit, the Power Supply, and the
Waste Receiver. The Air-Water Heat Exchanger is unique to the
miniAV-LT.
AIR/Water Heat Exchanger
The Air/Water Heat Exchanger contains a radiator, fan(s), and
water pump to circulate and cool a mixture of water and ethylene
Page 2
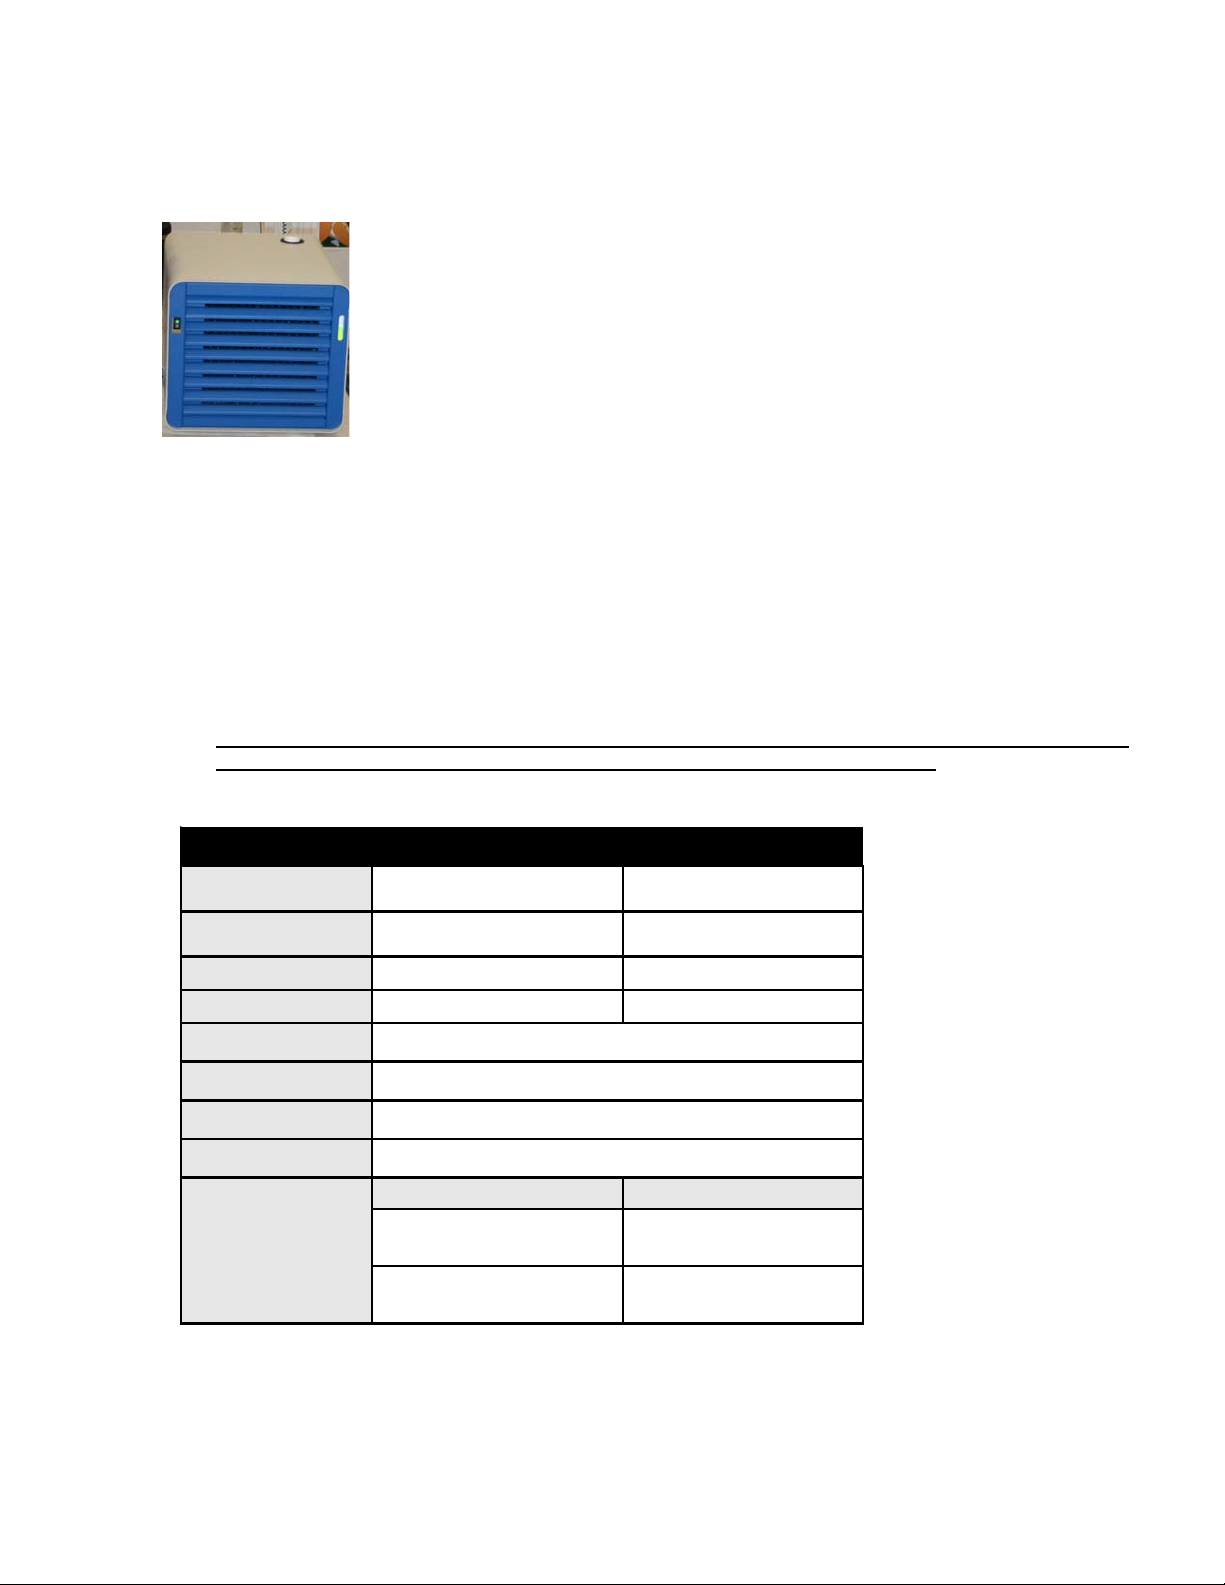
glycol flowing through the hot side heat sinks surrounding the bath
in the Control Unit. Circulation of the mixture helps remove heat
from the Control Unit bath
Filling the Air/Water Heat Exchanger
Obtain a supply of quality automotive antifreeze (ethylene glycol) and
mix it with water in a ratio of 30 percent antifreeze to 70 percent water.
Do not mix antifreeze types in the Air-Water Heat Exchanger.
After you have secured the Exchanger tubing connections (see previous section)
pour this antifreeze/w ater mixture into the reservoir opening on the top of the
Air/Water Heat Exchanger until it is full (< 2 liters).
CAUTION
Ethylene glycol is a toxic substance. Use proper safety precautions when
handling. Follow appropriate MSDS instructions.
NOTE
Depending on the amount of fluid displacement in the coolant lines, it may be
necessary to add additional antifreeze/water mixture to the Exchanger when the
unit commences operation. You will be able to observe the liquid circulating
inside the reservoir from the opening at the top of the Exchanger during normal
operation. If air bubbles are consistently visible in the coolant lines, add
additional mixture until the Exchanger is full.
CAUTION
The water-antifreeze mix should be replaced annually for reliable performance and to prevent corrosion
of internal components (see Flushing and draining the Air/Water Heat Exchanger,
miniAV-LT Specifications:
INSTRUMENT SPECIFICATIONS
miniAV-LT Dimensions BATH UNIT AIR WATER HEAT EXCHANGER
Dimensions 254 mm wide x 437 mm deep x 598 mm high (10 x
Weight 27 kg (45 lbs) 14 kg (30 lbs)
Shipping Weight 72 kg (159 lbs) eith all units/accessories N/A
Operating Conditions 15°C-30°C, 10%-90% RH non-condensing; I nstallation category IIPollution degree 2
Fuse Rating 115V & 100V UNITS: M250V 8A, 1.25 x 0.25"; 230V Unit: M250V 4A, 1.25 X 0.25"
Compliance CE Mark: Pending
Computer Requirements Computer not included, Please con t a ct CANNON for specifications
Catalog Number/
Electrical Requirements
17.25 x 23.5 in)
9725-A94
115V AC
50/60 Hz, 850 watt main unit
9725-A95
230V AC
50/60 Hz, 850 watt main unis
385.6 mm wide x 511.7 mm deep x 348.8 mm high
(15.2 x 20.15 x 13.7 in)
9725-A96
100V AC
50/60 Hz,850 watt main uni
Air-Water Heat Exch anger 175 watts
Page 3

Installation:
miniAV-LT setup can be accomplished in just a few minutes by
following the instructions in the installation guide provided with the
instrument.
NOTE: Once the machine and Viscpro II have successfully been
installed, a calibration must be performed at the wash
temperature (30°C) and each temperature at which the user
wishes to run samples.
Preparing the miniAV-LT for testing:
Calibrating the miniAV-LT:
Temperature calibration is essential for the proper operation of the
miniAV-LT after installation. The calibration process consists of
sending a temperature and its offset to the instrument, then waiting
for the temperature to equilibrate. Equilibration is complete when
the instrument stays within 0.02°C for 150 seconds. To calibrate
temperature on the miniAV-LT, follow the instructions below:
NOTE: Depending on security level settings, it may be necessary for
you to log in as a manager to complete the calibration.
1. Click Configure from the primary display and select Instrument Settings
from the Configure options for the desired instrument
2. Click Tray Settings :Tube and Bath option
3. Enter the temperature you wish to calibrate in the Bath Temp input box
and then press OK to save new target temp
4. Click Service from the primary display and select your desired
instrument
5. Click Temperature Calibration option. The Temperature Calibration Data
window will open
NOTE: The value in the Calibration Temperature box should display
the temperature which the user selected in the tray settings
6. Click Go to Calibration Temperature button to set the target temperature
of the machine to the desired temperature to calibrate (if not the wash
temperature)
NOTE: The miniAV-LT must always be calibrated at 30°C because that
is the wash/idle temperature at which the instrument will
spend most of its time
7. Place your reference thermometer inside the bath
8. Wait for the machine to equilibrate at the desired temperature
9. Enter the current temperature reading to the nearest 0.01°C from the
Page 4

reference thermometer into the Reference Temperature input box
10. Click the Apply as Current Offset option button (always click the radio
button for the Apply as Current Offset option when calibrating for a
specific temperature
11. Click the Calibrate button and wait for the machine equilibrate using the
offset
12. Repeat this entire process for the wash temperature and each
temperature at which the user wishes to run samples
NOTE: Occasionally a temperature may
require several calibrations in order to get
an accurate calibration
NOTE: The General Bath Offset is a
factory-preset value affecting temperature
control at all temperatures and should not
be changed. General offsets are normally
applied at -5°C for the miniAV-LT
NOTE: Once the wash temperature and all
desired running temperatures have been
calibrated, the user must train the tube
sensors at each of these temperatures
Training tube sensors:
MiniAV-LT tube sensors must be trained in order for the instrument
to properly perform test functions. To train miniAV-LT sensors,
follow the instructions below.
NOTE: Depending on security level settings, it may be necessary for
you to log in as a manager to complete the calibration.
.
1. To train tube sensors, click Service from the primary display and select
the Train Tube Sensors option for the desired instrument. The Train
Tube Sensors window will open
2. Wait for the machine to equilibrate at the desired temperature
3. Click the Train at Wash Temperature checkbox if wash temp training is
desired
Select the desired training parameters as follows:
Thermal Soak Time: Set your desired Thermal Soak Time using the scroll
box
Temperature to Train: Input all desired temperatures to be trained in the
Temperatures to Train list
Prewash: Click the Prewash option if the tube is not clean and dry. VISCPRO
will initiate a cleaning cycle using current wash configuration settings prior to
initiating the sensor training procedure
Page 5

NOTE: The Instruction panel will instruct you to insert an empty vial in
order to perform the prewash
4. Raise the empty vial to enable the Start button
5. Click the Start button
NOTE: After the prewash is complete, the
instrument will then obtain the voltages
for each sensor at each of the specified
temperatures.
NOTE: The instruction panel will then
instruct you to insert a vial containing an
oil with a viscosity 3 times the lower limit
of the tube and raise it into the ready
position for determining trip points.
NOTE: Once all voltages and trip points
have been obtained for all desired
temperatures, the tube sensors have been
trained.
Bath fluid safety features:
If the bath fluid level drops to an
unacceptable level, the light in the bath unit
will go out, alerting the user that the level
may be too low. Bath operations should be
aborted until the level is checked and if
needed, restored to an acceptable bath
fluid level.
Checking the bath fluid level:
1. Open the left side panel (left ear) to
view the LED light and to check the
bath fluid level.
Page 6

Image (B) LED light
Image (C) The bath fluid level
2. If the LED light is on (image B), you will need to add more bath fluid.
Follow the instructions on page 77 of the manual for filling the bath.
 Loading...