

Page 1
CDI 1012/2-80
Page 2
●
Notes
Carefully read this manual before installation
Reading this manual will help to understand the connections of inlet, drain hoses and
power cord, and to find a optimal position for the dishwasher.
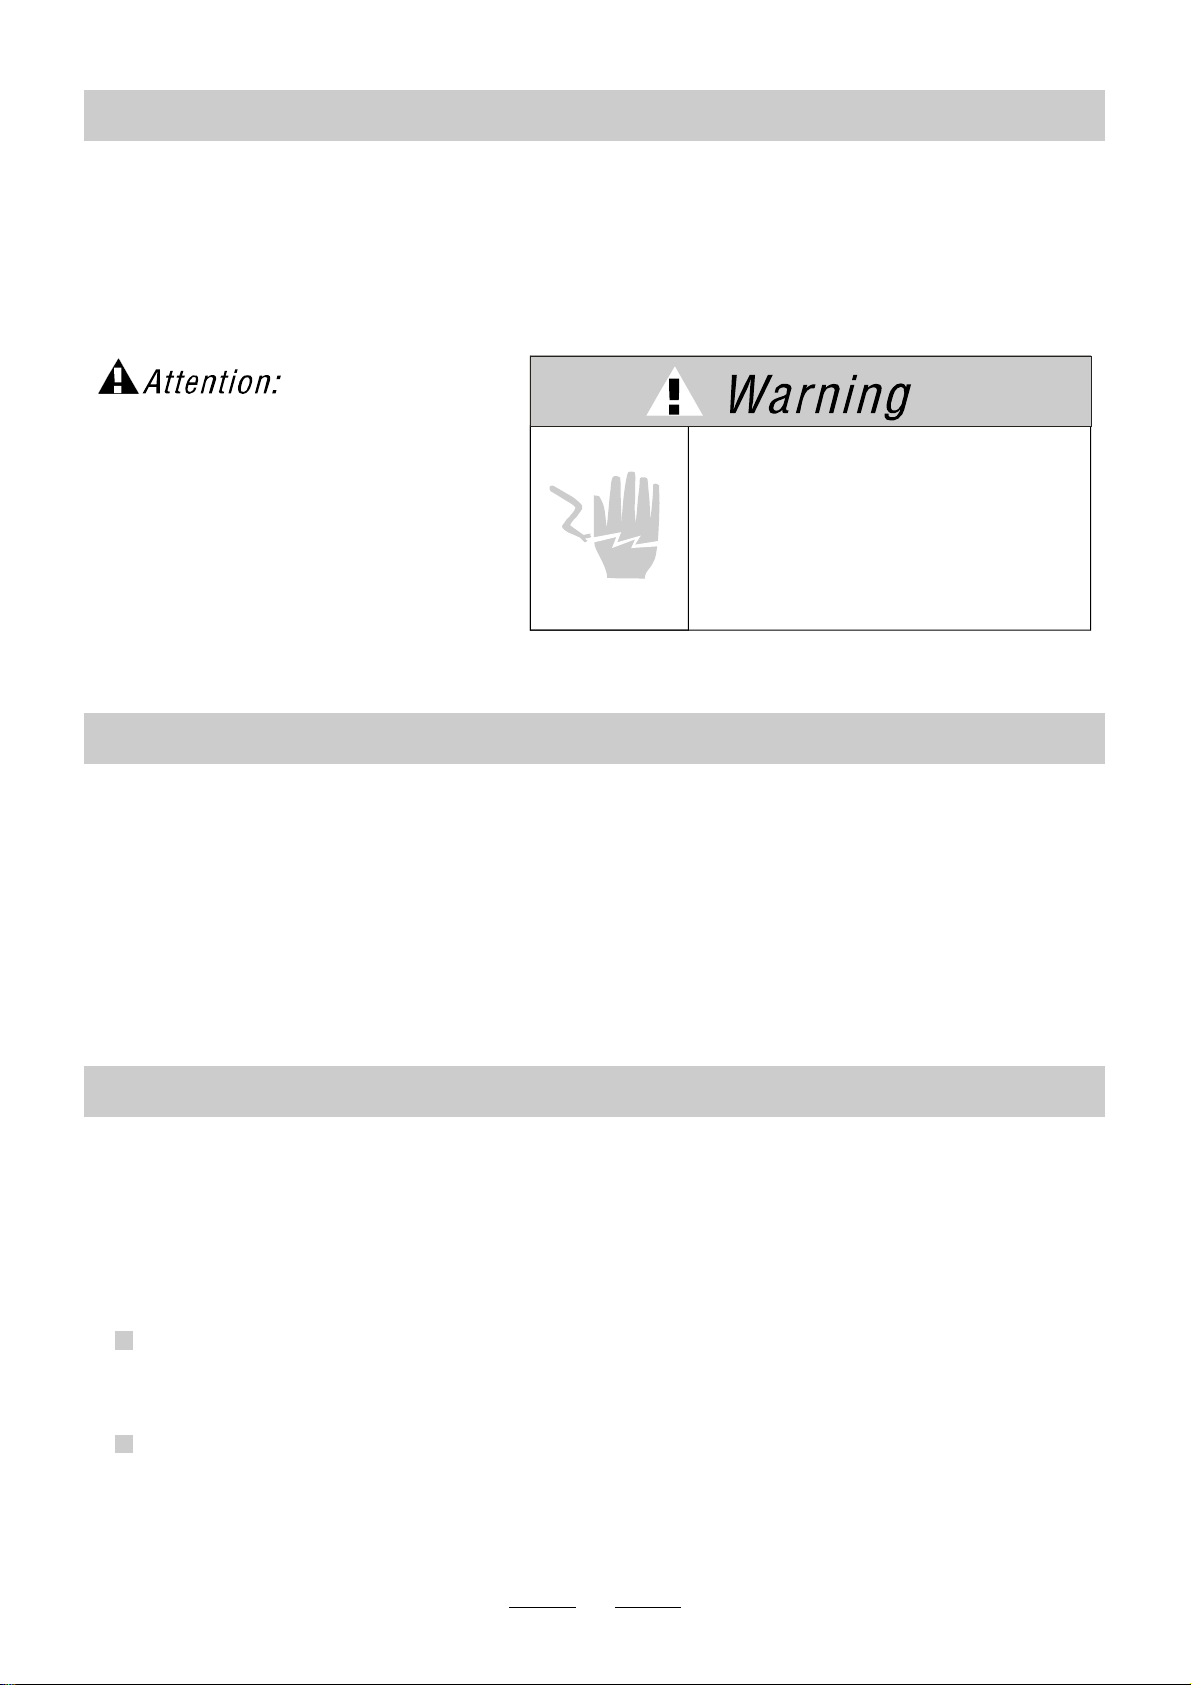
The installation of the pipes
and electrical equipments
should be done by professionals.
Electrical Shock Hazard
Disconnect electrical power before
installing dishwasher.
Failuretodosocanresultindeathor
electrical shock.
●
Installation preparation
The installation position of dishwasher should be near the existing inlet and drain hoses and
power cord.
One side of the cabinet sink should be chosen to facilitate the connection ofdrainhosesof
the dishwasher.
Note: please check the accompanying installation accessories(hook for aesthetic panel,screw)
●
Installation instruction
Please carefully read the installation instruction.
Illustrations of cabinet dimensions and inst allatio n posit ion of the di shwasher
Preparations should be made before moving the dishwasher to the installation place.
1
Choose a place near the sink to facilitate the installation of inlet and drain hoses
(see figure 1).
2
If dishwasher is installed at the corner of the cabinet, there should be some space
(illustrated in figure 2) when the door is opened.
1
Page 3

【Figure1】
Cabinet dimensions
Less than 5mm
between the top
of dishwasher and
cabinet and the
outerdooraligned
to cabinet.
820mm
600mm
90
Electr ical, dra in and
water supply line
entrance s
Space betw een cabinet
bottom and floor
600 mm
90
80
100
【Figure
2】
Minimum space when
thedoorisopened
Minimum space of 50mm
●
Aesthetic panel's dimensions and installation
The aesthetic wooden panel could be processed according to the figure 3
1
540 0.2
568 0.2
Dishwasher
Cabinet
Door of
dishwasher
15
【Figure3】
The aesthetic panel should
be processed in accordance
with the illustrated dimensions
(Unit: mm)
38
19
52
254 0. 2 250 0. 2
594
2
1.5
Page 4

2
Install the hook on the aesthetic wooden panel and put the hook into the slot of the outer door of
dishwasher(see figure 4a). After positioning of the panel , fix the panel onto the outer door by
screws and bolts(See figure 4b) .
Top hook
【Figure
4a】
Installation of aesthetic panel
St4 countersunk
head screw
Lower hook
【Figure4b】
Installation of aesthetic
wooden panel
.takeawaythecover
1
2
.pinupthescrew
. get back the cover
3
4X18 screw
Spacer for aesthetic panel
Outer door of
dishwasher
Cover
Hook for aesthetic panel
Aesthet ic panel
3
Page 5

●
Tension adjustment of the door spring
The door springs are set at the factory to the proper tension for the outer door. If aesthetic
wooden panel are installed, you will have to adjust the door spring tension. Rotate the adjusting
screw to drive the adjustor to strain or relax the steel cable(see figure 5).
Door spring tension is correct when
the door remains horizontal in the
fully opened position,yet rises
toaclosewiththeslightliftofa
finger.
relax
【Figure
Tension adjustment
of the door spring
●
Connection of drain hoses
Insert the drain hose into a drain pipe with a minimum diameter of 4cm, or let it
run into the sink, making sure to avoid bending or crimping it. Use the speical
plastic support that comes with the appliance (figure 6). The free and of thehose
must be at a height between 400 and 1000mm and must not be immersed in water
to avoid the back flow of it.ATTENTION: The special plastic hose support must be
solidly fastened to the wall toprevent the drain hose from moving and allowing water
to spill outside the drain.
【Figure6】
Drain pipe connection
5】
Drain hose hook
φ40mm
4
Page 6

●
Dishwasher installation steps
1 Install the furniture door to the outer door of the dishwasher using the brackets provided. Refer
to the template for positioning of the brackets.
2 Adjust the tension of the door springs by using an Allen key turning in a clockwise motion to
tighten the left and right door springs. Failure to do this could cause damage to your dishwasher
(Illustration 2)
3 Connect the inlet hose to the cold water supply
4 Connect the drain hose. Refer to diagram (Figure 6)
5 Connect the power cord
6
Put the dishwasher to slide rails(Illustration4)
.
.
.
.
.
7 Add the condensation strip following instructions on the reverse side of the condensation strip .
8
Place the dishwasher into position.
9
Level the dishwasher. The rear feet can be adjusted from the front of the dishwasher by turning
the screws on the left and right hand side of the cabinet (Illustration 6A). To adjust the front feet,
use a wrench and turn the front feet until the dishwasher is level (Illustration 6B).
10 The dishwasher must be secured in place.
Normal work surface-secure to the work surface by using two woodscrews ensuring the
dishwasher weight is not being hit by the surface (Illustration 7).
SCREW
CONE GEAR
2
7
5
4
6A
6
6B
【Figure
5
7】
Page 7

The dishwasher must be level for the racks to operate correctly and to give maximum wash
performance.
Place a spirit level on the door and the lower rack rail as shown in diagram 1 tocheckthat
1
thedishwasherislevel.
2
It is easy to level the dishwasher by adjusting the four leveling legs individually from the front
of the dishwasher.
2.1 Refer to Remark A diagram 2 below for adjustment of the rear legs,turn the screw clockwise to
lower the rear legs until the correct height is obtained.
2.2 Refer to Remark B diagram 2 below adjustment of the front legs to obtain the correct height.
3
When leveling the dishwasher please be careful not to allow the dishwasher to tip over.
1
Check
Level
Front
to Back
Check Level
Side To Side
●
Start of dishwasher
【Figure
Illustration of feet adjustment
8】
2
Remark A adjuster pole to
adjust the height of back foot.
Remark B to adjust the height
of front foot by spanner.
The followings should be checked before starting the dishwasher.
Whether the dishwasher is level and fixed.
1
2
Whether the inlet valve is open.
Whether there is leakage at the connections of the conducts.
3
Whether the wires are tightly connected.
4
Whether the power is switched on.
5
Whether the inlet and drain hoses are not trapped or kinked.
6
7
All packing materials and documents from the dishwasher.
●
Attention
After installation, please put this installation manual in a safe place.The content
of this manual is very helpful to users who may be unfamiliar with the appliance.
have been removed
6
Page 8

The manufacturer, following a policy of constant
development and up-dating of the product, may make
modifications without giving prior notice.
 Loading...