

Page 1
2016-12-26 new 版本1
145.00 mm
V8211_03
210.00 mm
Page 2

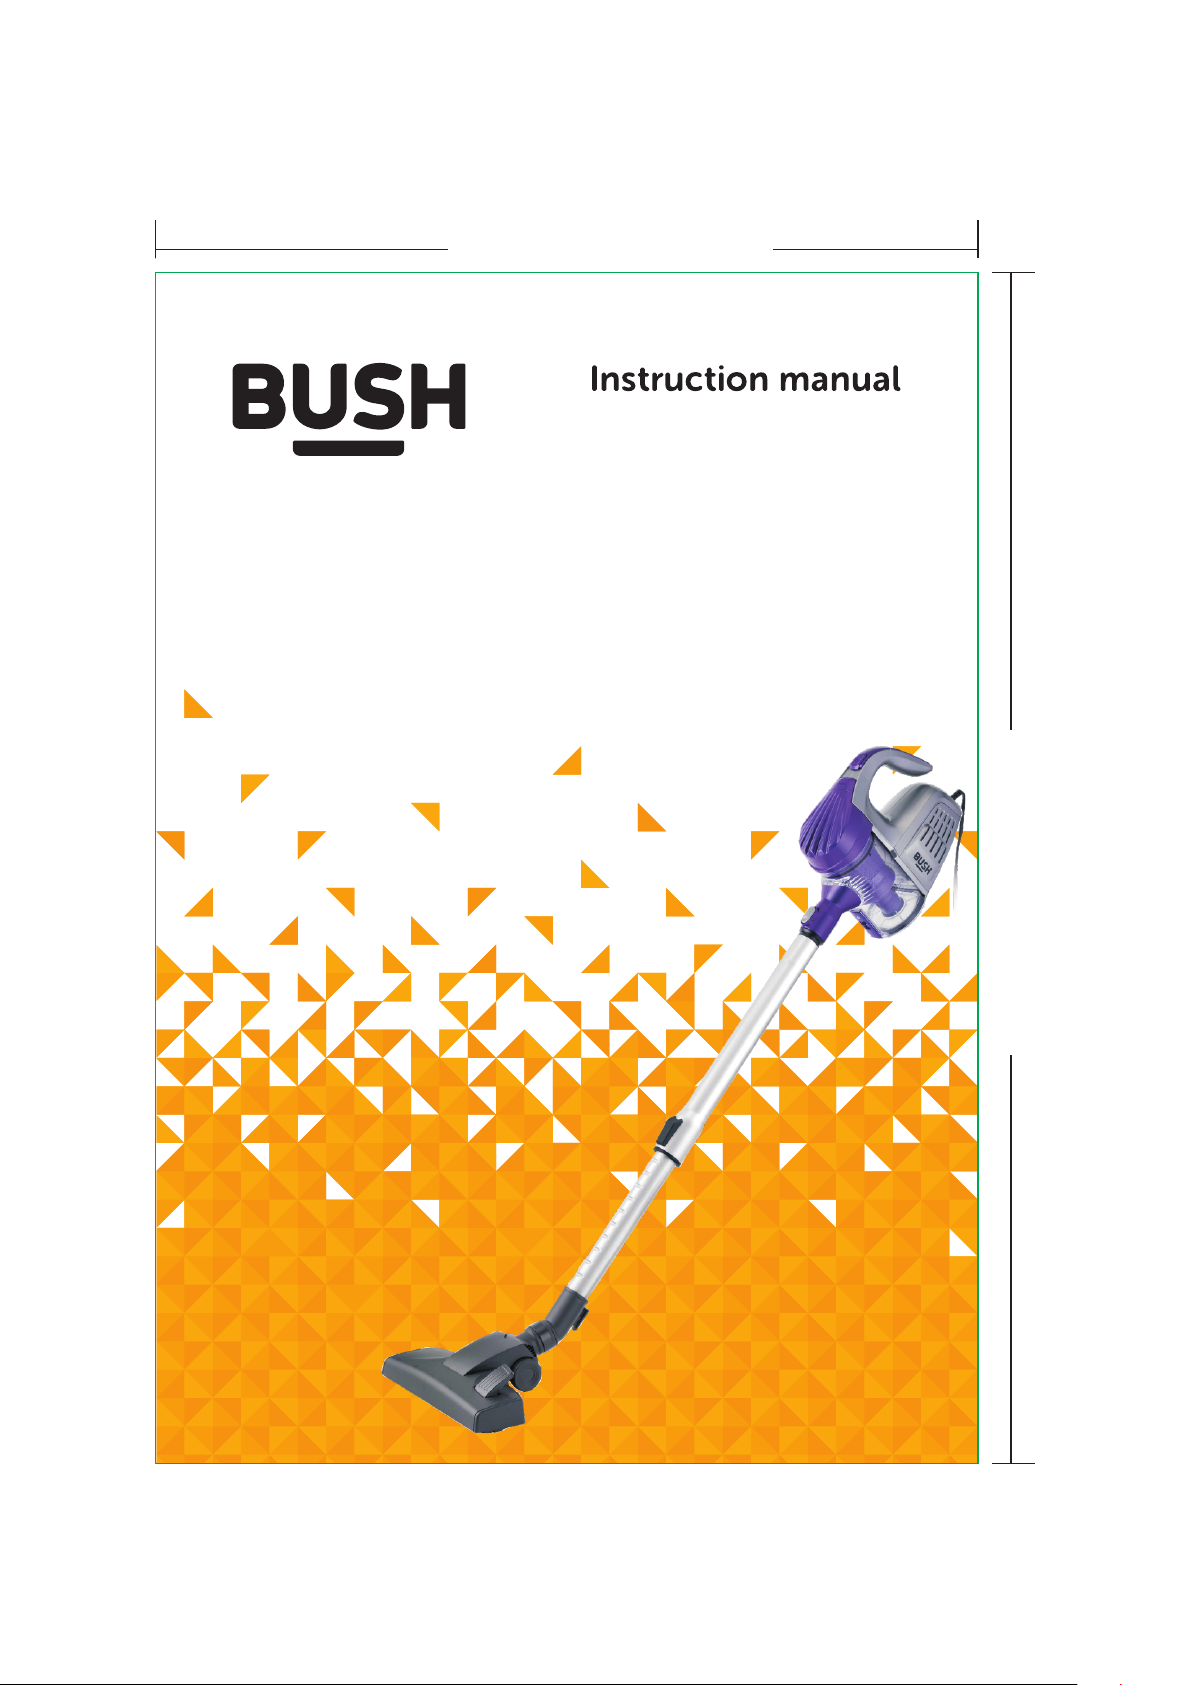
vacuum cleaner
vacuum cleaner
If you still require further assistance, call one of our experts on
TMTI HELPLINE 0345 604 0105
Page 3

Electrical
vacuum cleaner
Ready?Let's begin
Accessories
vacuum cleaner
6
8
10
12
Toubleshooting
Help and assistance
Declaration of conformance to product
Standards
Disposal
24
25
26
27
Unpacking
Assembly
vacuum cleaner
First use of vacuum cleaner.
Using the vacuum cleaner
Care and maintenance
Cleaning
Care and maintenance
Technical specification
14
14
16
17
20
21
22
0345 6 04 0105
3
Page 4
Page 5
Page 6

WARNINGS
This appliance is intended for domestic household use only and should
not be used for any other purpose or in any other application, such as
for non-domestic use or in a commercial environment.
If the supply cord is damaged, it must be replaced by the manufacturer,
its service agent or similarly qualified persons in order to avoid a hazard.
Regarding the detailed instructions for the method and frequency of
cleaning and the precautions during user maintenance, refer to the
section “Care and maitenance” on page 20 of the manual.
This appliance can be used by children aged from 8 years and above
and persons with reduced physical, sensory or mental capabilities or
lack of experience and knowledge if they have been given supervision
or instruction concerning use of the appliance in a safe way and
understand the hazards involved. Children shall not play with the appliance.
Cleaning and user maintenance shall not be made by children without
supervision.
6
Page 7
The plug must be removed from the socket-outlet before cleaning or
maintaining the appliance.
Following objects are strictly banned, otherwise the vacuum cleaner will
be damaged or fire calamity will be caused, which bring such accidents as
human body injuries:
-Don't pick up large or sharp broken such as
glasses.
-Don't pick up harming or erodent liquids (solvent,
corrosive, detergent…).
-Don't pick up inflammable or explosive substance
such as gasoline or alcohol.
-Don't pick up/ vacuum burning or glowing
objects (cigarettes, matches, hot ashes).
0345 6 04 0105
7
Page 8

Electrical
!
8
Page 9

vacuum cleaner
Page 10

Vacuum cleaner
vacuum cleaner
10
vacuum cleaner
Page 11

Components
Vacuum cleaner
1.Cleaning head
2.Telescopic tubes
3.Tube socket
4.Dust container
5.Dust release button container
6.Power button
0345 6 04 0105
vacuum cleaner
11
Page 12

Model no
Specification
Annual energy
consumption
Hard floor
Carpet
Dust re-emission
class
V8211_03
Accessories
1.Telescopic tubes
2.Tube socket
3.Dusting brush
4.Crevice tool
5.Cleaning head
2
1
4
3
230V 50/60Hz
600W
5
A
C
E
F
12
vacuum cleaner
Page 13

vacuum cleaner
Page 14

Lightweight Bagless Vacuum cleaner
Unpacking
ASSEMBLY
Always disconnect the appliance from the
mains socket before
assembling or disassembling accessories.
1. First connect the tube socket with unit .
2. Insert telescopic tube into the tube socket
at the front of the cleaner until you hear a click.
3. Push forward the switch on the telescope
tube.Pull the tube to desired length.Then
release the switch to lock the telescope tube
in place
4. Attach the cleaning head to the end of the
telescopic tube.
5. Assemble of part is completed.You can
use the product
To remove the cleaning head and tubes, hold
each piece tightly and pull firmly apart.
To remove the from the cleaner, tube socket
whilst keeping the release tube socket
button pressed, pull the out of the tube socket
front of the cleaner and then release the button.
14
vacuum cleaner
Page 15

vacuum cleaner
Page 16

vacuum cleaner
First use of vacuum cleaner
CAUTION: Always switch off the vacuum cleaner before connecting or
disconnecting the hose/atlachments or removing and emptying the dirt
container.
IMPORTANT: The vacuum cleaner is equipped with a thermal cut-out. If for any
reason the vacuum deaner does overheat. the thermostat will automatically turn
the vacuum cleaner off. If this happens ,switch the vacuum cleaner off and unplug
from electrical socket. Remove and empty the dirt container also check the
vacuum deaner for blockages. Allow the vacuum cleaner to cool for
approximately 1 hour (if you have cleaned the filters ,please wait 24 hours for the
filters to fully dry before putting back into the machine).
16
Using your vacuum cleaner
Page 17

Using the vacuum cleaner
Operation
Plug the appliance into the mains socket.
Press the power button on top of the appliance
to switch on the appliance.
With handheld feature, you can clean from
floor to ceiling.
Advanced functions/use
Remove the cleaning head from the tubes then
attach the crevice tool to the tubes. You can
also attach the crevice tool directly to the front of
the cleaner until a click is heard. The crevice tool
is used for narrow gaps and hard-to-reach places.
Use this crevice tool to vacuum down the side of
cushions, corners, edges or small spaces.
Using on wall/curtains
Use the dusting brush by attaching it to the
crevice tool to clean more delicate surfaces,
e.g. curtains.
Using on carpet/floor brush
Position1: Bristles extended
for hard floors
Position2:Bristles retracted
for carpets
Use on the stairs
This machine can be used on stairs.
just connect accessories:tube socket,
crevice tool and dusting brush
0345 6 04 0105
Using your vacuum cleaner
17
Page 18

Page 19

Page 20

Cleaning
Always switch off the appliance and unplug from the mains socket before
carrying out any maintenance or cleaning.
Clean the outside of the appliance with a damp cloth. Dry thoroughly
before use.
Never immerse the appliance in the water.
Do not use abrasive or chemical cleaning agents.
Empty the Dust Container
Empty the dust container when the dust reaches the MAX line.
Failure to do this will impair the efficiency of the cleaner.
1. Press the dust release container button to remove the dust container.
2. Hold the dust over a bin container and then push the latch downward
to open the cover on the bottom of the dust to allow the dust fall out to bin.
3. After empty the container,close the cover until the click sound created
from the latch is heard.
20
Page 21

Care and maitenance
Cleaning the HEPA Filter
The high efficiency particulate air (HEPA) filter is an effective system
in removing almost all indoor pollutants, dust mites, pollen and
mould spores.
Filters require cleaning at least every 3-6 months(depending on the level of use).
Don't use your vacuum cleaner without all the filters in place.
1. Pull the clip on the dust lid outward to remove the lid.
2. Hold the handle of the HEPA filter to rotate it anticlockwise
and remove it.
3.
Tap the HEPA filter over a bin to remove the dust.
4. Rotate the filter housing anticlockwise and remove it out of
the dust
5.
Wash the filter under water (max. 40 degree).
DO NOT USE DETERGENTS to clean all parts.
Leave it to dry for 24 hours or until fully
6. Place the filter housing into the dust and turn it clockwise until
it locks into position.
7. Place the filter in the housing and then turn it clockwise until it
locks into position.
8. Replace the dust lid onto the dust .
9. Attach the dust back to the appliance until a click is heard.
container.
container
container
dry before placing back in the vacuum cleaner.
container
container container
0345 6 04 0105
21
Page 22

Technical Specifications
Model Number
Voltage
Energy efficiency class
Annual energy consumption
Carpet cleaning performance class
Hard floor cleaning performance class
Dust re-emission class
Sound power level
Rated input power
V8211_03
220-240V~50/60Hz
A
24.4kWh/annum
E
C
F
80dB(A)
600W
22
Page 23

Page 24

TROUBLESHOOTING
Please check the following details before you have your appliance
repaired by an authorised servicing agent.
1. Vacuum cleaner does not work.
You can check if the power plug is firmly inserted into the power outlet.
And if the power switch of the appliances is on.
2. Suction power becomes weak.
You can check if the brush or tube is clogged or damaged . Or check if the
dust container is full or check if the filter is clogged and if the tubes are
correctly attached. The possible solution is to immediately remove the
obstruction. Or empty the dust container or clean the filter or reassemble
the tubes.
3. Vacuum cleaner is overheating
You can check if the filter is blocked. The possible solution is to clean the filter.
4. Dust is coming out of the vacuum cleaner
You can check if the dust container is properly fitted to the cleaner. The
possible solution is to refit the dust container to the cleaner.
24
Page 25

Help and assistance
wash vacuum cleaner
0345 60 4 0 105
0345 6 04 0105
25
Page 26

2014/35/EU low voltage directive
2014/30/EU the EMC directive
2011/65/EU the ROHS directive
This is a class ll appliance.
26
Page 27

0345 6 04 0105
27
Page 28

034 5 604 010 5
 Loading...