Bush TR82DAB User Manual

DAB+/FM/AM Digital Radio
TR82DAB
Instruction Book
Toll Free Warranty and Service: 1800 509 394 The Gold Technical Support Line: 1902 215 259
(Charges will apply at $2.95 per minute for gold technical support only)

Bush TR82DAB
Introduction
Thank you for buying this BUSH product, which is designed to give you many years of trouble free service.
You may already be familiar with using a similar unit, but please take the time to read these instructions.
Safety is important
Your safety is very important. Please therefore, ensure you read the “Safety Instructions” before you operate this unit.
Warranty
In the unlikely event that your product fails to work normally, please call one of our qualified service engineers on either of the below toll free phone numbers to discuss any issues directly.
Australia.
BUSH Warranty: 1800 509 394
New Zealand
BUSH Warranty: 0800 450 259

Bush TR82DAB
Safety Instructions
Ensure that you read all of the safety instructions before operating this unit.
Safety Considerations
Ensure that the power cable and other connected cables are protected and are positioned so that they are not likely to be walked on, pinched or damaged.
Do not position the unit in areas where it may experience humid or damp conditions.
Do not allow the unit to get wet. You must keep it away from dripping or splashing water.
Never allow children to insert foreign objects into the holes or slots on the unit.
Do not cover the ventilation holes with items such as tablecloths or curtains, etc. This may cause the unit to overheat.
No naked flame sources, such as candles, should be placed on or near the unit.
Do not place objects filled with liquids, such as vases or jugs, on or near the unit.
Do not place the unit in a closed cabinet without proper ventilation.
Cleaning
Disconnect the unit from the mains supply before cleaning.
Do not use any liquids or aerosol cleaners, as this may damage the unit.
Use a dry, soft, dust free cloth.
Servicing
There are no user serviceable parts in this unit. When servicing, refer to qualified service technician.
Consult your retailer if you are ever in doubt about the installation/operation/safety of the product.
3

Bush TR82DAB
Contents
Safety Instructions …..……………………………………………………………………….…………….... |
3 |
Contents …..……..…..……………………………………………………………..…………….…………….... |
4 |
Controls and Outputs...…………………………………………………………………….…………….... |
5 |
What is DAB+………………………………………………………………………..…………….……………... |
6 |
Getting Started …………………………………………………………………….…………..……………… |
7 |
Turning on your DAB+ Radio...…………………………………………………….………...…………. |
8 |
Scanning and storing Stations ………….……..…………………………………….…………….… |
9 |
Playing a preset station……………………………………………………….……………...…………….. |
10 |
DAB+ Menu Options………………………………………………………………………………………….. |
11 |
Dynamic Range Control……………………………………………………………………………………… |
12 |
MW/LW/FM Radio…………………………………………………………………………………………….. |
13 |
Troubleshooting and Technical Specification……………………………….……………...……… |
14 |
Warranty…………………………………………………………………….……………...……………………… |
15 |
4

Bush TR82DAB
Controls & Outputs
No. Button & sockets
1Carry Handle
2LCD Display
3Control Panel
4Telescopic Antenna
5Headphone Socket
6Line Out Socket
7Tuning Dial and Pointer
8Speaker
9Battery Compartment
10 |
Mains Power |
|
Descriptions
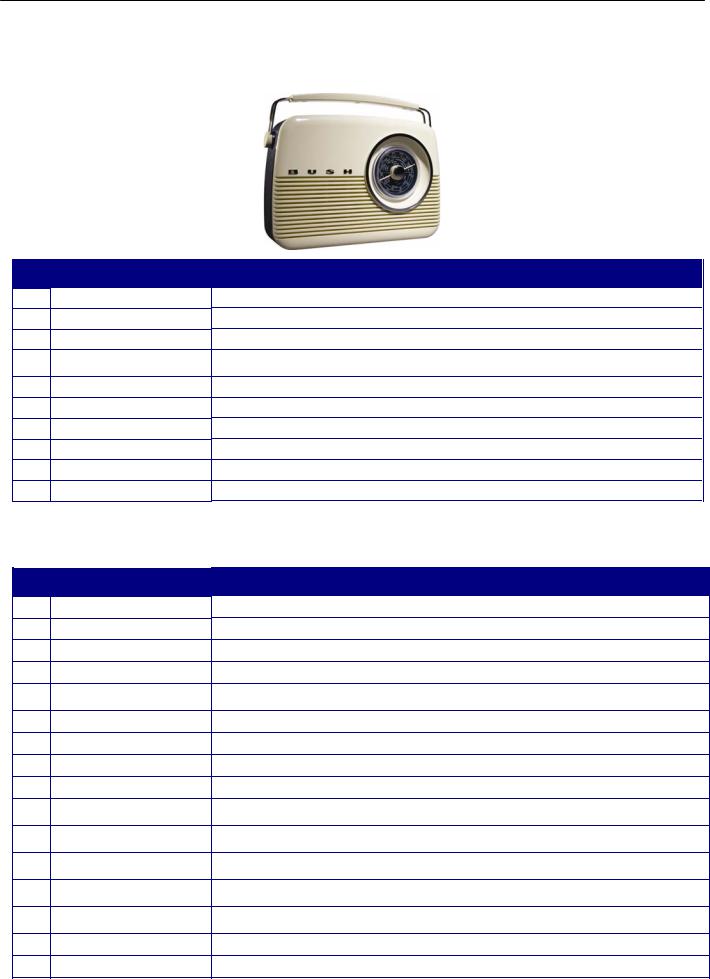
The Carry Handle has been designed to make the TR82DAB easily portable and stay true to its retro style. The LCD High Resolution Display allows you to view the onscreen information and scrolling text.
The Control Panel features all the function Buttons to operate this digital radio.
It is recommended that you extended the Telescopic Antenna to ensure that you get the best possible reception.
The Headphone Output allows you to connect your Headphones for private listening.
The Line Out Socket means that you can connect the digital radio to your home entertainment system. The Tuning Dial and Pointer allows the frequency to be changed for the FM/MW/LW radio modes. There is one 2W Speaker that will provide you with crystal clear digital audio.
The Battery Compartment is where the 6 X C batteries can be inserted for battery power to be used. The Mains Power Input allows you to connect the power lead to the unit to use mains power.
Top Control Panel
No. Button
1Auto Button
2MENU Button
3Display Button
4Shift Button (for presets 6 to 10)
6Navigation and Select Buttons
7MW Button
8LW Button
9FM Button
10DAB Button
11Preset 1 & 6
12Preset 2 & 7
13Preset 3 &8
14Preset 4 &9
15Preset 5 & 10
16Tone Control
17On/Off & Volume Control
Descriptions
Press the Auto Button to conduct an automatic station scan in DAB+ mode.
Press the Menu Button to enter the Selected mode’s Main Menu.
Press the Display Button to display the DAB+ station information.
Press the Shift Button to access presets 6 10.
Press the Navigation Buttons (Left and Right Arrows) to browse through the onscreen Menu or stations. Press the Select Button to confirm any settings or station Selections.
Press the MW Button to Select MW radio mode.
Press the LW Button to Select MW radio mode.
Press the FM Button to Select MW radio mode.
Press the DAB+ Button to Select MW radio mode.
Press and hold the Preset 1&6 Button to save a preset station or briefly press to access your favourite DAB+ station.
Press and hold the Preset 2&7 Button to save a preset station or briefly press to access your favourite DAB+ station.
Press and hold the Preset 3&8 Button to save a preset station or briefly press to access your favourite DAB+ station.
Press and hold the Preset 4&9 Button to save a preset station or briefly press to access your favourite DAB+ station.
Press and hold the Preset 5&10 Button to save a preset station or briefly press to access your favourite DAB+ station.
Turn the Tone Control to adjust the Treble and Bass.
Turn the On/Off & Volume Control to turn the unit on or off or to adjust the volume level.
5
 Loading...