

Page 1
Instruction Manual
B108
Page 2

Page 3
Contents
INDEX
Contents
Index
Accessories
Care and maintena nce
Avo id hearin g damage
Safety information
User instructions
Panels
Power connectio n
General operation
Bluetooth operation
Answer a phone call
USB operation
External input
Specification
Mains plug information
Trouble shooting
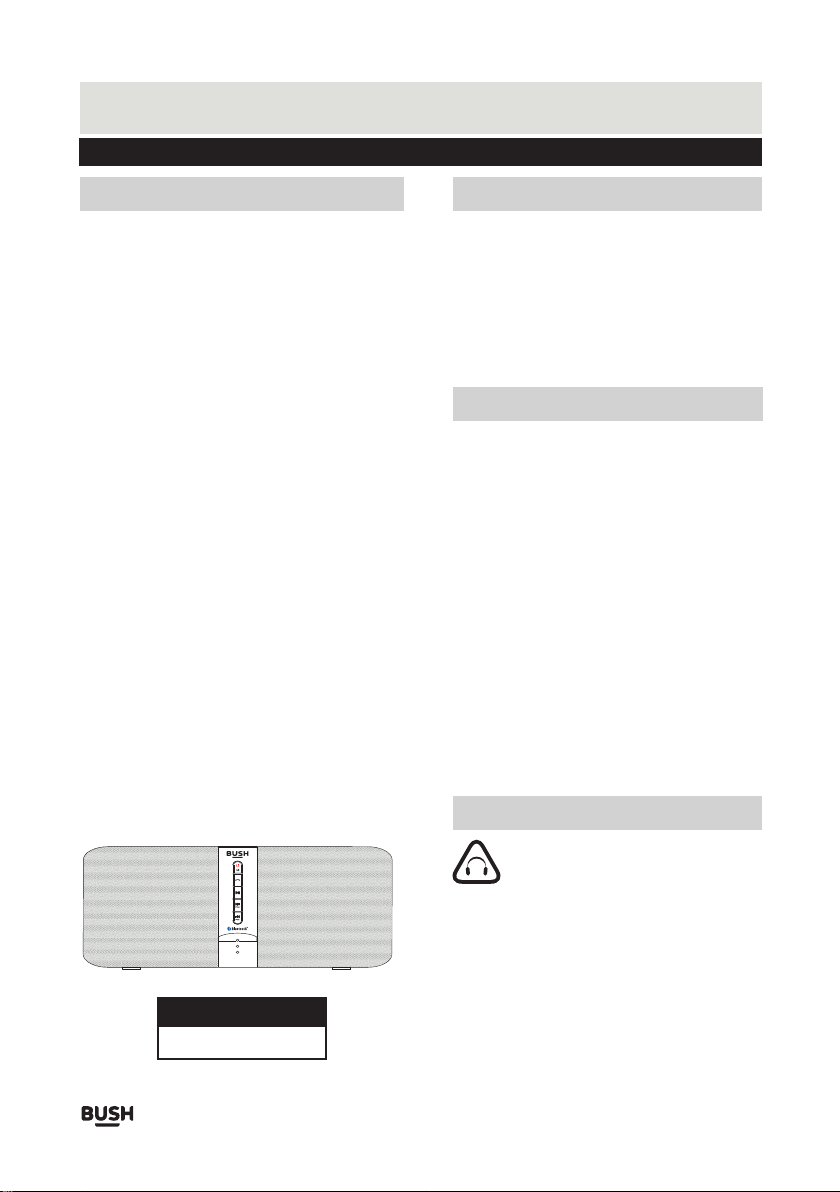
THE CARTON SHOULD CONTAIN
1
• The unit
• User manual
NOTE: Place the unit on a dry stable surface away
from heat and damp and where it is unlikely to fall or
be knocked over.
2
3
3
4
4
5
6
CARE AND MAINTENANCE
1. Do not use harsh or ab rasive cl eaning ag ents
or solvents.
2. Polish the produ ct with sof t cloth.
3. Do not attempt to di sassemb le you prod uct.
4. Do not paint your pr oduct.
5. Do not drop, throw o r try to bend y our produ ct.
6. Only use the power s upply tha t same with
product. Use an una uthoriz ed power su pply
will damage the pro duct.
7. All care and cleani ng operat ions shou ld be
carried out with th e unit unpl ugged fro m the
mains power.
8. Occasionally w ipe the uni t with a lint f ree
duster. Never clea n the unit wi th liquid s or
solvents.
9. After using the mac hine, se
off a t the mains a nd unplug it if you are leaving
it unattended for a l ong perio d (holida ys etc).
t to standby, pow er
Contact details
Product Code
B108
AVOID HEARING DAMAGE
Listen at moderate volumes to
avoid hearing damage.
If you hear no sound during playing, do not
turn up volume up as the music may suddenly
begin at a high volume. Excessive sound
pressure from speakers can cause hearing
damage and loss. To avoid damaging your
ears, adjust the volume to the lowest safe
level before playing, and turn up to the
desired level when playback has started.
Page 1
Page 4

Safety information
CAUTION!
RISK OF ELECTRIC SHOCK
DO NOT OPEN
TO REDUCE THE RISK OF ELECTRIC SHOCK
DO NOT REMOVE COVER (OR BACK)
This symbol indicates that there are
important operating and maintenance
instructions in the literature accompanying
this unit.
This symbol indicates that dangerous
voltage constituting a risk of electric
shock is present within this unit.
Read these instructions.
Keep these instructions.
Heed all warnings.
Follow all instructions.
Do not use this apparatus near water.
Clean only with a slightly damp cloth.
Do not block any ventilation openings.
Install in accordance with the manufacturer’s instructions.
Do not install or operate near any heat sources such as
radiators, stoves, or other apparatus that produce heat.
Unplug this apparatus during lightning storms or when
unused for long periods of time.
Refer all servicing to qualified service personnel.
Servicing is required when the apparatus has been
damaged in any way, such as the power-suppl
or plug is damaged, liquid has been spilled or objects
have fallen into the apparatus, the apparatus has
been exposed to rain or moisture, does not operate
normally, or has been dropped.
To reduce the risk of fire or electrical shock, do not
do not expose this product to rain or moisture. The
product must not be exposed to dripping and
splashing and no object filled with liquids such as a
vase of flowers should be placed on the product.
No naked fame sources such as candles should be
placed on the product.
y cord
Changes or modifications not expressly approved
by the manufacturer could void the user’s authority
to operate this device.
Usage of controls or adjustments or performance of
procedures other than those specified herein may
result in hazardous exposure.
ELECTRICAL INFORMATION
Use only power supplies listed in the
user instructions.
Mains Supply: The mains operating voltage of this
unit is marked on a rating plate on the back of the
unit. The means of disconnecting this appliance from
the mains supply is the mains plug. This should be
unobstructed and readily operable at all times.
The direct plug-in adapter (if included in the product)
is used as disconnect device, the disconnect device
shall remain readily operable.
Plug the adapter with the product power supply
interface firmly before connecting to power.
We ap ologize f or any inco nvenience caused by
any minor inconsi stencie s in these in structions,
which may occur as a re sult of pro duct impr ovements and develop ment.
This appliance co mplies wi th the
following EU dire ctives:
2006/95/EC Low vo ltage dir ective,
2004/108/EC EMC d irectiv e , 2002/96 /EC WEEE
directive.
The symbol on the pro duct or its
packaging indic ates that t his produ ct
may not be treated as h ousehol d
waste. Instead it s hould be ha nded
over to the applica ble colle ction poi nt
for the recycling o f electri cal and ele ctronic
equipment. By ens uring thi s product i s disposed
of correctly, you will help prevent potential
negative conseq uences fo r the envir onment and
human health, whi ch could ot herwise b e caused
by inappropriat e waste han dling of th is product.
For more informat ion about r ecyclin g this product
please contact yo ur local co uncil office, your
household waste d isposal s ervice or t he shop
where the product w as purcha sed.
,
Pa
ge 2
Page 5

User instructions
PANELS
2
10 13
9
1. Microphone
2. Phone button
3. Standby / Mode
4. Play/ Pause
5. Next / Volume+
6. Indicator
7. Previous / Volume -
NOTE: This unit is designed to enter
1
3
4
STANDBY mode automatically after 15
MINUTES (approximately) of inactivity.
Press the STANDBY button to wake the unit.
GENERAL OPERATION
Standby mode
Press and hold the /M button for 3s to turn on the
6
5
8
7
unit or to put the system into standby mode.
Switching modes
11
6
12
To switch between the available modes: Bluetooth,
USB, and AUX IN.
Press the /M button to cycle through the options,
and the indicator light will use different colors to show
the different mode.
Indicator light shows different mode status
mode: the indicator lights red.
Standby
8. Speaker
9. Speaker ventil ation
10. USB port
11. Le ft/Righ t Audio
input sockets
12. Power switch
13. Power input
Bluetooth mode: the indicator flashes blue quickly.
USB mode: the indicator flashes yellow slowly.
Aux in mode: the indicator is solid yellow.
Adjust the volume
Press and hold the VOL+ or VOL- buttons to adjust the
volume to a comfortable level.
CONNECTING MAINS POWER
• Check the voltage marked on the rear rating plate is
the same as the voltage in your area.
• Connect the mains plug to the wall socket and switch
the mains switch (12) on the back of the unit to ON.
Skip tracks
Press the or buttons to skip to the previous
or the next track.
Play or pause the music
Press the button to pause or resume the playing.
Page 3
Page 6

User instructions
BLUETOOTH OPERATION
Enter Bluetooth mode
Press the /M button to enter the Bluetooth mode, and
the indicator flashes blue quickly, it enters the pairing status.
Bluetooth pairing
1. Put your Bluetooth device (e.g. smart phone) within the
10 meters Bluetooth searched range.
2. Turn on the Bluetooth function on your phone.
3. Open the Bluetooth searching interface on the phone
and start to search the Bluetooth devices.
4. Find the device named B108 from the found list. Select
OK/YES/PAIR to pair the phone with the unit.
5. When the devices are paired successfully, you will hear
a signal and the indicator steadily lit in blue.
6. For some devices, the system may ask you to input the
pins to pair the device, just input the “0000" (four Zero)
to enable the connection.
Disconnecting Bluetooth
1. Turn off the Bluetooth function on the phone/BT device.
2. Press and hold the button to disconnect the devices.
Reconnecting Bluetooth
1. To reconnect the devices, please follow the steps 2-6 of
Bluetooth pairing.
2. To con nect a different device, you mu st turn off
the Bluetooth fun ction on yo ur phone de vice, or
unpair from the pai red devic e, then man ually pair
the device with the u nit.
NOTE:
1. Th e unit can on ly be connected and playing
contents from one d evice at a ti me.
2. Some devices, su ch as an iPho ne, may
connect immedia tely in pai ring, som e may
take as long as 60 seco nds to conn ect, this i s
not a malfunction .
3. If the device is out o f the Bluet ooth rang e
(10 meters), plea se put the de vice with in the
Bluetooth range a nd make con nection a gain if
connection is sus pended.
ANSWER A PHONE CALL
Receiving a phone call
When there is a call coming when connected with a
phone via Bluetooth, music will stop automatically.
1. Press the button to pick up the phone call.
2. When talking via the Speaker, press the VOL+/-
buttons to adjust the volume.
3. Press the again when finish talking.
4. If you do want to transfer the call from the Speaker,
press and hold the button to disconnect the
Bluetooth with the phone. Or you can also power off
the speaker or turn to other mode for a provide
conversation.
NOTE:
If the other side of a ca ll can not he ar clearl y, you
can speak close to th e MIC of the un it. Or, adju st
the volume level on t he unit or on y our phone .
USB OPERATION
1. Insert the USB stick into the USB port on the rear
panel of the unit.
2. Press the /M button until the indicator flashes in
yellow slowly.
3. Once the USB stick inserted, the unit will auto-detect
the files stored in the USB stick and start playing.
NOTE:
1. Depending on the amount of data and media speed,
it may take longer time for the unit to read the files
stored in the USB device, this is not a malfunction.
2. The support file format is MP3 with an extended
name “.mp3”.
3. The USB port charges the inserted USB device.
4. For some files, even though they’re of the support
format, the unit can not play because of the format
compatibility.
Page 4
Page 7

User instructions
EXTERNAL INPUT
Connecting external audio sources
External audio sources such as iPods or MP3 players
can be connected by using a 3.5mm RCA audio cable.
MP3 player
Audio cable
Operation
1. Connect one end of the cable to the MP3 players
line output/headphone and the other end to the
AUDIO IN socket on the panel of the unit.
2. Press the /M button until you reach the AUX IN
mode, the indicator is solid yellow.
3. Adjust the volume to a comfortable level.
NOTE:
When connecting via the headphone output, the volume
of the Speaker system is affected by the volume control
on the player. Ensure that the player is set to 70-80% to
avoid distortion.
Page 5
Page 8

User instructions
INDICATOR STATUS
The below table provides a summary of the indicator
and display status:
Unit Mode
Standby
Bluetooth
pairing
Connected to
Bluetooth
USB mode
Aux in Lit yellow solidly
Lit red solidly
Blinks blue rapidly
Lit blue solidly
Blinks yellow slowly
DisplayIndicator Action
UK MAINS PLUG INFORMATION
For your convenience a mains plug with a fuse (3 Amp)
has been fitted to this appliance. For your safety, please
observe the following information.
SPECIFICATIONS
Supply Voltage.................AC 2 20-240V, 50Hz
Max. Power Consumption....................15W
Speaker Power...........................2 X 5W
Bluetooth range.........................10 meters
TROUBLE SHOOTING
If you’re experiencing problem with your apparatus,
there are some quick and easy checks that you can
do to help to solve problems.
The unit does not work.
Correctly plug the mains into the power supply?
Does the socket that is being used have power?
Power off the unit then power on again.
No sound from speakers.
Is the volume control set at minimum?
Turn up the volume of the connected device.
Bluetooth not connected.
Check if the BT device is in searched mode.
Disconnect the paired device and connect again.
If the device is out of the Bluetooth range (10m),
please put the device within the Bluetooth range and
manually make connection again if the devices are
disconnected.
• The unit is designed to operate on AC mains supply
220-240 volts, 50Hz.
• The wires in the mains lead are colored in accordance
with the following code:
BLUE - NEUTRAL
BROWN - LIVE
• Under no circumstances should the Neutral or Live
wires be connected to the “ E ” (Earth) terminal.
Page 6
CONTACT DETAILS
In the unlikely event of difficulties with your appliance,
please contact the retailer if the machine is still under
guarantee.
Customer help-line: 0870 600 3030
Page 9

Guarantee
PRODUCT GUARANTEE
This product is guaranteed against manufacturing defects for a period of
Year
This product is guaranteed for twelve months from the date of original purchase.
Any defect that arises due to faulty materials or workmanship will either be replaced,
refunded or repaired free of charge where possible during this period by the dealer from
whom you purchased the unit.
The guarantee is subject to the following provisions:
The guarantee does not cover accidental damage, misuse, cabinet parts, knobs or
consumable items.
The product must be correctly installed and operated in accordance with the instructions
contained in this manual.
It must be used solely for domestic purpose.
The guarantee will be rendered invalided if the product is re-sold or has been damaged
by inexpert repair.
Specifications are subject to change without notice.
The manufacturer disclaims any liability for the incidental or consequential damages.
The guarantee is in addition to, and does not diminish your statutory or legal rights.
Guarantor: Argos Ltd.
489 - 499 Avebury Boulevard
Central Milton Keynes
MK9 2NW
Page 10

 Loading...