

Page 1
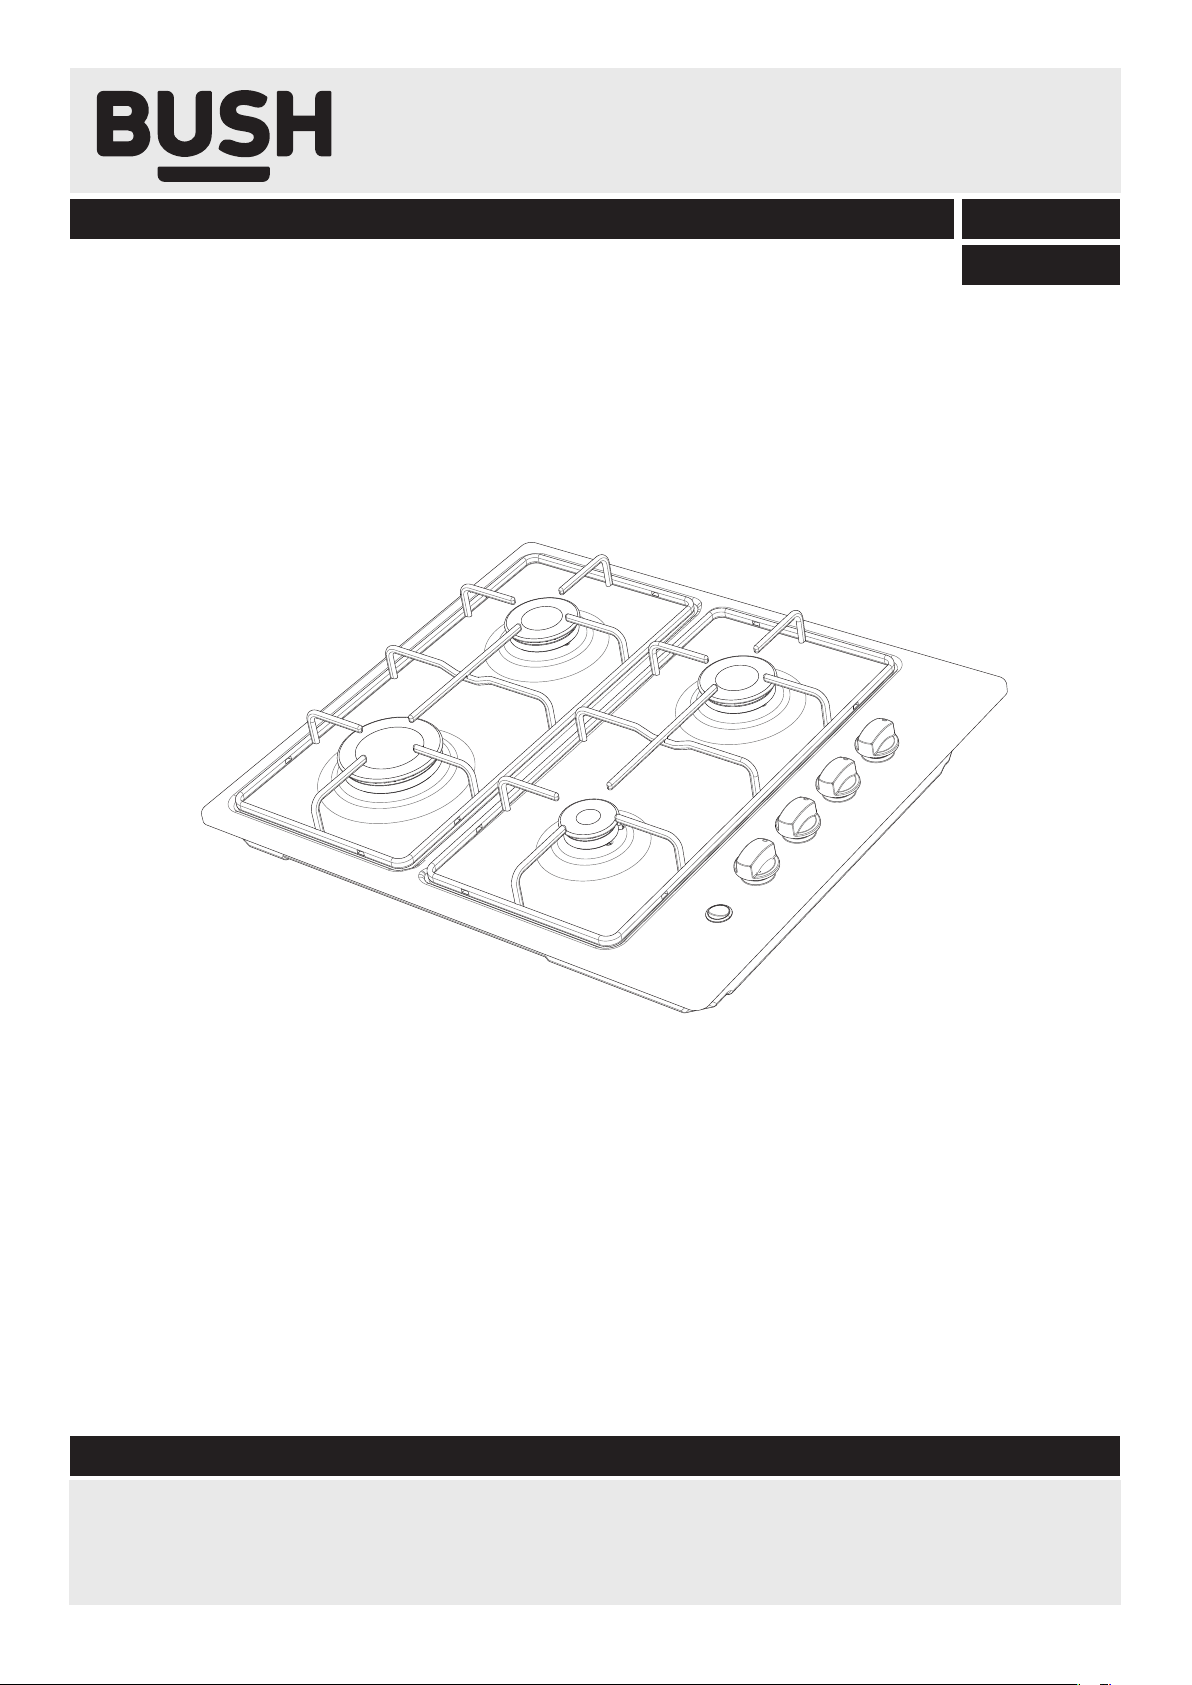
BUILT-IN GAS HOB
Operating & Installation Instructions -Please keep for future reference
AG60GNSS
AG60GNW
Important - Please read these instructions fully before using
These instructions contain important information which will help you get the best from your
appliance and help to ensure safe and correct installation, use and maintanence.
If you need help or have damaged or missing parts, call the Customer Helpline: 0345 257 7271
Page 2
Contents
Customer Helpline 0345 257 7271
DESCRIPTION OF THE HOB
SAFETY INFORMATION
INSTALLATION
USER INSTRUCTIONS
MAINTENANCE & CARE
INJECTOR TABLE
10
11
1
2
5
8
Dear Customer,
Offering quality products that meet your
expectations is our goal. Our products are tested
carefully to ensure their quality.
This manual is prepared in order to help you to use
your appliance confidently and efficiently
Before using your appliance, carefully read this
guide as it includes basic information for the
correct and safe installation, maintenance and use
of your appliance.
Contact your nearest authorised service agent for
installation of your appliance.
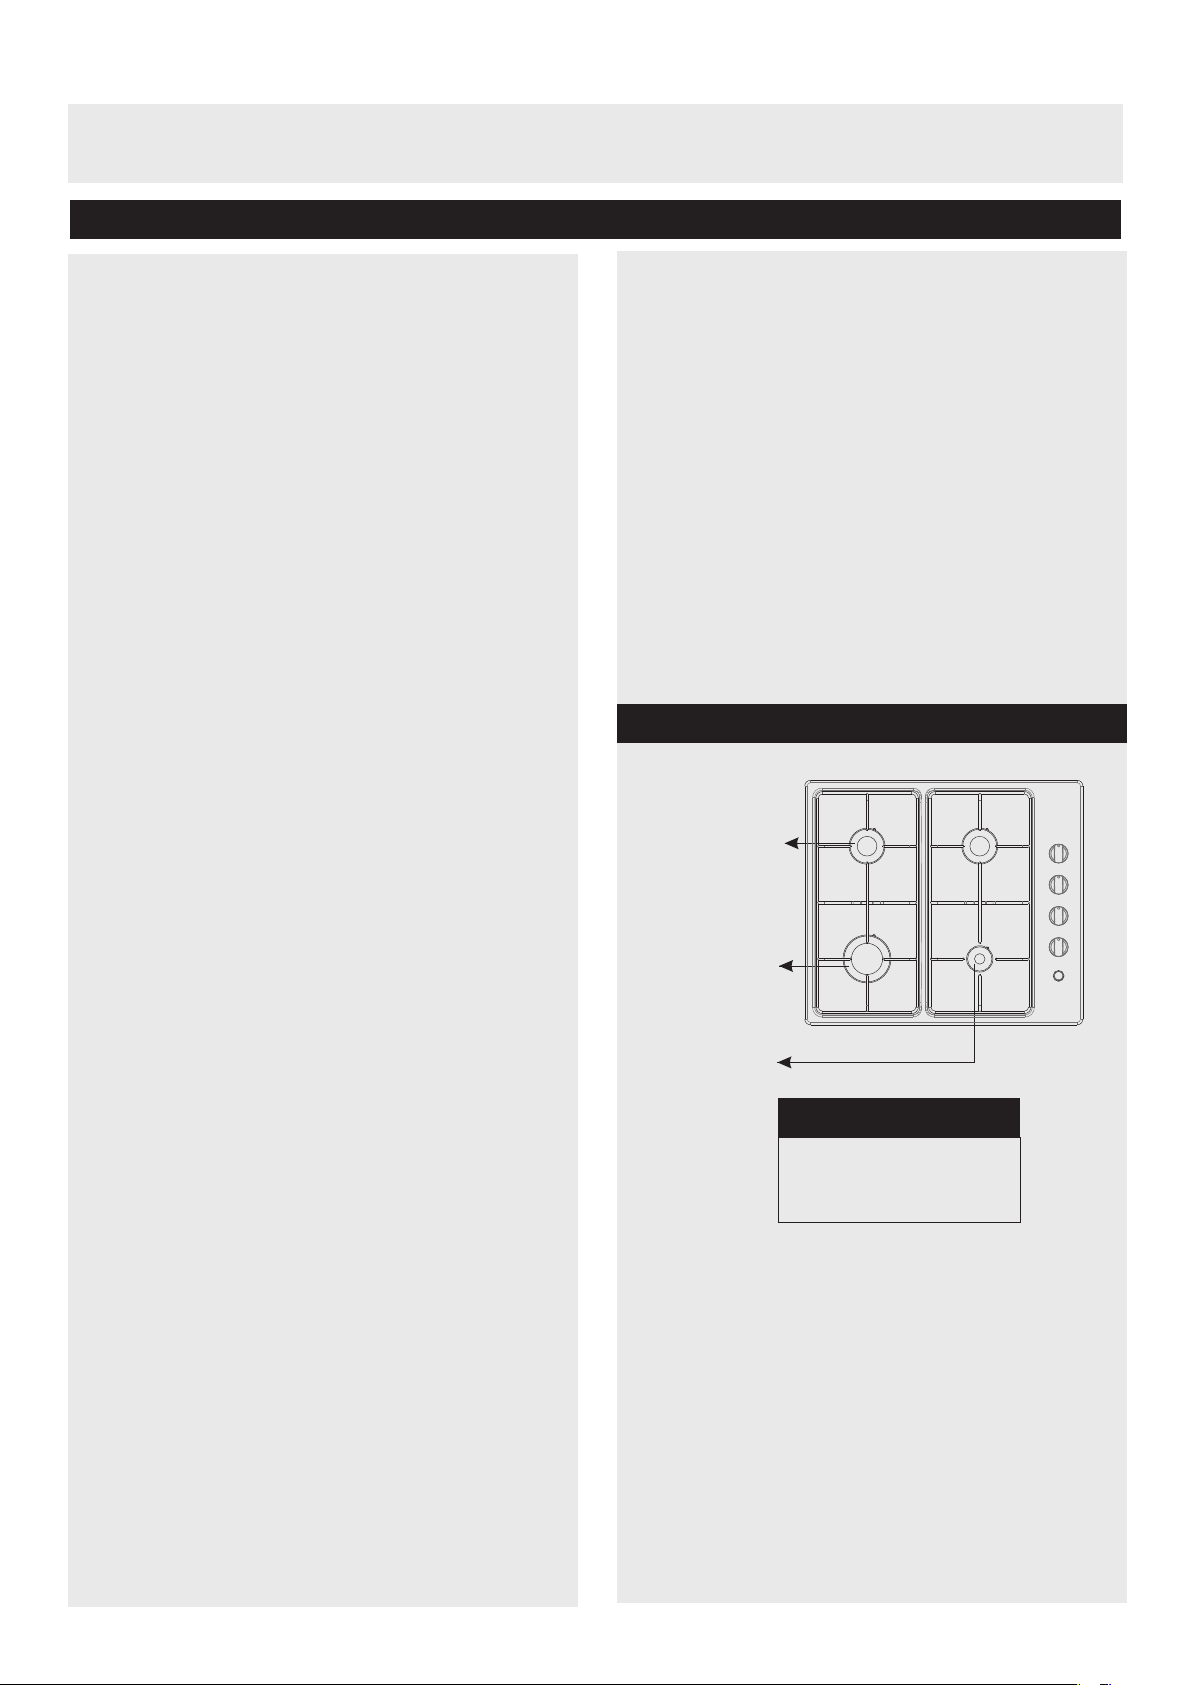
DESCRIPTION OF THE HOB
Medium burner
Rapid Burner
Auxillary burner
Product code
AG60GNSS
AG60GNW
1
Page 3
Safety Information
Important - Please read these instructions fully before installation
Customer Helpline 0345 257 7271
READ THESE INSTRUCTIONS CAREFULLY AND
COMPLETELY BEFORE USING YOUR
APPLIANCE, AND KEEP IT IN A CONVENIENT
PLACE FOR REFERENCE WHEN NECESSARY.
THIS MANUAL IS PREPARED FOR MORE THAN
ONE MODEL IN COMMON. YOUR APPLIANCE
MAY NOT HAVE SOME OF THE FEATURES THAT
ARE EXPLAINED IN THIS MANUAL. PAY
ATTENTION TO THE EXPRESSIONS THAT HAVE
FIGURES, WHILE YOU ARE READING THE
OPERATING MANUAL.
General Safety Warnings
IMPORTANT- This appliance can be
used by children aged from 8 years
and above and persons with reduced
physical, sensory or mental
capabilities or lack of experience and
knowledge if they have been given
supervision or instruction concerning
use of the appliance in a safe way
switch off the appliance and then
cover flame e.g. with a lid or a fire
blanket.
WARNING- Danger of fire: do not
store items on the cooking surfaces.
WARNING- If the surface is cracked,
switch off the appliance to avoid the
possibility of electric shock.
-For hobs incorporating a lid, any
spillage should be removed from the
lid before opening. And also the hob
surface should be allowed to cool
before closing the lid.
-The appliance is not intended to be
operated by means of an external
timer or separate remote-control
system.
and understand the hazards
involved. Children shall not play with
the appliance. Cleaning and user
maintenance shall not be made by
children without supervision.
WARNING- The appliance and its
accessible parts become hot during
use. Care should be taken to avoid
touching heating elements. Children
less than 8 years of age shall be kept
away unless continuously
supervised.
WARNING- Unattended cooking on a
hob with fat or oil can be dangerous
and may result in fire. NEVER try to
extinguish a fire with water, but
IMPORTANT- Do not use harsh
abrasive cleaners or sharp metal
scrapers to clean the oven door
glass and other surface since they
can scratch the surface, which may
result in shattering of the glass or
damage to the surface.
IMPORTANT- Do not use steam
cleaners for cleaning the appliance.
IMPORTANT- Your appliance is produced in
accordance with all applicable local and
international standards and regulations.
IMPORTANT- Maintenance and repair work must be
made only by authorized service technicians.
Installation and repair work that is carried out by
unauthorized technicians may endanger you. It is
dangerous to alter or modify the specifications of
the appliance in any way.
2
Page 4

Safety Information
Customer Helpline 0345 257 7271
Important - Please read these instructions fully before installation
IMPORTANT-
local distribution conditions (nature of the gas and
gas pressure or electricity voltage and frequency)
and the requirements of the appliance are
compatible. The requirements for this appliance
are stated on the label.
CAUTION-This appliance is designed only for
cooking food and is intended for indoor domestic
household use only and should not be used for
any other purpose or in any other application, such
as for non-domestic use or in a commercial
environment or room heating.
IMPORTANT- This appliance is not connected to a
combustion products evacuation device. It shall be
installed and connected in accordance with current
installation regulations. Particular attention shall be
given to the relevant requirements regarding
ventilation.
IMPORTANT- If after 15 s the burner has not lit, stop
operating the device and open the compartment
door and/or wait at least 1 min before attempting a
further ignition of the burner.
IMPORTANT- These instructions are only valid if the
country symbol appears on the appliance. If the
symbol does not appear on the appliance, it is
necessary to refer to the technical instructions
which will provide the necessary instructions
concerning modification of the appliance to the
conditions of use of the country.
IMPORTANT-
been taken to ensure your safety. Since the glass
may break, you should be careful while cleaning to
avoid scratching. Avoid hitting or knocking on the
glass with accessories.
IMPORTANT-
wedged during the installation. If the supply cord is
damaged, it must be replaced by the
manufacturer, its service agent or similarly qualified
persons in order to prevent a hazard.
Prior to installation, ensure that the
All possible security measures have
Ensure that the supply cord is not
authorized technician and put into use. The
producer is not responsible for any damage that
might be caused by defective placement and
installation by unauthorized people.
IMPORTANT-
make sure that it is not damaged during
transportation. In case of any defect; do not use
the appliance and contact a qualified service
agent immediately. As the materials used for
packaging (nylon, staplers, styrofoam...etc) may
cause harmful effects to children, they should be
collected and removed immediately.
IMPORTANT- Protect your appliance against
atmospheric effects. Do not expose it to effects
such as sun, rain, snow etc.
IMPORTANT- The surrounding materials of the
appliance (cabinet) must be able to withstand a
temperature of min 100°C.
During usage
IMPORTANT-
materials, in or near the appliance when it is
operating.
IMPORTANT-
with solid or liquid oils. They may catch fire on
condition of extreme heating. Never pour water on
to flames that are caused by oil. Cover the
saucepan or frypan with its cover in order to
choke the flame that has occured in this case and
turn the cooker off.
IMPORTANT- Always position pans over the centre
of the cooking zone, and turn the handles to a
safe position so they cannot be knocked or
grabbed.
IMPORTANT- If you will not use the appliance for a
long time, plug it off. Keep the main control switch
off. Also when you do not use the appliance, keep
the gas valve off.
When you unpack the appliance,
Do not put flammable or combustible
Do not leave the cooker while cooking
Installation Warnings
IMPORTANT- Do not operate the appliance before it
is fully installed.
IMPORTANT-
The appliance must be installed by an
IMPORTANT-
knobs are always in the "0" (stop) position when it
is not used.
CAUTION- The use of a gas cooking appliance
results in the production of heat, moisture and
Make sure the appliance control
3
Page 5
Safety Information
Customer Helpline 0345 257 7271
4
Page 6

Installation
Customer Helpline 0345 257 7271
CAUTION! THIS APPLIANCE MUST ONLY BE INSTALLED BY A <GAS SAFE> REGISTERED ENGINEER.
Remember that this appliance is ready to be
510 mm
580 mm
42 mm
connected to a gas supply in the country for
which it has been produced. The main country of
destination is marked on the rear cover of the
appliance. If you need to use it in another country,
B
A
any of the connections shown in the diagram at
the bottom left of this page may be required. In
such a case, contact the local authorities to learn
the correct gas connection.
In all cases, the flexible gas hose should neither
Neighbourhood walls A[mm] B[mm]
Combustible 60 150
Non-combustible 40 50
Gas Connection
pass behind an oven, nor be in contact with
premises that may cause combustion.
Furthermore, make sure that all connections are
carried out
according to the national legal
requirements for gas appliances.
- When connecting any hoses or fittings to the
appliance, the appliance inlet pipe must be
gripped firmly to prevent any internal damage from
twisting.
The gas supply pipe to the appliance should be
-
protected from damage and should not come into
contact with any parts which may become hot.
- The gas feeding manifold protruding from the
back of the cooker completely visible. Anything
that is connected to this manifold (hose, nut etc.)
must be connected carefully to ensure that it will
not heat up during operation.
- It is highly recommended to block the access
to pipe connection, while the cooker is in use or
when the gas supply is open.
- During the gas connection process, the pipe of
the appliance should be kept stationary, while the
connected part (mechanical, LPG or NG nut) is
fixed. Always use the seals supplied in the spare
set between the connection surfaces.
Gas Pipe
Seal
Hose
Fitting
Hose
Fitting
Gas Hose
with Collar
Gas Pipe
Seal
Hose
Fitting
Hose
Fitting
Mechanical
Gas Hose
Gas Pipe
Seal
Hose
Fitting
Gas Hose
with Collar
Gas Pipe
Hose
Fitting
Mechanical
Gas Hose
Gas Pipe
Seal
Hose
Fitting
Mechanical
Gas Hose
IMPORTANT
-
The appliance should be installed or converted
to LPG by a QUALIFIED INSTALLATION
ENGINEER.
- Failure to comply with this condition will render
the guarantee invalid.
- The appliance must be installed by a <Gas
Safe> Registered engineer.
- The appliance must be installed in compliance
with local regulations in force.
- Installation engineers must comply with current
laws in force concerning ventilation and
evacuation of exhaust gases.
- Always unplug the appliance before carrying
out any maintenance or repairs.
- The minimum distance between the appliance
and combustible surfaces must be 20 mm.
- Only use gas hoses and fittings which comply
with all current regulations in force.
Locating Your Built-in Hob
- The Hob is supplied with a special seal in
order to avoid any liquid ingress in the work top.
Cut out an opening in the top of your kitchen unit
that corresponds to the measurements given in
the figure at the top of this page. When creating
this cutout, please be aware that the hob must
be:
5
Page 7

Installation
- 100mm from the edge of the cooker to any
combustible materials.
Customer Helpline 0345 257 7271
- 700mm underneath any overhead cupboards
or shelving
- 750mm underneath any overhead extractor
fans. Apply the self adhesive seal to all edges of
the cutout and carefully fit the hob into the
opening in such a way that the knobs will be
right side.
- The leaf springs located on the lower left and
right sides of the hob will fix the hob in the
opening.
- This appliance must be installed according to
the manufacturers installation instructions, local
building regulations, gas authority codes and
electrical wiring instructions.
ELECTRICAL CONNECTION
Before proceeding with the electrical connection
verify that :
- The current carrying capacity of the system and
the socket is adequate for the maximum power
o
rating of the hob.
YELLOW+GREEN
N
L
BLUE
BROWN
The appliance is provided with a supply cord and a
plug. Replacement of the mains cable must be
carried out by a <GAS SAFE> qualified engineer.
Follow reconnection diagrams strictly. The
protective earth connection (PE) must be
connected to the Terminal marked ( ). During
installation, please ensure that insulated, heat
resistant cables are used.
ELECTRICAL CONNECTION (UK ONLY)
Appliance must be connected to a 240 Volts 50
Hz AC supply by means of a three pin socket,
suitably earthed and should be protected by a 3
amp fuse in plug.
The appliance is supplied with a 13-amp 3-pin
mains plug fitted with a fuse rated at 3 amp and
approved to BS1362.
- The voltage indicated on the capacity label is the
same as the supply voltage.
- Do not use any reductions , adapters or shunts
because they may cause overheating.
o
- Ensure the socket has an earth terminal.
· The mains socket outlet must be situated near the
appliance and kept easily accessible at all times
during operation.
The plug contains a removable fuse cover that
must be refitted when the fuse is replaced. In the
event of the fuse cover being lost or damaged, the
plug must not be used until a replacement cover
has been obtained. If the mains plug is unsuitable
for the socket outlet in your home or is removed
for any other reason, then the fuse should be
removed and the cut off plug disposed of safely to
prevent the hazard of electric shock.
There is a danger of electric shock if the cut off
plug is inserted into any 13 amp socket outlet.
IMPORTANT
How to wire a 13 amp plug
6
Page 8

Installation
The wires in the mains lead on this appliance are
coloured in accordance with the flowing code:
Green and Yellow - Earth
Blue - Neutral
Brown - Live????????????????????????????????????
As the colours may not correspond with the
markings identifying the terminals in your plug
proceed as follows.
The green and yellow wire must be connected
to the terminal in the plug, which is marked with
the letter E, or with the earth symbol or coloured
green and yellow. The blue wire must be
connected to the terminal marked N.
The brown wire must be connected to the
terminal marked L.
Customer Helpline 0345 257 7271
7
Page 9

User Instructions
Customer Helpline 0345 257 7271
Using Your Gas Hob
To ignite one of the burners, approach a match,
taper or another manual aid to its upper
circumference and push the corresponding
control knob and turn it counter clock-wise.
Medium regulation of the flame will be obtained
by turning the control knob between maximum
position (big flame) and the minimum position
(small flame).
Ignition by Spark Button:
Press the valve of the burner you want to operate
and turn the valve in the counterclockwise
direction (clockwise for the grill burner); and with
your other hand, press the ignition button at the
same time. Press the ignition button immediately,
because if you wait, a build up of gas may cause
the flame to spread. Continue pressing the
ignition button until you see a stable flame on the
burner.
FFD (Flame Failure Device) models will shut off the
gas to any burner which is accidentally
extinguished by spillage or wind. The gas will shut
off within 45-60 seconds and re-ignition should
not be attempted for 60 sec.
Injectors replacement
This appliance is manufactured so that it is
capable of conversion to LPG.
Select the injectors to be replaced according to
the "Table for the choice of the injectors". To
replace the injectors: Remove pan-supports and
burner parts from the hob top. Using a spanner,
remove the injector from its housing and replace
it by the proper one according to the kind of gas
(see the “ Injector Table").
Adjusting The Simmer Flame Position for Simmer
flame position, the by pass screw must be
loosened if converting from LPG to NG, the same
screw must be tightened.
- Make sure that the appliance is unplugged from
the electric supply and the gas feed is open.
o
- Ignite the burners and leave them on in minimum
position.
- Remove the knobs and rubber seals because
the screws are accessible only when the knobs
o
and the seals are removed.
- This procedure must be repeated for each of the
valves.
GAS CONVERSION
Changing the gas connection
The installation of the gas appliance to natural
gas or LPG must be carried out by a <GAS
SAFE> registered engineer. Engineers shall take
due account of the provisions of the relevant
British Standards Code of practice, the gas safety
regulations and the building standards (Scotland)
(Consolidation) regulations issued by the Scottish
development department.
The gas burners adapt to different types of gas,
by replacing the corresponding injectors to gas
on use.
There fore it is necassery to;
-
Cut off the feeding gas flow and electric
current.
-
Remove the loose burner parts.
-
Unscrew the injectors.
- R
eplace the injector with the ones
corresponding to the type of gas that is going
to be used, according to the information on the
transformation chart.
- With the help of a small screw driver tighten or
loosen the by pass screw by 90°, which mak
es
the flame of the burner reduce to the minimum.
When the flame has a length of at least 4 mm,
the gas is well distributed. Make sure that the
flame does not die out when passing from the
maximum position to the minimum position.
After the adjustment is complete replace the
rubber seal and replace the knob.
Rapid / Wok Burner: 22-26cm
Semi-rapid Burner: 14-22cm
Auxiliary Burner: 12-18cm
CORRECT
INCORRECT
circular saucepan base
INCORRECT
small saucepan diameter
INCORRECT
saucepan’s base had not settled
8
Page 10

User Instructions
Make sure that the tips of the flames do not
spread out of the outer circumference of the pan,
as this may also harm the plastic accessories
around the pan (handles etc.)
When the burners are not in use for prolonged
periods, always turn the main gas control valve
off.
.
Customer Helpline
0345 257 7271
9
Page 11

Maintenance & Care
Cleaning:
Before cleaning disconnect the hob from the
electricity supply.
Burner Caps:
Periodically, the enamelled pan supports,,
enamelled covers and burner heads must be
washed with soapy warm water rinsed and dried.
After drying them thoroughly, replace them
correctly.
Enamelled Parts:
In order to keep them new, it is necessary to
clean them frequently with mild warm soapy
water and with a cloth.. Do not wash them while
hot and never use abrasive powders or abrasive
cleaning materials. Do not allow vinegar, coffee,
milk, salt, water, lemon, or tomato juice to remain
in contact with enamelled parts for long periods of
time.
Customer Helpline 0345 257 7271
Stainless Steel:
Stainless steel parts must be cleaned frequently
with mildly warm soapy water and a soft sponge
and then dwith a soft cloth. Do not use abrasive
powders or abrasive cleaning materials. Do not
allow vinegar, coffee, milk, salt, water, lemon or
tomato juice to remain in contact with stainless
steel parts for long periods of time.
10
Page 12

Injector Table
G30 28-30mbar 7.5 kW 545 g/h
II2H3+ GB Clase: 3
NG
G20 20 mbar
LPG
G30/G31
28-30/37 mbar
LARGE BURNER
DIA. of INJECTOR (1/100mm) 115 85
NOMINAL RATING (KW) 3 3
CONSUMPTION 285,7 l/h 218,1 g/h
MEDIUM BURNER
DIA. of INJECTOR (1/100mm) 97 65
NOMINAL RATING (KW) 1,75 1,75
CONSUMPTION 166,7 l/h 127,2 g/h
MEDIUM BURNER
DIA. of INJECTOR (1/100mm) 97 65
NOMINAL RATING (KW) 1,75 1,75
CONSUMPTION 166,7 l/h 127,2 g/h
SMALL BURNER
DIA. of INJECTOR (1/100mm) 72 50
NOMINAL RATING (KW) 1 1
CONSUMPTION 95,2 l/h 72,7 g/h
Customer Helpline 0345 257 7271
11
Page 13

Technical Specifications
Customer Helpline 0345 257 7271
Model/Item
Power supply
Maximum power
Size(H x W x D)
Cut-Out Dimensions(W x D)
We apologise for any inconvenience caused by minor inconsistencies in these instructions that may occur
as a result of product improvements and development.
AG60GNSS - Inox
(230)V~
7,5 Kw
39x580x510 mm
560x490 mm
/50 Hz
AG60GNW - White
(230)V~/50 Hz
7,5 Kw
39x580x510 mm
560x490 mm
We apologise for any inconvenience caused by any minor inconsistencies in these
instructions , which may occur as a result of product improvemenst and development.
Disposal information
The symbol on the product or on
its packaging indicates that this
product may not be treated as
household waste. Instead it shall
be handed over to the applicable
collection point for the recycling
of electrical and electronic
equipment.
By ensuring this product is disposed of correctly,
you will help prevent potential n e gative
consequences for the environment and human
health, which could otherwise be caused by
inappropriate waste handling of this product. For
more detailed information about recycling of this
product, please contact your local city office, your
household waste disposal service or the shop
where you purchased the product.
Page 14

Customer Helpline: 0345 257 7271.
52136281 05/15 R002
52136281
R001 11/14
 Loading...