

Page 1
INSTALLATION MANUAL
RFI COLD AIR INTAKE
Applications RFI Part Number
Ford 6.2L F150 Raptor 2010-2013 51203-99
Not legal for sale or use in California on pollution-controlled vehicles.
Page 2

RFI COLD AIR INTAKE
Introduction
This manual provides step-by-step installation instructions for
the Bully Dog Rapid Flow Induction (RFI) Cold Air Intake for
2010-2013 Ford 6.2L F150 Raptor trucks. Installation requires
a few basic tools and takes about 20 minutes.
Table of Contents
Parts ..................................................................... 1-4
Installation ............................................................ 5-13
Maintenance ........................................................ 14-15
Parts Included
RFI Lid .................................................................. (51200-1)
MAF Tube ............................................................. (51201-3)
Stage 2 Air Intake Tube ........................................ (51203-3)
Air Filter with Band Clamp ................................... (224900)
9.5 mm Silicone Hose .......................................... (51202-7)
16 mm Silicone Hose ........................................... (51201-6)
Silicone Coupler – 57 mm .................................... (51200-5)
Silicone Coupler – 76 mm .................................... (51200-6)
#6 Hose Clamp (2) ................................................ (10800-2)
#8 Hose Clamp (2) ............................................... (10800-4)
4″ Worm Drive Band Clamp (4) ............................ (51105-7)
T20 Security Torx® Bit .........................................(229120)
Black Oxide Phillips Screw (2) ..............................(54100-94)
Nylon Washer (2) ..................................................(51201-94)
Tools Needed
• Flat-head screwdriver
• Phillips screwdriver
1
• Bit driver
• 10 mm socket
Page 3
RFI COLD AIR INTAKE
Parts Description
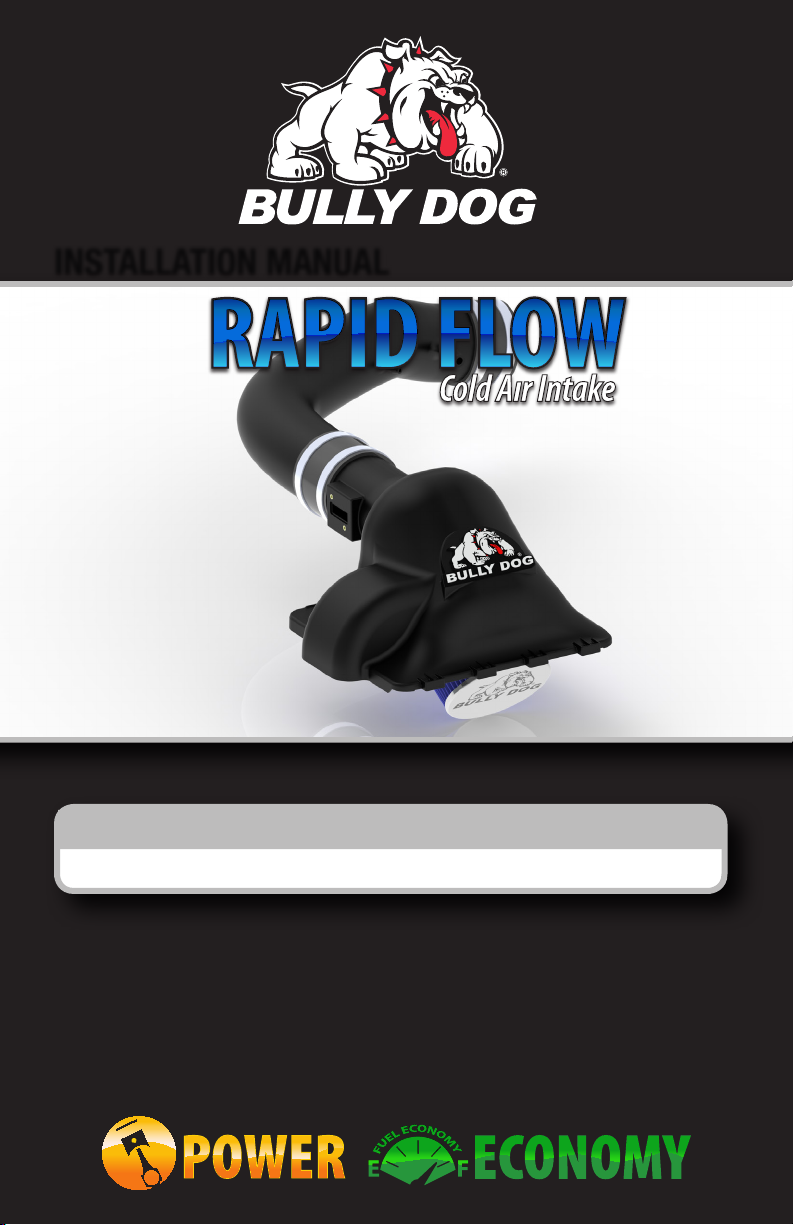
RFI Lid
The easy-to-remove lid
replaces the stock lid and
allows for hassle-free lter
maintenance. When the
lid is installed, the OEM
latches secure the lid to the
box.
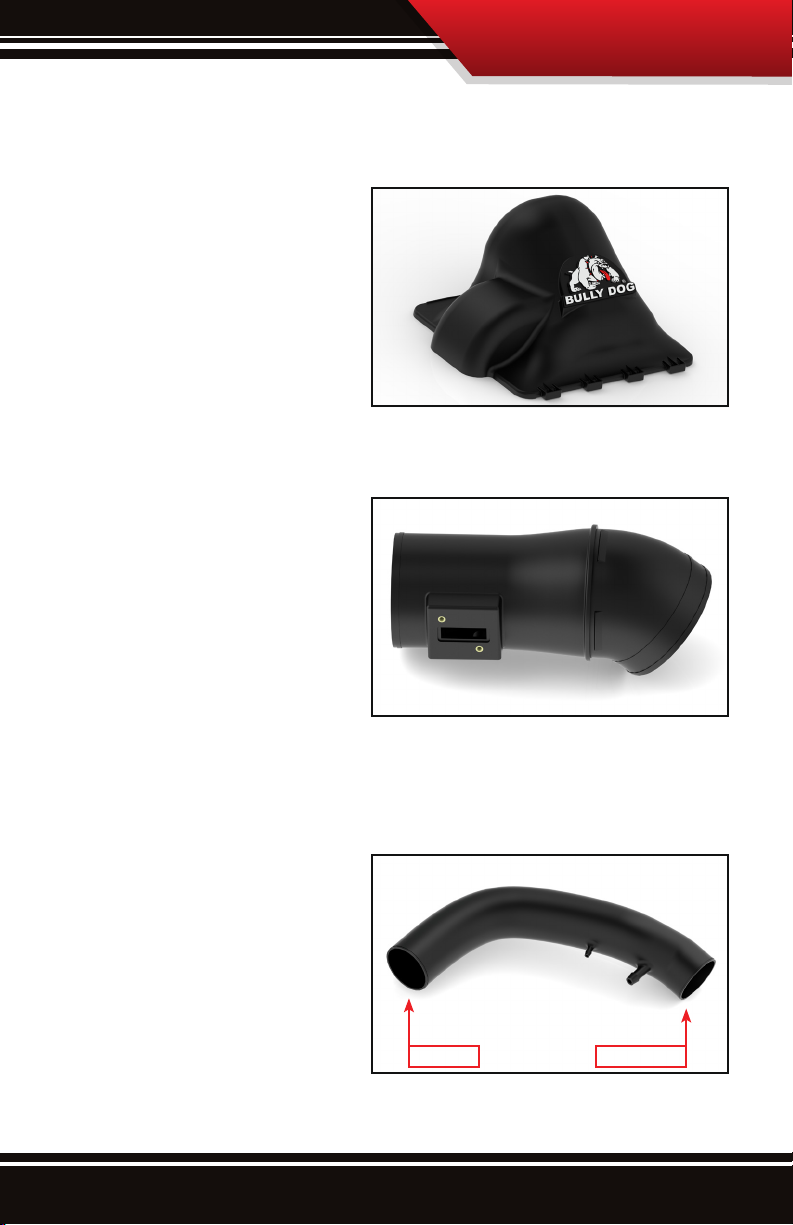
MAF RFI Tube
The air intake MAF tube
comes with a precisely
manufactured mount for
the MAF sensor. The mount
has inset screw mounts
that are designed to work
with the black oxide screws
provided by Bully Dog. The
tube is also designed with a
snap-t feature that will secure it tightly to the RFI lid.
Stage 2 RFI Tube
Designed to t in your
engine bay, the stage 2 air
intake tube improves air
ow through the smoothest
curves possible to prevent
any loss of power and
provide sleek style under
the hood.
MAF End Throttle End
2
Page 4
RFI COLD AIR INTAKE
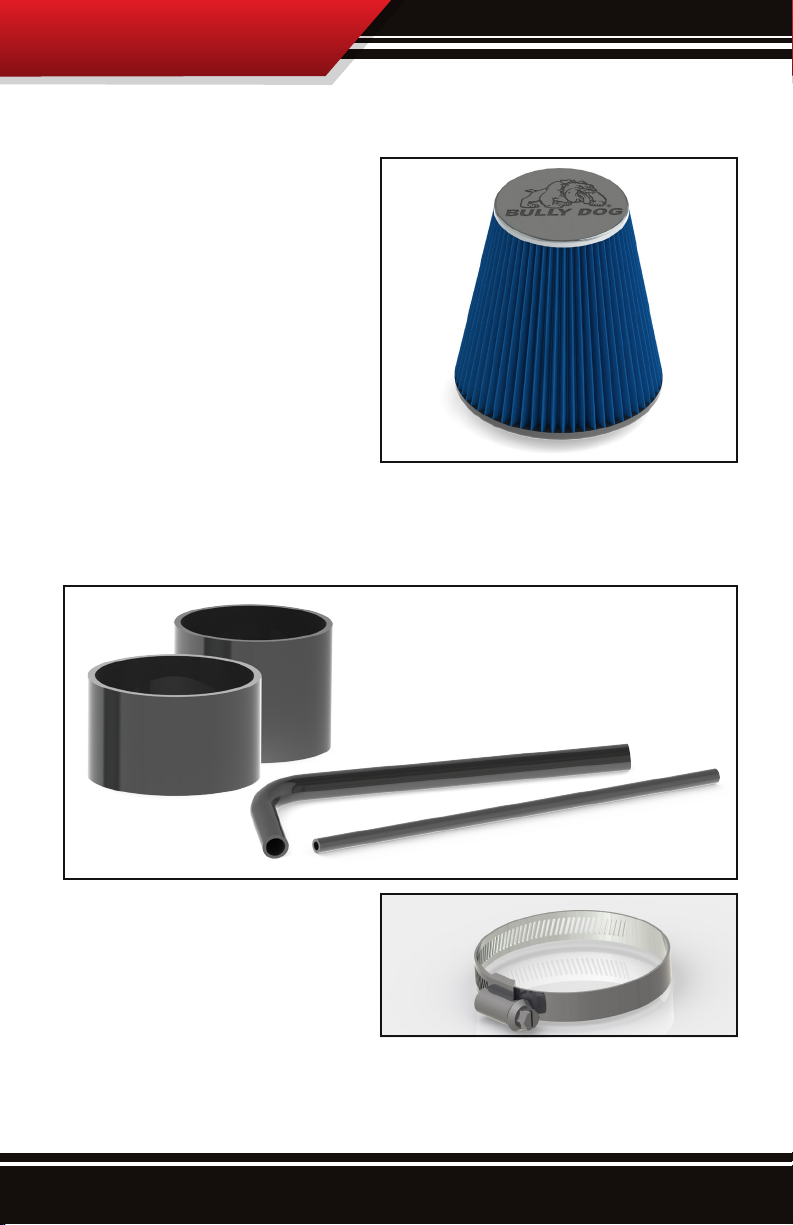
Air Filter with Band Clamp
The Rapid Flow Induction
Cold Air Intake system
includes an ISO 5011
certied eight-layer oil lter.
The air lter is housed within
the intake enclosure and
secured onto the end of the
air intake tube using the
included lter clamp and a
at-head screwdriver.
Silicone Hose and Couplers
The high quality 3-ply hose and couplers are durable, exible
and strong.
Hose and Band
Clamps
Adjustable clamps connect
and hold all tubing in place.
3
Page 5
RFI COLD AIR INTAKE
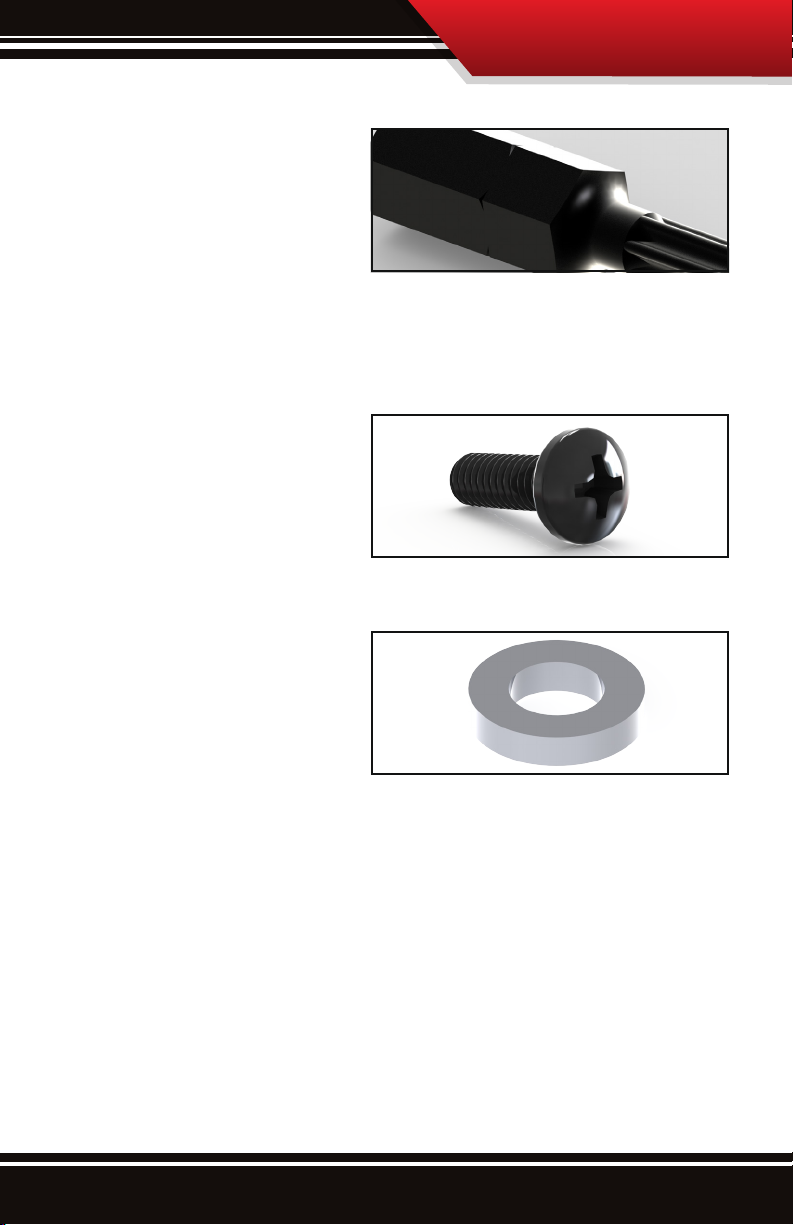
T20 Security Torx® Bit
The mass air ow sensor is
attached to the stock intake
tube using tamper resistant
pin-in-Torx® screws. Bully
Dog includes a Torx® bit for
convenience. If the bit is lost it can be purchased at any auto
parts store.
Black Oxide
Phillips Screws
Bully Dog provides screws
to secure the MAF sensor
to the air intake tube.
Nylon Washer
The nylon washer protects
the mass airow sensor and
prevents it from being bent
when it is attached to the
air intake tube.
4
Page 6

RFI COLD AIR INTAKE
Installation
Installation is
very simple, and
can be separated
into three parts:
Removing the
Stock Intake,
Preparing the Bully
Dog RFI Intake and
Installing the Bully
Dog RFI Intake. The complete installation of the RFI Cold Air
Intake system should take about 20 minutes. The assembly
diagram shows how the parts of the intake t together in
sequence.
Removing the Stock Intake
Resonator Box
Band Clamp (3)
Mass Air Flow Sensor (2)
OEM Intake Lid
CCV Tube (7)
Brake Vacuum Tube (7)
1. IMPORTANT: Before beginning installation, disconnect
your battery at the negative terminal.
Failure to disconnect the battery
could result in personal injury and/or
damage to your vehicle.
5
Page 7

RFI COLD AIR INTAKE
2. Unplug the mass air ow sensor.
• Pull the red tab on the bottom of the plug to unlock it.
• Disconnect the sensor clip by pulling gently.
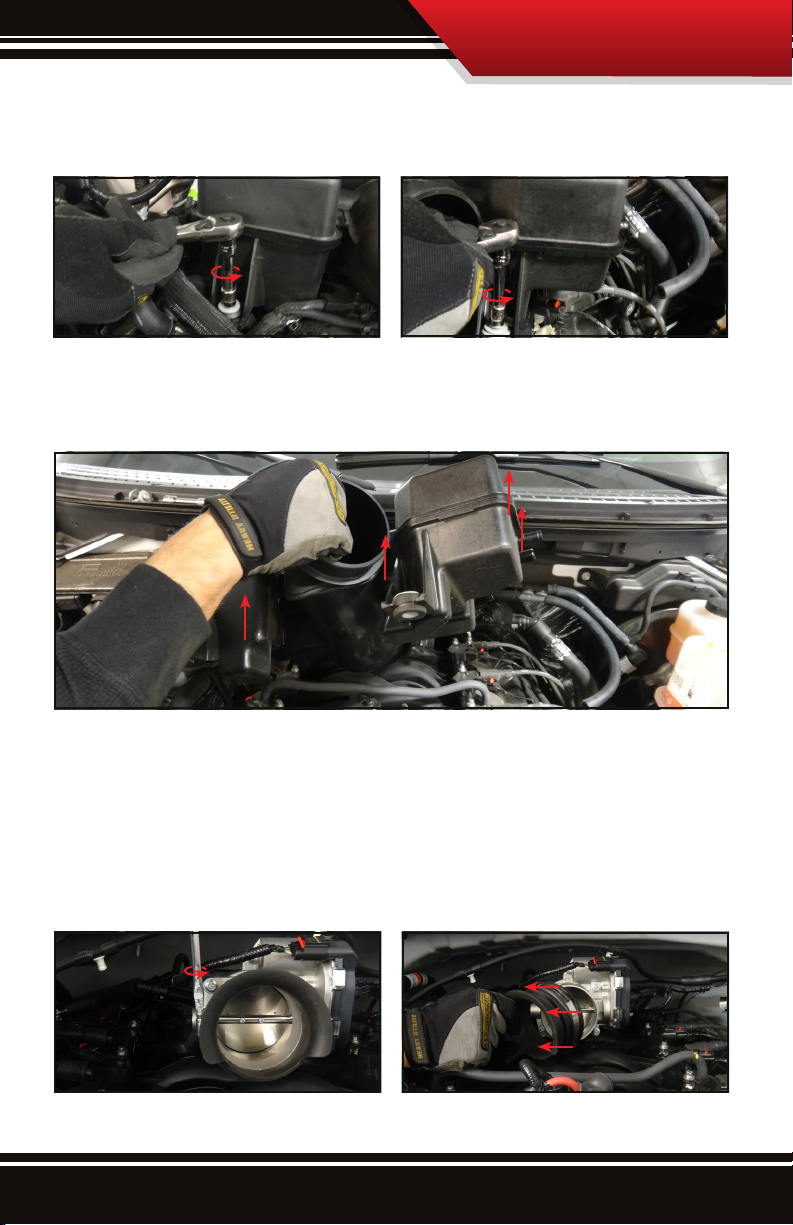
3. Loosen the band clamp that connects the stock intake tube
to the resonator box.
4. Release the latches on the stock intake lid.
5. Remove the entire stock intake assembly (including tube).
6
Page 8

RFI COLD AIR INTAKE
6. Remove the stock air lter.
7. Disconnect the CCV and brake vacuum tubes from the
resonator box.
• Unclip the CCV tube.
• Pull the rubber brake vacuum tube o the box.
8. Detach the clip holding the rubber hose to the left side of
the resonator box using a at-head screwdriver.
7
Page 9
RFI COLD AIR INTAKE
9. Remove the two bolts that secure the resonator box in the
engine bay. (Use a 10 mm socket.)
10. Remove the resonator box from the engine bay.
11. Remove the resonator box coupler.
a. Loosen the band clamp. (Use a at-head screwdriver.)
b. Disconnect the coupler by pulling it away from the
throttle body.
8
Page 10
RFI COLD AIR INTAKE
Preparing the RFI Intake
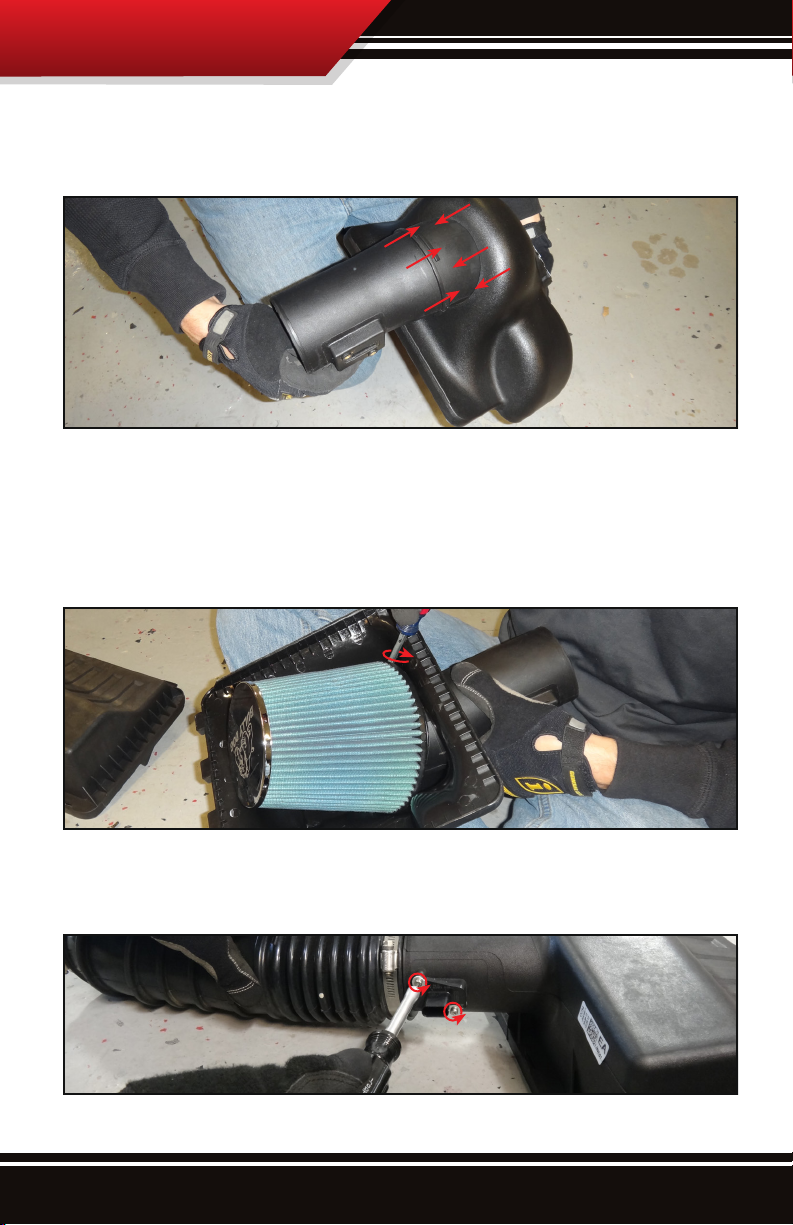
1. Snap the RFI MAF tube into the RFI lid.
2. Install the air lter by connecting it to the RFI MAF tube.
• Connect it to the end of the tube that has been snapped
into the RFI lid.
• Use a at-head screwdriver to tighten the band clamp.
3. Remove the MAF sensor from the stock intake tube. (Use
the included Torx® bit.)
9
Page 11

RFI COLD AIR INTAKE
4. Attach the MAF sensor to the RFI MAF tube.
• Use the nylon washers and black oxide screws provided
by Bully Dog.
• IMPORTANT: Do not overtighten the screws, as this
could damage the MAF sensor.
5. Connect the silicone couplers to the Stage 2 RFI tube.
• The long coupler connects to the RFI MAF tube.
• The short coupler connects to the throttle body.
• Put the band clamps on, but leave them loose.
6. Put the hose clamps on the silicone hoses, but leave them
loose.
Straight Silicone Hose
90˚ Silicone Hose
10
Page 12

RFI COLD AIR INTAKE
Installing the RFI Intake
1. Install the RFI lnstall the RFI lid/tube assembly.
• Line up the latch mounts on the lid with the latches on
the stock intake enclosure.
• Close the latches.
2. Install the Stage 2 RFI tube.
• Connect the silicone couplers to the RFI MAF tube and
the throttle body.
11
• Connect the silicone hoses to the barbs on the Stage 2
tube as shown in the photo/diagram.
90˚ Silicone Hose
Straight Silicone Hose
Page 13
RFI COLD AIR INTAKE
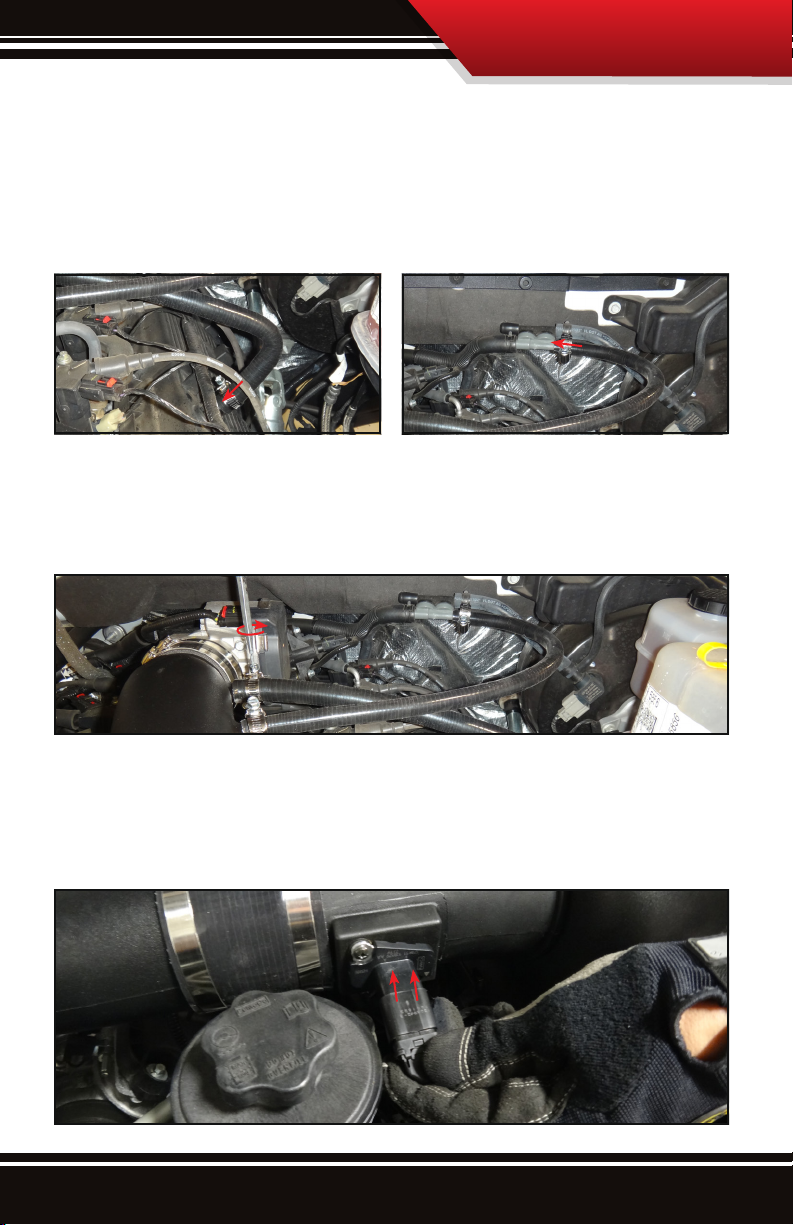
3. Swap the CCV tube and the brake vacuum tube with the
included silicone hoses.
• Disconnect the stock tubes only when you are ready to
install the silicone hoses. (This is easier than locating the
connection at a later time.)
4. Tighten all of the band clamps after all of the parts
are in place and connected correctly. (Use a at-head
screwdriver.)
5. Reconnect the MAF sensor plug and the battery.
• Make sure that the red tab on the sensor plug locks into
place.
12
Page 14
RFI COLD AIR INTAKE
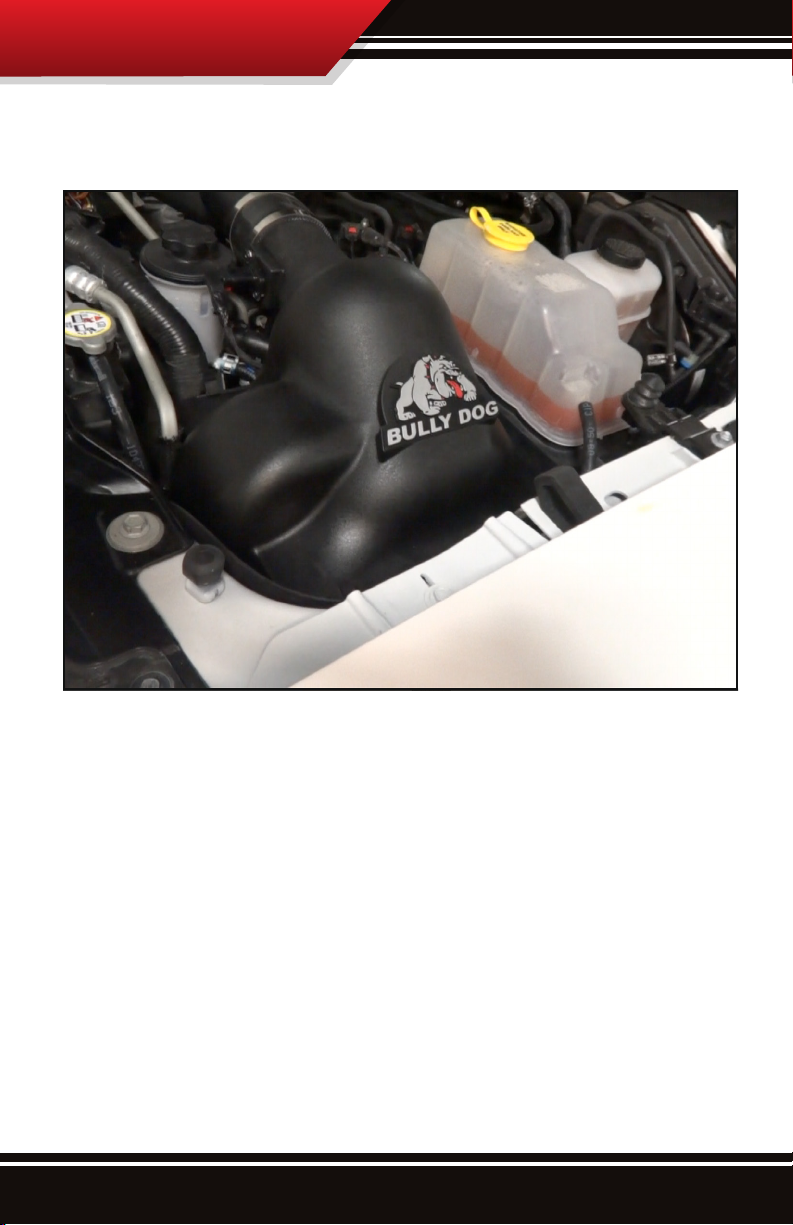
6. Start the vehicle, listen for leaks and check all connections.
Go for a ride and enjoy.
Be sure to check out the information about lter maintenance
and the protective prelter described in the next section.
13
Page 15

RFI COLD AIR INTAKE
Filter Maintenance
The intake system should be cleaned with the Bully Dog RFI
Cleaning Kit at least once every three months; in dusty climates,
the lter should be cleaned more often. Cleaning the intake is a
two part process: cleaning and oiling the lter.
(1) Cleaning the Filter
1. Remove the lter from the RFI enclosure.
Clean the enclosure if necessary.
2. Remove surface dirt (this step can be
avoided if a Bully Dog RFI Prelter has
been installed).
• Lightly tap the lter.
• Use a soft-bristle brush to remove any
loose particles.
3. Spray the cleaner generously over the
lter and let it soak for 10 minutes.
4. Thoroughly rinse the lter.
• Use regular tap water.
• Avoid high-pressure hoses.
• Prevent dirt from entering the lter by rinsing from inside
out or from the clean side to the dirty side.
5. Let the lter air dry.
• Do not use any method to speed up the drying process.
• Using a blow dryer or compressed air can disgure the
lter and allow particles to pass through.
Part# 229000
(2) Oiling the Filter
1. Apply a small amount of oil to the soft-bristle brush and
gently spread the oil over the lter. Be sure to apply only
a small amount of force so the lter is not damaged.
14
Page 16

RFI COLD AIR INTAKE
2. Continue applying the oil to the lter until the entire lter
is covered in an even amount of oil. Apply enough oil to
make the lter a solid and uniform blue, but do not go
beyond that.
3. Allow the oiled lter to sit 20 minutes. Re-oil any dry spots
that appear. Do not oil the lter excessively. Excessive
oiling can cause damage to intake sensors.
Prelter
The Bully Dog RFI Prelter is a semi-water-
repellent barrier that will keep bugs and
debris out while lengthening the
time between lter cleanings
and reducing the amount of
time you spend cleaning the
lter.
15
Page 17

NOTES
RFI COLD AIR INTAKE
16
Page 18

RFI COLD AIR INTAKE
NOTES
17
Page 19

NOTES
RFI COLD AIR INTAKE
18
Page 20

Doc.# 51203-99 v2.3
Check out more of our ADRENALIN PUMPING products!
Triple Dog GT Pre Filter
Cleaning Kits
GT Diesel is not legal for sale or use in California on pollution-controlled vehicles.
Clothing
Free Technical Support at: 1-940-783-9915
See More at: bullydog.com
 Loading...