


LinkStation 200
User Manual
www.buffalotech.com
35020312-01
2014-01

Contents
Chapter 1 Installation ........................................................7
Diagrams ...............................................................................................7
Turning the LinkStation On and Off ...................................................8
Chapter 2 Configuration ...................................................9
Opening Settings from a Computer ...................................................9
Opening Easy Admin ......................................................................................9
Opening Advanced Settings .............................................................12
Opening Settings from a Smartphone .............................................13
iPhone, iPad, and iPod touch .......................................................................13
Android Smartphones and Tablets ..............................................................15
Chapter 3 Remote Access ................................................17
WebAccess ..........................................................................................17
Configuring from a Smartphone .................................................................17
Configuring from a Computer .....................................................................25
FTP .......................................................................................................28
Chapter 4 Access Restrictions .........................................31
Configuring Access Restrictions on Users and Groups ...................31
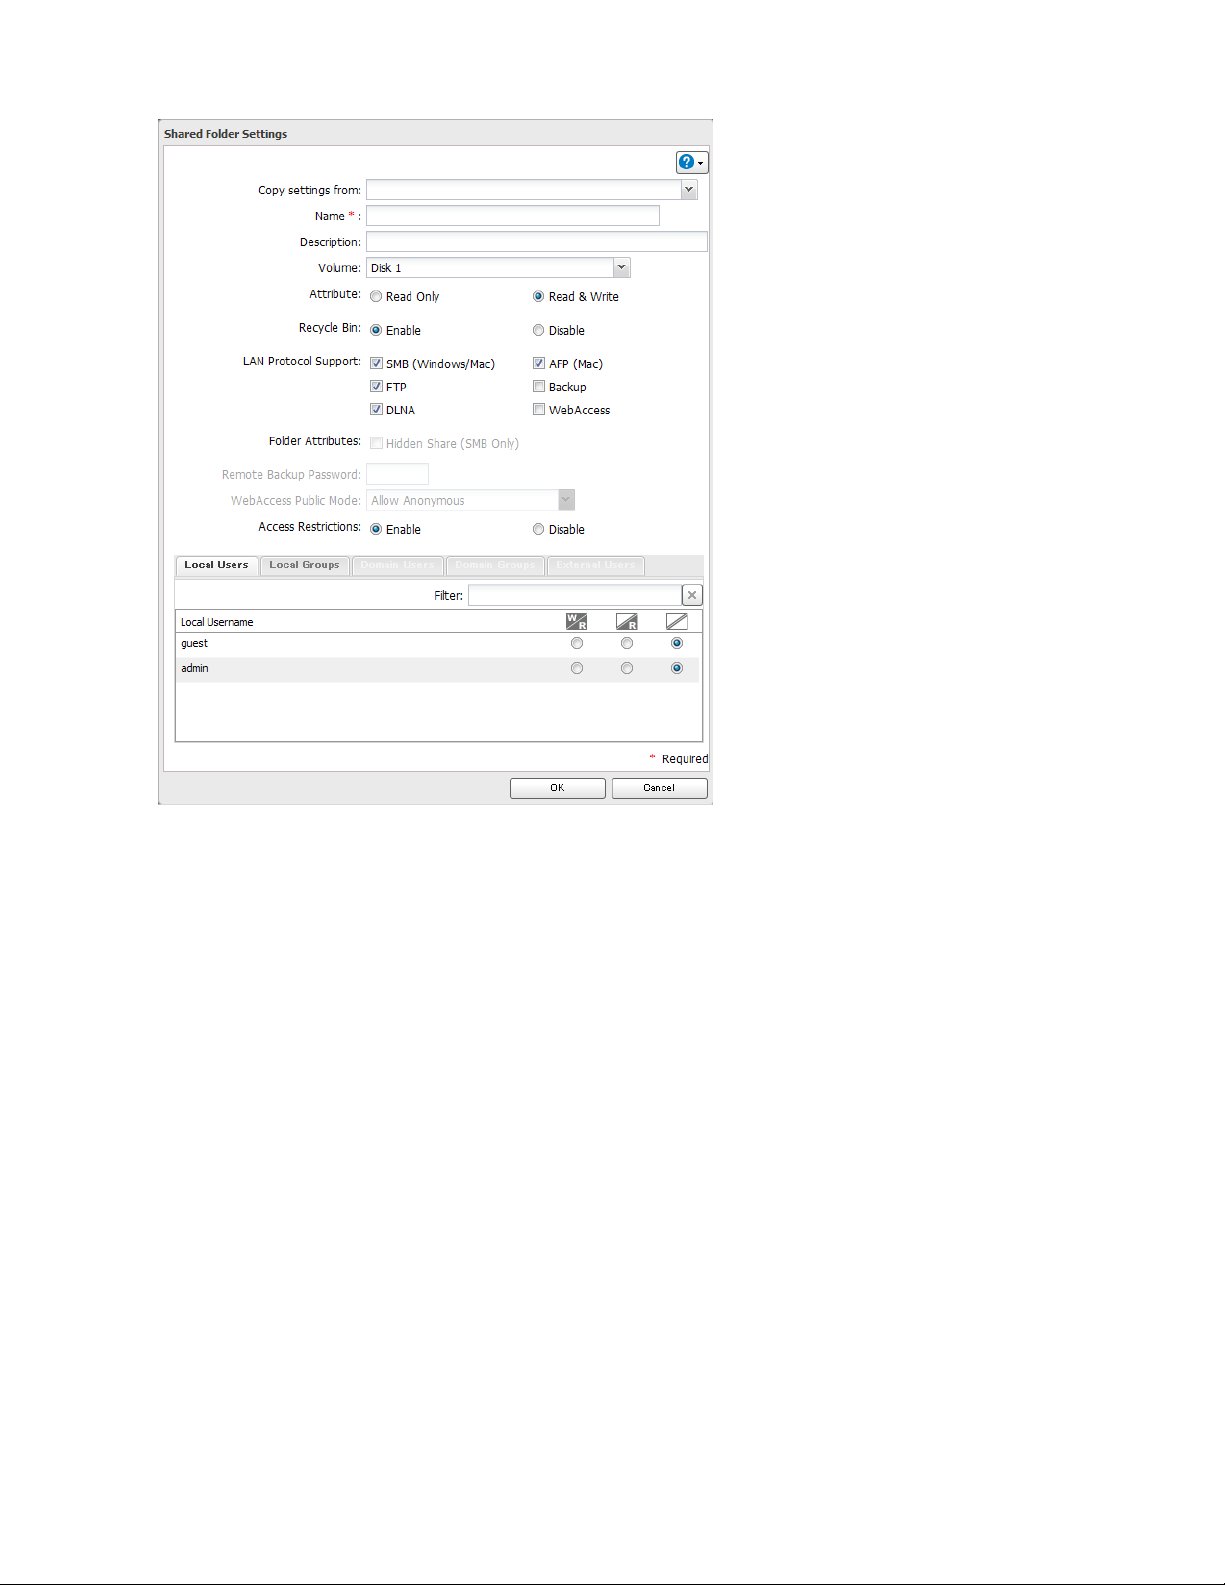
Adding Shared Folders .................................................................................31
Adding Users .................................................................................................34
Adding Groups ..............................................................................................37
2

Access Restrictions ........................................................................................37
Active Directory .................................................................................39
NT Domains ........................................................................................41
Delegating Authority to an External SMB Server ............................43
Chapter 5 Managing Storage..........................................46
Adding an External Hard Drive .........................................................46
Connect an External Drive............................................................................46
Compatibility ................................................................................................46
Dismounting Drives ...........................................................................46
Dismounting with the Function Button ......................................................47
Dismounting from Settings .........................................................................47
Checking Drives .................................................................................48
Formatting Drives ..............................................................................49
Formatting External Drives ..........................................................................50
Erase Data on the LinkStation Completely ......................................51
Disk Quotas ........................................................................................52
Quotas for Users ............................................................................................52
Quotas for Groups ........................................................................................52
Chapter 6 Backup ............................................................54
Back Up from the LinkStation ...........................................................54
Preparing a Backup Destination ..................................................................54
Configuring a Backup Job ............................................................................56
Backing Up Your Mac with Time Machine ........................................58
3

Copying from a USB Device ...............................................................62
Configuring Direct Copy ...............................................................................62
Starting Direct Copy .....................................................................................63
Chapter 7 Multimedia .....................................................65
DLNA ...................................................................................................65
Configuration from Smartphone .................................................................65
Configuration from Easy Admin ..................................................................66
Configuration from Advanced Settings ......................................................66
Play Files ........................................................................................................68
Connected DLNA-compatible Devices ........................................................68
Streaming to DLNA-compatible Devices ....................................................69
Disabling Playback from Specific Devices ..................................................69
iTunes Server ......................................................................................70
BitTorrent ............................................................................................71
Configuring BitTorrent .................................................................................71
Opening Download Manager ......................................................................72
Downloading Files ........................................................................................74
Connecting a Printer ..........................................................................74
Setting up a Printer from a Smartphone .....................................................75
Settings up a Printer with Windows 8.1, Windows 8, Windows 7, or
Windows Vista ...............................................................................................75
Setting Up a Printer with Windows XP ........................................................76
Chapter 8 Advanced Features ........................................78
Email Notification ..............................................................................78
4

Sleep Mode .........................................................................................79
Encrypting Data Transmission ..........................................................80
Encrypting Settings Data .............................................................................80
Encrypting FTP Transfer Data ......................................................................80
SSL Encryption ..............................................................................................80
Restoring Factory Defaults ................................................................81
Initializing from Settings .............................................................................81
Initializing with the Function Button ..........................................................81
Online Update ....................................................................................81
Name, Date, Time, and Language .....................................................82
Jumbo Frames ....................................................................................84
Changing the IP Address ...................................................................85
Chapter 9 Utilities ............................................................86
NAS Navigator2 for Windows ............................................................86
Mount as Network Drive...............................................................................88
Changing the IP Address ..............................................................................89
NAS Navigator2 for Mac OS ...............................................................89
Mount as Network Drive...............................................................................90
Changing the IP Address ..............................................................................91
Chapter 10 Appendix ......................................................93
When the Power LED Blinks ...............................................................93
Default Settings .................................................................................95
Specifications .....................................................................................95
5

Compliance Information ....................................................................96
FCC Statement ...............................................................................................96
Environmental Information .........................................................................97
Models ...........................................................................................................97
6

Chapter 1 Installation
Diagrams
LS210D
1 Power LED
The white power LED will light up while the LinkStation is on.
The white power LED blinks while booting or shutting down.
The red power LED blinks when an error occurs.
If there is a status message, the power LED glows amber.
If there is a new firmware available, the power LED blinks amber.
2 Function LED
This LED glows while the LinkStation is being initialized and while dismounting USB devices.
3 Function Button
Use this button for Direct Copy, dismounting USB devices, and initializing settings.
4 Power Switch
Move the switch up and down to power on and off.
5 USB 2.0 Port
Compatible Buffalo USB hard drives, USB flash drives, digital cameras, USB UPS connection, and USB printers can
be connected. USB hubs are not supported.
6 LAN Port
Connect to a router, hub, or switch on your Ethernet network with the included Ethernet cable.
7 Link and Activity LED
7

This LED shows network activity. It blinks green when the LinkStation is accessed over the network.
8 Power Connector
Use the included power cable to connect to a surge protector or outlet.
9 Anti-Theft Security Slot
Use this slot to secure your LinkStation with a cable lock (not included).
Turning the LinkStation On and Off
Move the power switch on the back of the LinkStation to the “on” position to turn it on. To turn it off, move the switch
to the “off” position and wait for the unit to fully shut down before unplugging it. Never unplug the AC adapter without
properly shutting down the LinkStation first.
When all the LEDs on the front of the LinkStation turn off, the shutdown process is complete.
8

Chapter 2 Configuration
Configure and administer your LinkStation using the Settings interface, accessible from a browser window. Open the
interface using the procedure below or type the LinkStation’s IP address in the URL field of your browser. Within Settings,
the Easy Admin page gives you quick access to commonly used settings.
Opening Settings from a Computer
Note: Internet Explorer 9, Firefox 18, Google Chrome 24, Safari 5, and later are supported. If you have difficulty
viewing Settings, check the following:
• If you have a proxy server enabled in the browser settings, disable the proxy server.
• With Internet Explorer, set security to Local intranet. On Windows Server 2012 or Windows Server 2008, higherlevel security is configured by default. Set the security to a lower level temporarily.
Opening Easy Admin
The Easy Admin page makes it easy to change common settings. Follow the steps below to open Easy Admin.
1 Open NAS Navigator2 by double-clicking the icon.
2 Right-click on your LinkStation’s icon and choose Settings. For Mac OS, click your LinkStation’s icon while holding
down the control key, then select Settings.
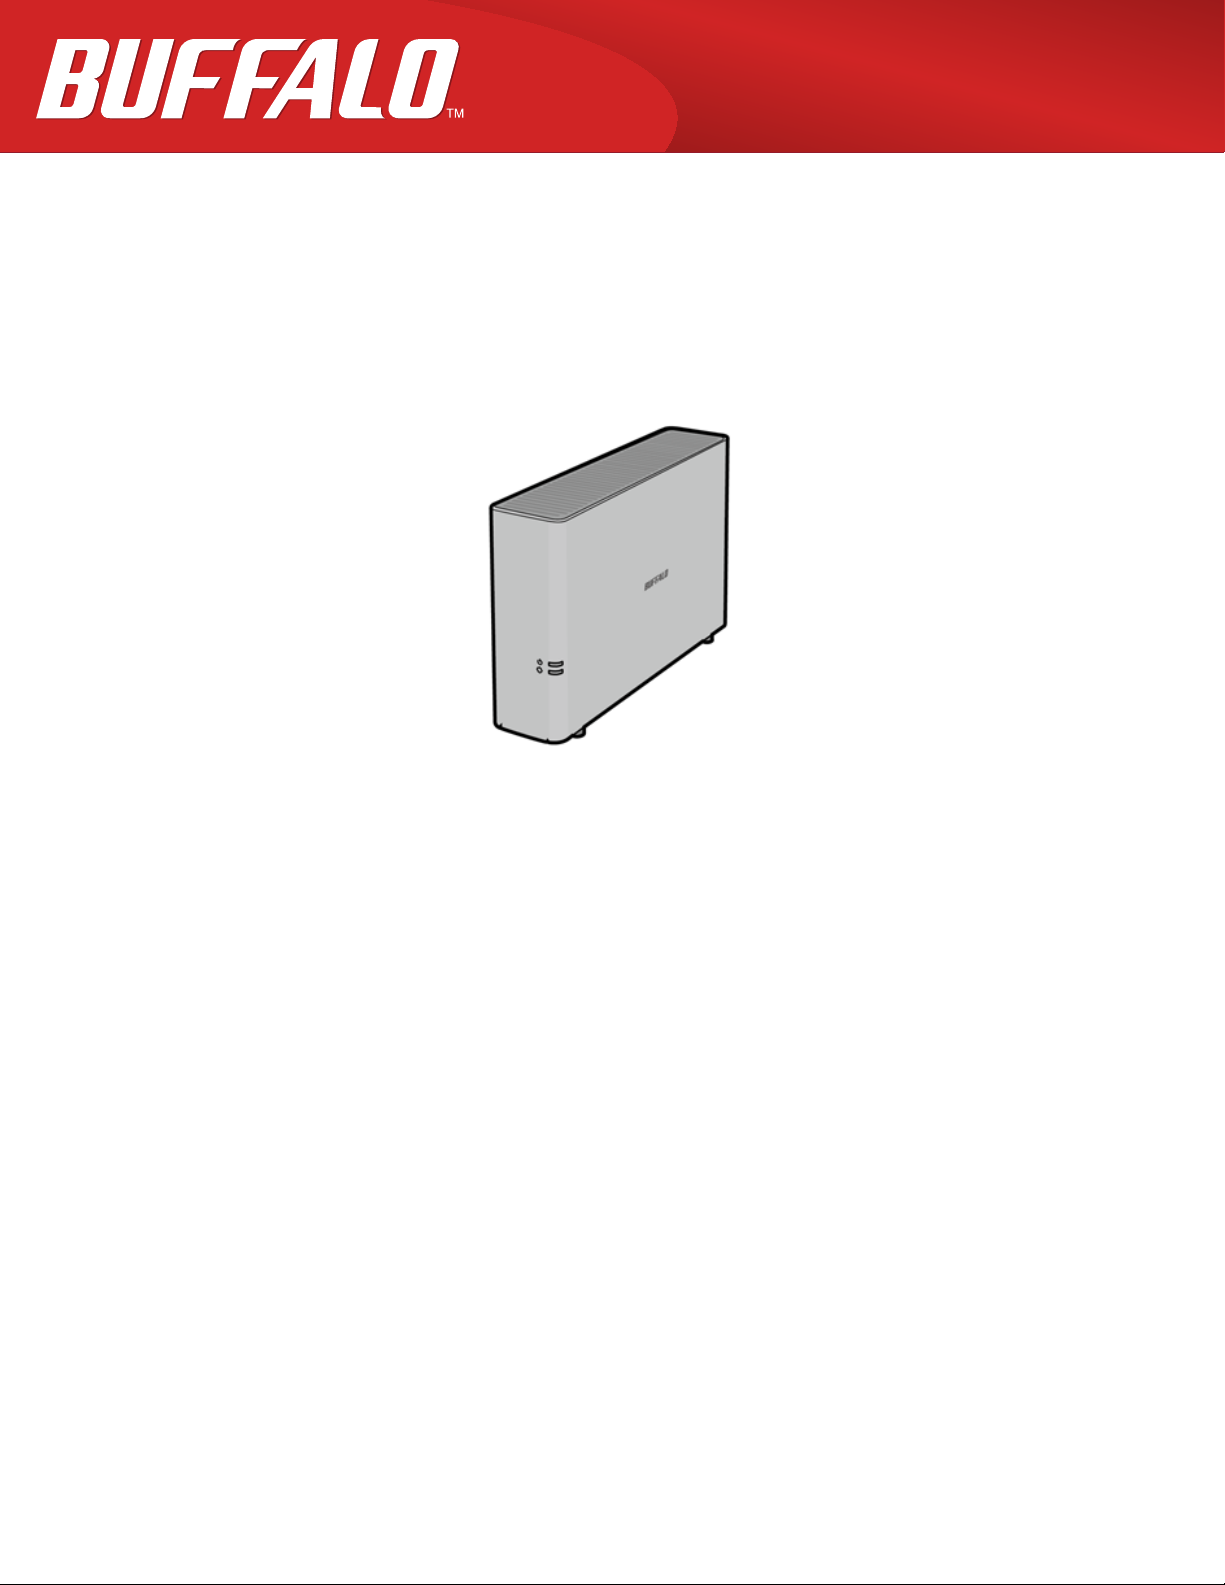
3 The Easy Admin screen will open.
9
Notes:
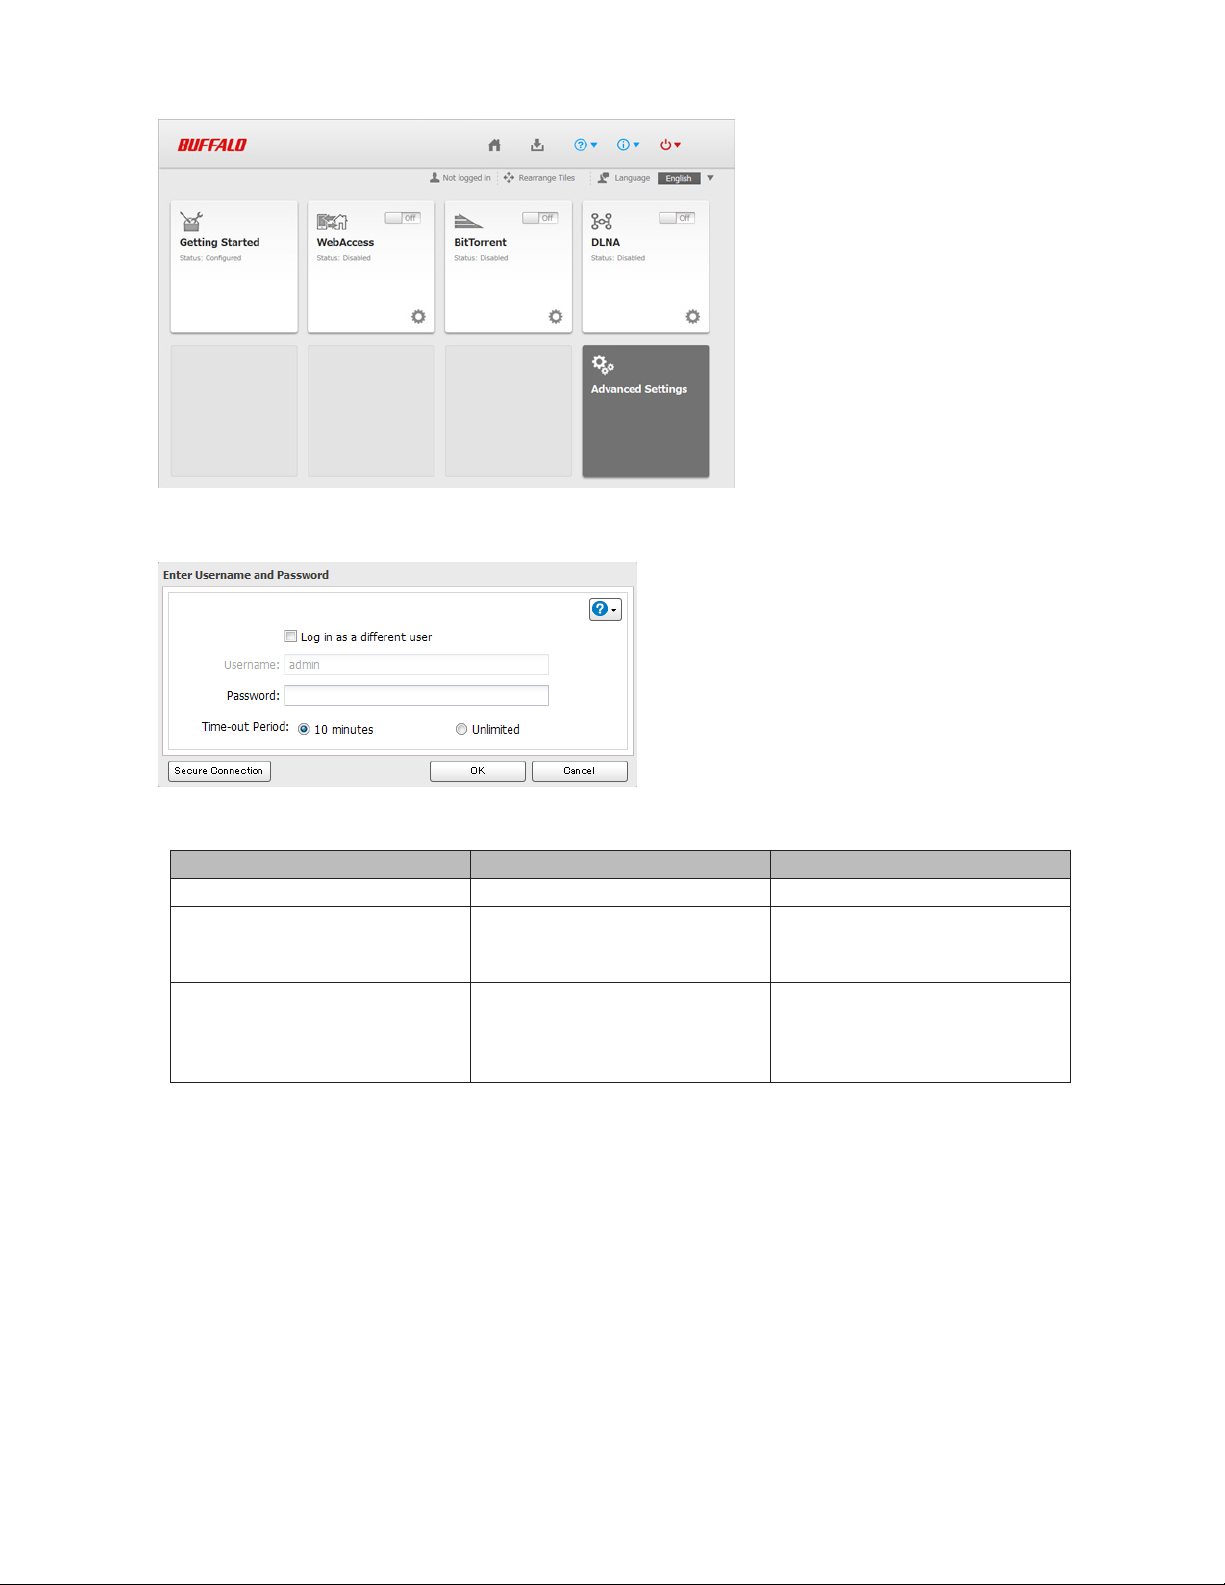
• If you click any buttons, you will need to enter a username and password.
• Username/Password Combinations:
Username Password Settings Available
admin password All
LinkStation’s name, IP address,
guest blank
your username your password
workgroup, drive status,
firmware version
LinkStation’s name, IP address,
workgroup, drive status,
firmware version, and your
password.
• If the time-out period is set to “10 minutes”, you will be logged out of Settings after 10 minutes of inactivity. You
will also be logged out when you reboot the LinkStation or close the web browser, even if you select “Unlimited”.
• Click Secure Connection to log in with an encrypted connection.
• You can also use Bonjour to log in to Settings from Mac OS. In Safari, click View - Show Bookmarks Bar. From Bookmarks, click Bonjour - LinkStation name.
Getting Started
The wizard lets you configure the following settings:
• Changing administrator password
• Creating shared folders
• Access restrictions
10
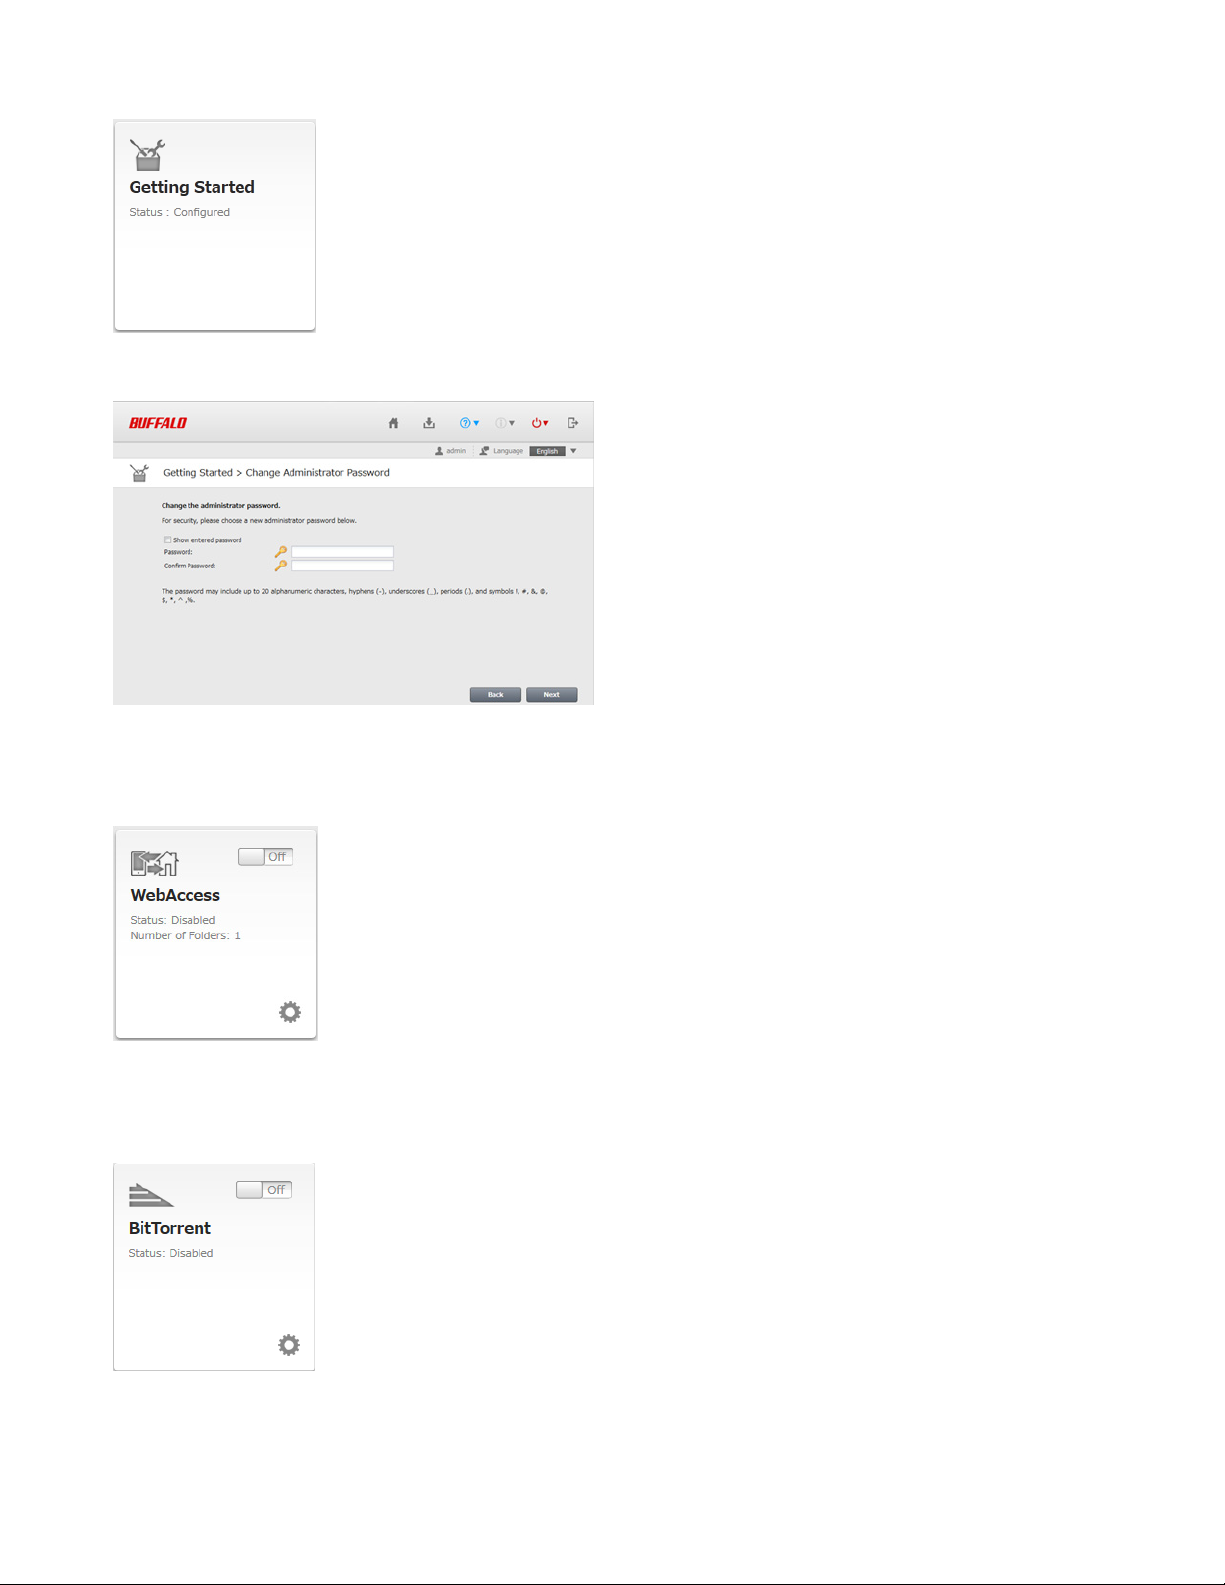
The first time you access your LinkStation, this page will open. Step through the wizard to change your administrative
password and configure time settings.
WebAccess
Configure WebAccess to access your LinkStation remotely. Refer to “WebAccess” for more information.
BitTorrent
Configure BitTorrent to download large files efficiently. Refer to “BitTorrent” for more information.
11
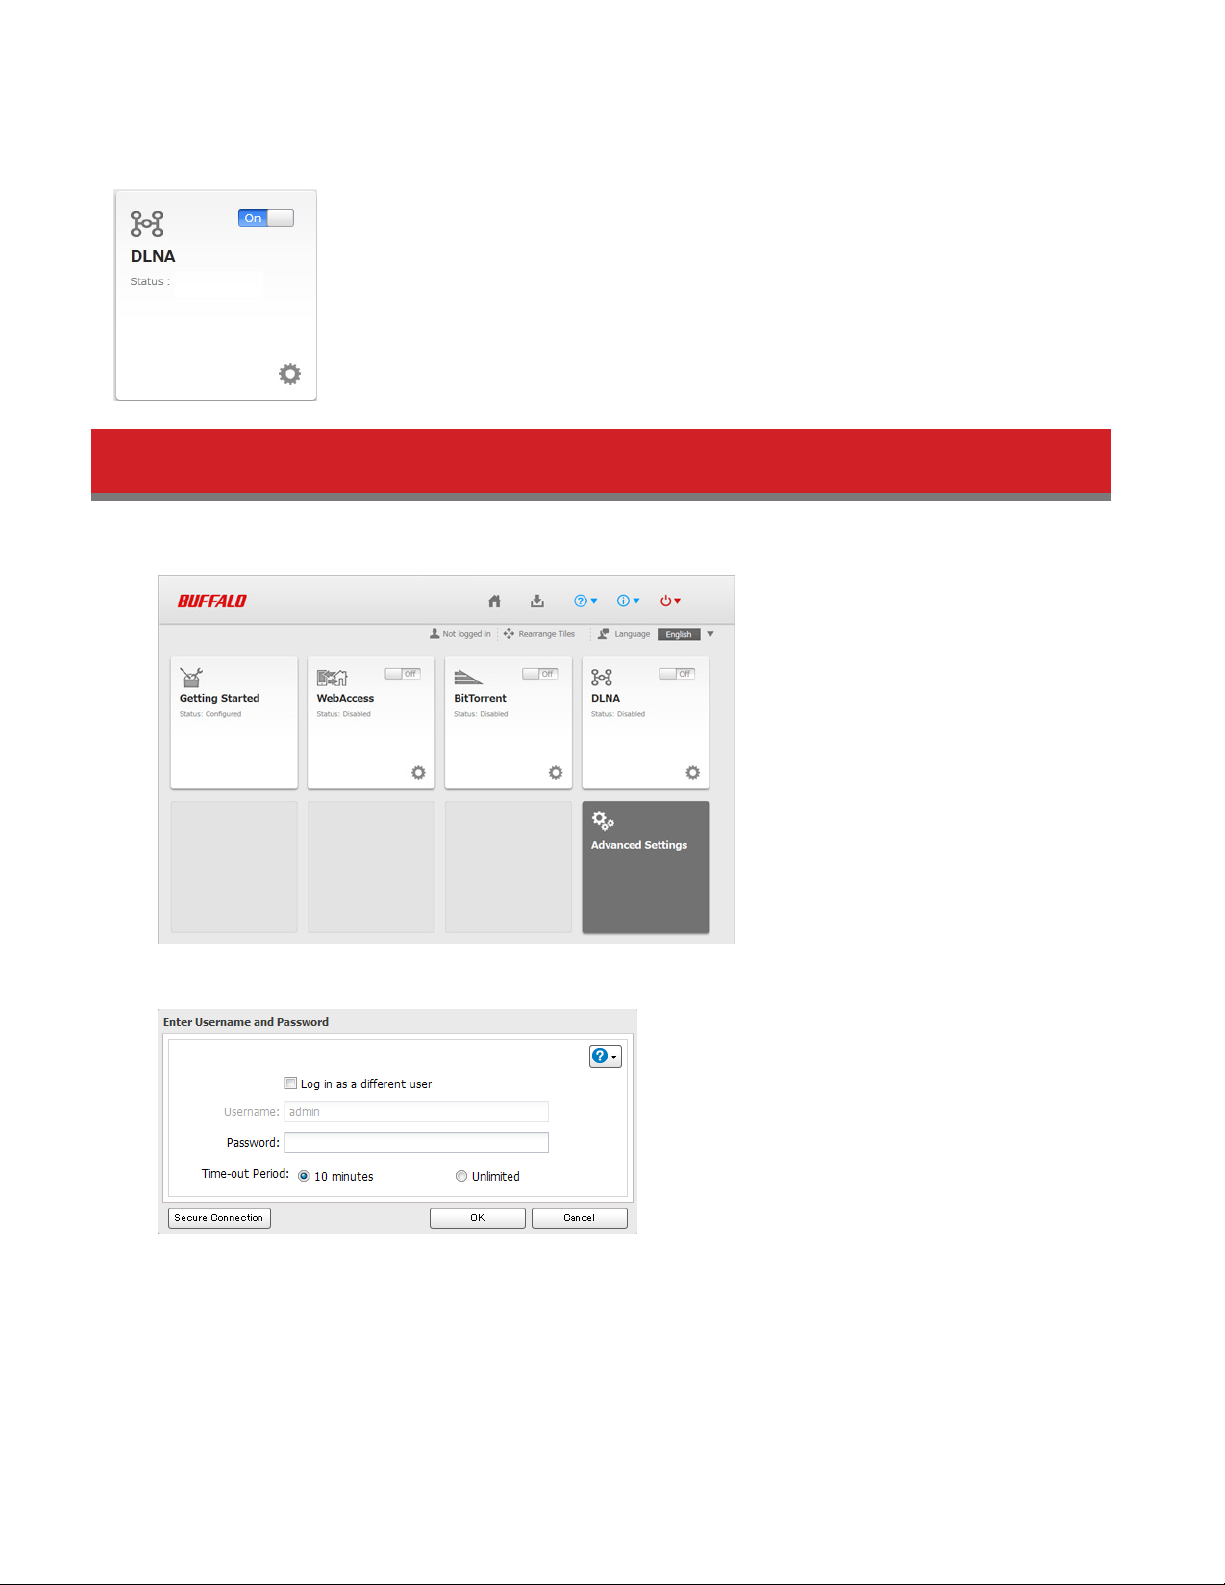
DLNA
Configure DLNA to stream media files to DLNA-compatible devices on the LAN. Refer to “DLNA” for more information.
Opening Advanced Settings
1 Click Advanced Settings in Easy Admin.
2 Enter the administrator username and password, then click OK.
3 The Advanced Settings screen will open.
12
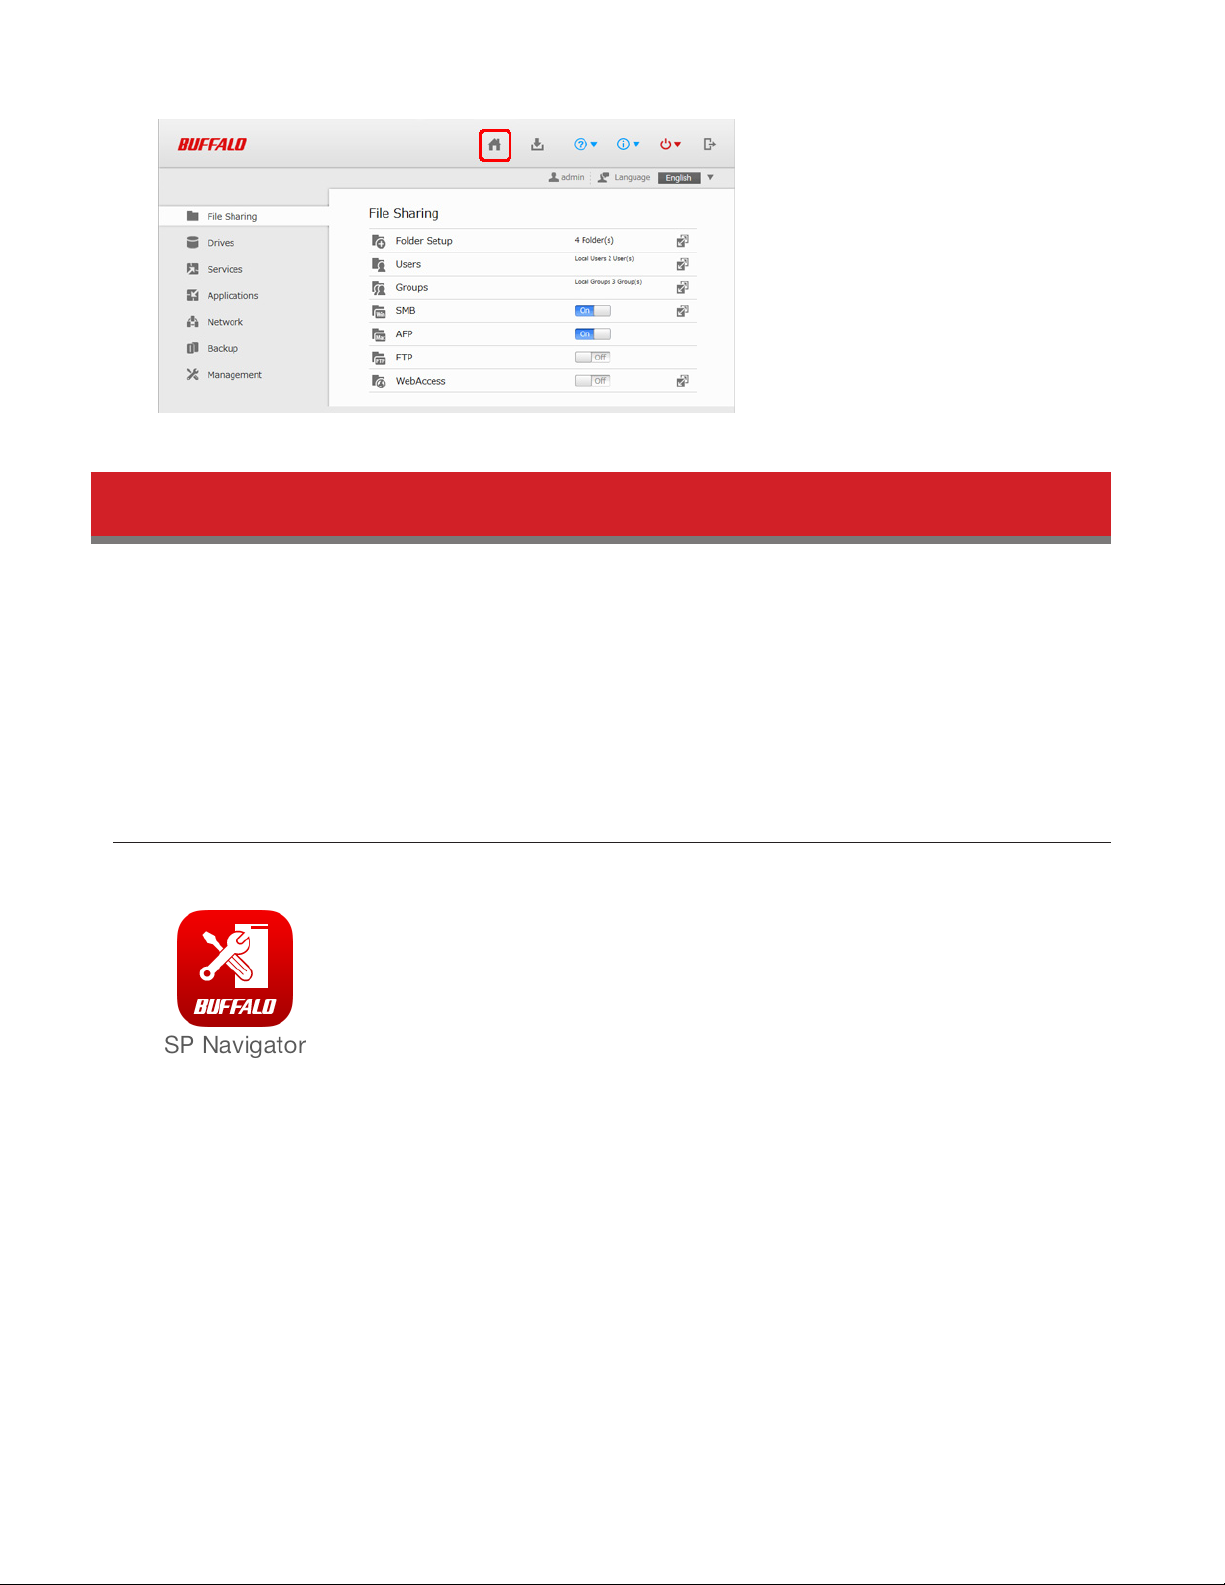
Note: To go back to Easy Admin, click the Home icon.
Opening Settings from a Smartphone
You can access your LinkStation’s Settings from your iOS or Android device. Download and install “SmartPhone
Navigator” from the App Store or Google Play.
Notes:
• If you have an older version of SmartPhone Navigator installed on your phone, update it to the latest version.
Your icons and software may be slightly different from the examples in this manual.
• You must be logged in as an administrator to change settings. To use SmartPhone Navigator, log in as a member
of the administrators group.
iPhone, iPad, and iPod touch
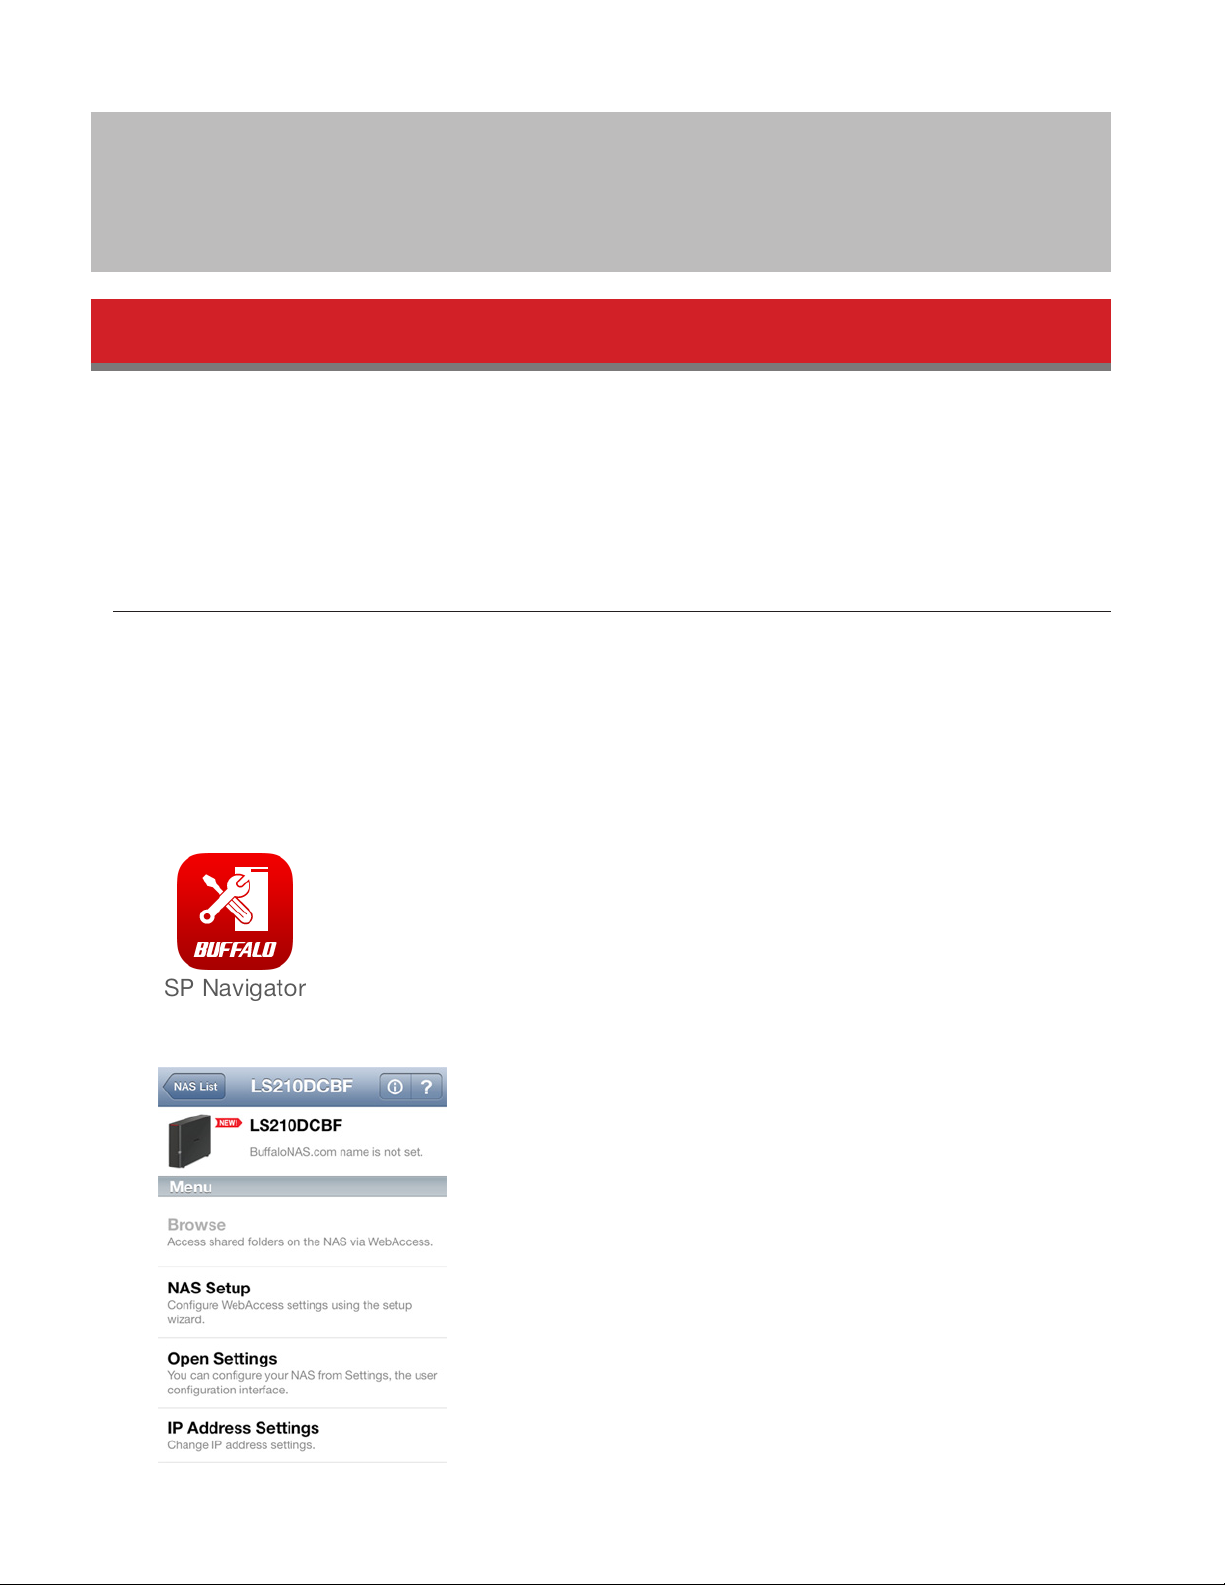
1 Open “SP Navigator” on your iOS device.
2 Tap Open Settings.
13
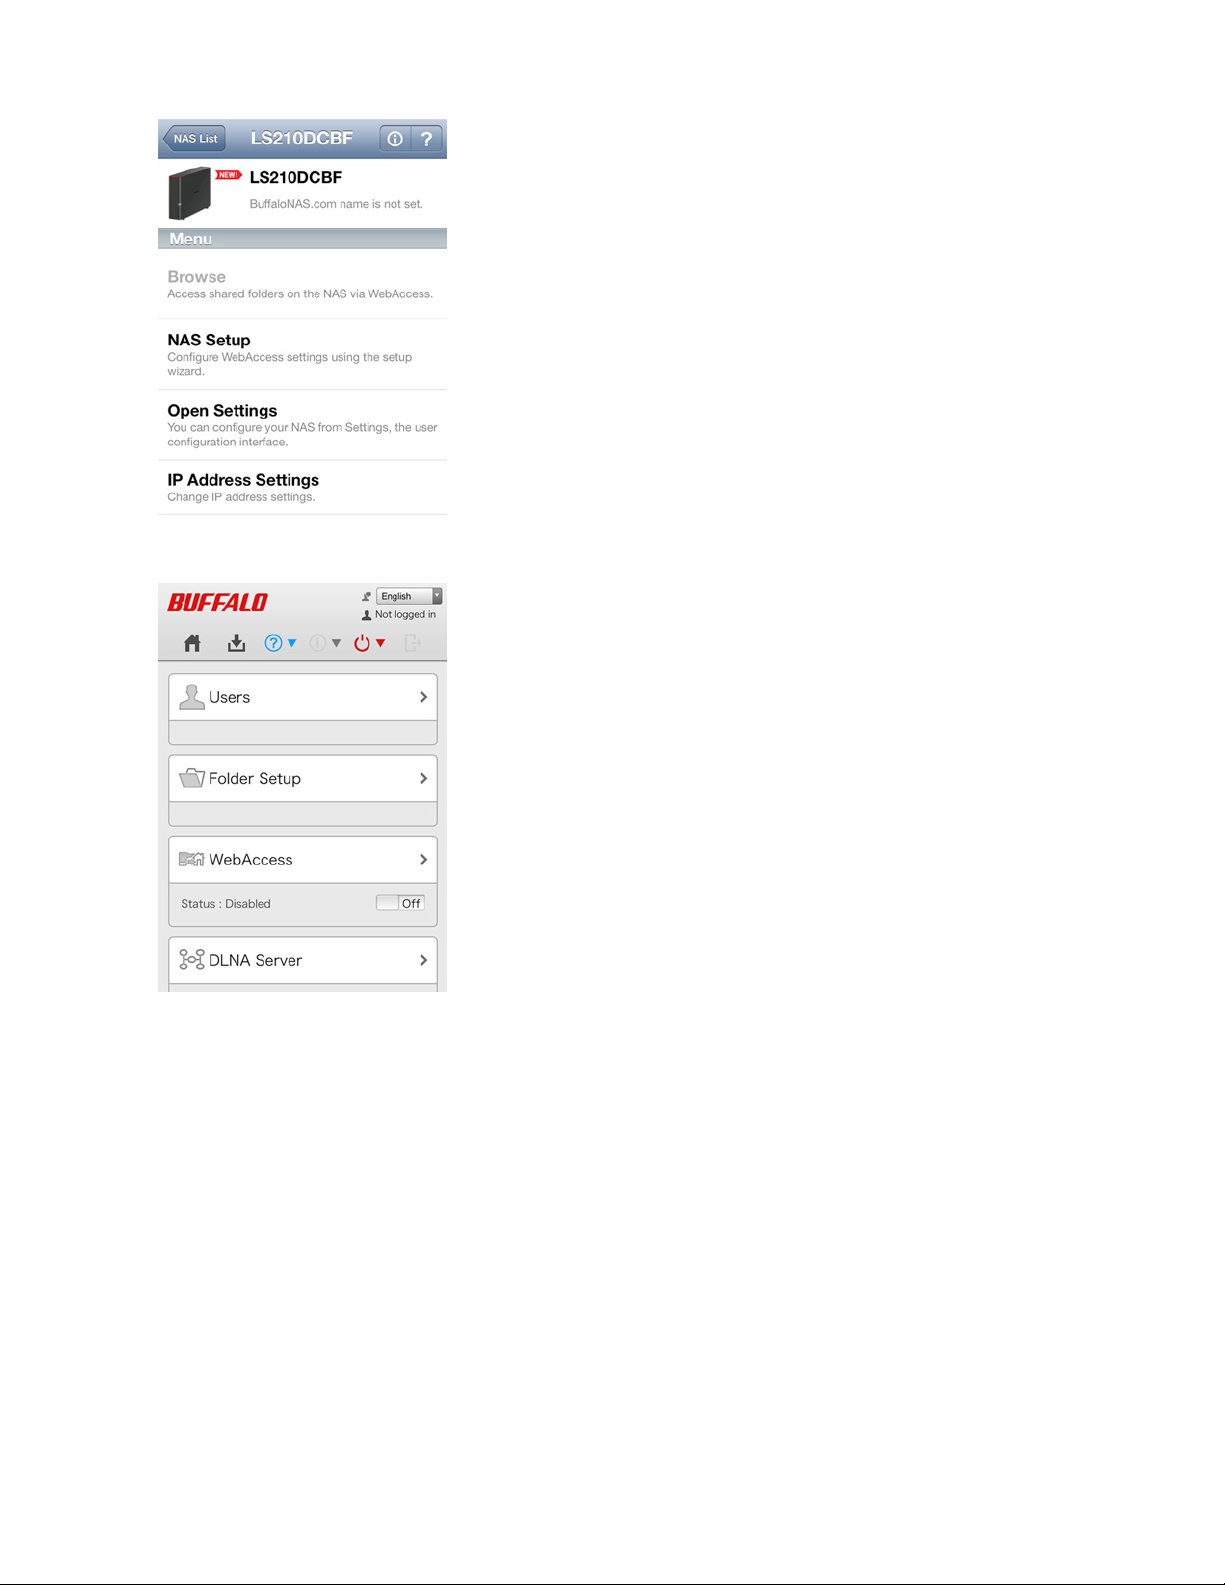
3 Settings will be displayed.
Notes:
• The first time you go through setup, you’ll be given a chance to change the default password and correct the
time zone settings. Step though the wizard to change these settings.
• If you tap any buttons, you will need to enter a username and password.
14
• Tap Desktop to show Advanced Settings. This screen gives the full array of settings that could be changed from a
computer, but is not optimized for smartphones.
Android Smartphones and Tablets
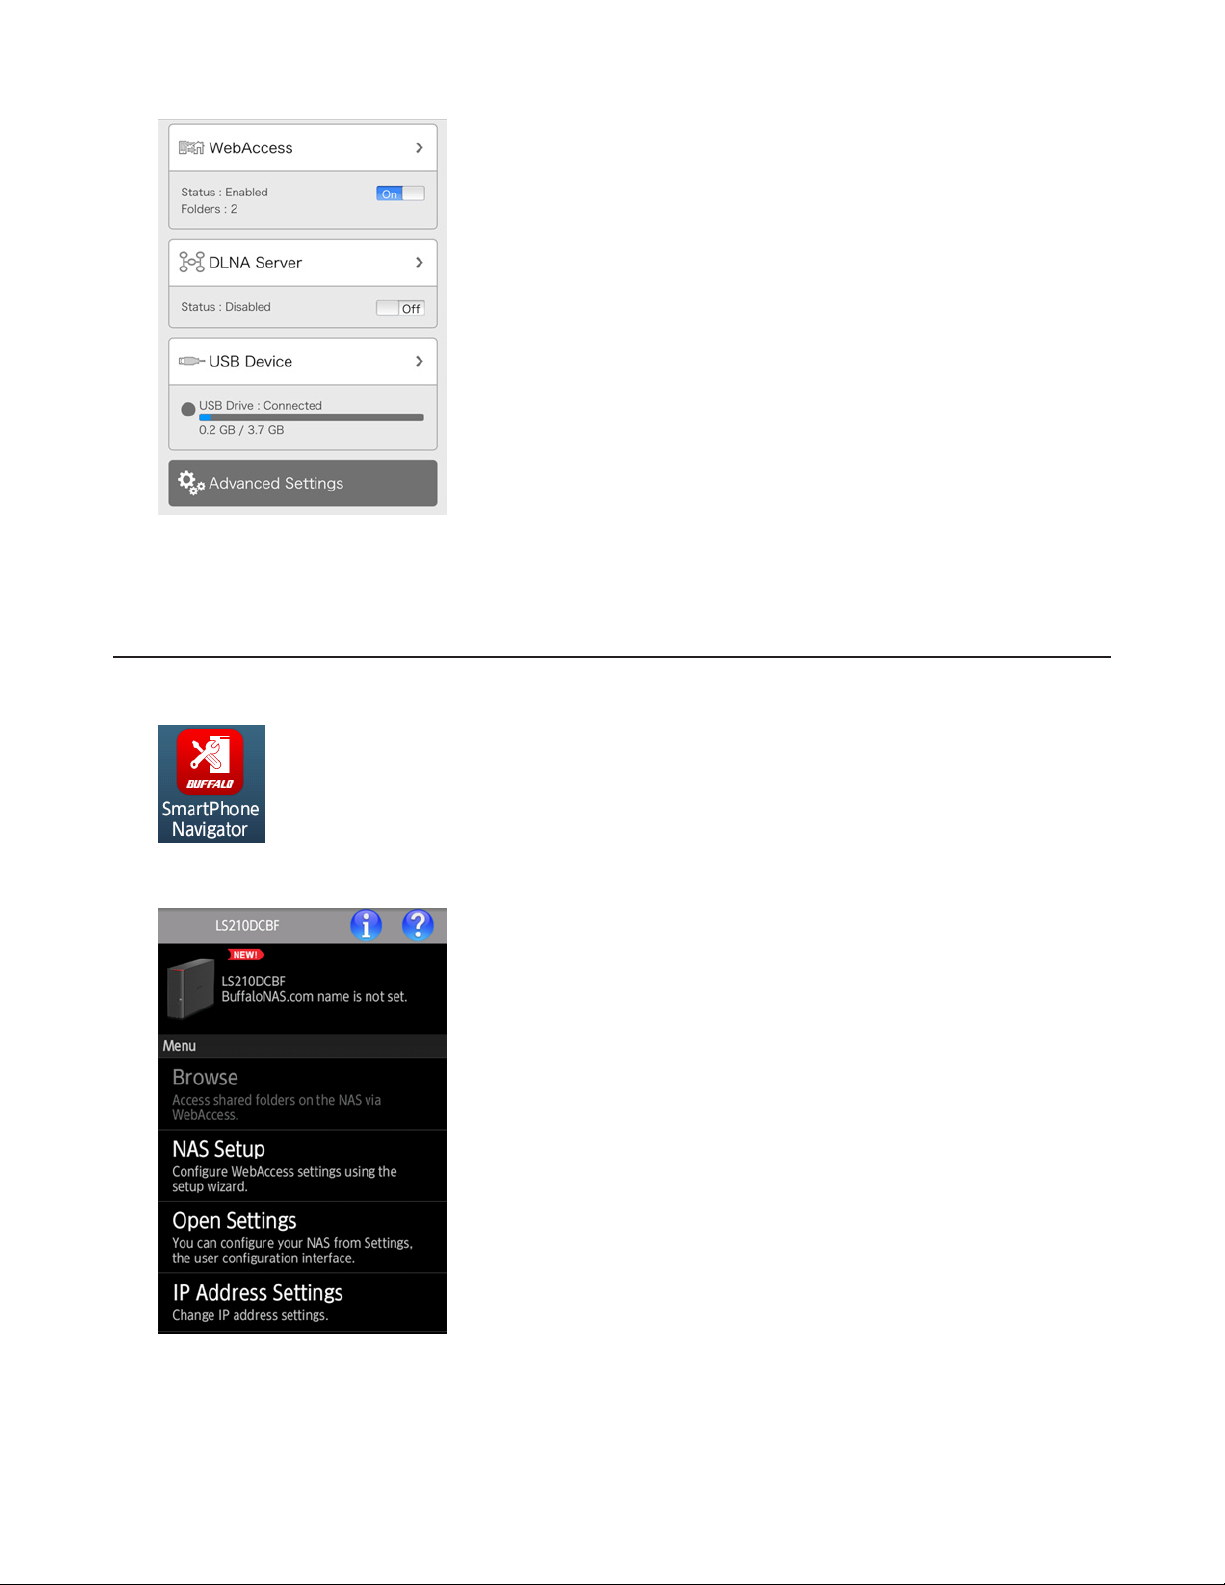
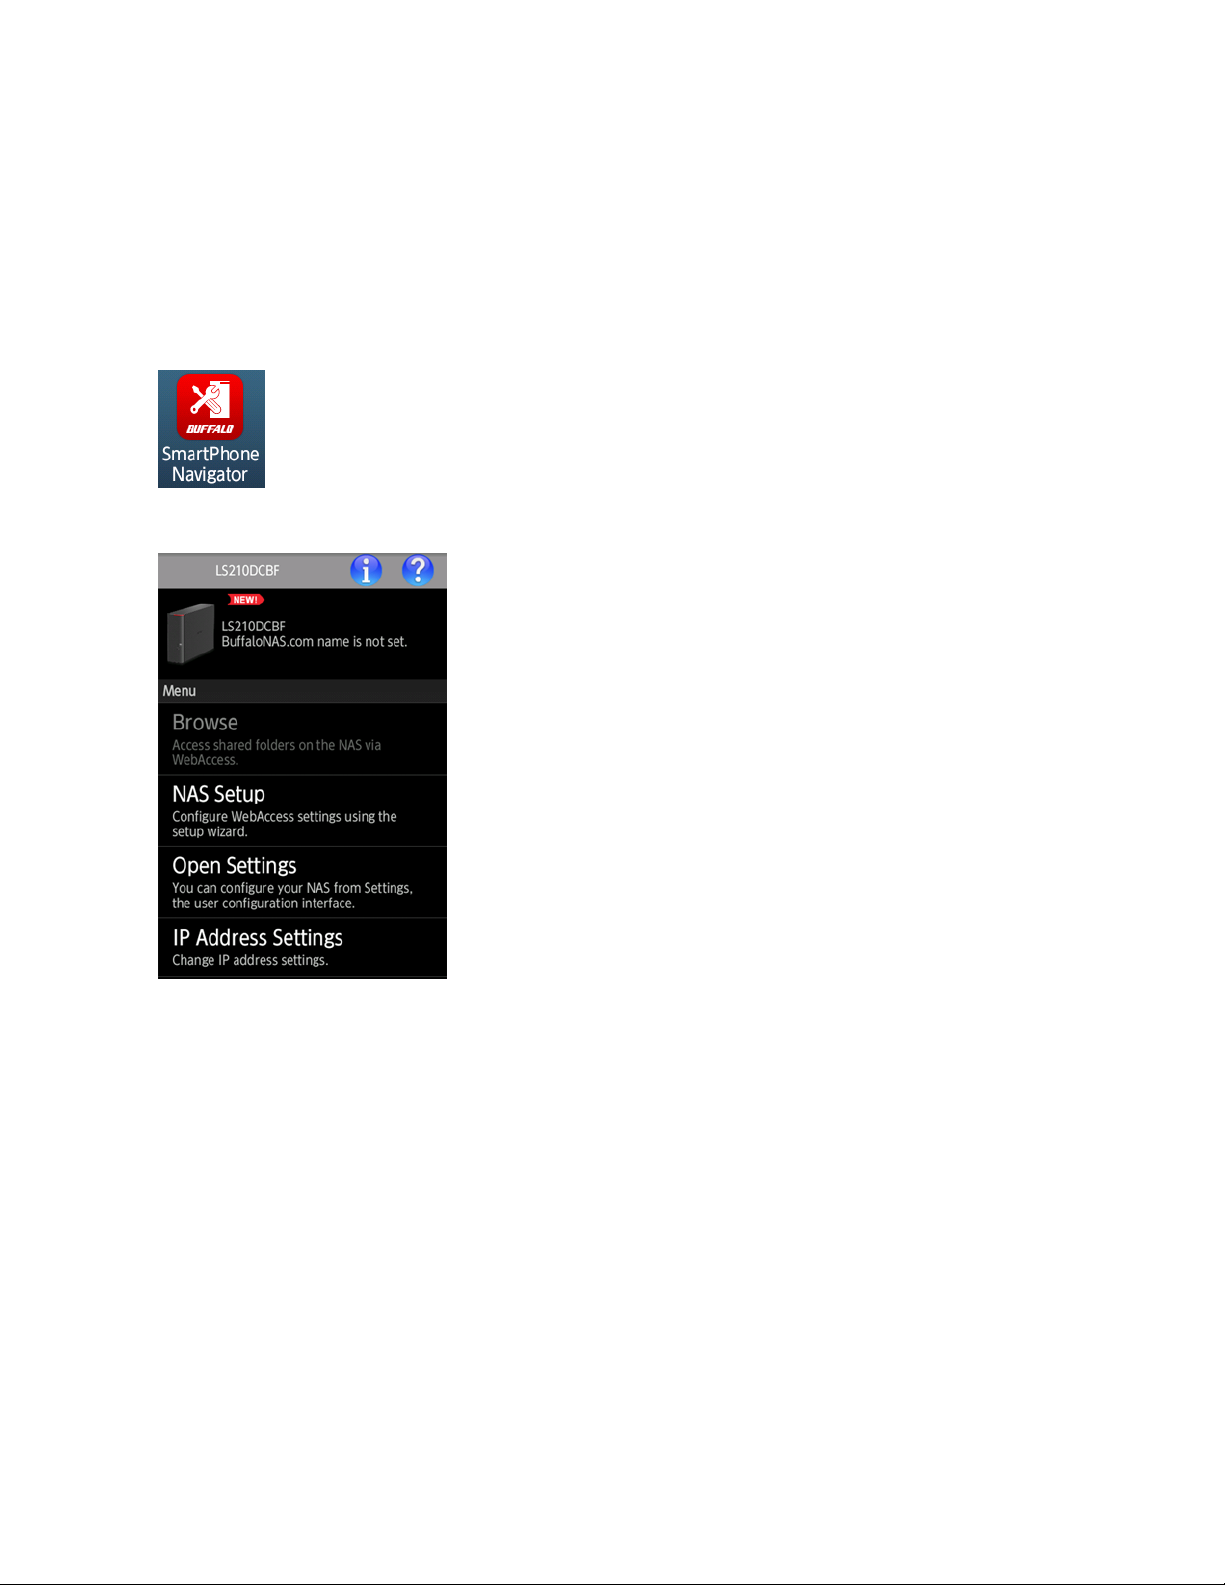
1 Open SmartPhone Navigator” on your Android device.
2 Tap Open Settings.
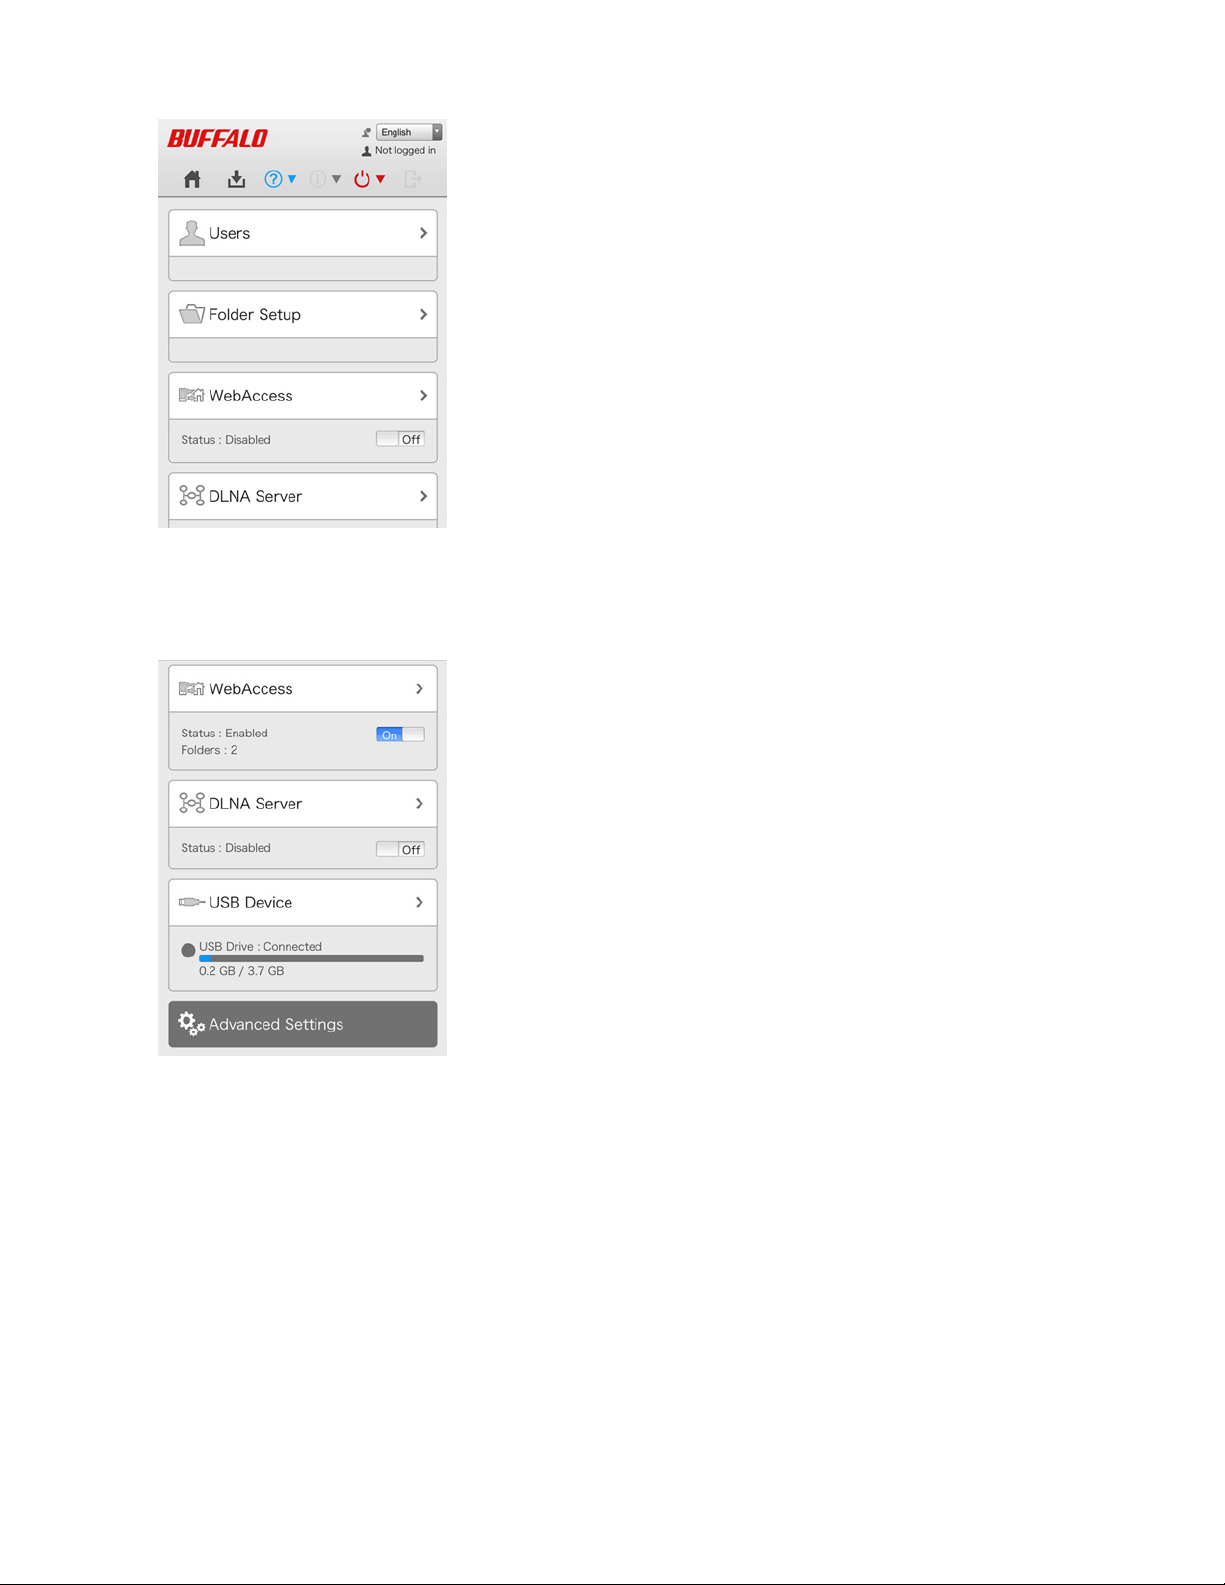
3 Settings will be displayed.
15
Notes:
• The first time you go through setup, you’ll be given a chance to change the default password and correct the
time zone settings. Step though the wizard to change these settings.
• If you tap any buttons, you will need to enter a username and password.
• Tap Desktop to show Advanced Settings. This screen gives the full array of settings that could be changed from a
computer, but is not optimized for smartphones.
What the Mobile Mode Settings Can Do
You can change the following settings from your mobile device:
• Create users, change usernames and passwords.
• Create shared folders.
• Configure WebAccess settings to remotely access your LinkStation.
• Configure your LinkStation to use with DLNA-compatible devices on the LAN.
• Configure and dismount USB devices connected to your NAS, including Direct Copy options and print server
settings.
16
Chapter 3 Remote Access
WebAccess
WebAccess is a program for accessing the files in the shared folder of your LinkStation from your computer, smartphone,
or tablet through the Internet.
Notes:
• Be careful when configuring WebAccess. Certain settings can make the files in the shared folder available to anyone on the Internet, without any access restrictions.
Configuring from a Smartphone
iPhone, iPad, and iPod touch
Notes:
• Download the “SmartPhone Navigator” and “WebAccess” applications from the App Store.
• You can also configure WebAccess settings from the mobile mode Settings.
1 Open “SP Navigator” on your iOS devices.
2 Tap NAS Setup.
17
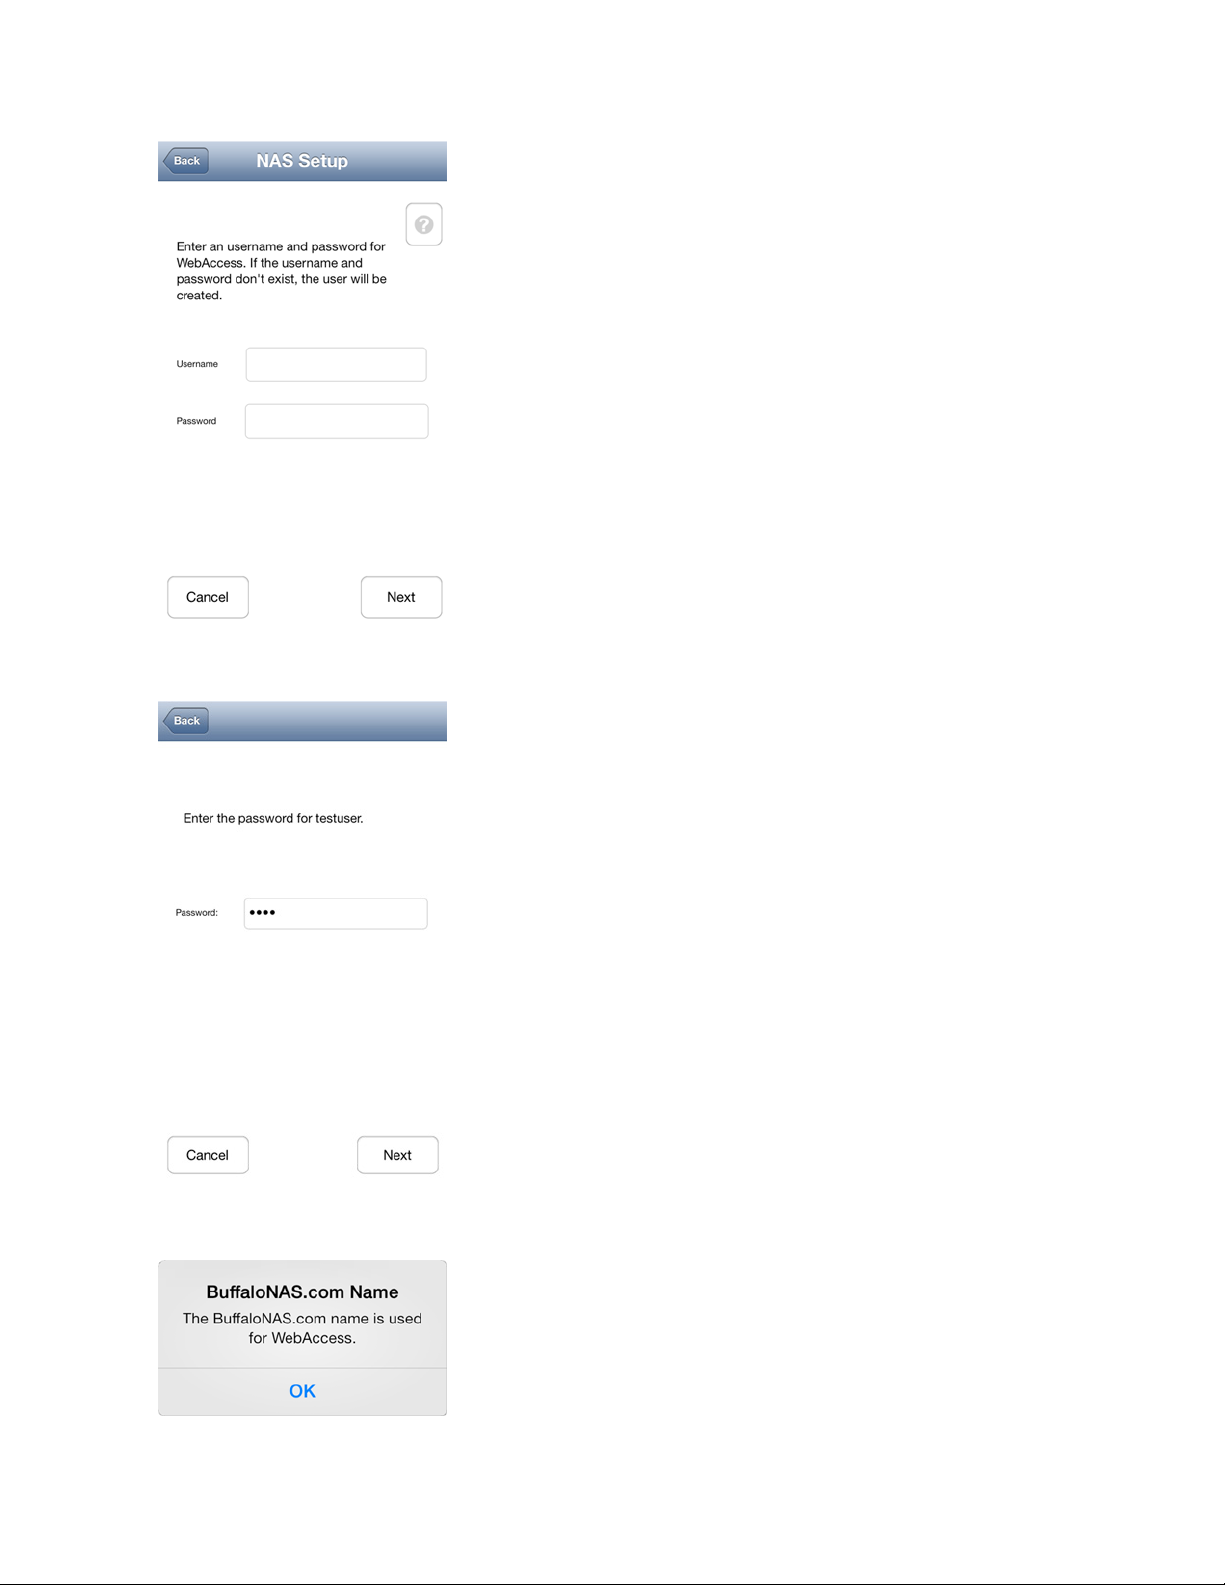
3 Enter a username and password. This will create a new user. Tap Next.
4 Enter the password from the previous step again and tap Next.
5 Tap OK.
Note: If UPnP is not enabled on your network, you will only be able to access your NAS from the local network. To
18
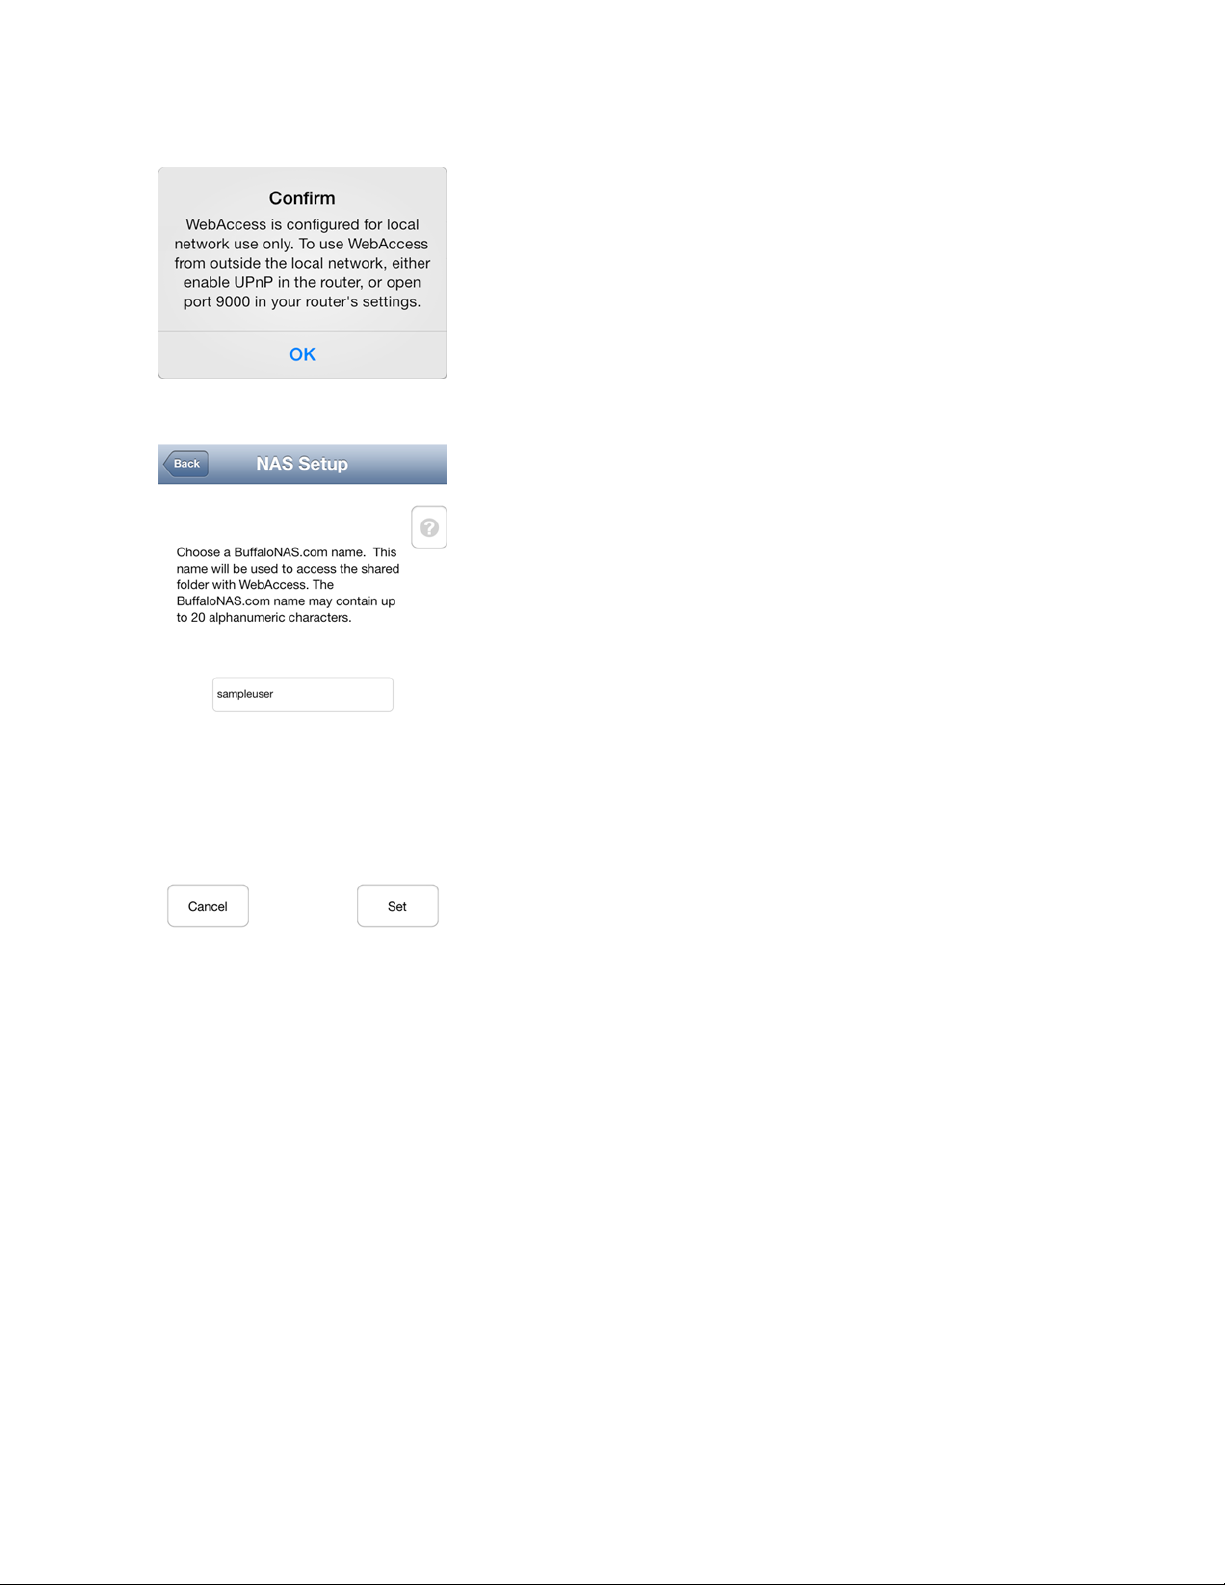
use WebAccess from outside your home, either enable UPnP in the router or open port 9000 for WebAccess in your
router’s settings.
6 Enter the BuffaloNAS.com name and tap Set.
7 Tap Browse.
19
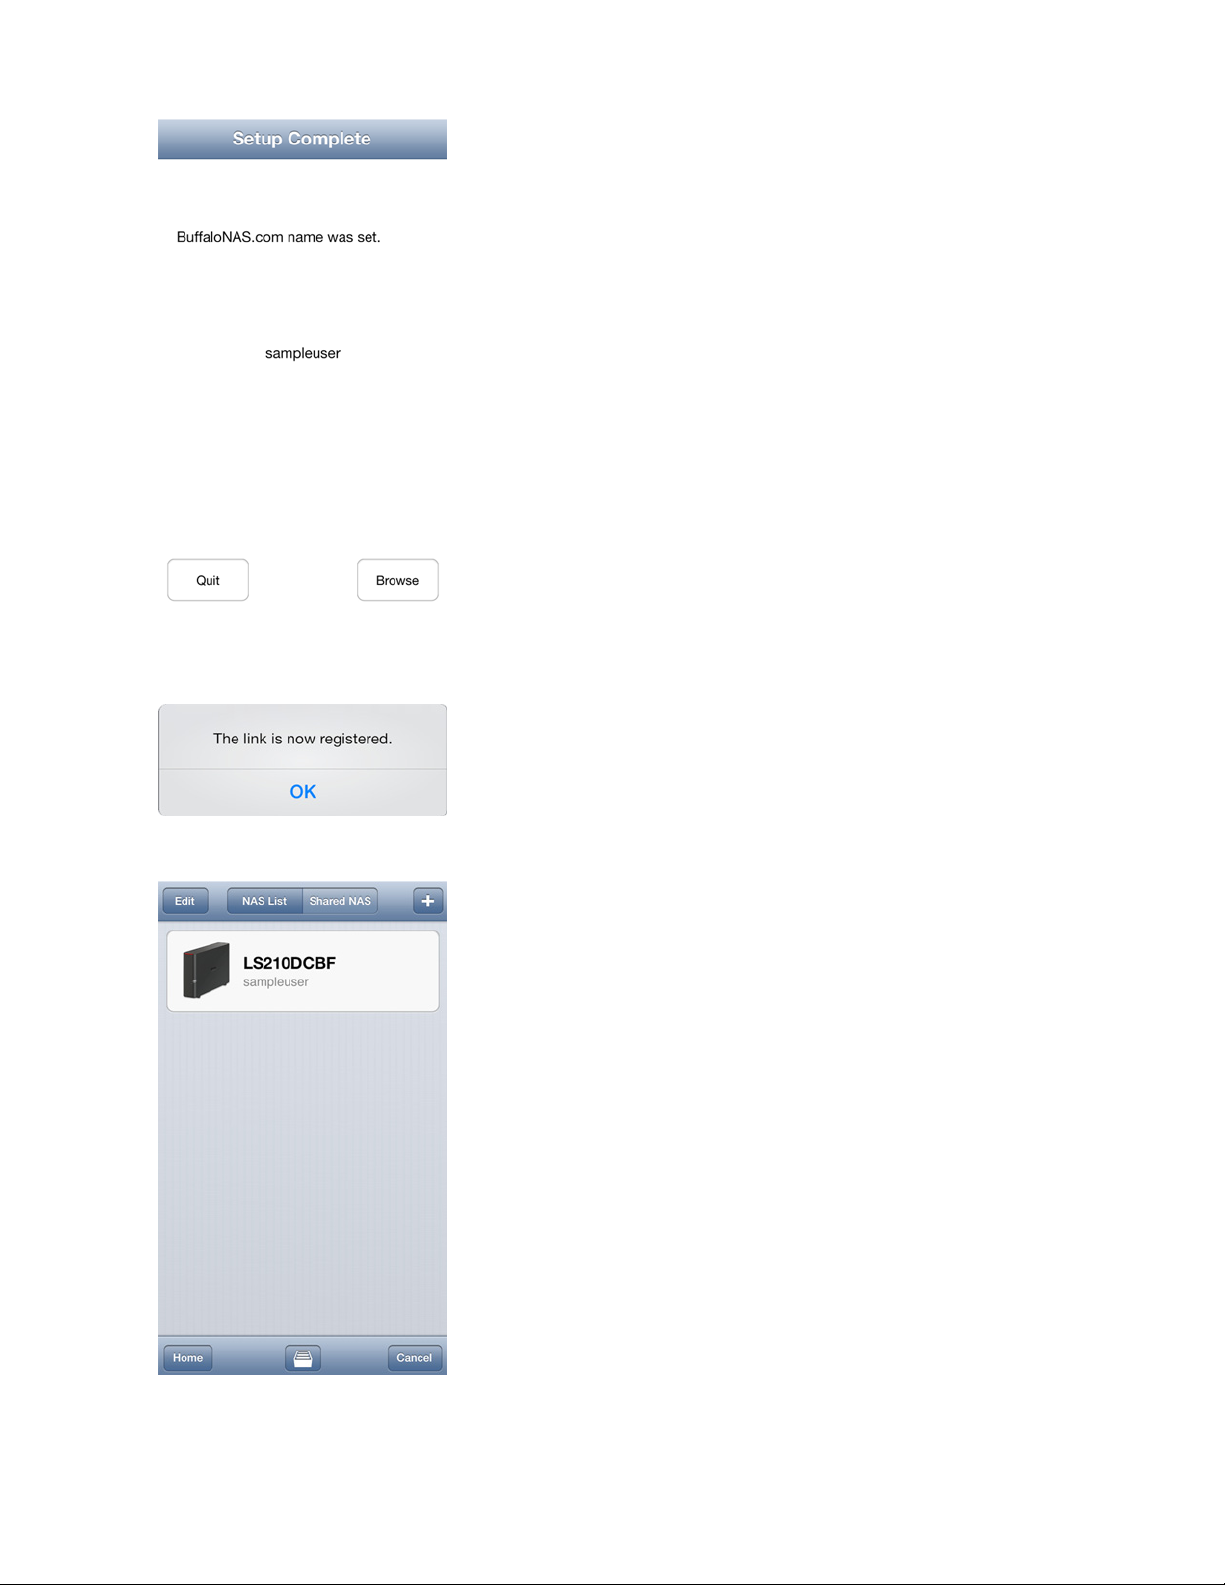
8 WebAcces will launch.
Tap OK if the following message is displayed.
9 Tap your NAS’s hostname to open the shared folder.
Note: For more details, select View Manual from the application. For additional features, install the WebAccess
20
application on your smartphone.
Android Smartphones ad Tables
Notes:
• Download the “SmartPhone Navigator” and “WebAccess” applications from the Google Play.
• You can also configure WebAccess settings from the mobile mode Settings.
1 Open “SmartPhone Navigator” on your Android devices.
2 Tap NAS Setup.
3 Enter a username and password to create a user for WebAccess and tap Next.
21
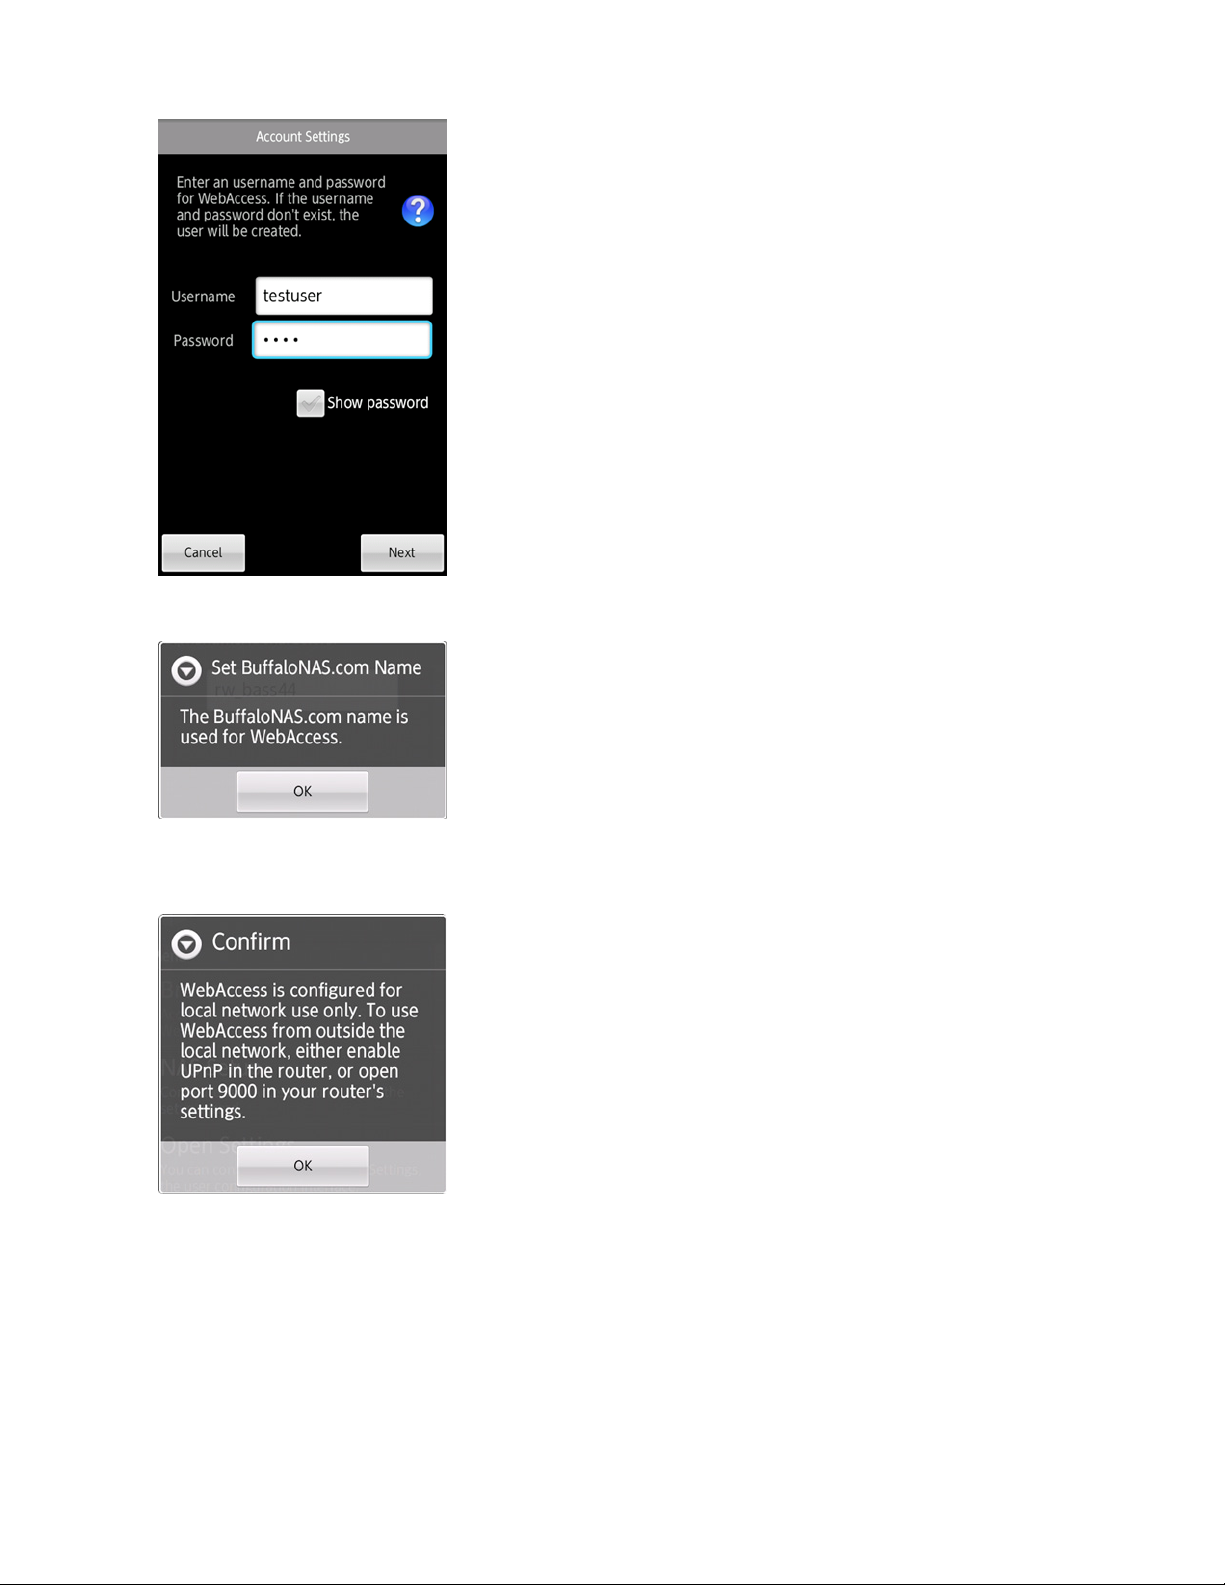
4 Tap OK.
Note: If UPnP is not enabled on your network, you will only be able to access your NAS from the local network. To
use WebAccess from outside your home, either enable UPnP in the router or open port 9000 for WebAccess in your
router’s settings.
5 Enter the BuffaloNAS.com name and tap Set.
22
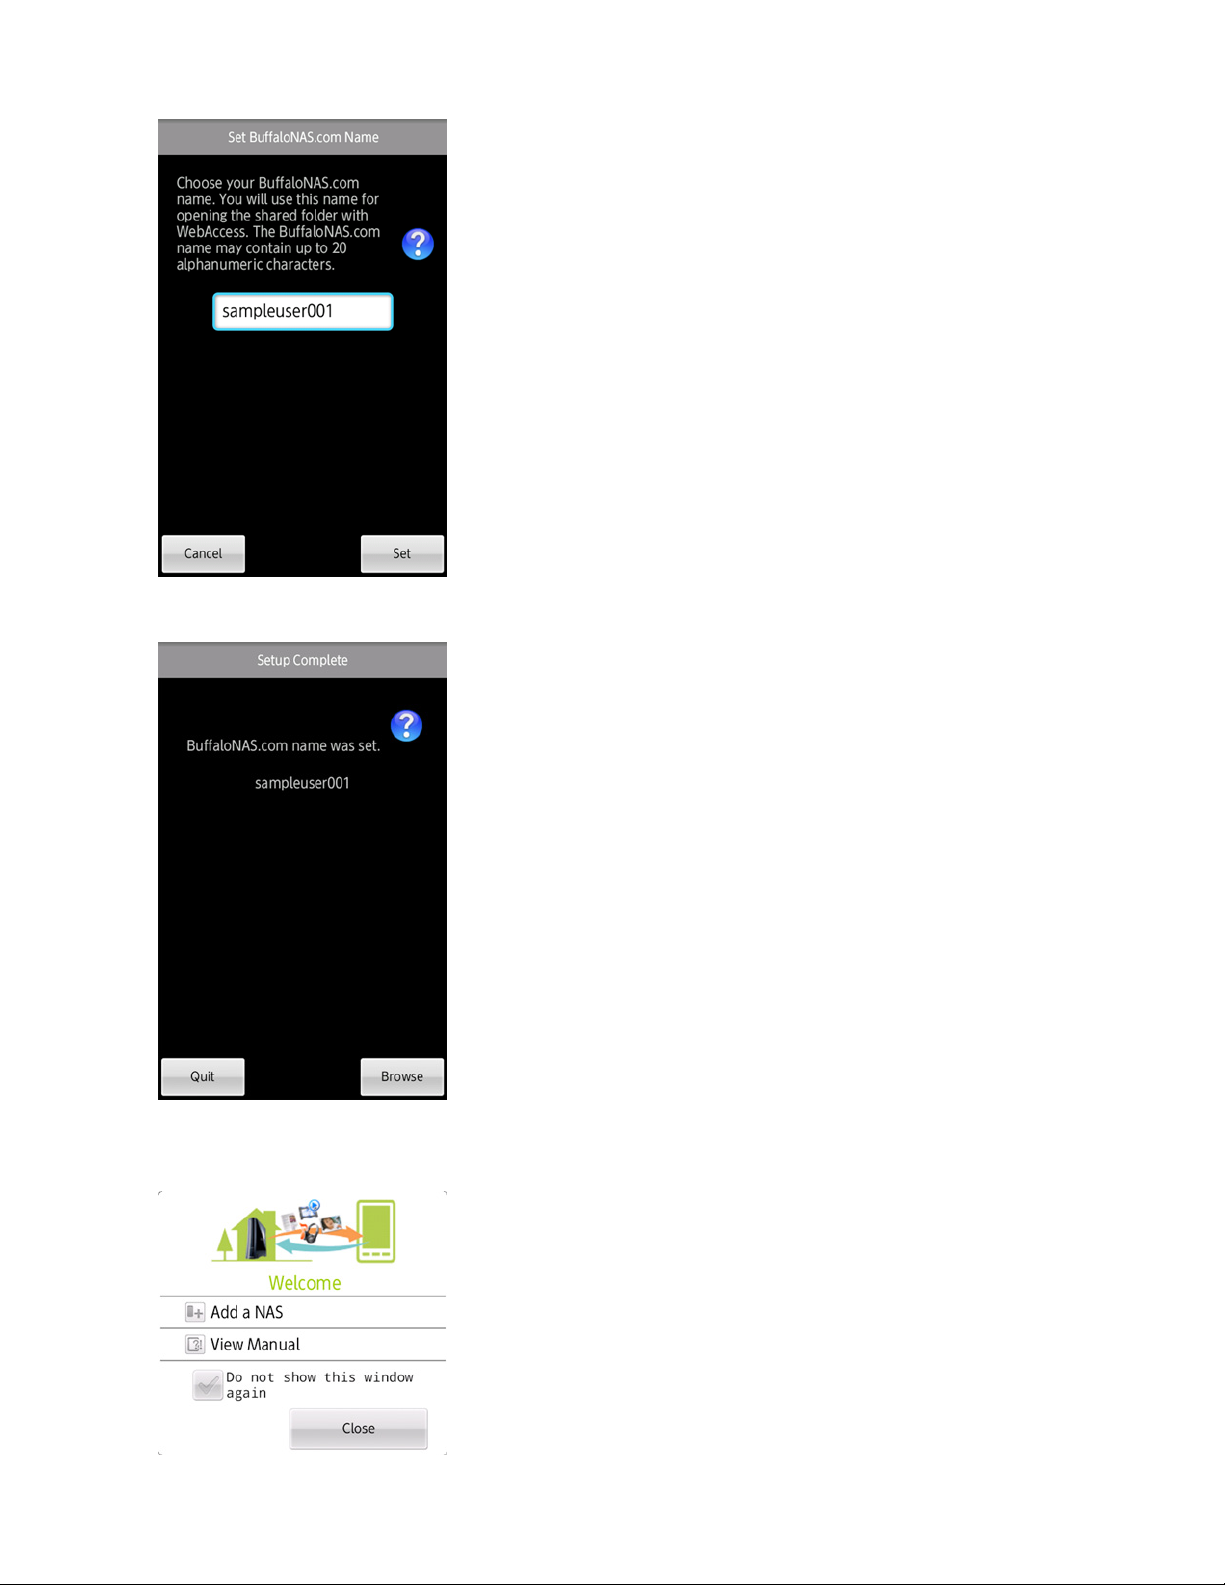
6 Tap Browse.
7 WebAcces application will launch.
Tap Close if the following message is displayed.
23
8 Tap NAS List.
You may now access the shared folder on the LinkStation.
Note: For more information, select View Manual from the application. For additional features, install WebAccess
application on your smartphone.
If Creating BuffaloNAS.com Name Failed
If UPnP is disabled in your router, creating the BuffaloNAS.com name from SmartPhone Navigator may fail. If this
happens, try the following procedure.
1 Tap the “SmartPhone Navigator” icon on your smartphone.
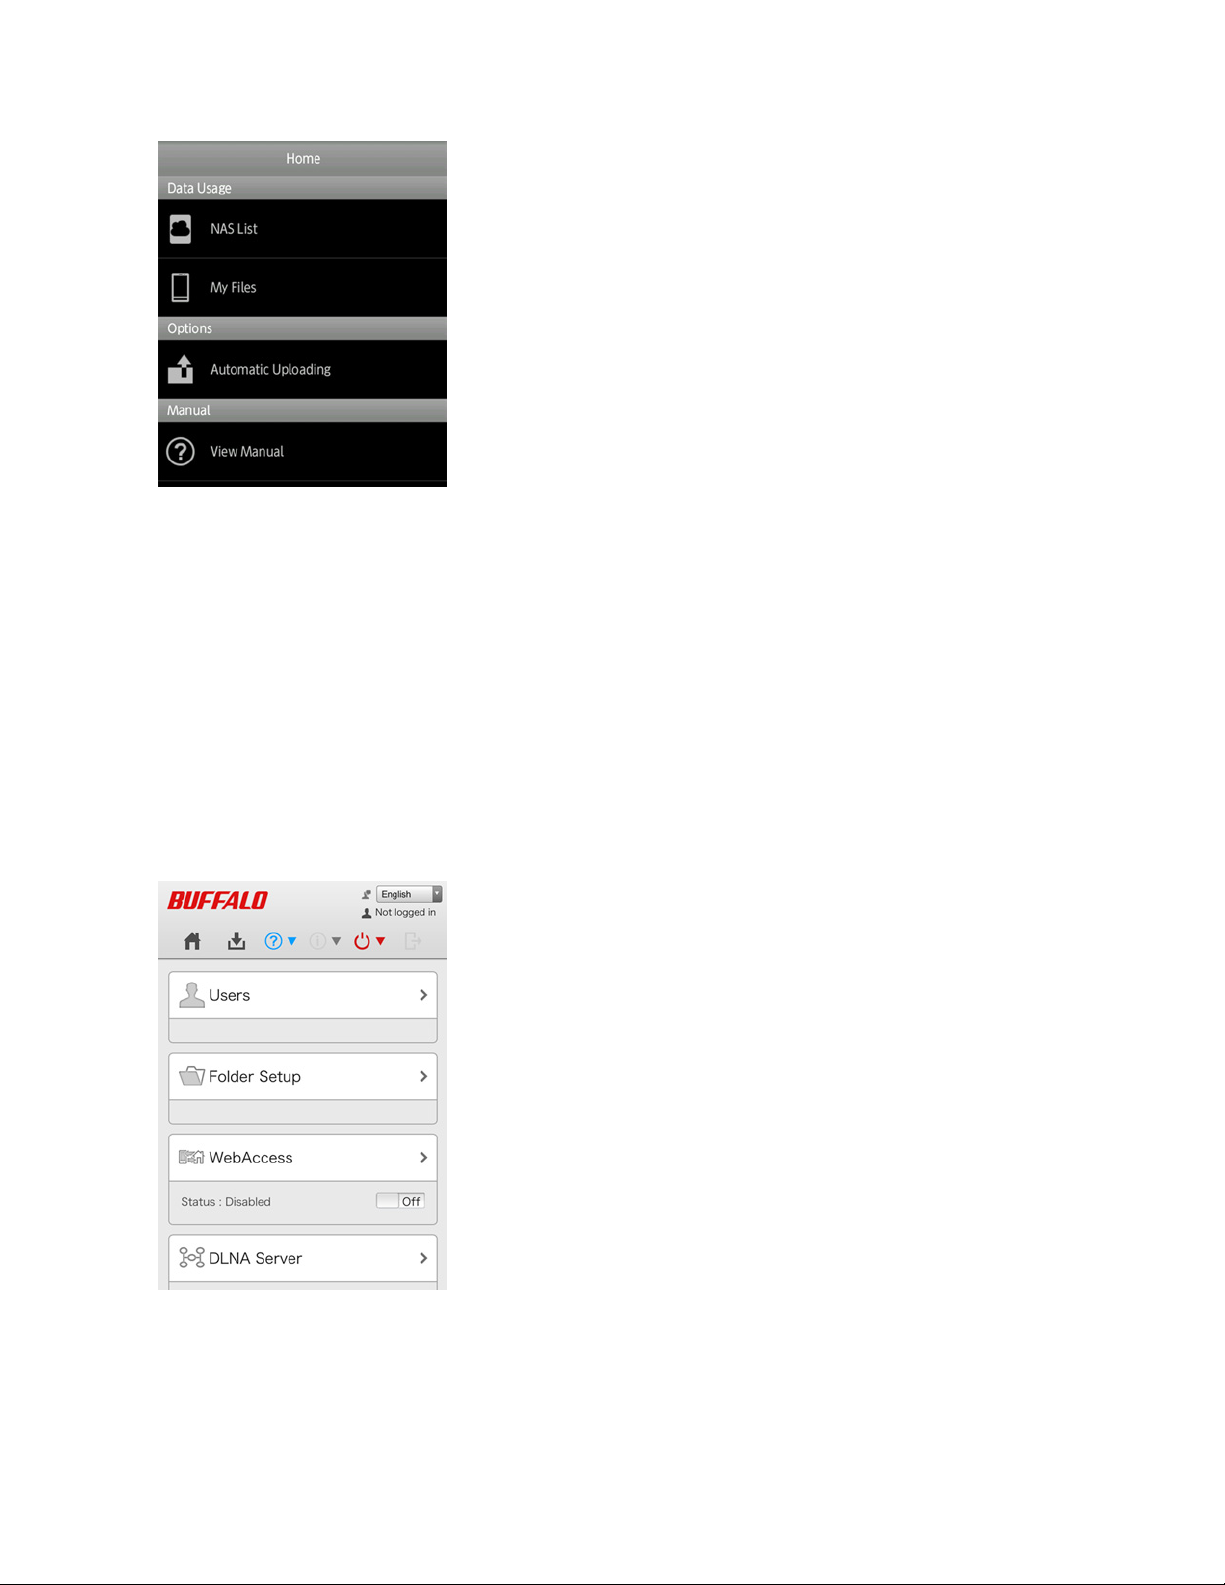
2 Tap Open Settings.
3 Tap WebAccess.
4 Select the access level from the drop-down list and tap Apply.
5 Tap OK.
6 Enter the desired BuffaloNAS.com name.
24
7 Select “Configure router’s port settings manually”, enter the router’s port number, and tap Apply.
Configuring from a Computer
Configuration from Easy Admin
Note: Use compatibility mode to use WebAccess with Internet Explorer on Windows 8 and Windows 8.1.
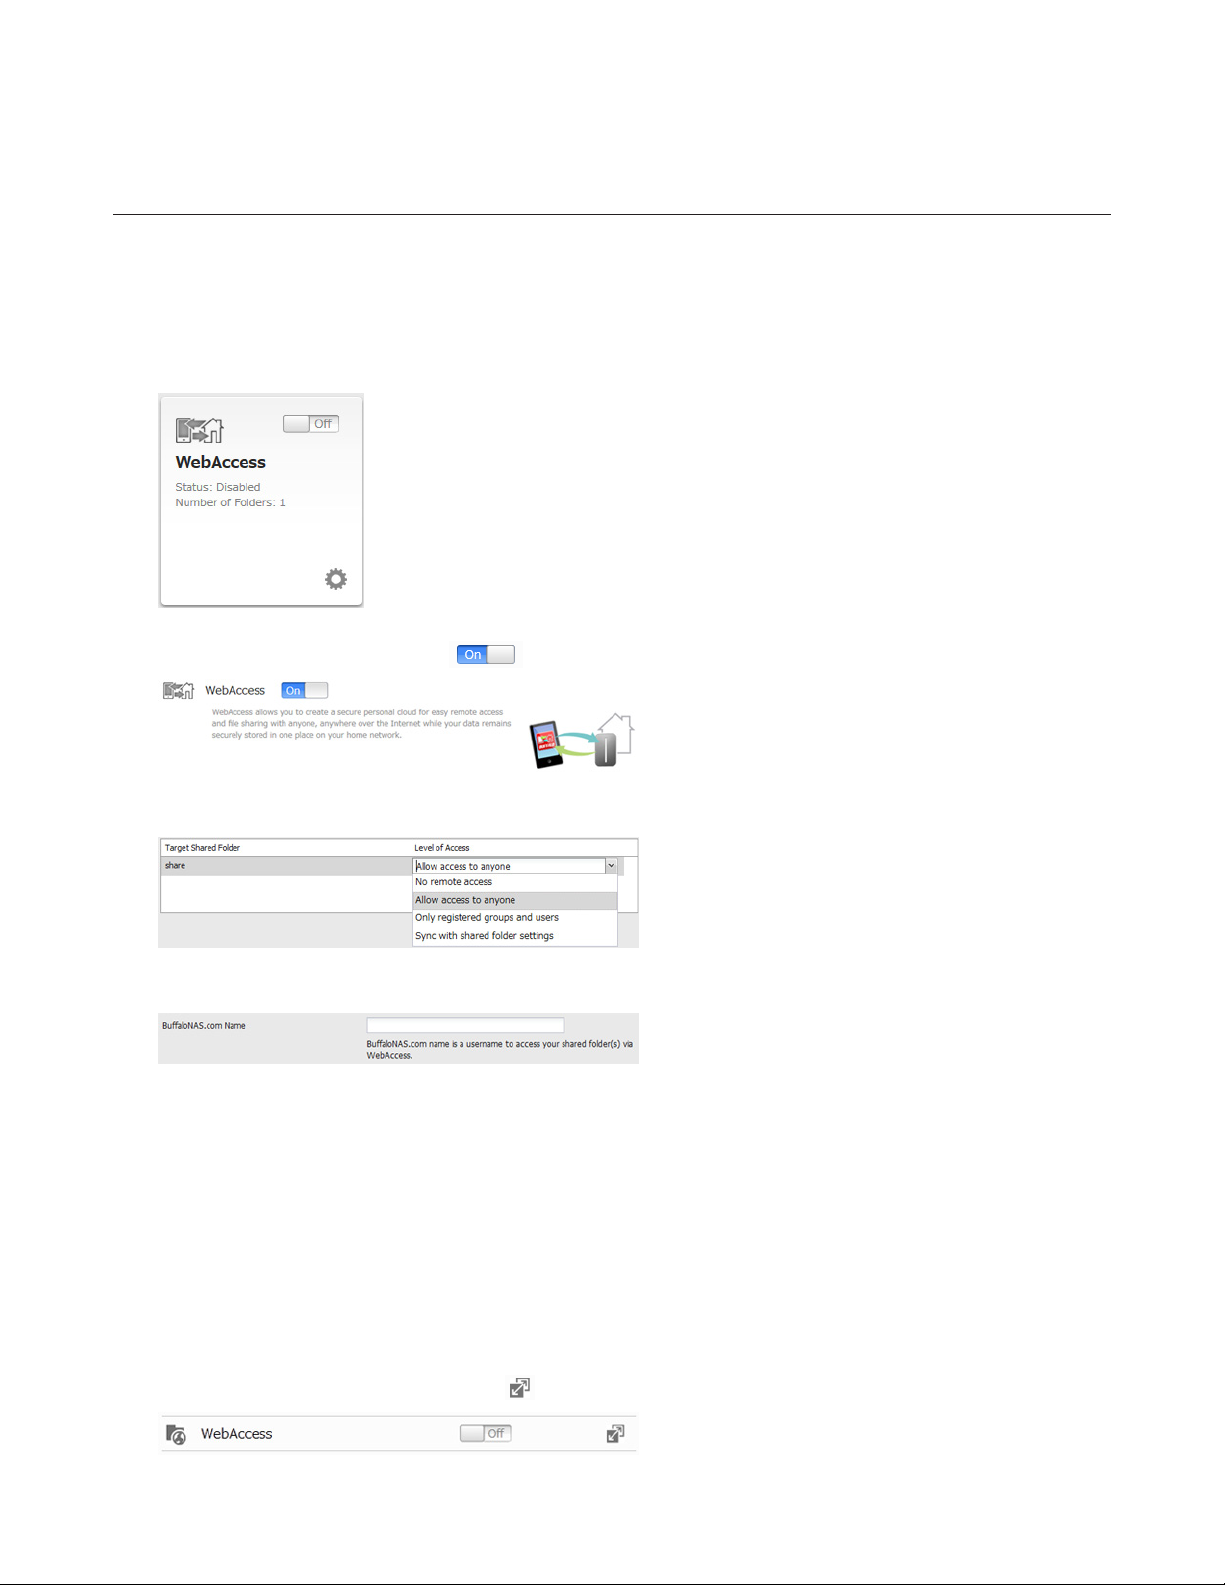
1 Click WebAccess in Easy Admin.
2 Move the WebAccess switch to the position to enable WebAccess.
3 Select the level of access for each shared folder from the drop-down list.
4 Enter a BuffaloNAS.com name for your BuffaloNAS account.
Note: The BuffaloNAS.com name may contain between 3 to 20 alphanumeric characters, underscores (_), and
hyphens (-). The BuffaloNAS.com name is case-sensitive.
5 Click Apply.
6 Continue with the procedure at http://buffalonas.com/manual/setup/en/.
Configuration from Advanced Settings
Note: Use compatibility mode to use WebAccess with Internet Explorer on Windows 8 and Windows 8.1.
1 Navigate to File Sharing - WebAccess. Click to the right of “WebAccess”.
25
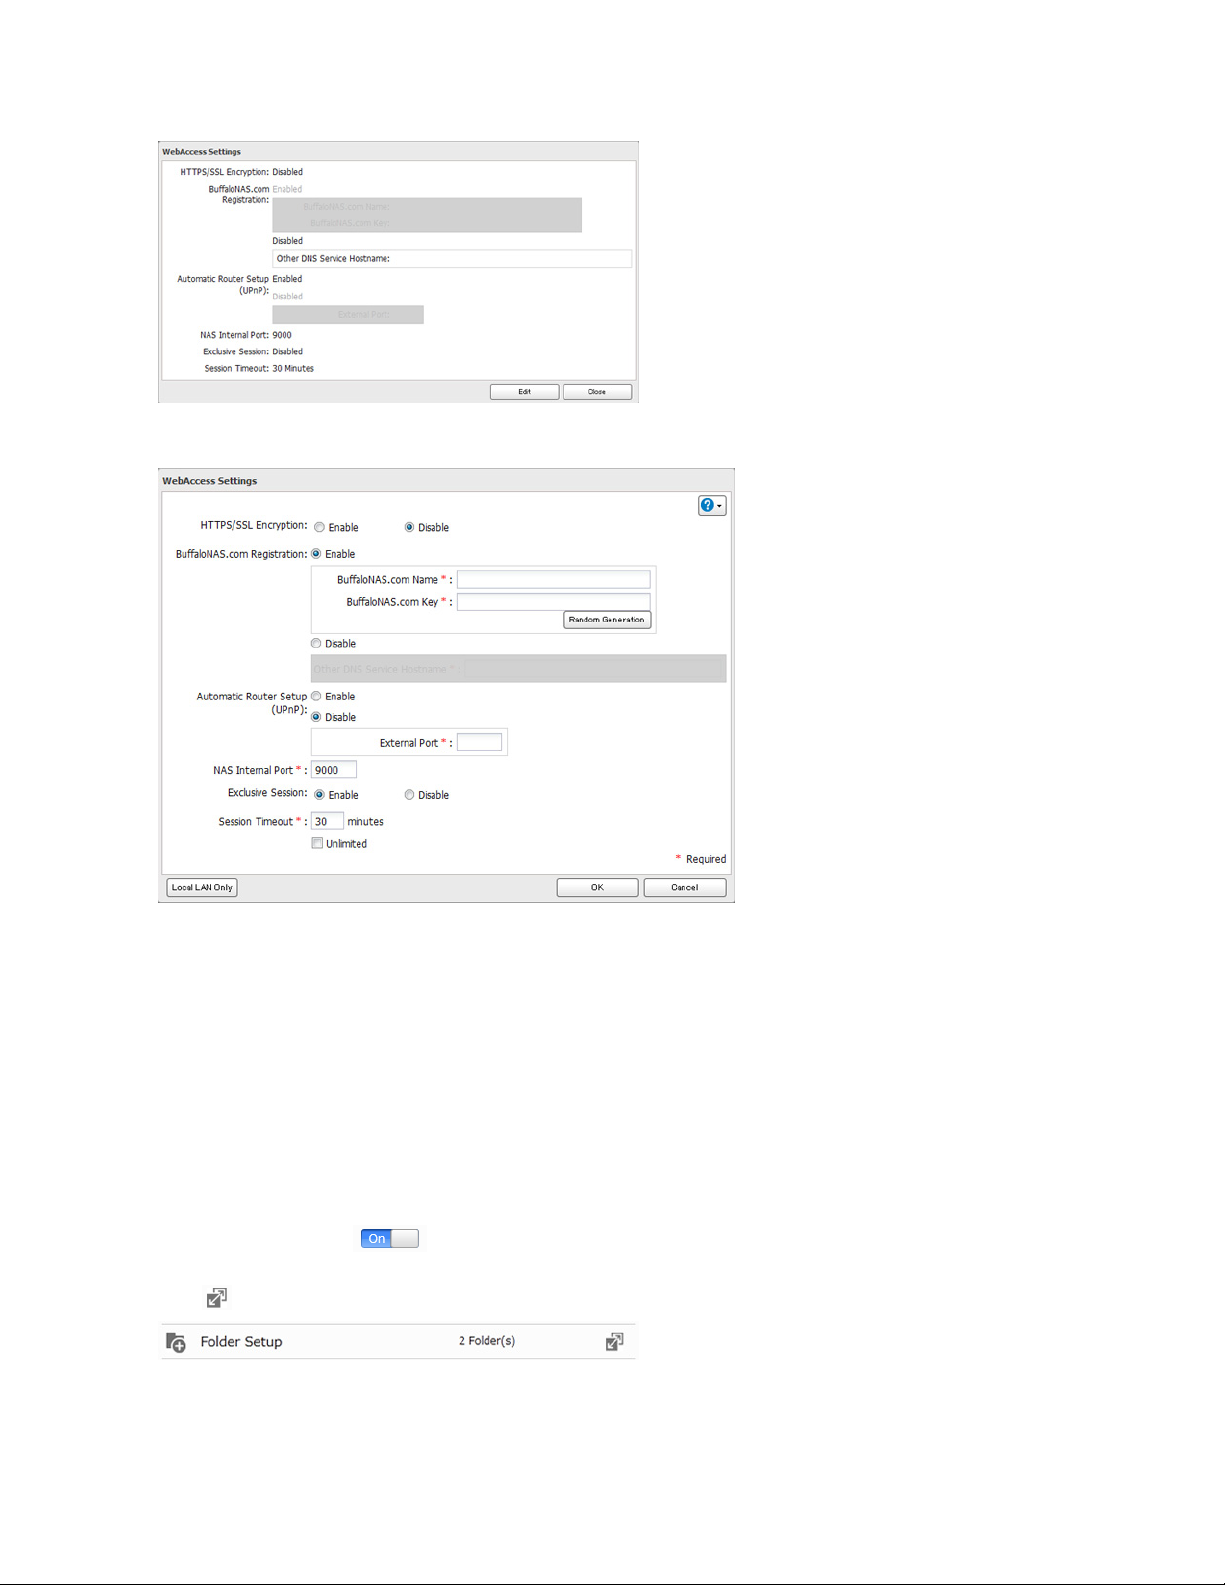
2 Click Edit.
3 Configure the desired settings, then click OK.
• To use SSL encryption for more secure data transfers, enable “HTTPS/SSL Encryption”.
• Some WebAccess applications may not support HTTPS/SSL encryption. Disable it if this is an issue. For more
details, refer to the WebAccess Help Guide.
• You may use the default BuffaloNAS.com registration, or disable to use a different DNS server.
• Choose a “BuffaloNAS.com name” and “BuffaloNAS.com key” for your WebAccess account. Names and keys may
use 3 to 20 alphanumeric characters, underscores (_), and hyphens (-).
• If “Exclusive Session” is enabled, users cannot log multiple computers in to WebAccess. Only the last login will be
active.
• Enter a time in minutes (1 to 120 or “Unlimited”) before inactive users are logged out of WebAccess.
4 Click OK.
5 Move the switch to the position to enable WebAccess.
6 Click to the right of “Folder Setup”.
7 Select a shared folder to publish.
26
Notes:
• For best results, create a new dedicated share for WebAccess.
• When accessing shared folders through WebAccess from a remote location, the username and password may be
required for certain operations. For best results, create a user account with permissions on the WebAccess share
before using WebAccess.
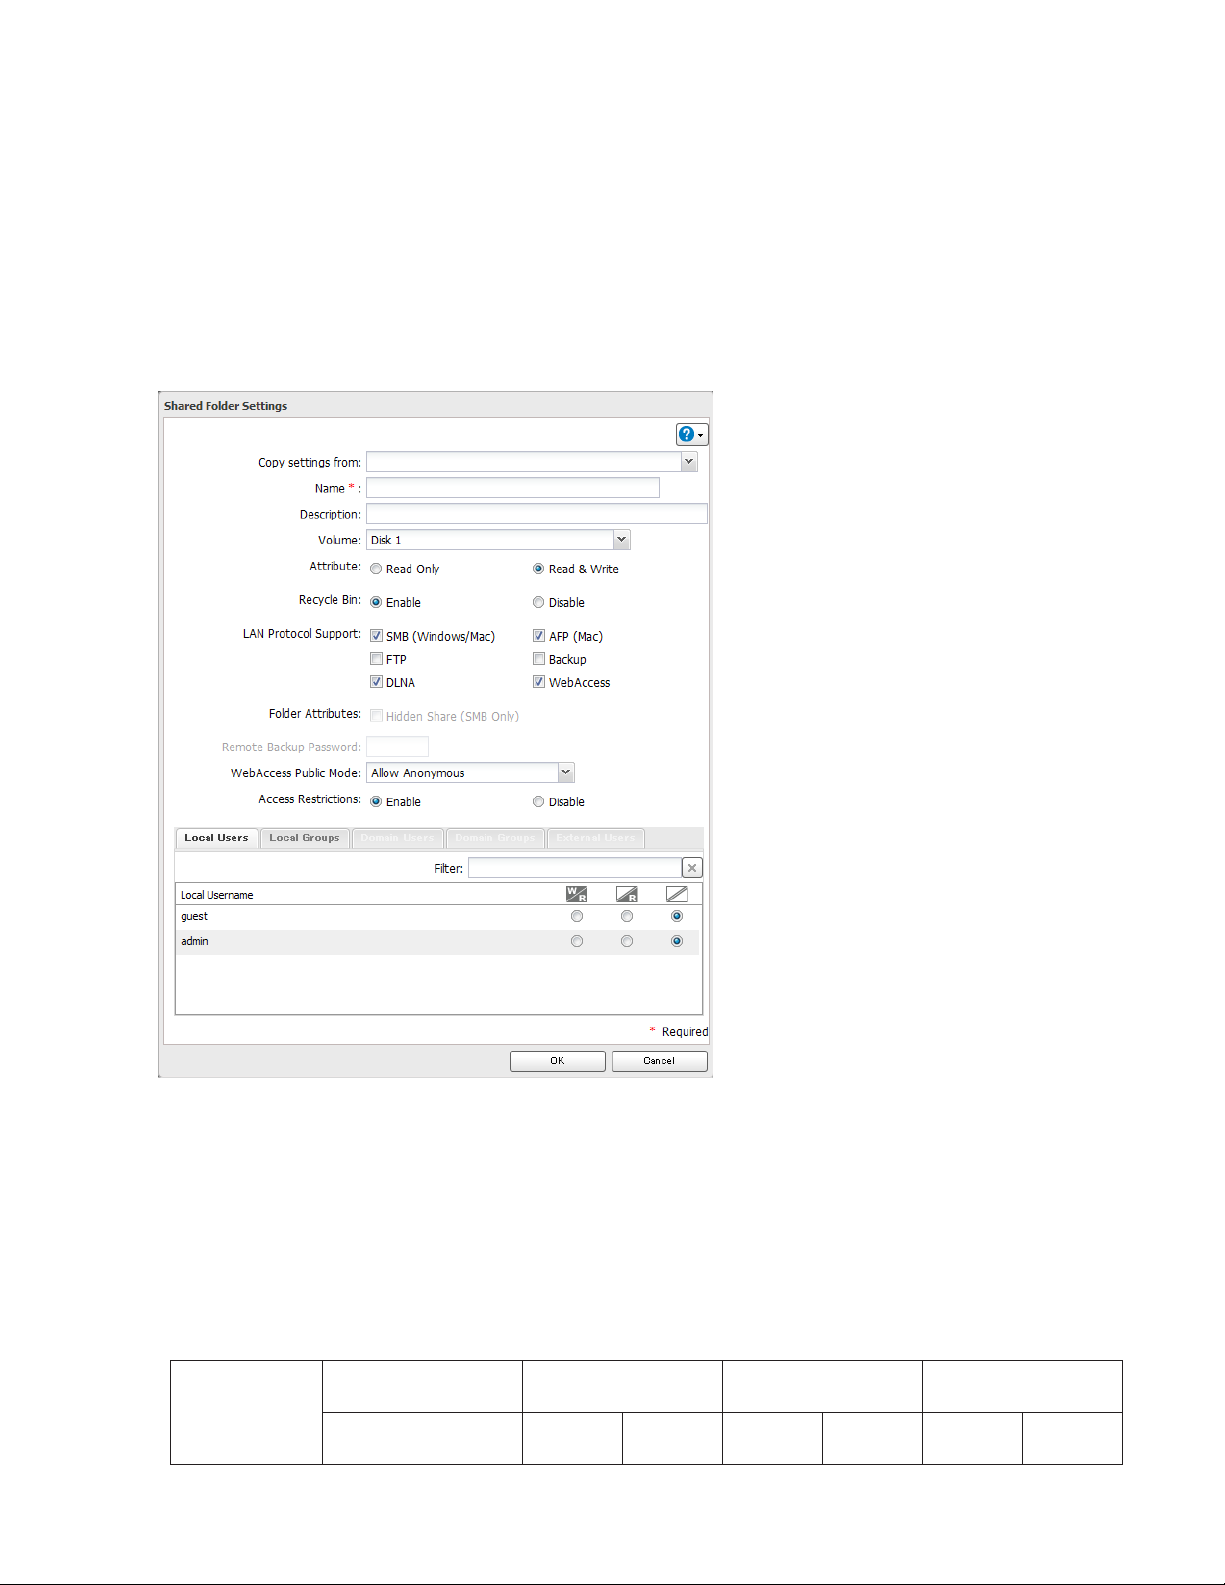
8 Click Edit.
9 Navigate to File Sharing - Folder Setup and choose the folder you will use for WebAccess. Enable “WebAccess LAN
protocol support”.
Notes:
• The following levels of security are available:
“Allow Anonymous” - Anyone can access (view) shared folders.
“Allow All Groups and Users” - All groups and users registered on the LinkStation or TeraStation can use
WebAccess.
“Use Inherited Folder Permissions” - Users and groups have the same access permissions with WebAccess that
they do locally. If access restrictions are not set for the shared folder, then this option will not be shown.
• When a user or group can access a folder through WebAccess depends on a combination of WebAccess settings
and the shared folder’s settings.
Folder Setup
WebAccess Public
Mode
Folder Attribute
Allow Anonymous
Read &
Write
Read
Only
27
Allow All Groups and
Users
Read &
Write
Read
Only
Use Inherited Folder
Permissions
Read &
Write
Read
Only
Not logged in R R - - - User with read &
write access
User with read-only
WebAccess
Account
R: Read only, R/W: Read and write, -: No access
access
Group with read &
write access
Group with read-
only access
Other users R/W R R/W R - -
R/W R R/W R R/W R
R/W R R/W R R R
R/W R R/W R R/W R
R/W R R/W R R R
10 Continue with the procedure at http://buffalonas.com/manual/setup/en/.
Note: If you change your BuffaloNAS.com name after WebAccess has been configured, WebAccess may no longer
work properly. If this happens, disable and then re-enable WebAccess.
FTP
By default, the LinkStation’s shares are only accessible by users connected to the same network or router as the
LinkStation. The optional FTP server allows users outside the local network to access the LinkStation.
Note: FTP is intended for users who already have FTP client software and have experience with it.
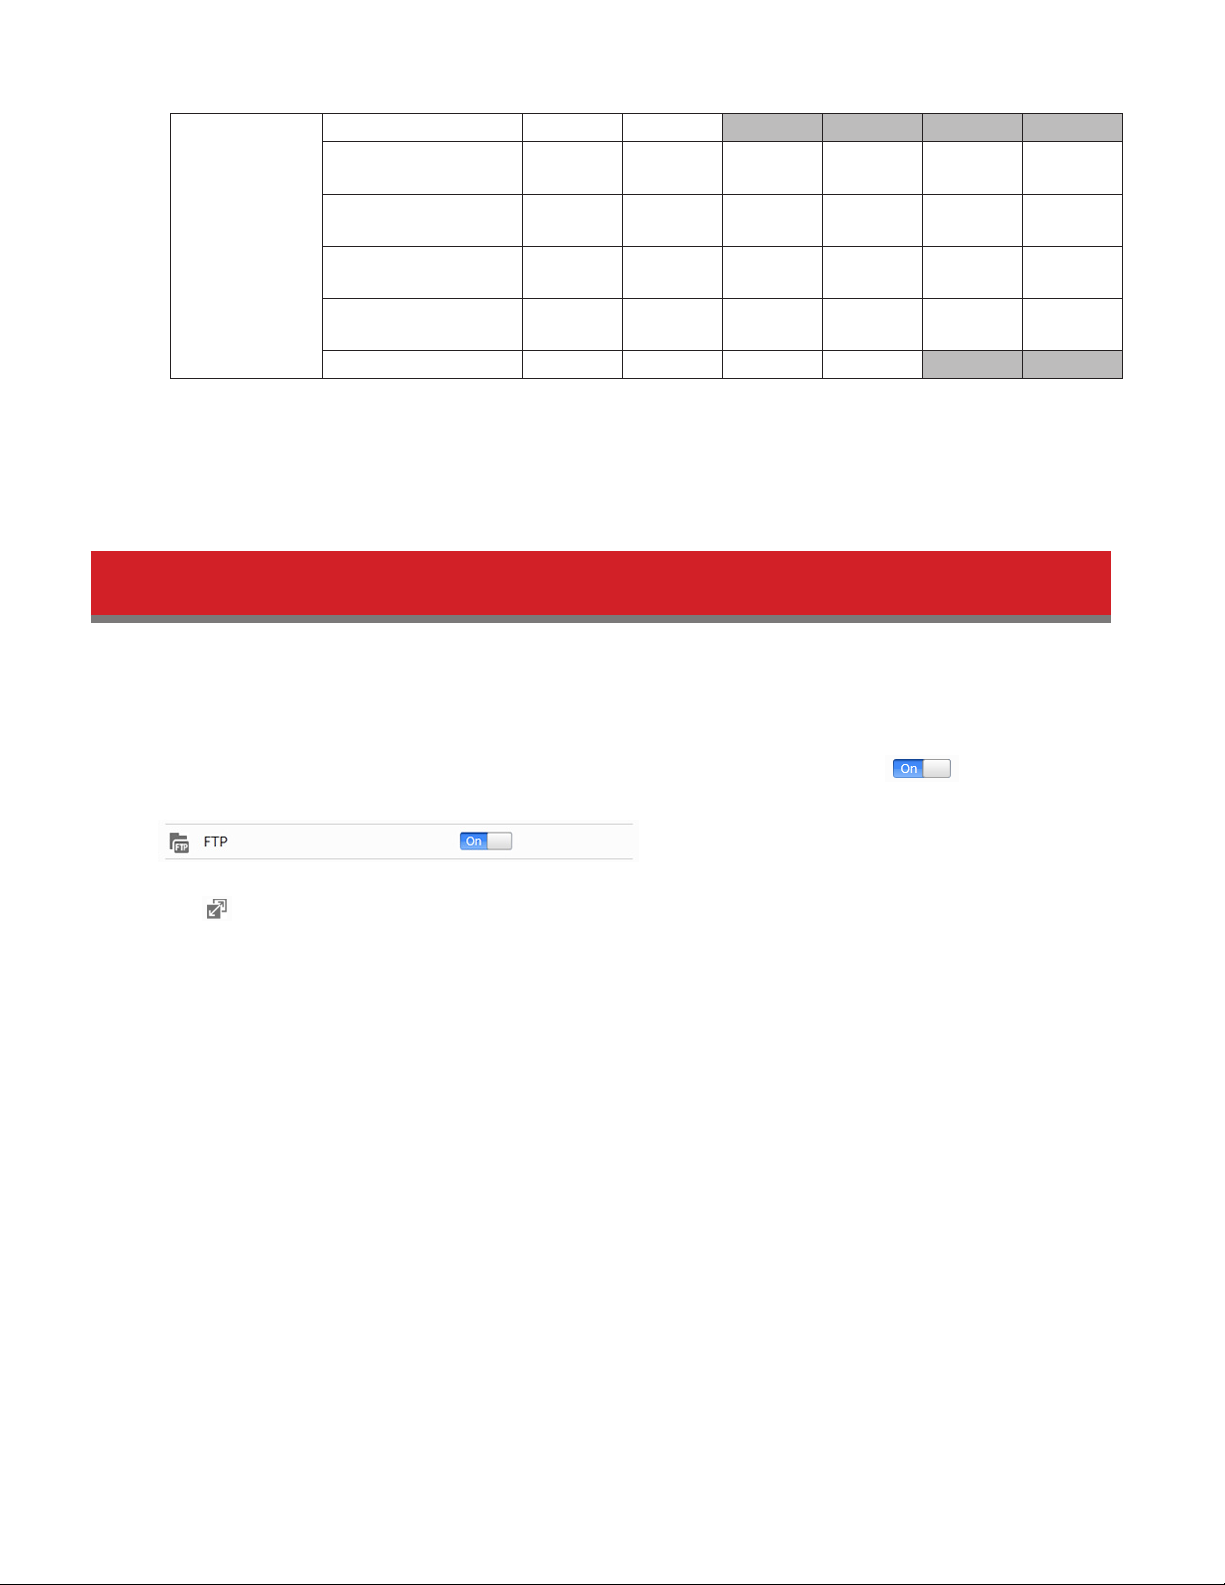
1 In Advanced Settings, navigate to File Sharing - Folder Setup. Move the FTP switch to the position to
enable FTP.
2 Click to the right of “Folder Setup”.
3 Choose a folder to enable remote FTP access on.
4 Click Edit.
5 Select read-only or read & write for the shared folder’s attribute, check “FTP” under “LAN Protocol Support”, and
click OK.
28
Accessing the LinkStation with an FTP client
• To access the LinkStation via FTP, configure your FTP client software with the following settings:
Hostname: IP address of the LinkStation
Username: The LinkStation’s username
Password: The LinkStation’s password
Port: 21
• Shared folders connected by FTP are available from the “/mnt” directory. The default locations are:
/mnt/disk1/share
/mnt/usbdisk1
Accessing the LinkStation with an anonymous user:
• To allow anonymous access to your FTP share, disable access restrictions.
• To access the LinkStation via anonymous FTP, configure your FTP client software with the following settings:
Hostname: IP address of the LinkStation
Username: Anonymous
Password: Any character string
Port: 21
Notes:
• If the LinkStation joins a domain, anonymous users cannot access it.
• Don’t use FTP to share files and folders with multi-byte characters in their names with a Mac. Use an AFP or SMB
29

connection instead.
• If a file was created or copied by AFP, you may not be able to delete it using an FTP connection. If this occurs, use
an SMB or AFP connection instead to delete the file.
• For FTP connections, make sure that the total filename including directory path is 250 single-byte characters or
less.
30