

Buffalo LPV3-U2 User Manual
Unpacking and Setup
This section provides unpacking and setup information for the
USB Print Server.
Unpacking
Open the shipping carton of the USB Printer Server and carefully unpack
its contents. The carton should contain the following items:
Main unit (LPV3-U2) 1
AC adapter 1
Power cord 1
USB A-to-B cable 1
Ethernet cable 1
Installation CD 1
Manual (this user’s guide) 1
Warranty card 1
If any item is found missing or damaged, please contact your local
reseller or retailer for replacement.
User Manual
USB Print Server
LPV3-U2
www.buffalotech.com/wireless
PY00-30052-DM20-01 1-01
2
Insert the included CD into a CD-ROM Drive.
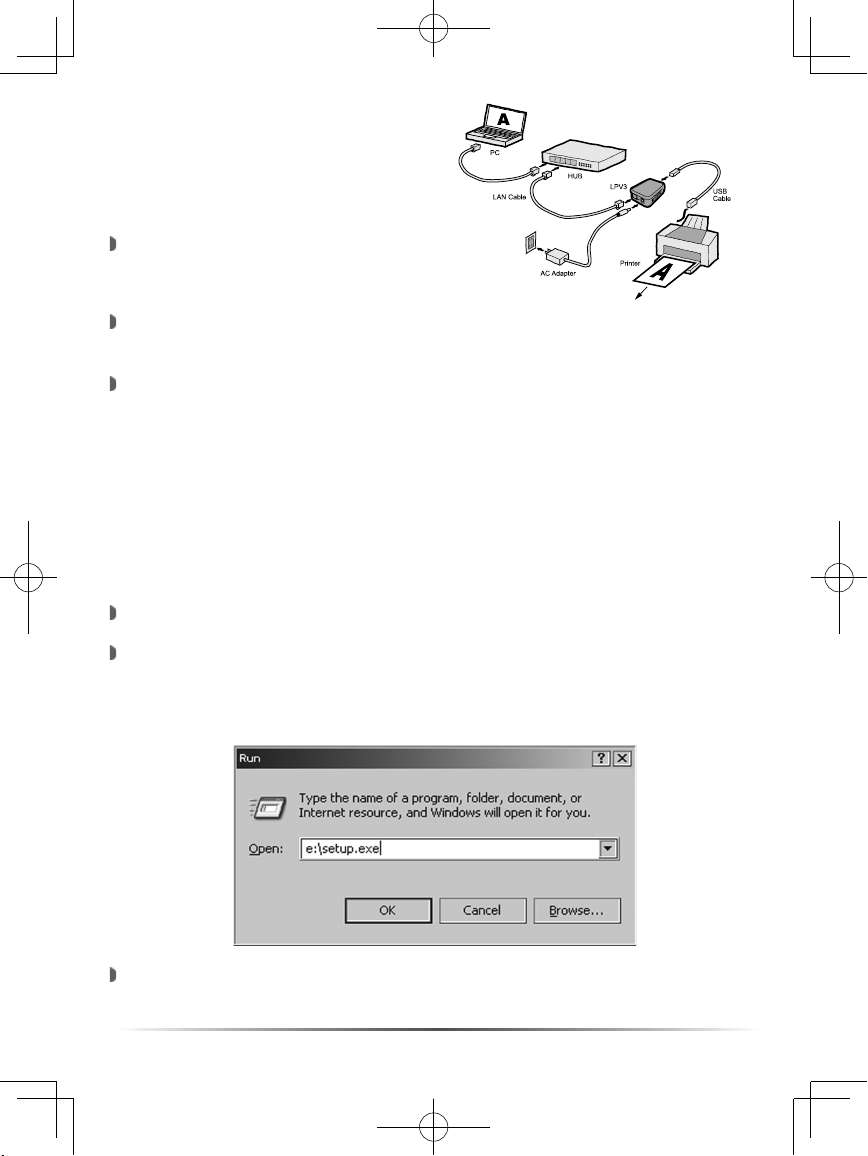
Run the setup.exe program found on the root of the CD. This can be
done by browsing to the CD or by going to the ‘Start Menu’, selecting
‘Run...’ , and typing x:\setup.exe (Where x is the drive letter of the
CD-ROM Drive), then press the ‘OK’ button.
The Install Shield Wizard for LPV3 Manager will open up.
Press the ‘Next’ button.
Connect the USB Print Server into
the included AC Adapter power cord,
and attach the power cord to a power outlet.
Connect the included standard patch cable from the USB Print Server
to a switch, hub, or router on your network.
Connect the included USB A-to-B cable to the USB Print Server and
the USB Printer. Visually inspect all connections and verify that they
are secured.
Setup
The setup of the USB Print
Server is performed using
the following steps:
Software Installation - Windows Based PC’s
*Macintosh Procedure on Page 19*
This section describes how to properly install and use the USB Print
Server configuration software. Please follow the following steps to
properly install the software:
3
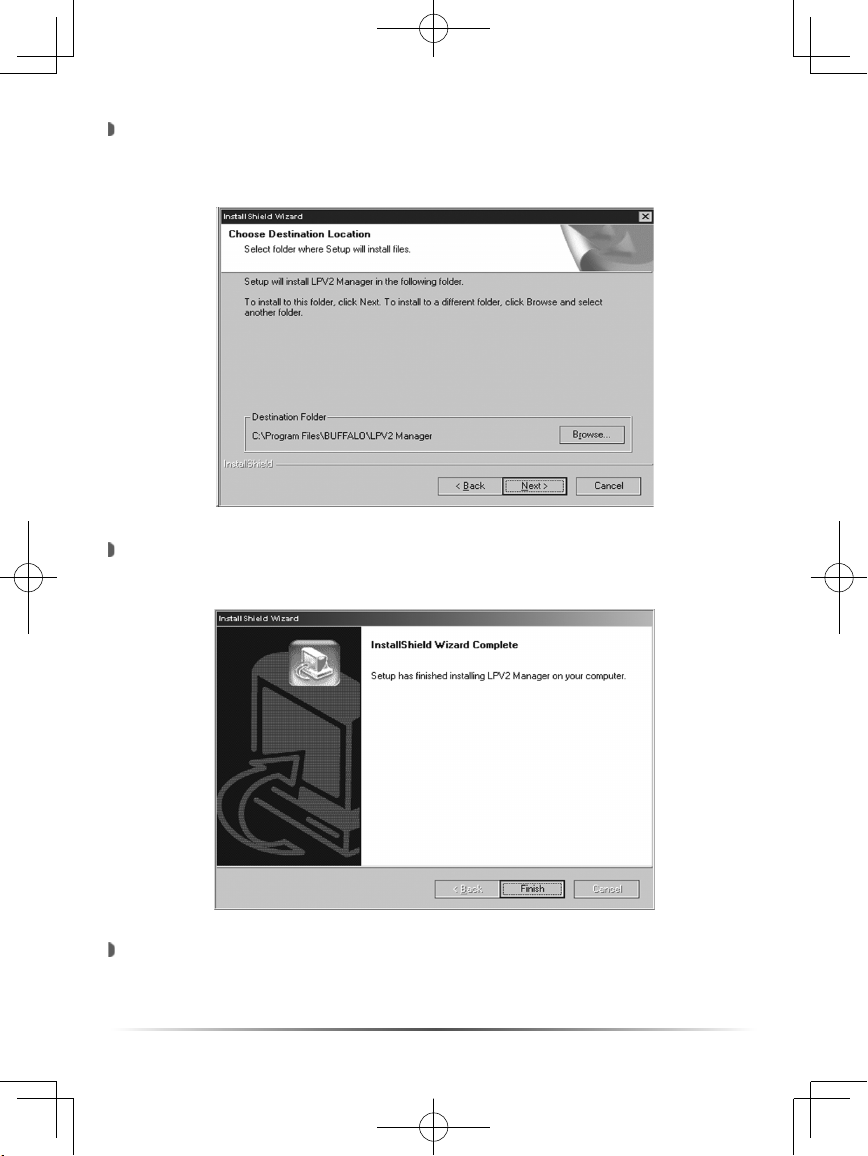
Press the ‘Browse’ button if there is a specific location the manager
should be installed to. Otherwise press the ‘Next’ button and accept
the default installation location.
The installation will continue and copy files to their necessary locations.
When the installation is complete, press the ‘Finish’ button.
Congratulations, the software has been successfully installed.
4
Using the Software
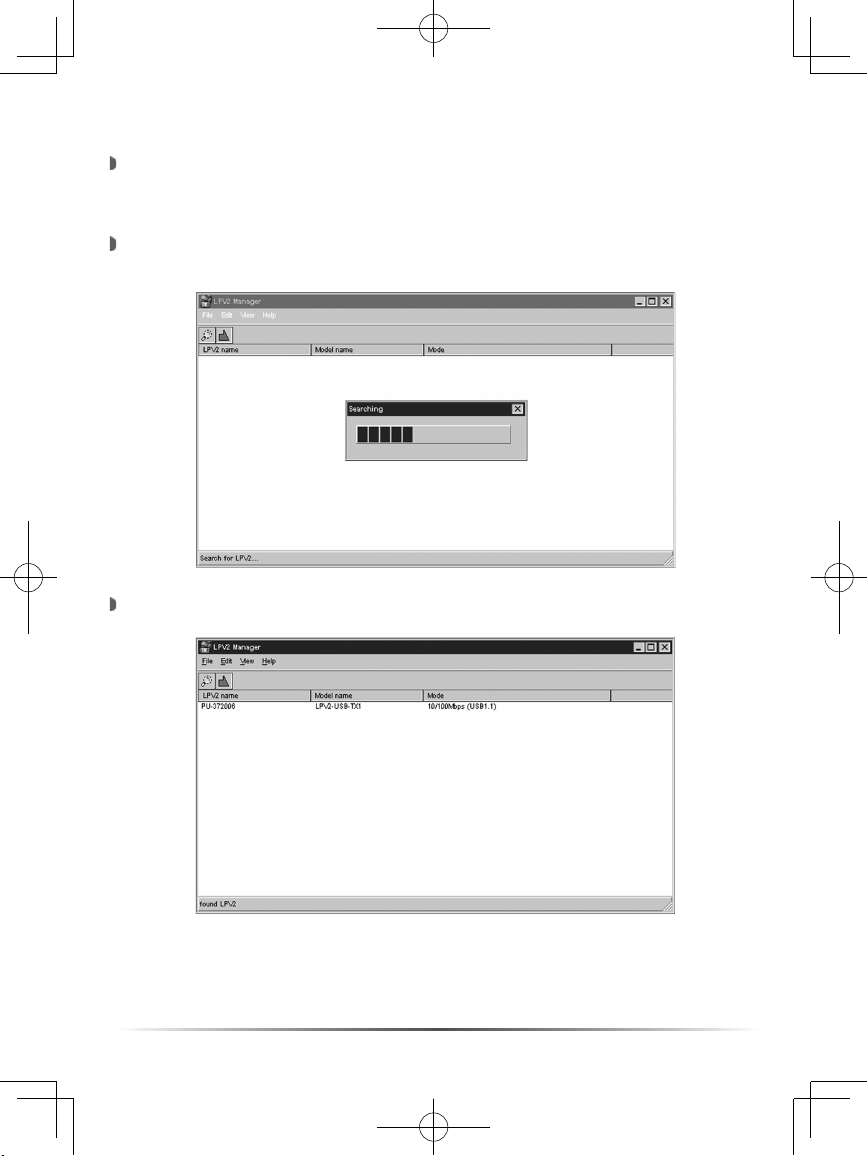
Launch the software by finding the icon in the Start Menu. Press
the ‘Start’ button, select ‘Programs’, select ‘BUFFALO’, select ‘LPV3
Manager’, and finally press the ‘LPV3 Manager’ icon.
The LPV3 Manager will launch and search for the USB Print Server on
the network.
The LPV3 Manager will display the USB Print Servers on the network.
5
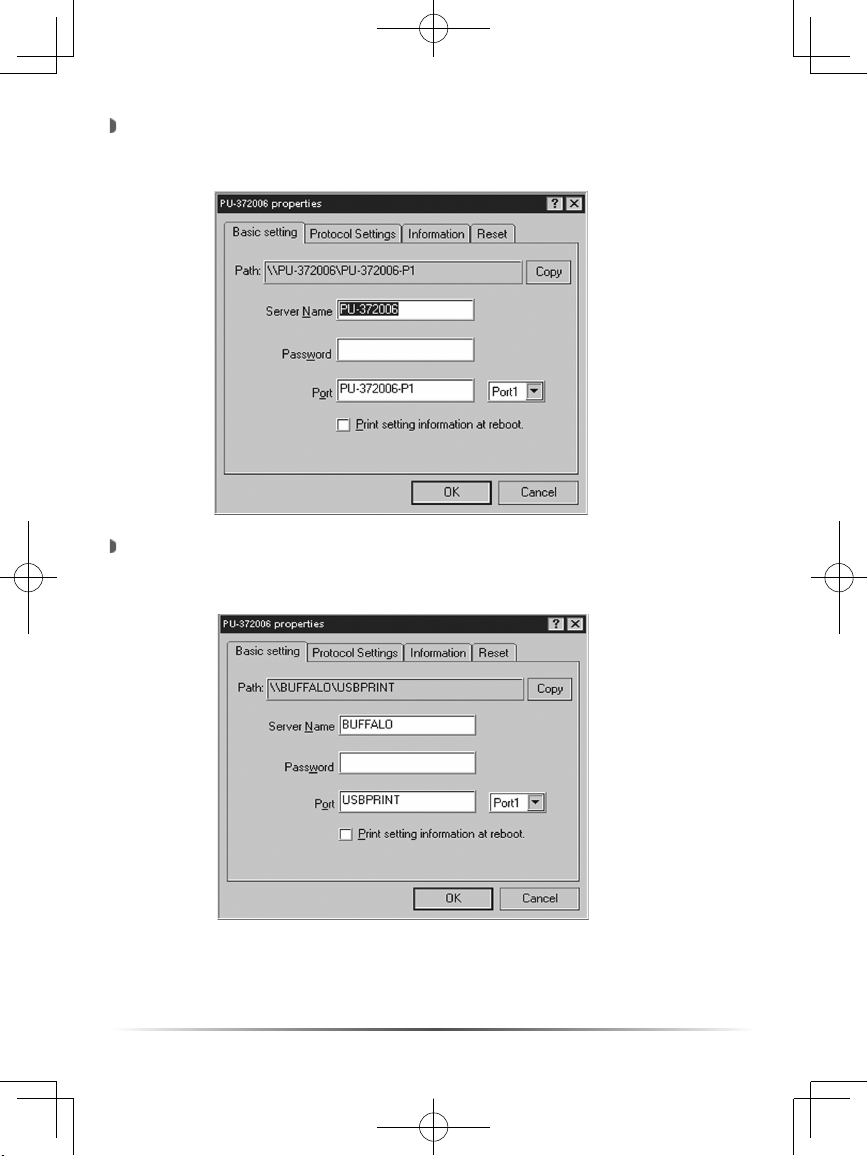
Configure the USB Print Server by double-clicking on the
corresponding Print Server. This will open the USB Print Server’s
properties.
The name of the USB Print Server can be changed by entering a new
name in the ‘Server Name’ field. The Password and Port names can
also be changed if desired. Record the name and port for later use.
NOTE: The ‘Password’ option sets a password for the LPV3 Manager
and web-based administration tool.
6
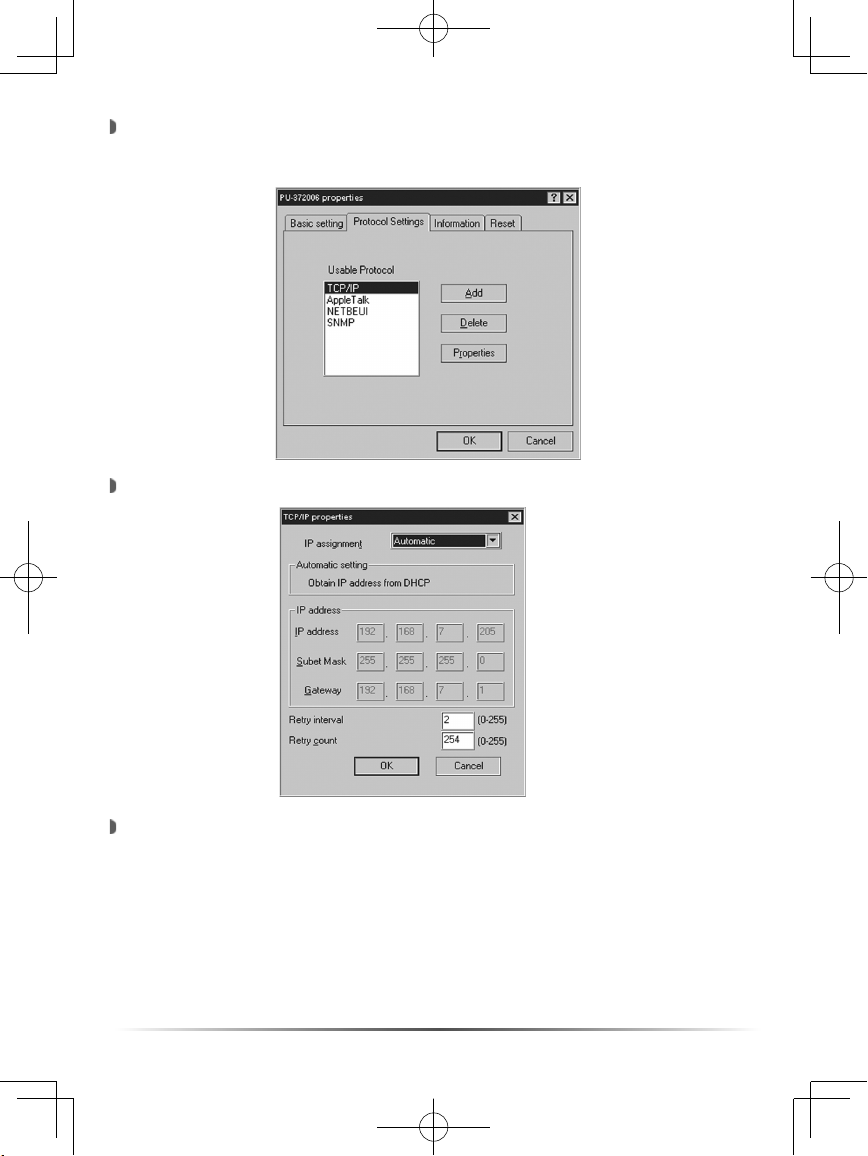
To configure the protocol settings press the ‘Protocol Settings’ tab.
The protocol options are TCP/IP, AppleTalk, NetBEUI, and SNMP. To
configure a protocol, select it and press the ‘Properties’ button.
TCP/IP Settings:
Select the ‘Manual Setting’ option from the drop-down menu if
a specific IP address is desired. Otherwise leave the setting on
Automatic. With Automatic used, the device will obtain its IP from
a DHCP server. Record the IP address of the printer. When the
selection is made, press the ‘OK’ button.
NOTE: If DHCP is used, it is recommended to exit out of the program,
reconnect to the Print Server through the Manager and record the new
‘discovered’ IP address. The IP address will be greyed out like above.
7
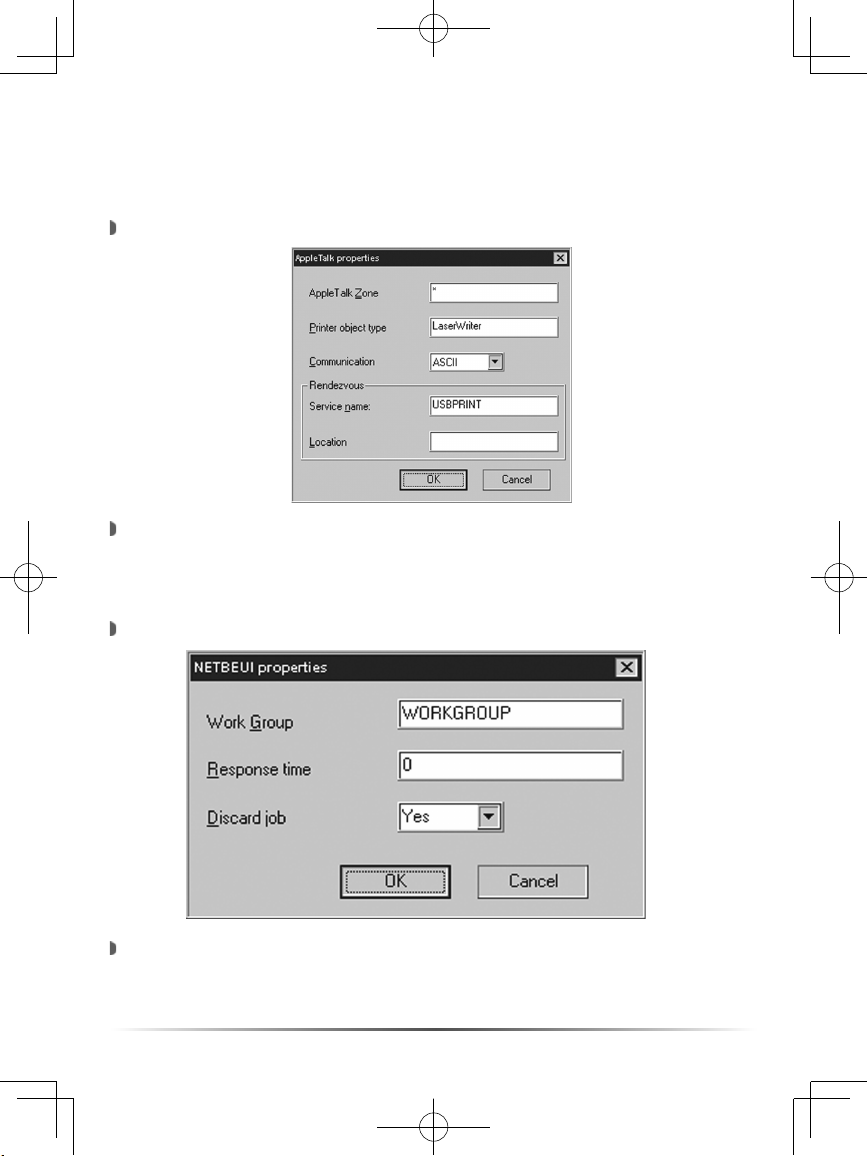
AppleTalk Settings:
If there are Macintosh computers on the network that wish to use the
printer, then enter a ‘Rendezvous Service Name’ in the field and press
the ‘OK’ button. This name is the friendly name Mac users will see
when installing their printer.
NetBEUI Settings:
If the printer is to be accessible via Network Neighborhood in Windows
98 and Windows ME, then enter the proper Work Group name for your
Work Group. Once the settings have been set, press the ‘OK’ button.
NOTE: It is recommended to use IP based printing for newer
PC-only networks. If there are Macintoshes or older PC’s on the
network, then please configure the appropriate AppleTalk and
NetBEUI settings.
8
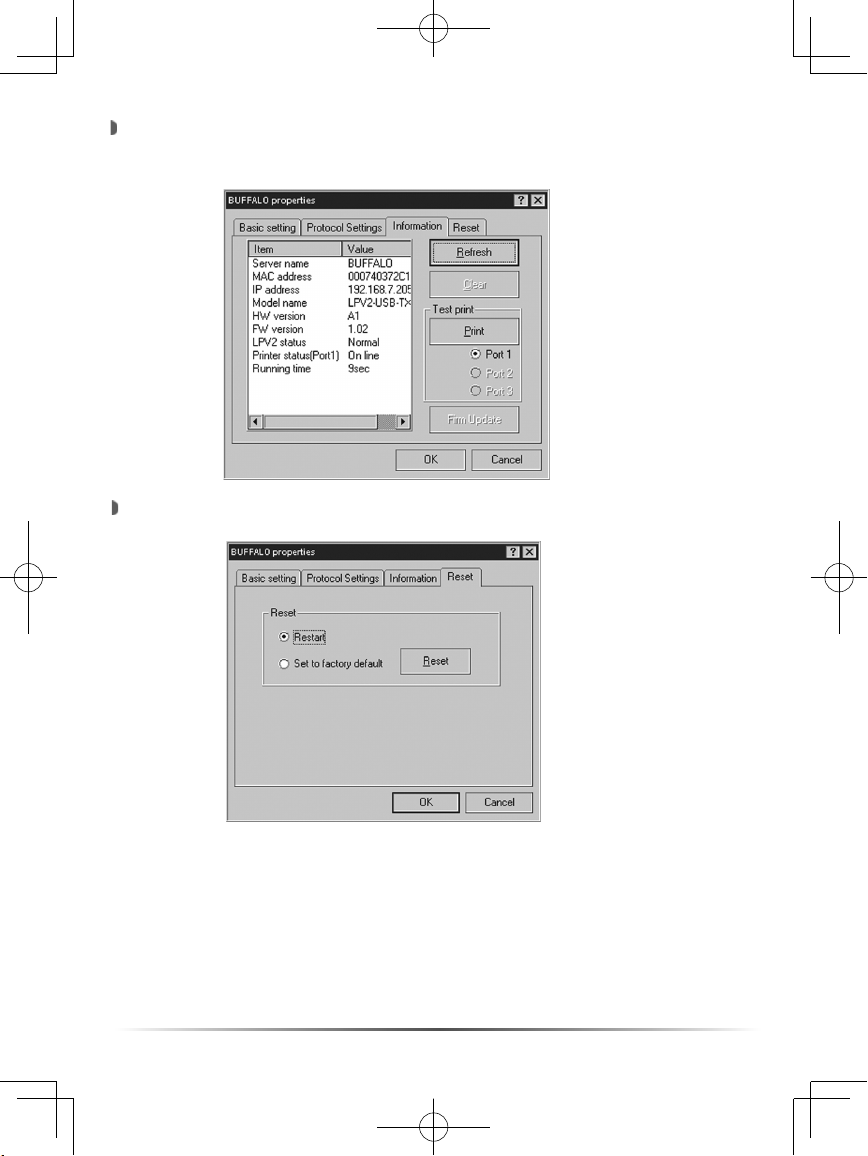
To view information about the USB Print Server, press the
‘Information’ tab. This tab will display the current information about
the USB Print Server.
To reset the device or to restore the factory default settings, press the
‘Reset’ tab.
Restart: Reboots the USB Print Server
Set to Factory Default: Restores the factory default settings.
Once all settings have been changed, press the ‘OK’ button.
NOTE: Future configuration can be done using your web browser.
Browse to http://xxx.xxx.xxx.xxx (where xxx.xxx.xxx.xxx is the configured
IP address of the Print Server.)
 Loading...