

Page 1

BT.com | BT Voyager ADSL
Mac OS Download & Installation Guide
Print
Voyager 105 USB ADSL Modem
Downloading and Installing Macintosh Drivers
● Download the file BTVoyager105MAC.sit to a temporary folder on your
Hard Disk drive
● Uninstall the current drivers from your Macintosh. This is achieved by
double clicking on the application Uninstall this is under Macintosh HD/
Application/BT Voyager 105 ADSL Modem. Follow the on screen
instructions.
● Create a new folder on your Hard Disk drive - e.g. Voyager Drivers
● Unstuff the downloaded file BTVoyager105MAC.sit to the new folder you
have created (you will need to use an unzip utility such as stuffit to
perform this function.)
● Ensure that the USB cable between the Voyager 105 modem and
Macintosh is disconnected.
● Navigate to the new folder Voyager Drivers and double click on the file BT
Installer.app.
● Follow the on-screen instructions plugging in the blue USB cable when
prompted.
● At the end of the installation, restart your Macintosh.
Select correct Mac OS below for guides on installing the Voyager 105 modem;
Mac OS9 | Mac OSX
BT and its affiliates cannot accept responsibility for any disruption, damage and/
or loss to your data or computer system that may occur while using this
software or the programs and data it provides.
http://www.voyager.bt.com/usb_modems/voyager_105/macos_install.htm08/09/2009 15:55:56
Page 2
BT.com | BT Voyager ADSL
Mac OS 9- Download & Installation Guide
Print
BT Voyager 105 USB ADSL Modem
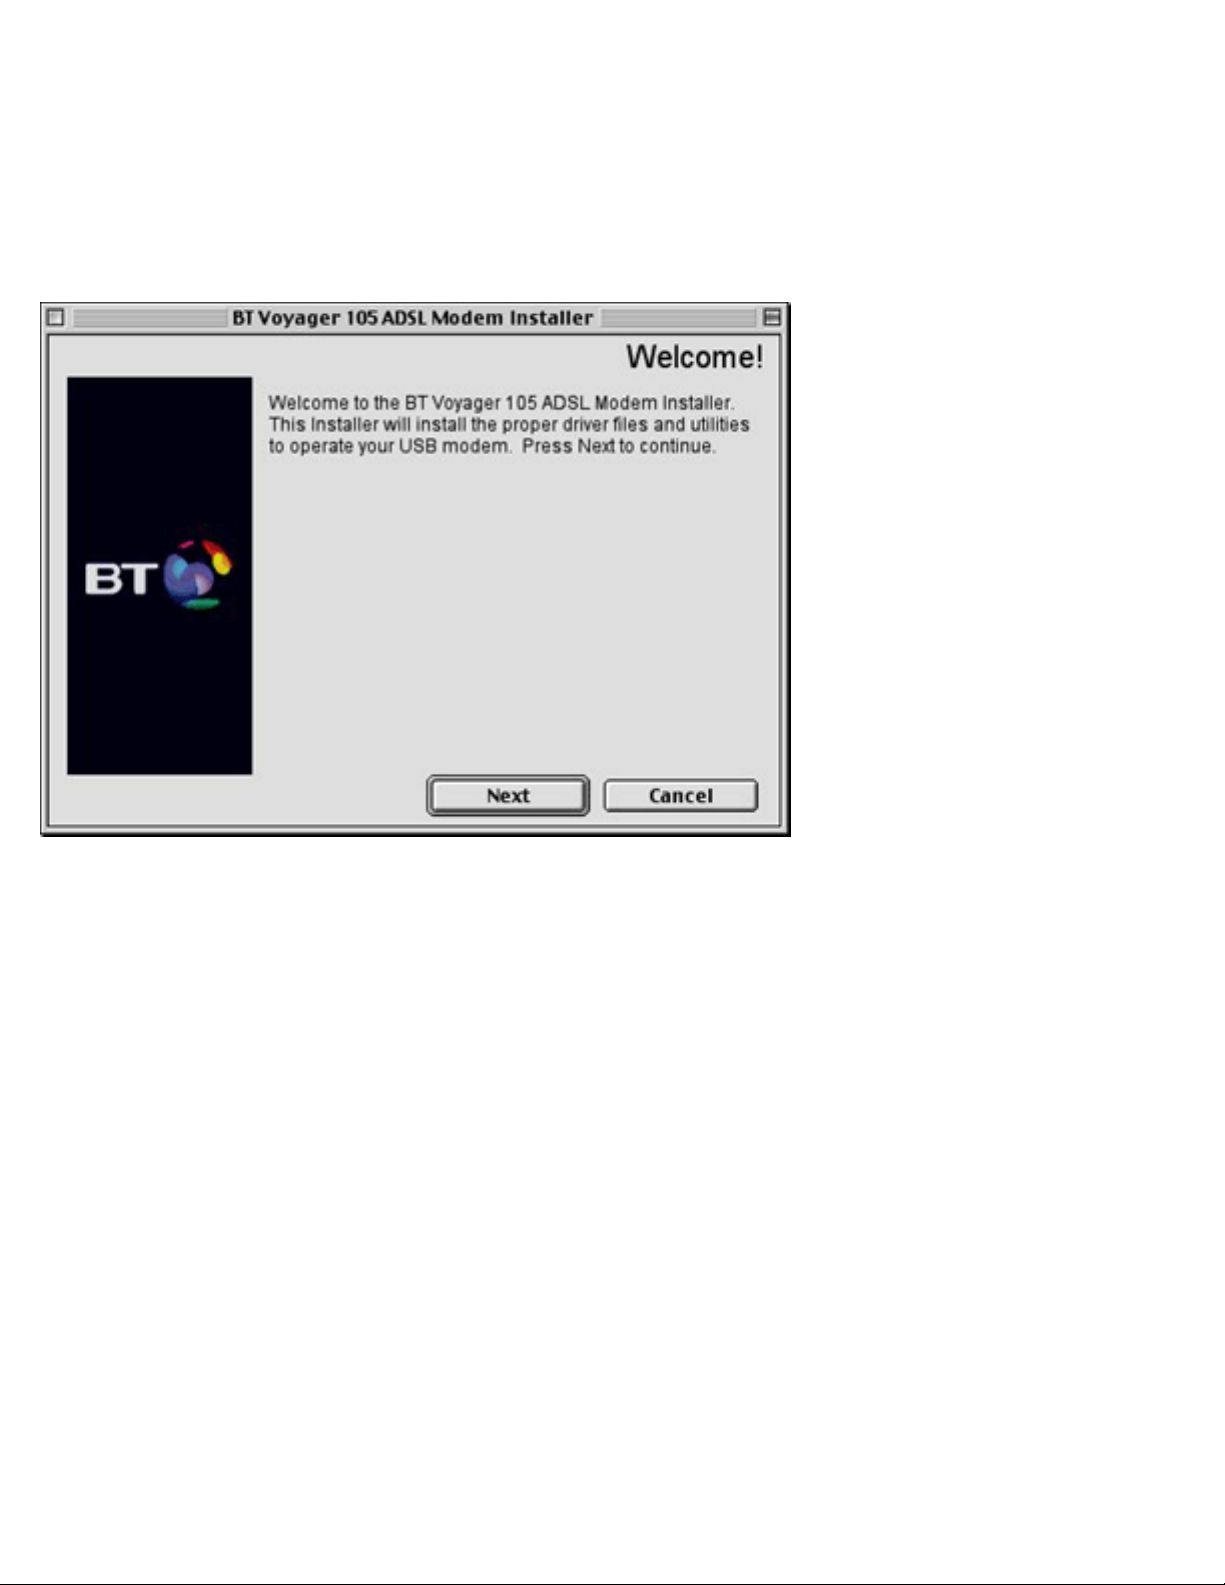
The first screen to appear is the Welcome screen. Click Next to continue.
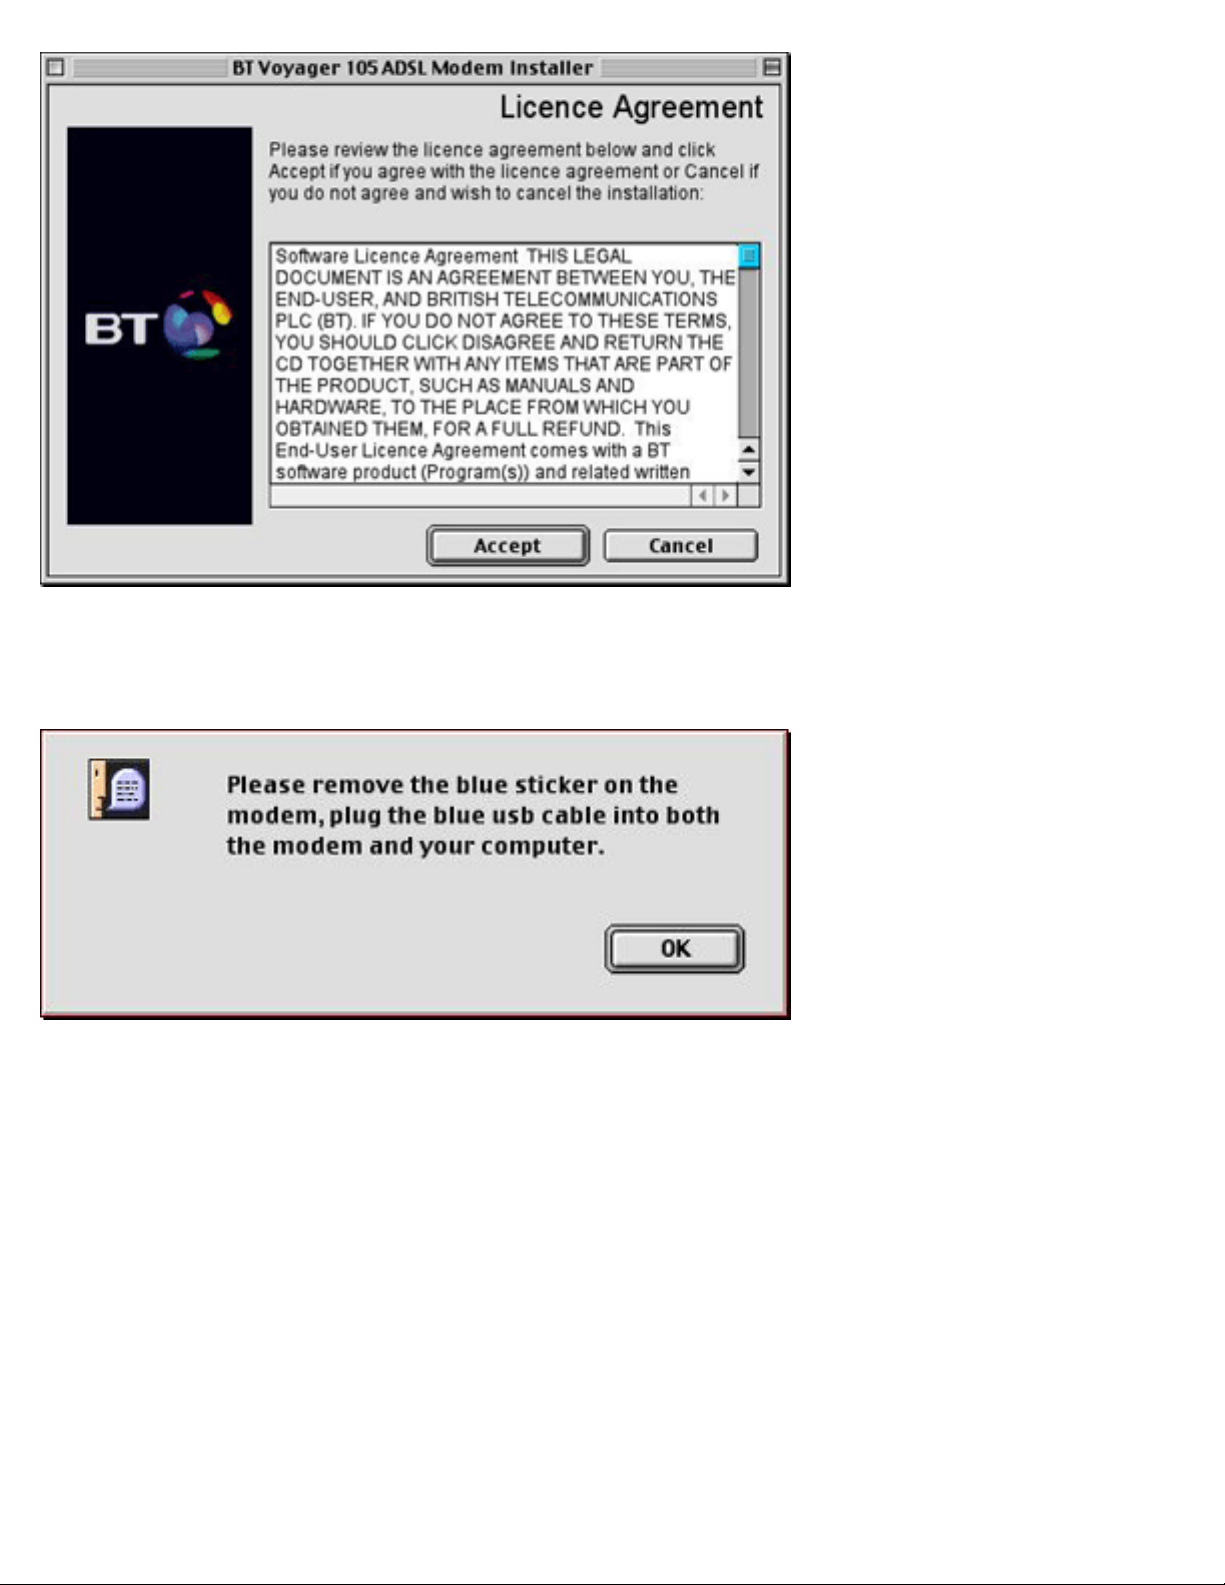
This will bring up the Licence Agreement screen. If you agree, click Accept to
continue. This will install the drivers.
http://www.voyager.bt.com/usb_modems/voyager_105/macos9_install.htm (1 of 10)08/09/2009 15:56:15
Page 3
BT.com | BT Voyager ADSL
When the drivers are installed you will be asked to plug the USB cable into your
modem and computer. Do so and click OK to continue.
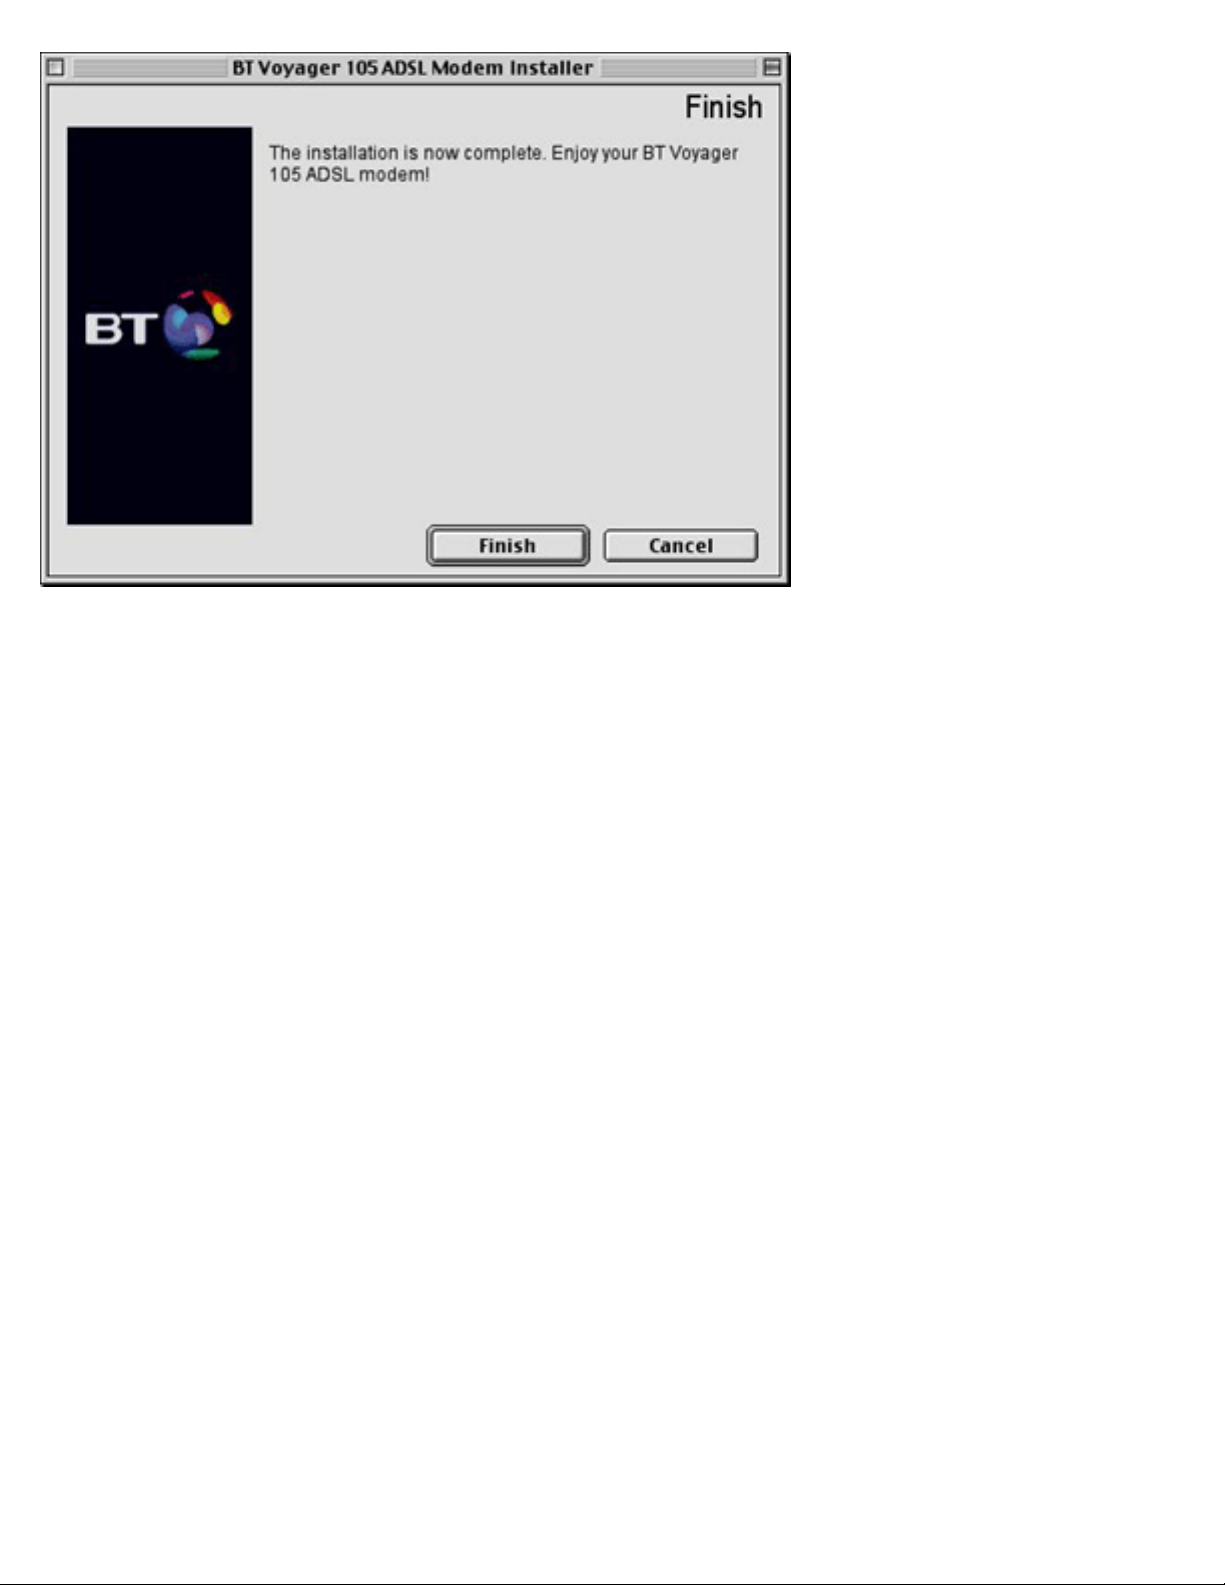
On the following screen, click Finish to continue.
http://www.voyager.bt.com/usb_modems/voyager_105/macos9_install.htm (2 of 10)08/09/2009 15:56:15
Page 4
BT.com | BT Voyager ADSL
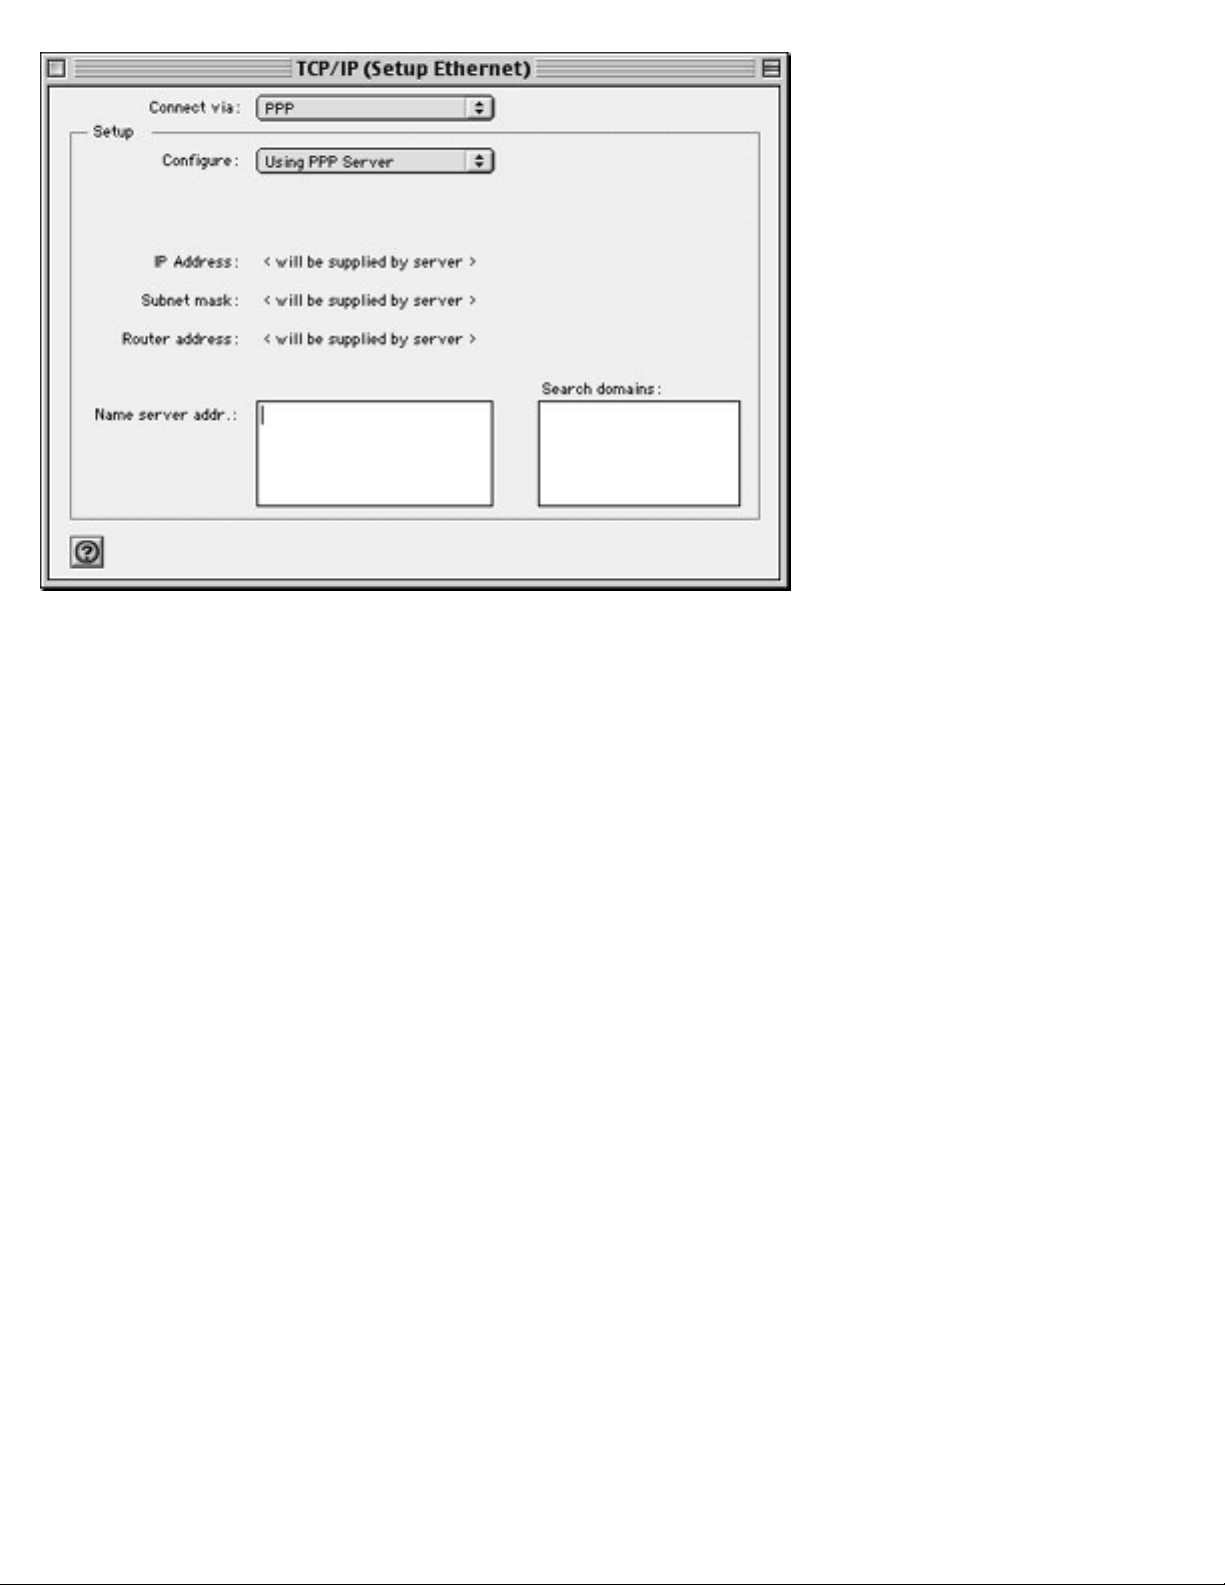
When the installation is complete you will need to change your settings. Click
on the Apple icon in the top left corner, select Control Panels, then select
TCP/IP.
http://www.voyager.bt.com/usb_modems/voyager_105/macos9_install.htm (3 of 10)08/09/2009 15:56:15
Page 5

BT.com | BT Voyager ADSL
Make sure PPP is selected in the Connect via window, and Using PPP Server is
selected in the Configure window. You may have a box appear asking you if
you want to save the changes. Click Save to continue.
http://www.voyager.bt.com/usb_modems/voyager_105/macos9_install.htm (4 of 10)08/09/2009 15:56:15
Page 6
BT.com | BT Voyager ADSL
Now you need to check your modem settings. Click on the Apple icon in the
top left corner, select Control Panels, then select Modem.
http://www.voyager.bt.com/usb_modems/voyager_105/macos9_install.htm (5 of 10)08/09/2009 15:56:15
Page 7

BT.com | BT Voyager ADSL
In this box, make sure ADSL USB Modem is selected in the Connect via and
Modem box. You may have a box appear asking you if you want to save the
changes. Click Save to continue.
http://www.voyager.bt.com/usb_modems/voyager_105/macos9_install.htm (6 of 10)08/09/2009 15:56:15
Page 8

BT.com | BT Voyager ADSL
Now you need to configure your access. Click on the Apple icon in the top left
corner, select Control Panels, then select Remote Access.
http://www.voyager.bt.com/usb_modems/voyager_105/macos9_install.htm (7 of 10)08/09/2009 15:56:15
Page 9

BT.com | BT Voyager ADSL
On this screen click Options.
http://www.voyager.bt.com/usb_modems/voyager_105/macos9_install.htm (8 of 10)08/09/2009 15:56:15
Page 10

BT.com | BT Voyager ADSL
Select the Protocol tab and make sure PPP is in the Use protocol window. When
done click OK. You may have a box appear asking you if you want to save the
changes. Click Save to continue.
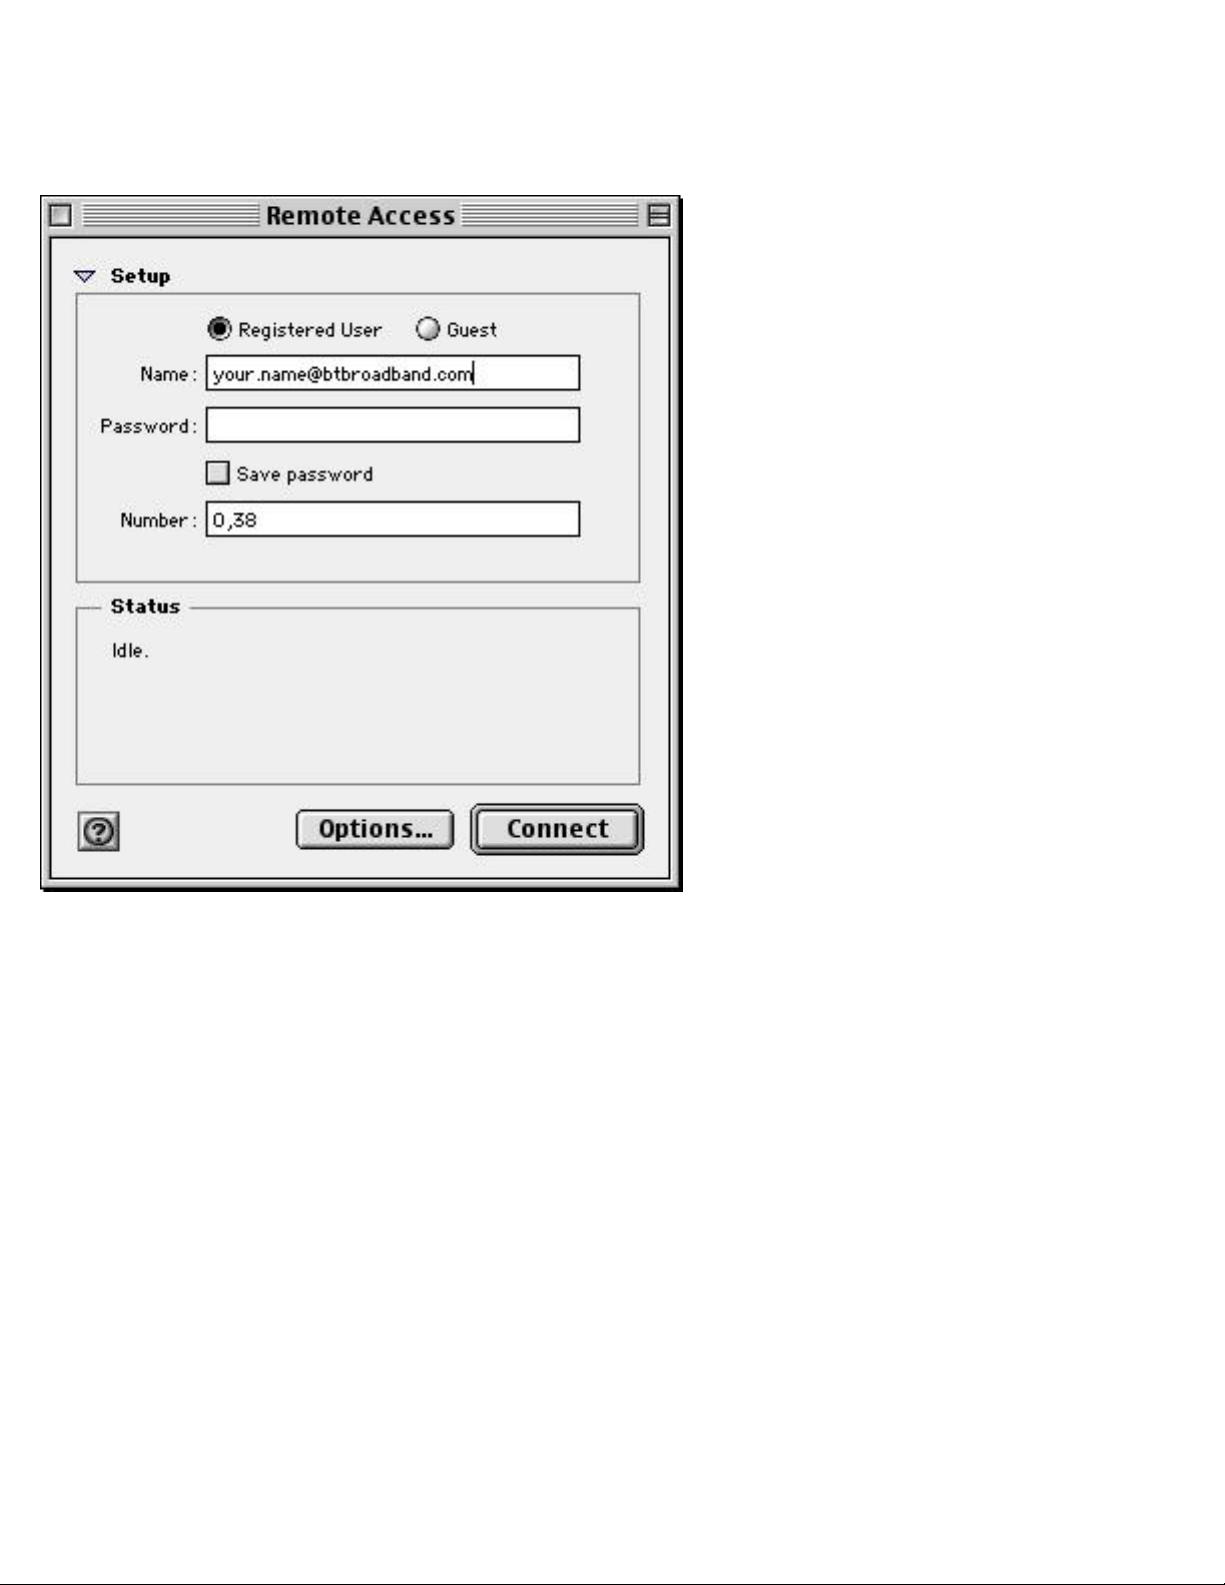
When back at the Remote Access box type in your BT Broadband username in
http://www.voyager.bt.com/usb_modems/voyager_105/macos9_install.htm (9 of 10)08/09/2009 15:56:15
Page 11
BT.com | BT Voyager ADSL
the format your.name@btbroadband.com where your = your first name
and name = your surname. You do not need to enter a Password. Then click
Connect.
BT and its affiliates cannot accept responsibility for any disruption, damage and/
or loss to your data or computer system that may occur while using this
software or the programs and data it provides.
Back to Downloading and Installing Macintosh Drivers
http://www.voyager.bt.com/usb_modems/voyager_105/macos9_install.htm (10 of 10)08/09/2009 15:56:15
Page 12

BT.com | BT Voyager ADSL
MAC OSX Download & Installation Guide
Print
BT Voyager 105 USB ADSL Mode
Note: If you have a Macintosh Powerbook G4 which has Bluetooth built in
please ensure this is turned off before you begin this installation. This can be
done by clicking on the Bluetooth symbol at the top right hand side of your
screen and selecting Turn Bluetooth Off. The Bluetooth symbol will then turn
gray. The Bluetooth can be turned back on once the modem has been installed.
The first screen you will encounter is the Welcome screen. Click Next to
continue.
Before you can begin to install any files, you will need to type in your
Administrator password. Insert your password and click OK to continue.
http://www.voyager.bt.com/usb_modems/voyager_105/macosx_install.htm (1 of 5)08/09/2009 15:56:51
Page 13

BT.com | BT Voyager ADSL
If you agree with the Licence Agreement, click Accept to continue.
You will then be prompted to plug your USB cable into the computer and
modem. Do so, then click Restart Now, then click Finish.
http://www.voyager.bt.com/usb_modems/voyager_105/macosx_install.htm (2 of 5)08/09/2009 15:56:51
Page 14

BT.com | BT Voyager ADSL
When the computer has restarted, double-click on the Macintosh HD icon.
When the next window appears, double-click on the Applications icon.
Then double-click the Internet Connect icon.
http://www.voyager.bt.com/usb_modems/voyager_105/macosx_install.htm (3 of 5)08/09/2009 15:56:51
Page 15

BT.com | BT Voyager ADSL
From the Configuration options select BT Voyager 105. Then click Edit to
enter the Network screen. (Mac 10.3 customers: to access the window to edit
your username you will need to double click on the System Preferences icon
in the dock and then select Network.)
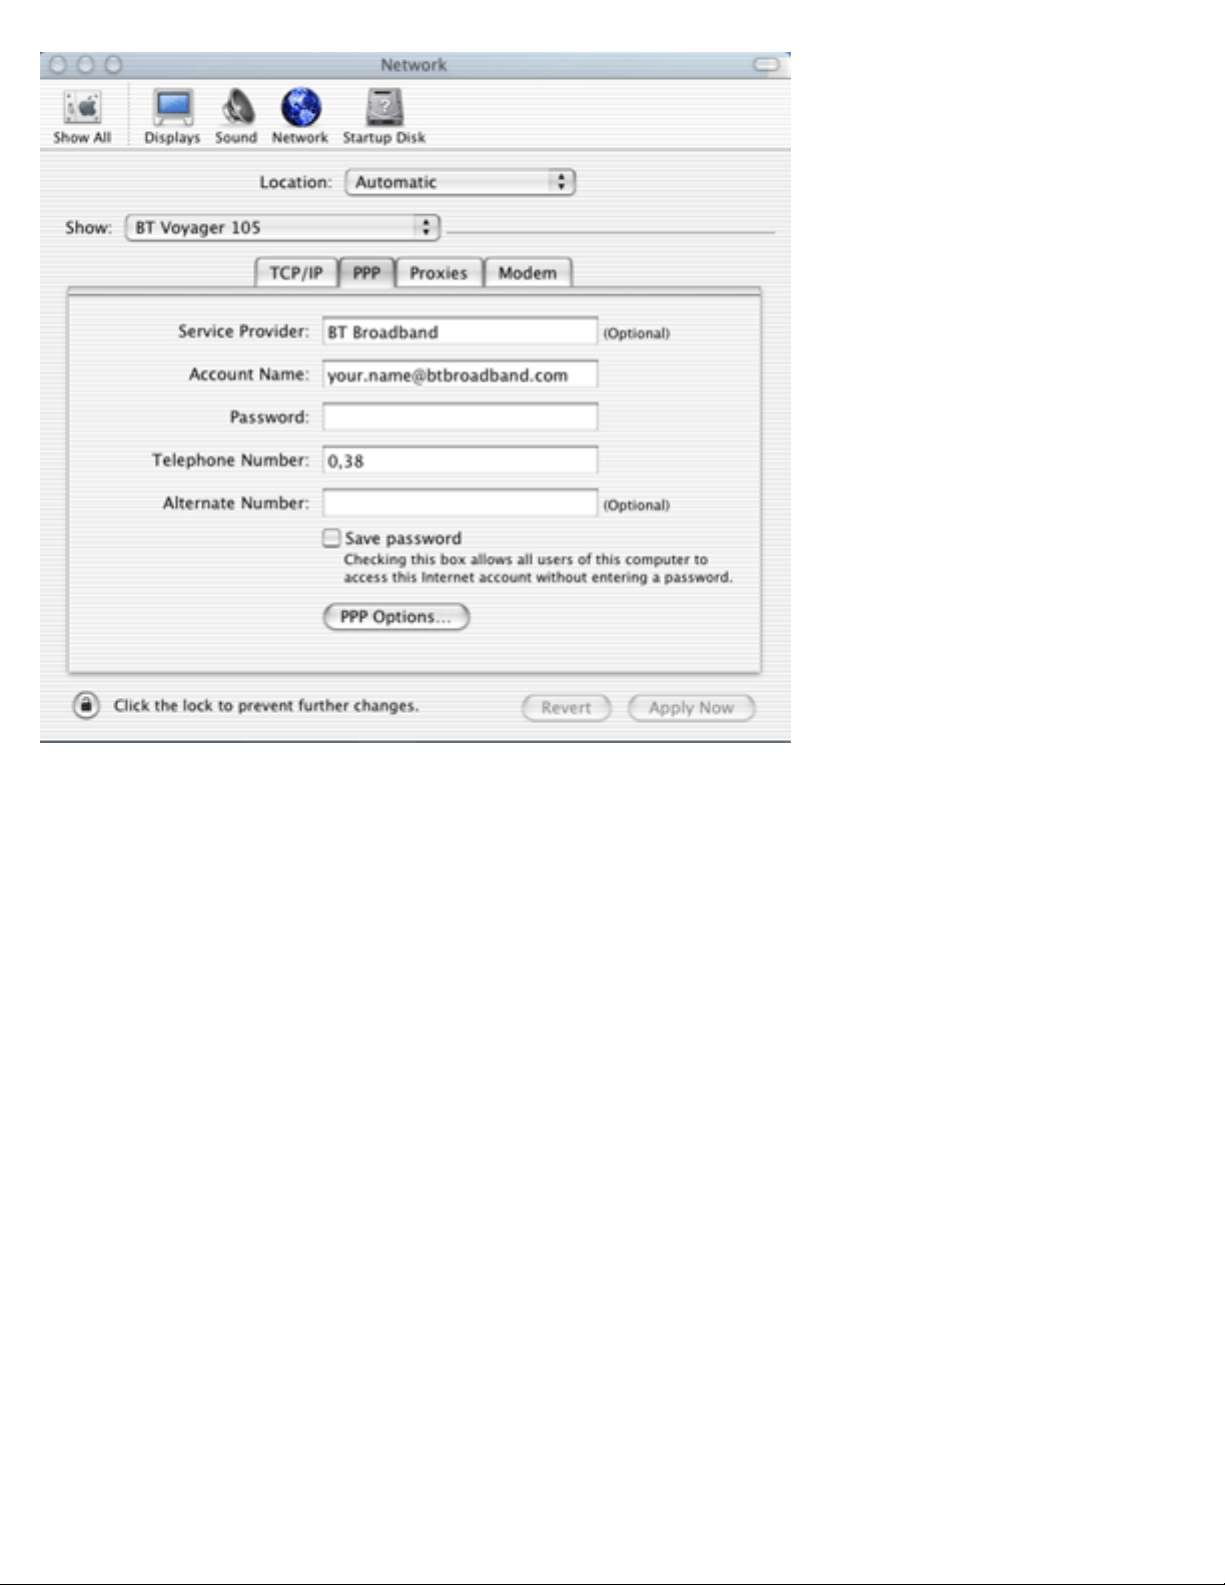
In the Network screen, click the Show bar and select BT Voyager 105. Then
click on the PPP tab. In Account Name enter your BT Broadband username in
the format your.name@btbroadband.com where your = your first name and
name = your surname. In the Password field enter BT (BT Broadband as a
service does not require a password but the Internet Connect application
requires there be something in the password box). Check that 0,38 is entered
in the Telephone Number field. Tick the option to Save password. Once you
have done all this click Apply Now to finish.
http://www.voyager.bt.com/usb_modems/voyager_105/macosx_install.htm (4 of 5)08/09/2009 15:56:51
Page 16
BT.com | BT Voyager ADSL
BT and its affiliates cannot accept responsibility for any disruption, damage and/
or loss to your data or computer system that may occur while using this
software or the programs and data it provides.
Back to Downloading and Installing Macintosh Drivers
http://www.voyager.bt.com/usb_modems/voyager_105/macosx_install.htm (5 of 5)08/09/2009 15:56:51
 Loading...