


Rider 860
User Manual

Table of Contents
Getting Started ......................4
Rider 860 Key Functions ............. 4
Forced Shutdown ......................... 4
Touch Screen ............................... 4
Accessories ................................ 5
Status Icon ................................. 5
Step 1: Charge Your Rider 860 ....... 6
Step 2: Turn On Rider 860 ............ 6
Step 3: Initial Setup .................... 6
Step 4: Acquire Satellite Signals .... 7
Step 5: Ride with Rider 860 .......... 7
Step 6: Share Your Records............ 7
Show On Map ............................. 28
Map Display ............................... 29
Navigation .................................. 29
Language ................................... 30
About ......................................... 30
Profile .............................. 31
Bryton Advanced Settings .... 32
Notications ............................... 32
Appendix ......................... 33
Specications ............................. 33
Battery Information ..................... 34
Update Device Software ............... 11
Course ............................ 12
Follow Track ............................... 12
Workout ..................................... 14
Navigation ....................... 14
Navigation .................................. 14
Download Maps .......................... 16
Results ............................ 17
Settings ........................... 18
GPS System ............................... 18
Grid Settings .............................. 19
Install Rider 860 ........................ 36
Install the Speed/Cadence/Dual Sensor
(Optional) ................................... 37
Install Heart Rate Belt
(Optional) ................................... 38
Wheel Size and Circumference ..... 39
Basic Care For Your Rider 860 ..... 40
Data Fields ................................. 41
General ...................................... 19
Bike Setup ................................. 26
Wireless Local Area Network
(WLAN) ....................................... 27
Altitude ...................................... 28
2

WARNING
Always consult your physican before you begin any training. Please read the details in
Warranty and Safety information guide in the package.
Australian Consumer Law
Our goods come with guarantees that can not be excluded under the New Zealand and
Australian Consumer Laws. You are entitled to a replacement or refund for a majory failure
and for compensation for any other reasonably forseeable loss or damage. You are also
entitled to have the goods repaired or replaced if the goods fail to be of acceptable quality
and the failure does not amount to a majoy failure.
Video Tutorial
For a step-by-step demonstration of device and Bryton Active app, please scan the QR code
below to check out Bryton Tutorial Videos.
http://www.youtube.com/c/BrytonActive
3

Getting Started
C B
03/20 Thu
12:20
85%
Sensor
Notification
Phone
Power off
Bike 1
Grid Settin
g
Home
GPS
WLAN
Max Speed
Max Alt.
Time
ODO
This section will guide you through basic preparations before rst use with your Rider 860.
Rider 860 Key Functions
Power( )
x Long Press to turn the device ON/OFF.
x Press to lock the touchscreen.
Record ( )
x In Cycling mode, press to start
recording.
x When recording, press to pause
A
recording.
LAP ( )
x When recording, press to mark the lap.
Forced Shutdown
Long press ( ) for 8 seconds to shutdown the device.
Touch Screen
x Swipe down from top of
the screen to access Quick
Settings.
x In Cycling mode, swipe left or
right to view more data pages.
x In Cycling mode, long press to
edit cycling grids.
x Select
to conrm selection.
x Select to cancel selection.
x Select to return to the
previous page.
4 Getting Started

Accessories
The Rider 860 comes with the following accessories:
• USB Cable • Bike Mount • Sport Mount • Safety Lanyard
Optional items:
• Smart Heart Rate Monitor • Smart Speed Sensor • Smart Cadence Sensor
Status Icons
Icon Description
GPS Signal Status
GPS Off
No Signal
(not xed)
Weak Signal
Strong Signal
WLAN Status
WLAN Off
No WLAN
Signal
Weak WLAN
Signal
Strong WLAN
Signal
Power Status
Icon Description
Navigation
Categories
Save Route
Route
History
Coordinate
Navigation
Address
Favorite
Altitude
Default View
Zoom in
Zoom out
Locate Current
Position
Icon Description
Sensor Pairing
Heart Rate
Sensor
Active
Speed Sensor
Paired
Cadence Sensor
Paired
DI2 Active
Electronic
Shifting Active
Full battery
Out of battery
Battery Charging
Record
Log Record in
Progress
Recording Paused
Recording
Stopped
Add to Favorite
Search POI
Add a PIN
Heading Mode
Compass Mode
5 Getting Started

Step 1: Charge your Rider 860
Connect Rider 860 to a PC to charge the battery for at least 4 hours. Unplug the device
when it is fully charged.
x You may see the battery icon blinking when the battery is very low. Keep the device
plugged in until properly charged.
x The temperature suitable for charging battery is 0°C ~ 40°C. Beyond this temperature
range, charging will be terminated and the device will draw power from battery.
At least 4 hours
Step 2: Turn On Rider 860
Press to turn on the device.
Step 3: Initial Setup
When powering on the Rider 860 for the rst time, the setup wizard will appear on the
screen.
Follow the instruction to complete setup.
1. Select the display language.
2. Select the unit of measurement.
3. Use QR code to nd and download the Bryton Active App.
4. Read WLAN description and select Next Page.
LANGUAGE
Dansk
Drutsch
English
Español
Français
KM,KG
MI,LB
UNIT
ACTIVE APP
Bryton Active App
Ios
Apple Store
Next Page
Android
Google Play
You can download maps and
planned trips or upload ride activities
with a WLAN connection.
To download maps, please go to
[Navigation] > [Download Maps] and
select a region.
To enable downloading planned trips
and uploading ride activities, please
log in to your Bryton Active account.
Planned trips can be downloaded by
going to [Courses] > [Follow Track] >
[Add from Cloud] and selecting
routes.
Ride activities will automatically
upload when connected to WLAN.
WLAN
Next Page
6 Getting Started

Step 4: Acquire Satellite Signals
Once the Rider 860 is turned on, it will automatically search for satellite signals. It may take
30 to 60 seconds to acquire signals for rst time use.
The GPS signal Icon ( / ) appears when GPS is xed .
x If GPS signal is not xed, a icon appears on the screen.
Please avoid obstructed environments since they might affect GPS reception.
Tunnels
Inside rooms,
building, or
underground
Underwater High-voltage
wires or
television
towers
Construction
sites and heavy
trafc
Step 5: Ride with Rider 860
x Free ride:
In cycling mode, measurement starts and stops automatically in sync with the movement
of the bicycle.
x Start an exercise and record your data:
In cycling mode, press to start recording, press again to pause recording.
Step 6: Share Your Records
Share Your Tracks to Brytonactive.com
1. Sign up on Brytonactive.com
a. Go to https://active.brytonsport.com.
b. Register for a new account
2. Connect to PC
Turn on your Rider 860 and connect it to your computer by USB cable. Select t les
from Bryton disk > Rider 860 > Download > History.
3. Share Your Records
a. Click “+” in the right upper corner.
b. Drop FIT, BDX, GPX le(s) here or Click “Select les” to upload tracks.
c. Click “Activities” to check uploaded tracks.
7 Getting Started

Share Your Tracks to Strava.com
1. Sign up/log in on Strava.com
a. Go to https://www.strava.com
b. Register for a new account or use your current Strava account to log in.
2. Connect to PC
Turn on your Rider 860 and connect it to your computer by USB cable.
3. Share Your Records
a. Click “+” on the top right corner of the Strava page and then click “File”.
b. Click “Select Files” and select FIT les from Bryton device.
c. Enter information about your activities and then click “Save & View”.
Connect Rider 860 to PC
For Windows PC:
a. Power on Rider 860
b. Connect Rider 860 to PC by using Bryton’s original USB cable
c. Open “This PC”/”My Computer” and nd “Bryton” disk.
For Mac PC:
a. Install Android File Transfer app on Mac
https://www.android.com/letransfer/
b. Power on Rider 860
c. Connect Rider 860 to PC by using Bryton’s original USB cable
d. Bryton disk page will automatically pop up
8 Getting Started

Auto Sync Tracks to Bryton Active App
With connection to Bluetooth or WLAN, your Rider computer easily uploads recorded tracks.
To sync data correctly from your device via bluetooth, it is required to pair the device with
Bryton active app before syncing data for the rst time.
Sync via BLE
a. Scan QR code below to download Bryton Active
App or go to Google Play/App Store to search Bryton
Active App. Then, log in or create an account.
http://download.brytonsport.com/inst.html
c. Check if UUID shown on app is the same as your
device. Select “Yes” to conrm adding this device.
If the UUID does not match, press NO to try adding
again.
b. Go to Settings>Device Manager>+>
Rider 860 to add your GPS device.
Rider 860
d. Successfully added! Turn on Auto Sync Tracks.
Now new tracks will be automatically uploaded to
Bryton Active App..
NOTE: Bryton Active App syncs with Brytonactive.com. If you already have a
brytonactive.com account, please use the same account to log in to Bryton Active App and
vice versa.
9 Getting Started

Sync via WLAN
a. Set up WLAN in Settings > WLAN. Select a
network to set up a connection.
WLAN
WLAN
wifi-bryton
Choose a network
HOME
MeetingRoom
c. Log in with your Bryton Active account by going to
Prole and selecting Log In.
b. Scan QR code below to download Bryton Active
App or go to Google Play/App Store and search for
“Bryton Active App. Then create an account.
http://download.brytonsport.com/inst.html
d. Once the device is connected to WLAN, new
tracks will be automatically uploaded to Bryton
Active App.
Log In
Email Address
Password
Log In
Forget Password
Skip
10 Getting Started
Update Device Software
Bryton releases new software version updates at irregular intervals to add new functions or
correct bugs for better and more stable performance. It is recommended that you update the
software once new software is available. Software updates usually take longer to download
and install. Do not turn off the device while software is updating.
1. Select Settings in home page.
2. Select Software Update.
3. Follow the instructions to complete the
software update.
Update
Check Version
11 Getting Started

Course
There are 2 primary Course functions. First is Follow Track, where you can create tracks,
access your Follow Track routes and use them to navigate along or to a predened route. The
second is Workout where you can create workouts or access workouts that you plan via the
Bryton Active App.
Follow Track
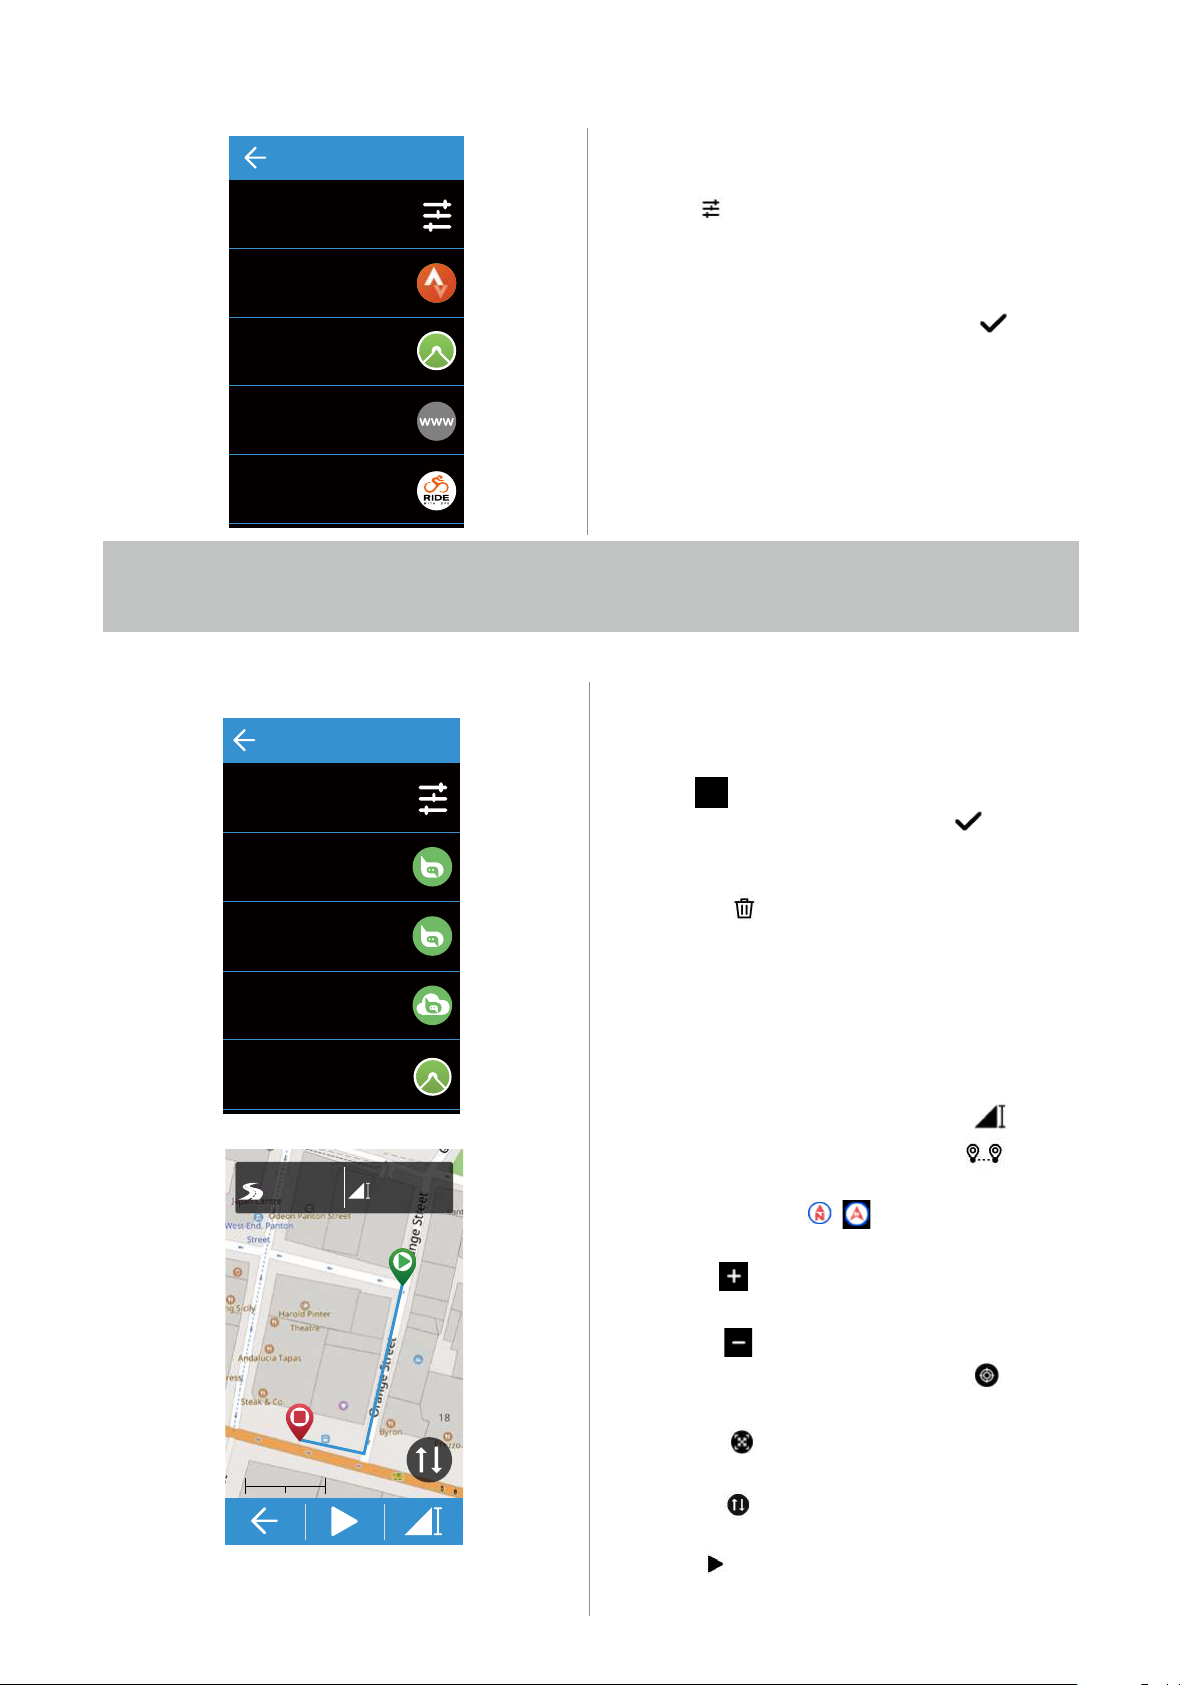
Create Track
1. Select Course in home page.
2. Select Follow Track > Create.
Select Location
Search here
History
Favorite
Categories
Coordinates
1. Select an option.
x To add a point manually, select .
x To search for a point, type a location
in the Search bar.
2. Select to conrm the pin placement.
More Location Options
1. Select the icon on the top left for more
options.
x Select for selected location history.
100 m
x Select for a saved favorite point.
x Select for different POI categories.
x Select for typing coordinates and
select to conrm.
Add More / Delete / Edit Points
1. Select for more options.
x Select Enable Waypoints to add more
points.
x Select Delete Point to delete points.
x Select Edit Waypoint to change the
1
3
2
order/add to favorite/delete.
Save Point as Favorite
Select to save a point as favorite.
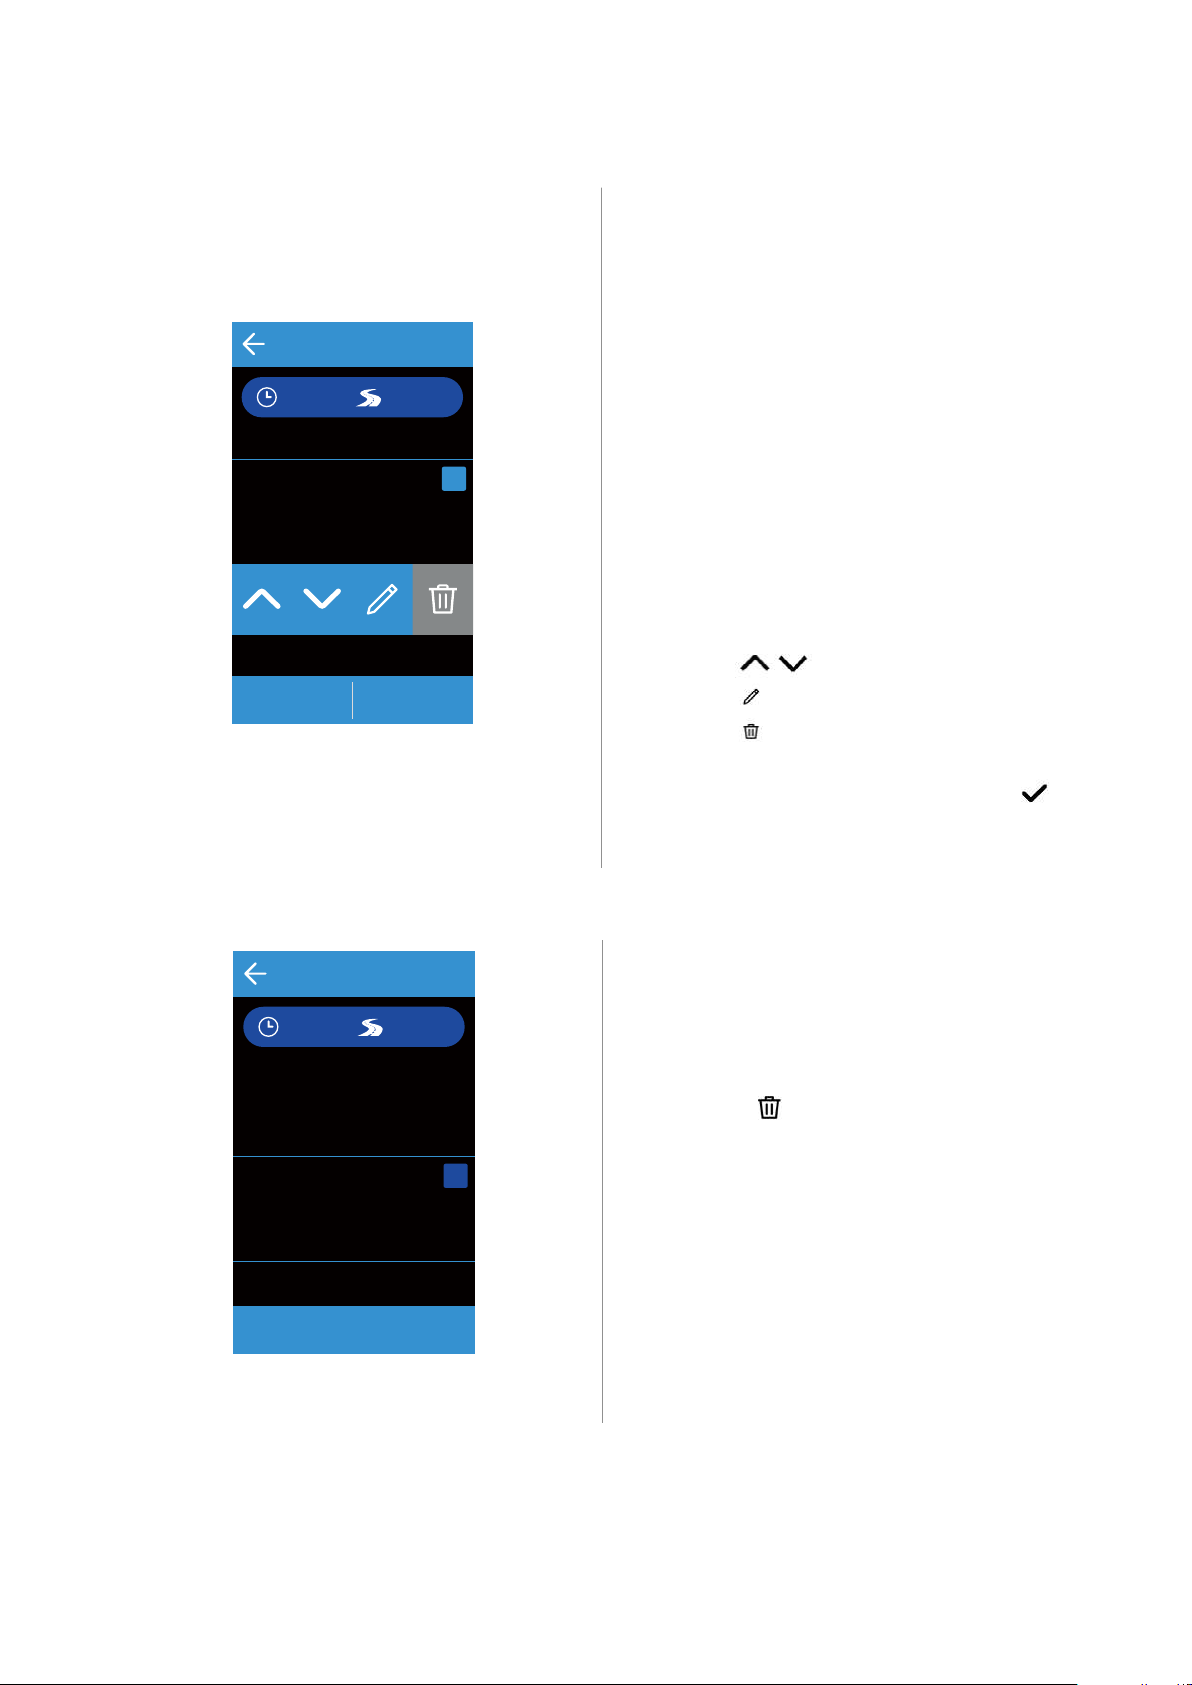
View Track
1. Select to choose Easy/Short track.
2. Tap the screen to view more options.
3. Select an option
x To view altitude details, select .
x To view course details, select .
x To switch between compass / heading
modes, select / respectively.
x To zoom in the map/altitude chart,
select .
x To zoom out the map/altitude chart,
Save Route
Select to save the planned route.
12 Course
Add from Cloud
FROM CLOUD
1. Select Course in home page.
2. Select Follow Track > From Cloud.
List
3. Select to open categories.
4. Select one category which you would like
Cloud_01
to import to the device.
5. “Would you like to import this track to
device” message pops up. Select to
Cloud_02
conrm.
6. You can nd the imported track in the
Cloud_03
Cloud_04
On Device.
Note: Before importing tracks from the cloud, make sure you set up a wireless network
connection in Settings > WLAN.
On Device
1. Select Course in home page.
ON DEVICE
List
Tracks_01
Tracks_02
Cloud_04
Tracks_03
2. Select Follow Track > On Device.
Edit Track List
1. Select to open categories.
2. Select one category and select to
conrm.
3. Swipe left for more options.
x Select to delete.
Select Track
1. Select one track which you would like to
follow.
View Track
1. Tap the screen to view more options.
2. Select an option.
x To view altitude details, select .
1.56
100 m
x To view course details, select .
5
km
km
x To switch between compass / heading
modes, select / respectively.
x To zoom in the map/altitude chart,
select .
x To zoom out the map/altitude chart,
select .
x To locate your position, select .
x To return to the default mode,
select .
x To reverse Start and End point,
select .
Start Following Track
1. Select to start your ride.
13 Course
Workout
Create a Workout
CREATE
1. Select Course in home page.
2. Select Workout > Create a Workout.
Set A Workout
1. Add parts.
x Select Interal Type (Warm Up/Activity/
Recovery/Cool Down).
Cadence rpm9080 -
Distance km4
FTP % of TTP4020 -
My Workout
Step 1
Distance km4
Cadence rpm9080 -
Distance km4
FTP % of TTP4020 -
Distance km4
0:0:0 10 km
Work
Warm upStep 3
SaveAdd Step
WORKOUT_03
0:0:0 25 km
Warm up
Work
Warm upStep 3
Start
x Duration (Distance/Time).
x Target (FTP/MAP/MHR/LTHR/Speed/
Cadence).
2Step 2
2Step 2
2. Select OK to conrm.
3. Select Add Part to continue adding
interval type.
Edit Workout
1. Tap the Step you would like to make
changes for more options.
x Select to change the order.
x Select to edit the interval type.
x Select to delete the interval type.
Save Workout
1. Select Save to edit name and select to
save it.
1. Select Course in home page.
2. Select Workout > My Workout.
3. You can view all the workouts that you
have saved.
Delete Workout
1. To delete the workout, swipe left
and select to delete.
Start Workout
1. Select the workout you would like to
start.
2. Select Start to start the workout.
Stop Workout
1. Press to stop the ride.
x Select Discard to discard the record.
x Select Save to save the record.
14 Course
 Loading...