

Brother Innov-is 6000D User Manual
Upgrade KIT
Operation Manual
III

ENGLISH
CONTENTS
BEFORE YOU START................................................................................................................. 2
NEW FEATURES ........................................................................................................................ 2
EMBROIDERING WITH THE BORDER EMBROIDERY FRAME (30 cm × 10 cm (approx. 11-3/4
inches × 4 inches))..................................................................................................................... 3
About the Border Embroidery Frame...................................................................................... 3
Sample Projects Using the Border Embroidery Frame ............................................................ 3
Selecting a Pattern ................................................................................................................. 4
Hooping the Fabric in the Border Embroidery Frame ............................................................. 6
Attaching the Border Embroidery Frame to the Embroidery Unit............................................ 7
Embroidering the First Pattern................................................................................................ 8
Removing the Border Embroidery Frame ............................................................................... 9
Embroidering the Next Pattern............................................................................................... 9
USING THE CAMERA TO CONNECT PATTERNS ................................................................... 12
Examples of Connected Patterns .......................................................................................... 12
Preparation (Camera Needle Position Setting)...................................................................... 13
Practice (Connecting Three Patterns) ................................................................................... 14
Changing the Position of a Sticker ....................................................................................... 22
CONNECTING ROTATED PATTERNS..................................................................................... 26
SLIDING THE POSITION OF THE PATTERN TO BE CONNECTED ......................................... 29
Connecting Patterns to be Joined Along an Edge.................................................................. 30
RESUME FEATURE ..................................................................................................................33
COLOR CHANGE TABLE FOR THE EMBROIDERY PATTERNS ON THE CD-ROM ................. 34
1

BEFORE YOU START
Note
It is important to perform the upgrade according to the procedure described in the Installation Guide. The machine
can then be used as described in the Operation Manual. The border embroidery frame (30 cm × 10 cm (approx. 11-
3/4 inches × 4 inches)) will show on the LCD screen of the machine and the frame will be recognized when
attached to the embroidery frame holder. New machine features and benefits are described in this guide.
• Screen illustrations may vary due to model of machine.
• Make sure that “Version 2” in the Settings screen has changed to “3.1” or later. If the machine is installed with a lower
version, it must be upgraded. For details, refer to the Installation Guide.
NEW FEATURES
• A border embroidery frame (30 cm × 10 cm (approx. 11-3/4 inches × 4 inches)) is included, allowing the
fabric to easily be rehooped when embroidering repeated patterns.
• Instead of using a thread mark, the built-in camera can be used to connect embroidery patterns. (Embroidery
Edit)
• Ten embroidery designs created to show the convenience and potential of the border embroidery frame are
available on the included CD. To view a list of the patterns, refer to page 34.
2
EMBROIDERING WITH THE BORDER EMBROIDERY
CAUTION
Note
FRAME (30 cm × 10 cm (approx. 11-3/4 inches × 4
inches))
About the Border Embroidery Frame
Since the fabric can easily be repositioned and
rehooped when the border embroidery frame is used,
this frame is useful for embroidering repeated
patterns while sliding the fabric. An added feature of
this frame is that the pressure applied by the upper
and lower frames will not leave an indentation in the
fabric. An area of 30 cm × 10 cm (approx. 11-3/4
inches × 4 inches) can be embroidered.
• Do not leave the border embroidery frame within
the reach of children, otherwise injuries may result.
Sample Projects Using the Border Embroidery Frame
We recommend using the border embroidery frame
when repeated patterns are embroidered at the edges of
items such as curtains, chair covers, bed covers,
tablecloths and blankets.
• When the border embroidery frame is not being
used, unlock it before storing it.
• Due to its construction, the border embroidery frame
does not hold fabric as tightly as other frames. Since
fabric shrinkage may occur, depending on the fabric
and pattern used, be sure to sew trial embroidery on
a piece of scrap fabric before sewing your project.
3
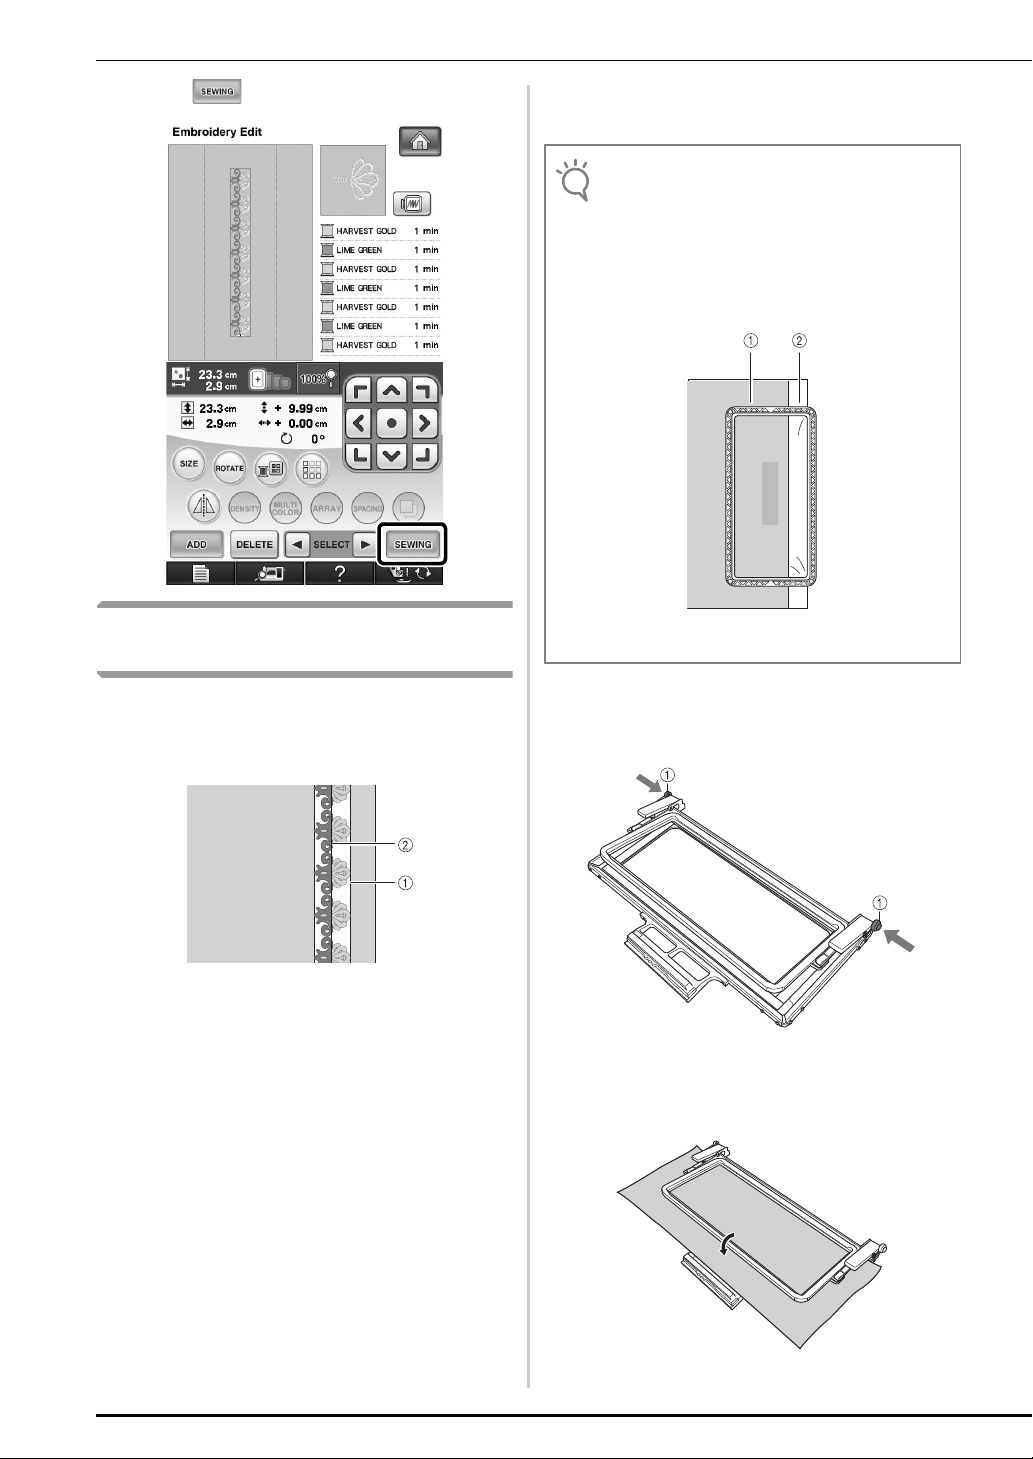
Selecting a Pattern
a
b
Memo
Press / and select a pattern, and
c
Press .
a
On page 6/8 for the embroidery frame display
b
settings, select one of the embroidery frame
displays for the border embroidery frame (30
cm × 10 cm (approx. 11-3/4 inches × 4
inches)). Press to return to the previous
screen.
* Of the 16 settings available, there are 2 for border
embroidery frames (30 cm × 10 cm (approx. 11-3/4 inches
× 4 inches)).
then press .
Use the border function to repeat the pattern.
d
a Border embroidery frame embroidering area
(30 cm × 10 cm (approx. 11-3/4 inches × 4 inches))
b Center mark
• For details for the border function, refer to
“Designing Repeated Patterns” in chapter 6 of the
Operation Manual for the sewing machine.
4
If necessary, assign thread marks. Since the
Note
Memo
e
pattern will be repeatedly embroidered from
the top to the bottom, add the thread mark to
the lower center of the bottom pattern. When
you are finished, press .
• Select the location where the thread mark is to be
added according to the direction that the embroidery
is repeated.
→ Touch and , or and to highlight
the design for inserting thread marks.
• Do not add thread marks to character patterns.
• Add thread marks to patterns that do not have a
point of alignment, such as rotated patterns or
patterns that are spaced apart. Patterns that can be
aligned visually can be embroidered cleanly without
the thread mark.
If the design direction is rotated, use the following
suggestions.
a First Pattern
b Second Pattern
c Thread mark
5
f
Note
Press .
Affix stabilizer material to the fabric to be
b
embroidered.
• When embroidering the edges of the fabric, affix
stabilizer material larger than the fabric, and then
firmly secure the fabric and excess part of the
stabilizer material within the border embroidery
frame (in the same way as when the normal
embroidery frame is used). Otherwise, misaligned
patterns may result.
Hooping the Fabric in the Border Embroidery Frame
With a chalk pen, mark the fabric with a line
a
drawn down the center of the area to be
embroidered.
a Pattern
b Center mark (line)
a Fabric
b Stabilizer
If the upper frame is locked down against the
c
lower frame, press the left and right lock
release buttons to unlock the upper frame.
a Lock release buttons
Lay the fabric between the upper and lower
d
frames.
6
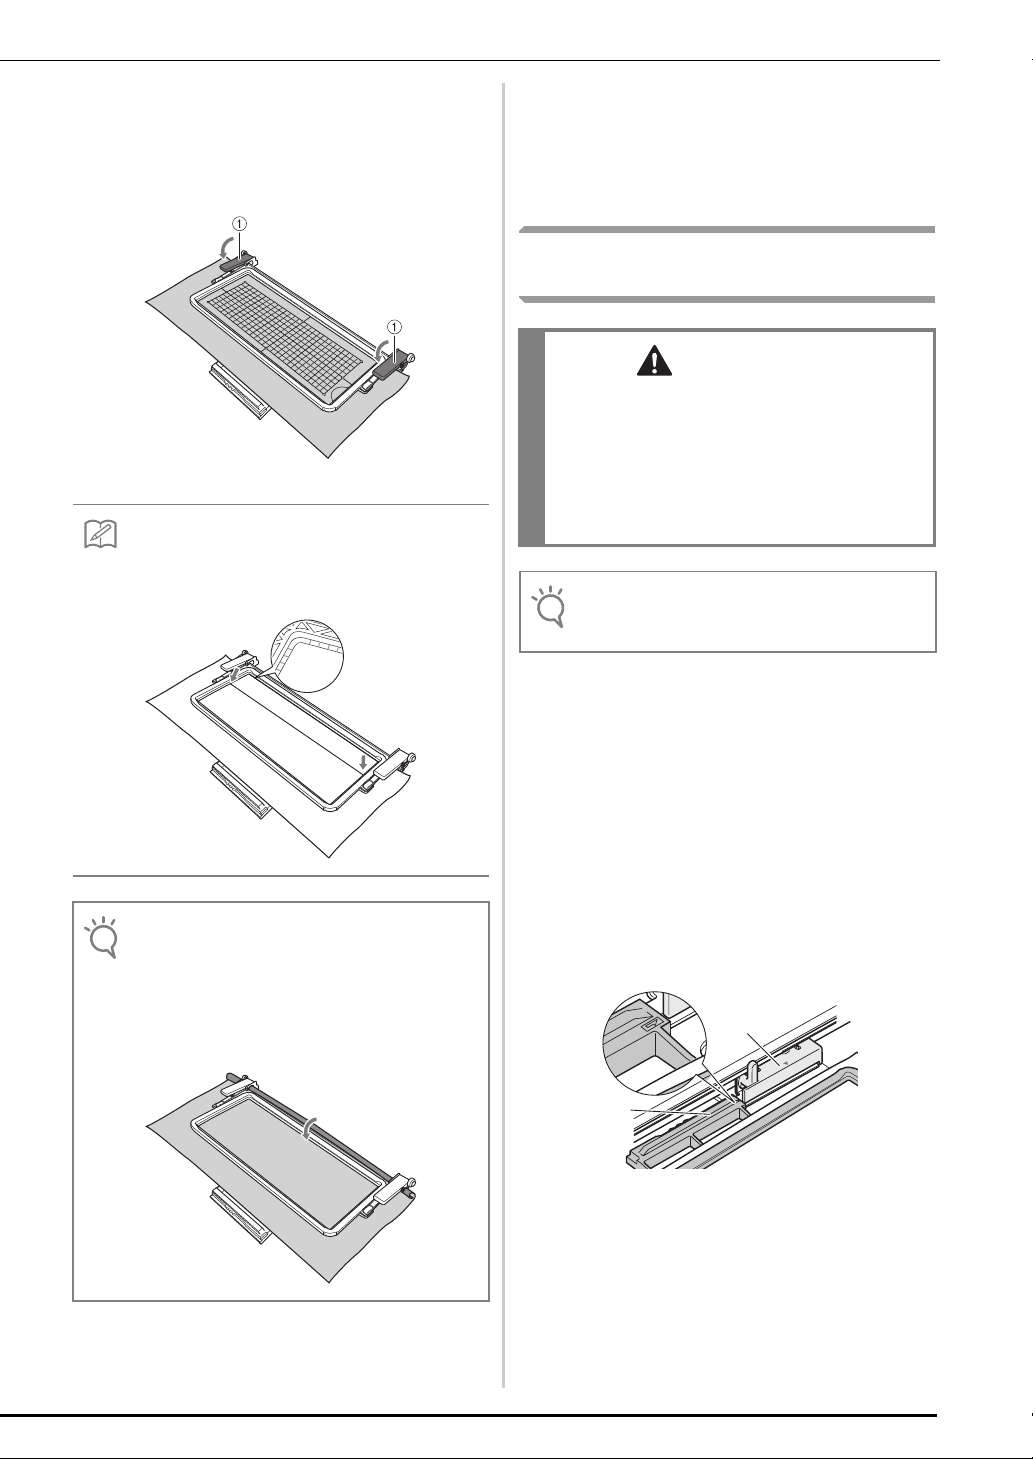
Place the embroidery sheet in the upper
Memo
Note
CAUTION
Note
e
frame, align the center mark (line) on the
fabric with the guide line on the embroidery
sheet, and then press down on the left and
right locking levers until they click into place.
a Locking levers
• The fabric can also be positioned in the border
embroidery frame by aligning the edge of the fabric
with the inner markings on the upper frame.
Remove the embroidery sheet, and then
f
gently pull the four sides of the fabric to
remove any excess slack. Be careful so that
fabric is not stretched out of shape. Finally,
check that the fabric is firmly within the
hoop.
Attaching the Border Embroidery Frame to the Embroidery Unit
• After firmly hooping the fabric in the border
embroidery frame, attach the frame to the
embroidery unit. Otherwise, the needle may break
and cause injuries.
• Before attaching the border embroidery frame to
the embroidery unit, make sure that the needle and
presser foot have been raised. Otherwise, the
needle may break and cause injuries.
• Before attaching the border embroidery frame, wind
the bobbin with thread and install it.
• If there is excess fabric after the center of the
embroidering area is aligned with the center of the
border embroidery frame, fold over the excess
fabric, place it on top of the upper frame, and then
press down on the levers. Be careful that the folded
excess fabric is not caught in the embroidering area.
Make sure that the needle and presser foot
a
have been raised. If the needle has not been
raised, press the “Needle Position” button to
raise it. If the presser foot has not been raised,
press the “Presser Foot Lifter” button to raise
it.
Make sure that the embroidery unit carriage
b
has moved to its initial position.
Align the guide on the border embroidery
c
frame with the right edge of the embroidery
frame holder.
a
b
a Embroidery frame holder
b Guide on border embroidery frame
7
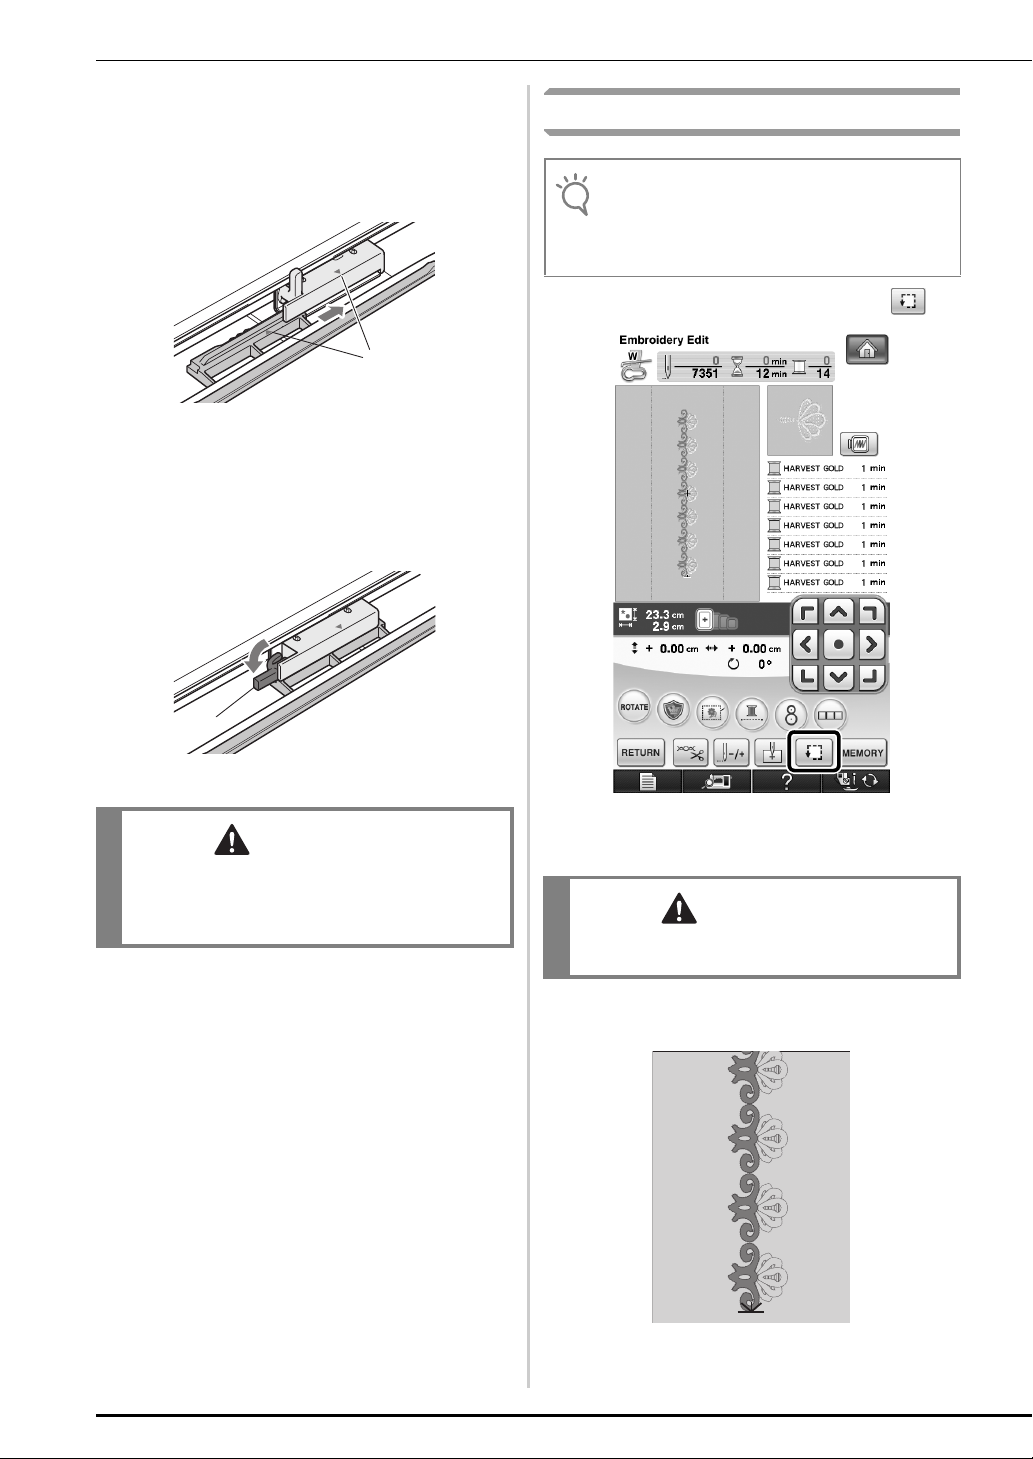
Slide the border embroidery frame into the
CAUTION
a
Note
CAUTION
d
embroidery frame holder, making sure to
align the border embroidery frame's arrow
mark (U) with the embroidery frame holder's
arrow mark (U).
a Arrow marks
Lower the frame-securing lever so that it is
e
level with the border embroidery frame to
secure the border embroidery frame to the
embroidery frame holder.
Embroidering the First Pattern
• When the border embroidery frame is used, the
embroidering time may vary slightly than the time
that appears in the screen, depending on the type of
fabric and pattern that is used.
To check the embroidering area, press .
a
a
a Frame-securing lever
• If the frame-securing lever is not lowered, the
pattern may not embroider correctly or the presser
foot may strike the border embroidery frame and
cause injuries.
Thread the machine, and then start
b
embroidering.
• Do not touch the border embroidery frame while
embroidering.
→ When embroidering is finished, the thread mark is
sewn with the last thread color.
8
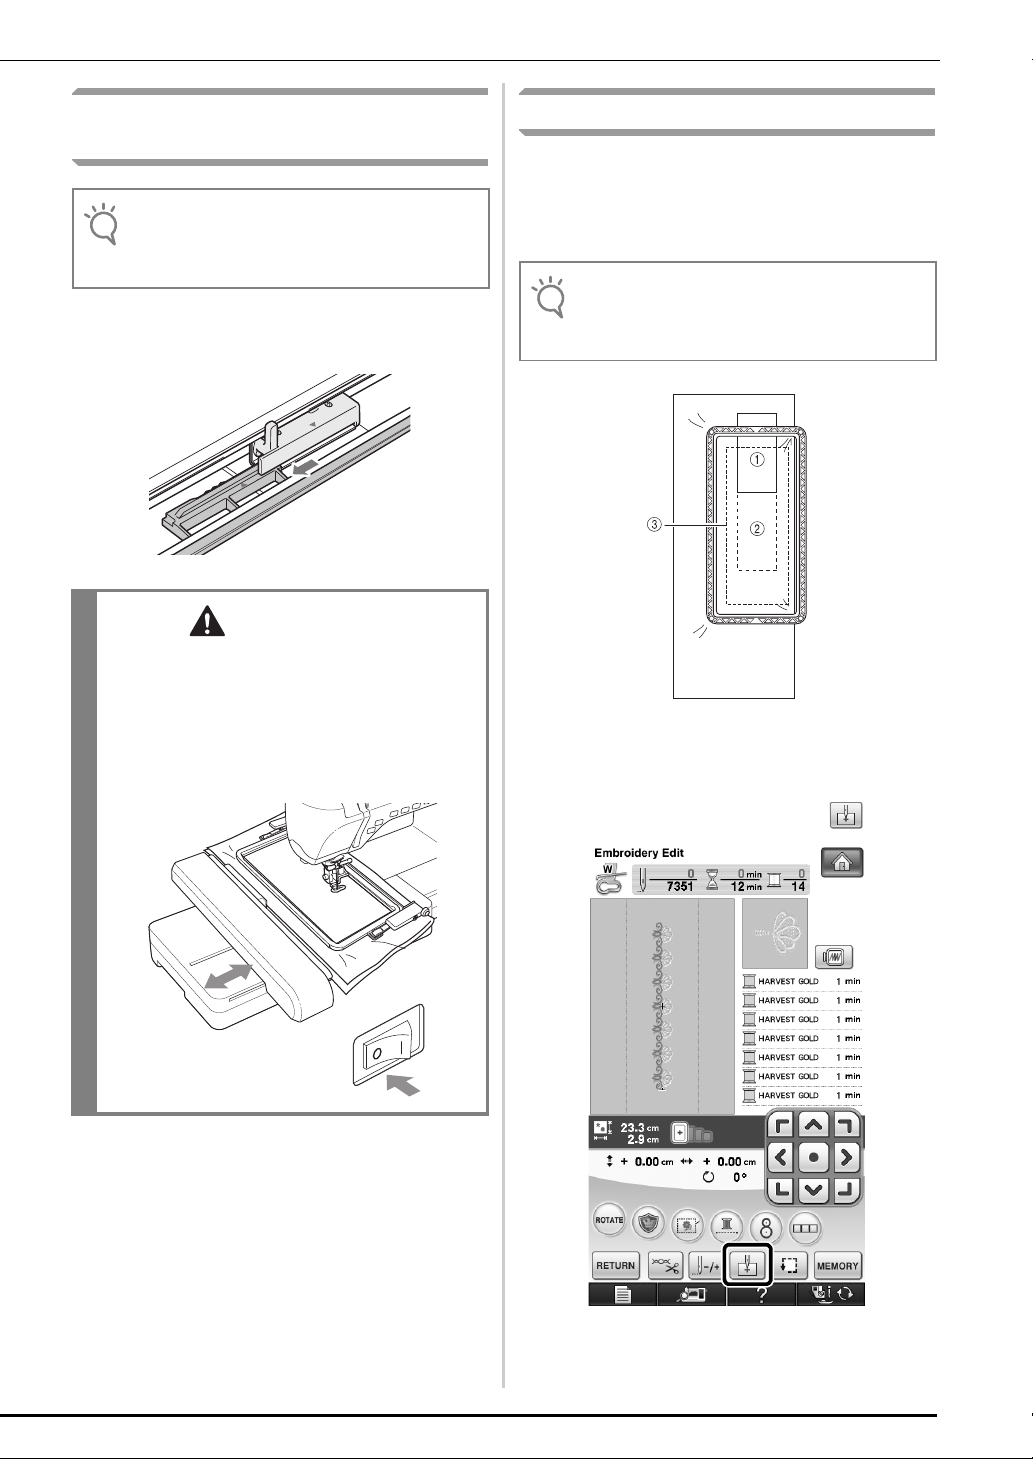
Removing the Border Embroidery
Note
CAUTION
Note
Frame
• Before removing the border embroidery frame from
the embroidery unit, make sure that the embroidery
unit carriage has moved to its initial position.
Embroidering the Next Pattern
Press both lock release buttons and slide the
a
fabric to align the embroidering area of the
next pattern, and rehoop the fabric in the
border embroidery frame.
Raise the frame-securing lever and pull the
a
border embroidery frame toward you.
• If the thread has become tangled and the
embroidery unit carriage does not move to its initial
position, even after the thread is cut, turn off the
machine, manually gently move the carriage, and
then remove the border embroidery frame.
• Only move the embroidery unit carriage when the
machine is turned off.
• Adjust the position of the fabric so that the
embroidering area for the next pattern is within the
embroidering area of the embroidery sheet.
a Pattern embroidered first
b Position of pattern to be embroidered next
c Embroidering area of embroidery sheet
Attach the border embroidery frame to the
b
embroidery unit, and then press .
9
Use to select the needle position that
Note
Note
a
c
will align with the thread mark at the end of
previous embroidery. For this example, align
the needle position with the upper center of
the next pattern. When you are finished, press
.
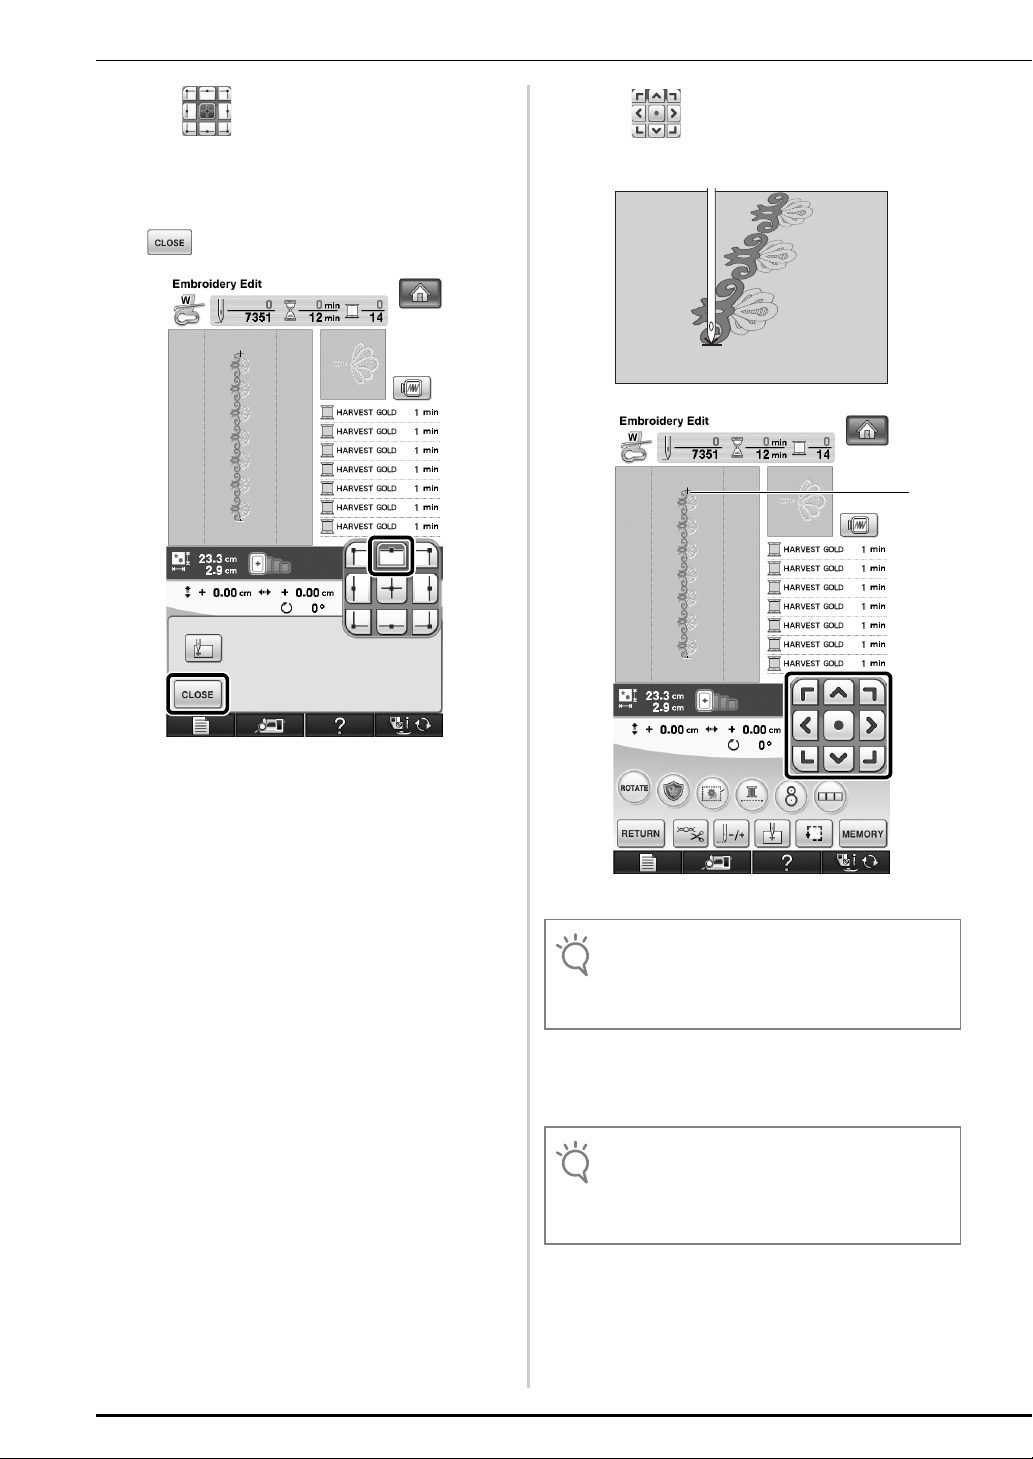
Use to align the needle position with
d
the point of the thread mark.
10
a Needle position
• After turning the handwheel to check the needle
position, press the “Needle Position” button to raise
the needle.
After aligning the needle position for the
e
beginning of embroidering, remove the
thread mark.
• Remove the thread mark before starting to
embroider. Otherwise, the thread mark stitching may
be combined with the pattern stitching and become
difficult to remove.
Embroider the next pattern. To continue
CAUTION
f
embroidering a repeating pattern, repeat the
procedure starting with “Removing the
Border Embroidery Frame”.
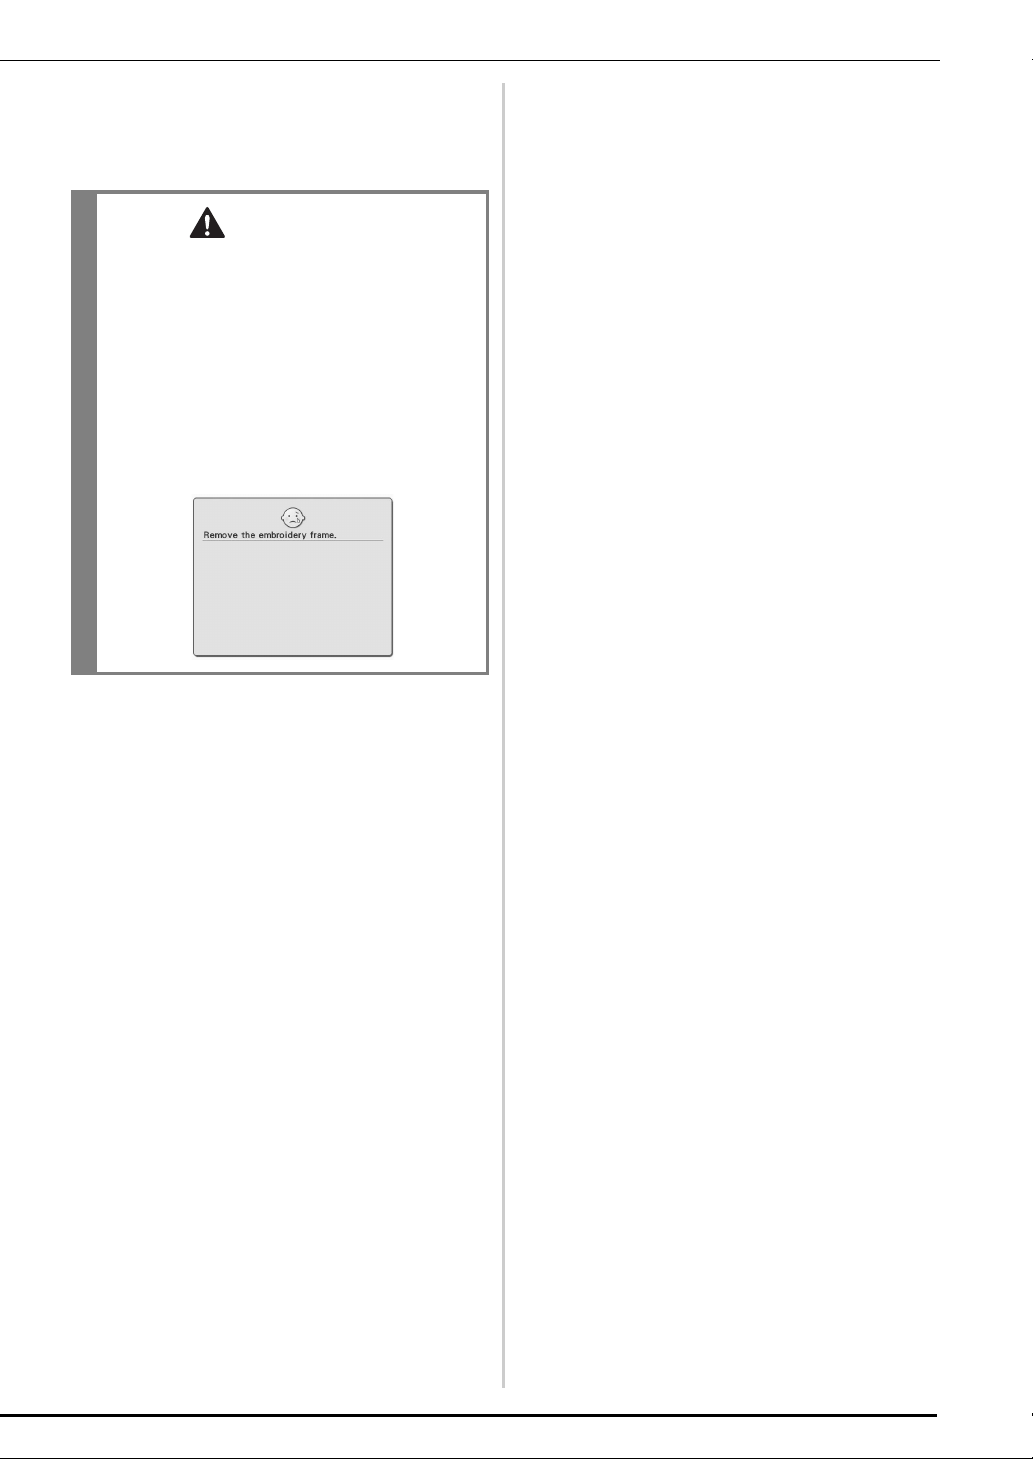
• If the sewing machine is turned off, then turned on
again with the border embroidery frame attached
or if you try to select a stitch from the Utility Stitch
screen or the Character/Decorative Stitch screen
while the border embroidery frame is attached, the
following message appears. If the border
embroidery frame is not fully removed from the
embroidery unit at this time, the border embroidery
frame may be hit by the presser foot when the
carriage of the embroidery unit is moved. When the
following message appears, fully remove the border
embroidery frame.
11
 Loading...