

Brinno TimeLapse TLC 100 User Manual
TLC 100
www.brinno.com
User Manual
HD Video Camera
TimeLapse

Thank you for purchasing Brinno TimeLapse Camera!
Brinno TimeLapse Camera allows anyone to record the ins and outs of daily life, big
construction jobs, or small DIY projects…so you can see everything, and miss nothing!
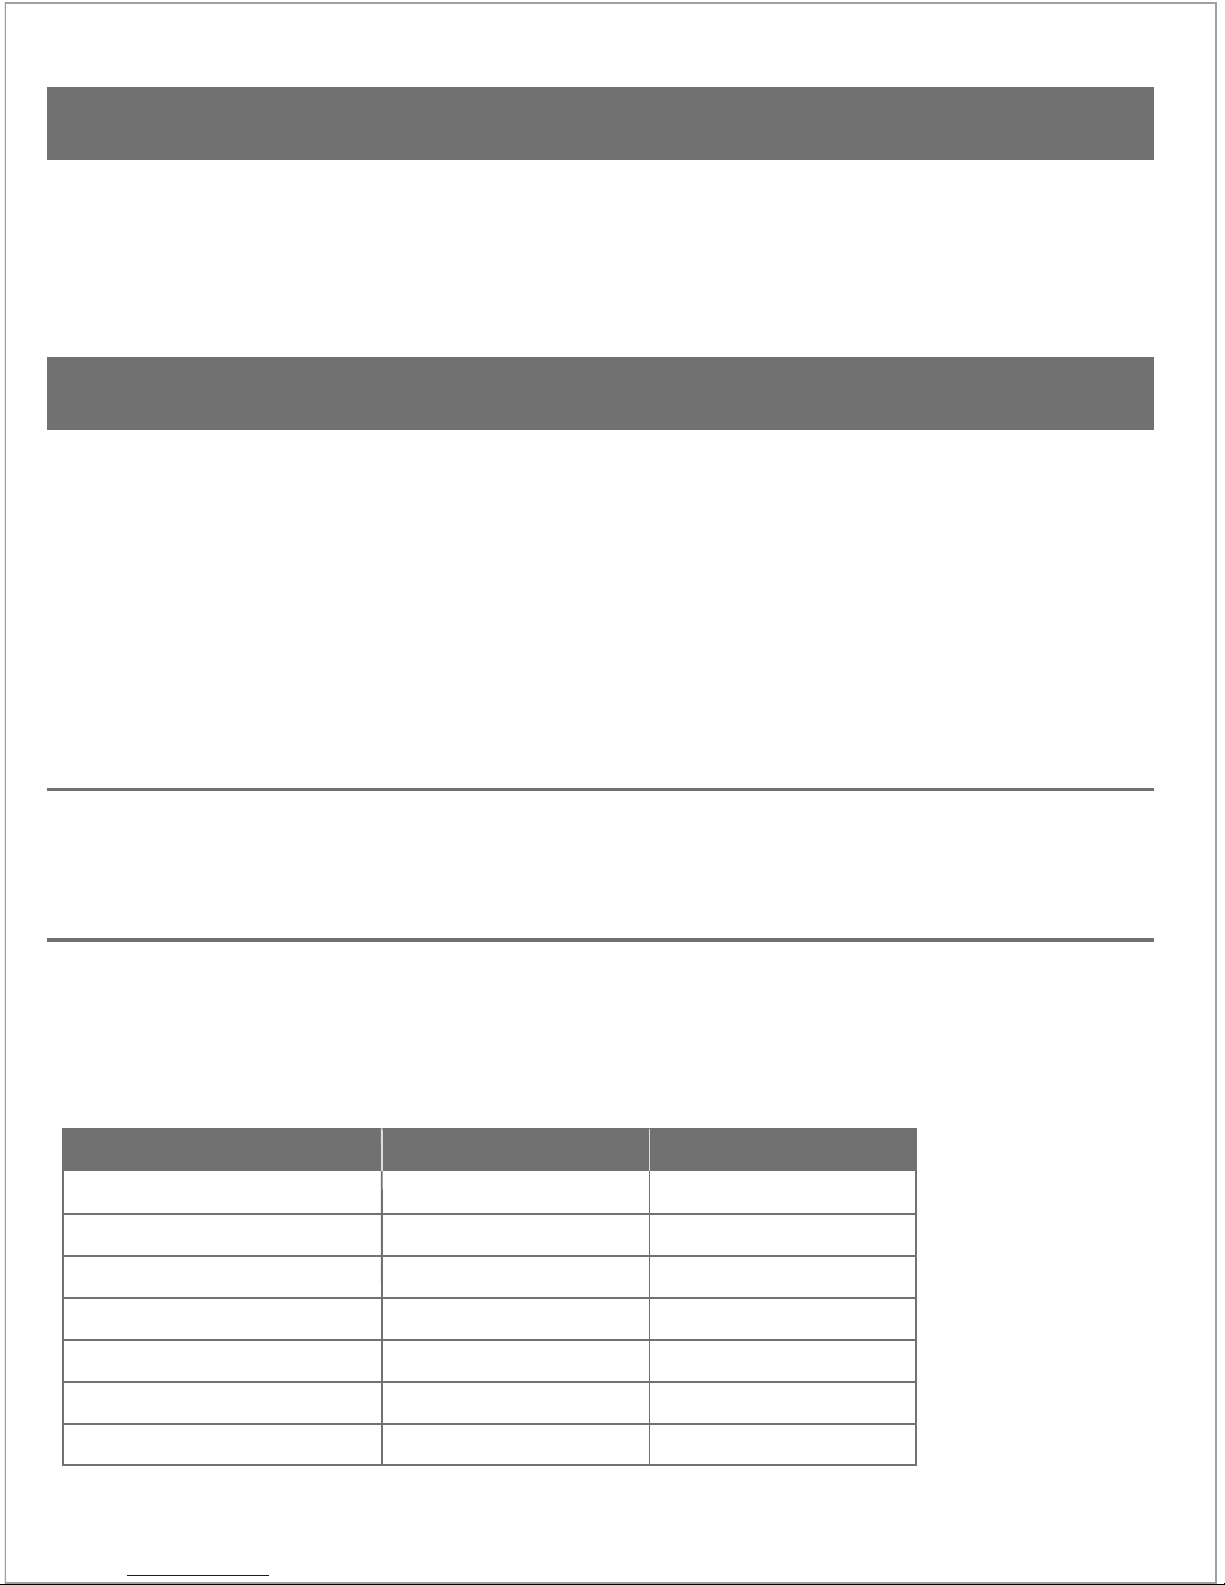
Package Contents
Minimum Requirements to install and run the software
TimeLapse Camera Output le format
Length of battery usage
• TimeLapse Camera
• User Manual
• 2GB USB Flash Drive
• 4 AA Batteries
• Setup Software
Microsoft Windows 98, XP, Vista and Win 7
AVI format, resolution 1280x 1024.
Note: Tha maximum size of each single AVI file is 4096 frames.
1 Minute
5 Minutes
30 Minutes
1 Hour
4 Hours
24 Hours
5 Seconds
15000
4000
2500
2000
800
200
28000
10.4 Days
13.8 Days
52 Days
83 Days
133 Days
200 Days
38 Hours
Interval Capture Frames Battery Life
1 -
Brinno TimeLapse Camera
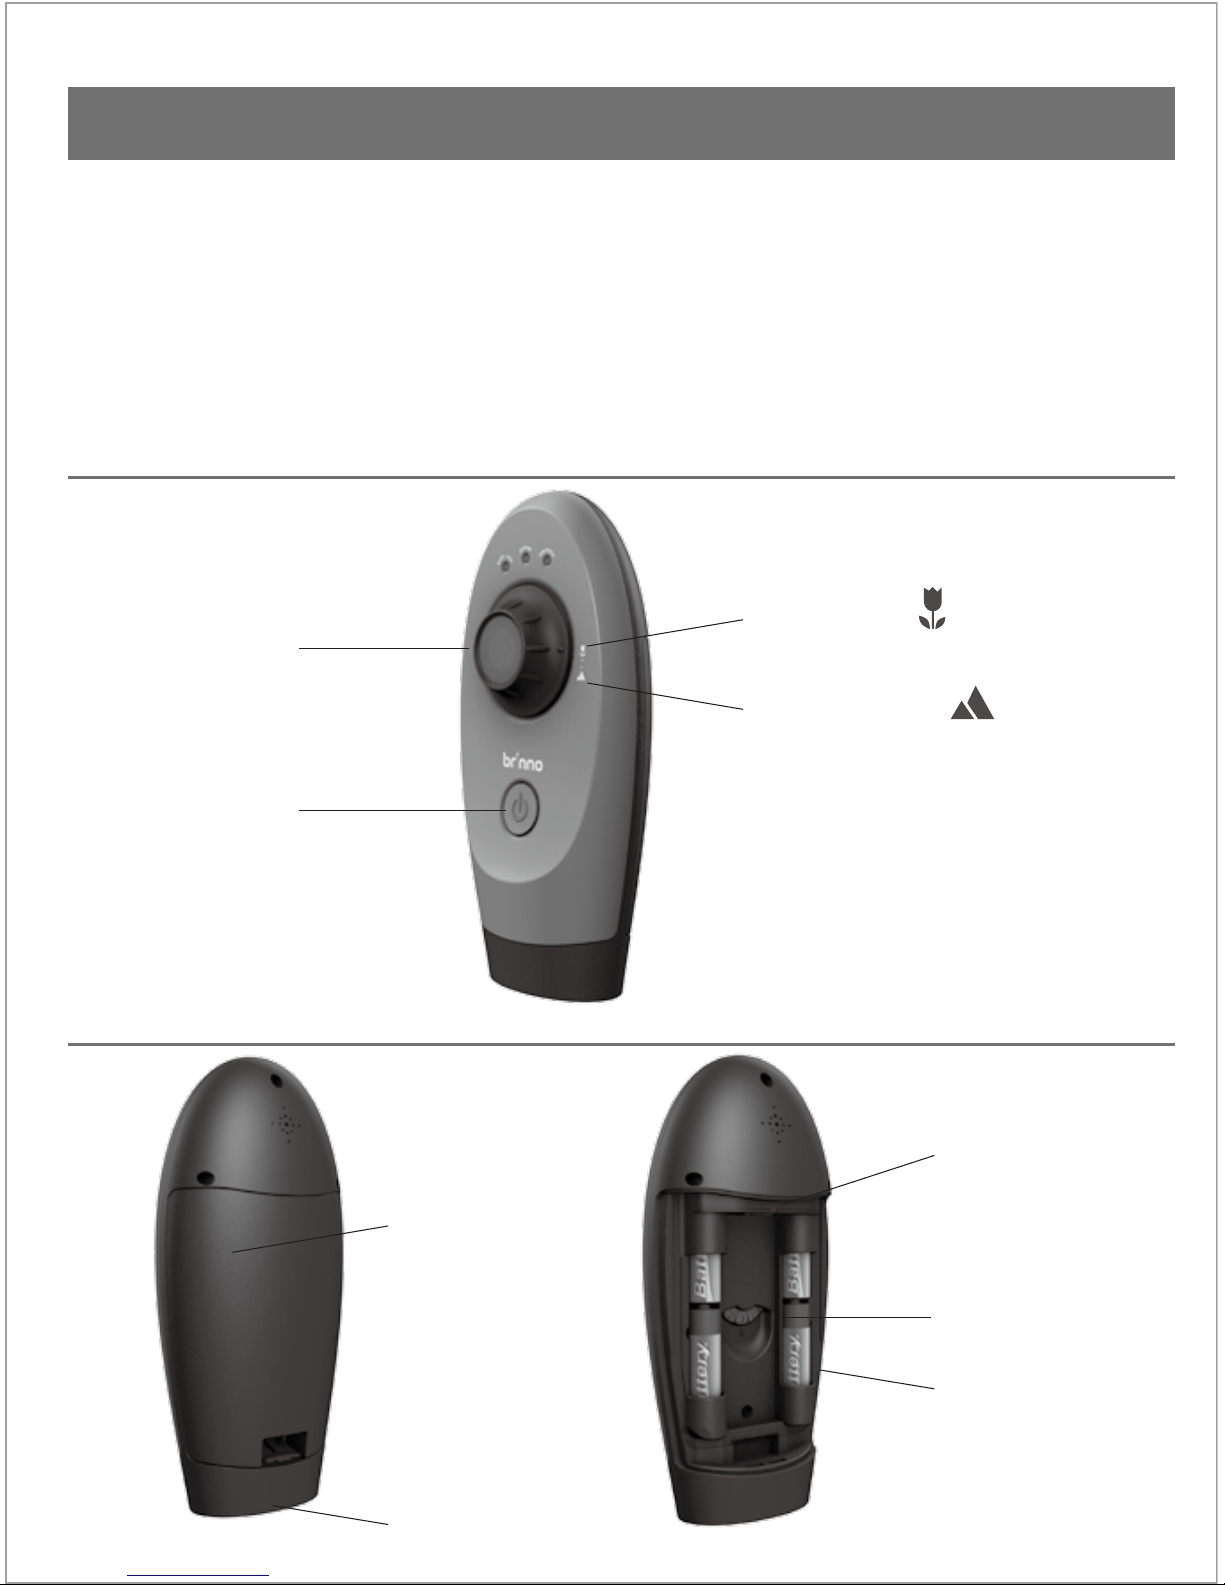
1. Remove the TimeLapse Camera from the package.
2. Check to make sure that all the contents are included.
3. Open up the TimeLapse Camera by placing it Lens side down on a at surface, or Lens side down in the
palm of your hand, and remove the battery door by pulling open the latch.
4. Insert four AA batteries according to the polarity direction (+ -).
5. Insert any standard USB Flash Drive into the TimeLapse Camera in the open slot between the
batteries.
Front view
Back view
Lens
Power button
Macro Image
Battery cover
USB Flash drive
Wheel
Standard Image
Mounting Hole
AA battery
How to setup your TimeLapse Camera
Brinno TimeLapse Camera
- 2
• The maximum size USB ash drive that TimeLapse Camera can support is a 8GB USB Flash Drive. If you use a
USB ash drive with a larger memory density the camera will not function properly.
• Replace the battery door on the TimeLapse Camera. Make sure to push down the latch until you hear it “click”
to ensure the door is closed properly.
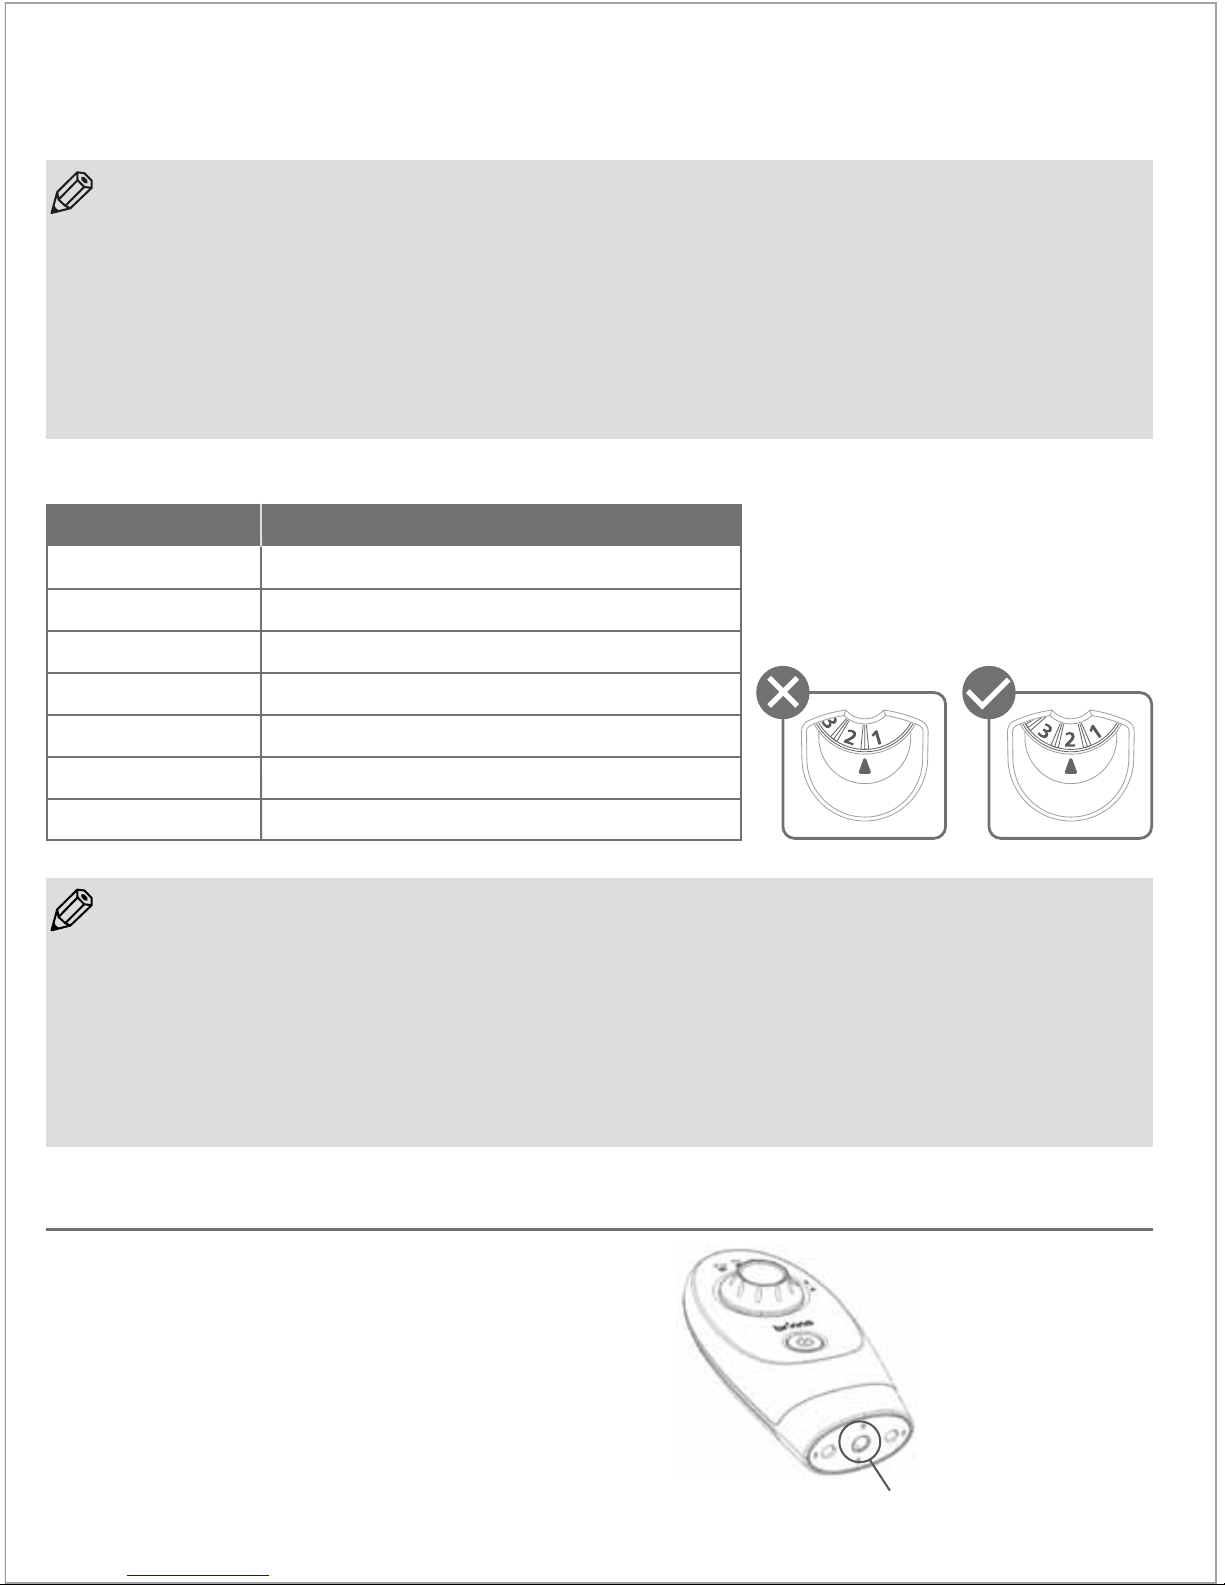
• With the wheel in the middle of the camera you can choose between one of seven time interval settings.
Simply rotate the wheel to choose the desired setting.
• The wheel MUST point to number directly, otherwise TimeLapse Camera can not work!
• To modify the custom setting, insert the included USB Flash Drive into your computer, and follow the
instructions. See “Installing the Software”.
• The custom setting can range anywhere from 5 seconds to 12 hours.
Factory default custom setting is set to 5 seconds.
NOTE
NOTE
Custom Time Interval settings:
1
2
3
4
5
6
7
Wheel position
1 minute
5 minutes
30 minutes
1 hour
4 hours
24 hours
Custom (factory setting = 5 seconds)
Time interval between pictures
To set your TimeLapse Camera on any standard
tripod, screw the tripod clockwise into the hole on
the bottom of the camera.
Mounting Hole
Mounting your TimeLapse Camera
3 -
Brinno TimeLapse Camera
 Loading...