

Brinno TimeLapse BMC100 Quick Manual
TimeLapse
BMC100- Motion Activated Camera
BMC100
Quick Guide
w w w . b r i n n o . c o m
7F, No.75, Zhou Zi St., Taipei City11493, Taiwan
Phone: +886-2-8751-0306 Fax: +886-2-8751-0549
customerservice@brinno.com www.brinno.com
Made in Taiwan
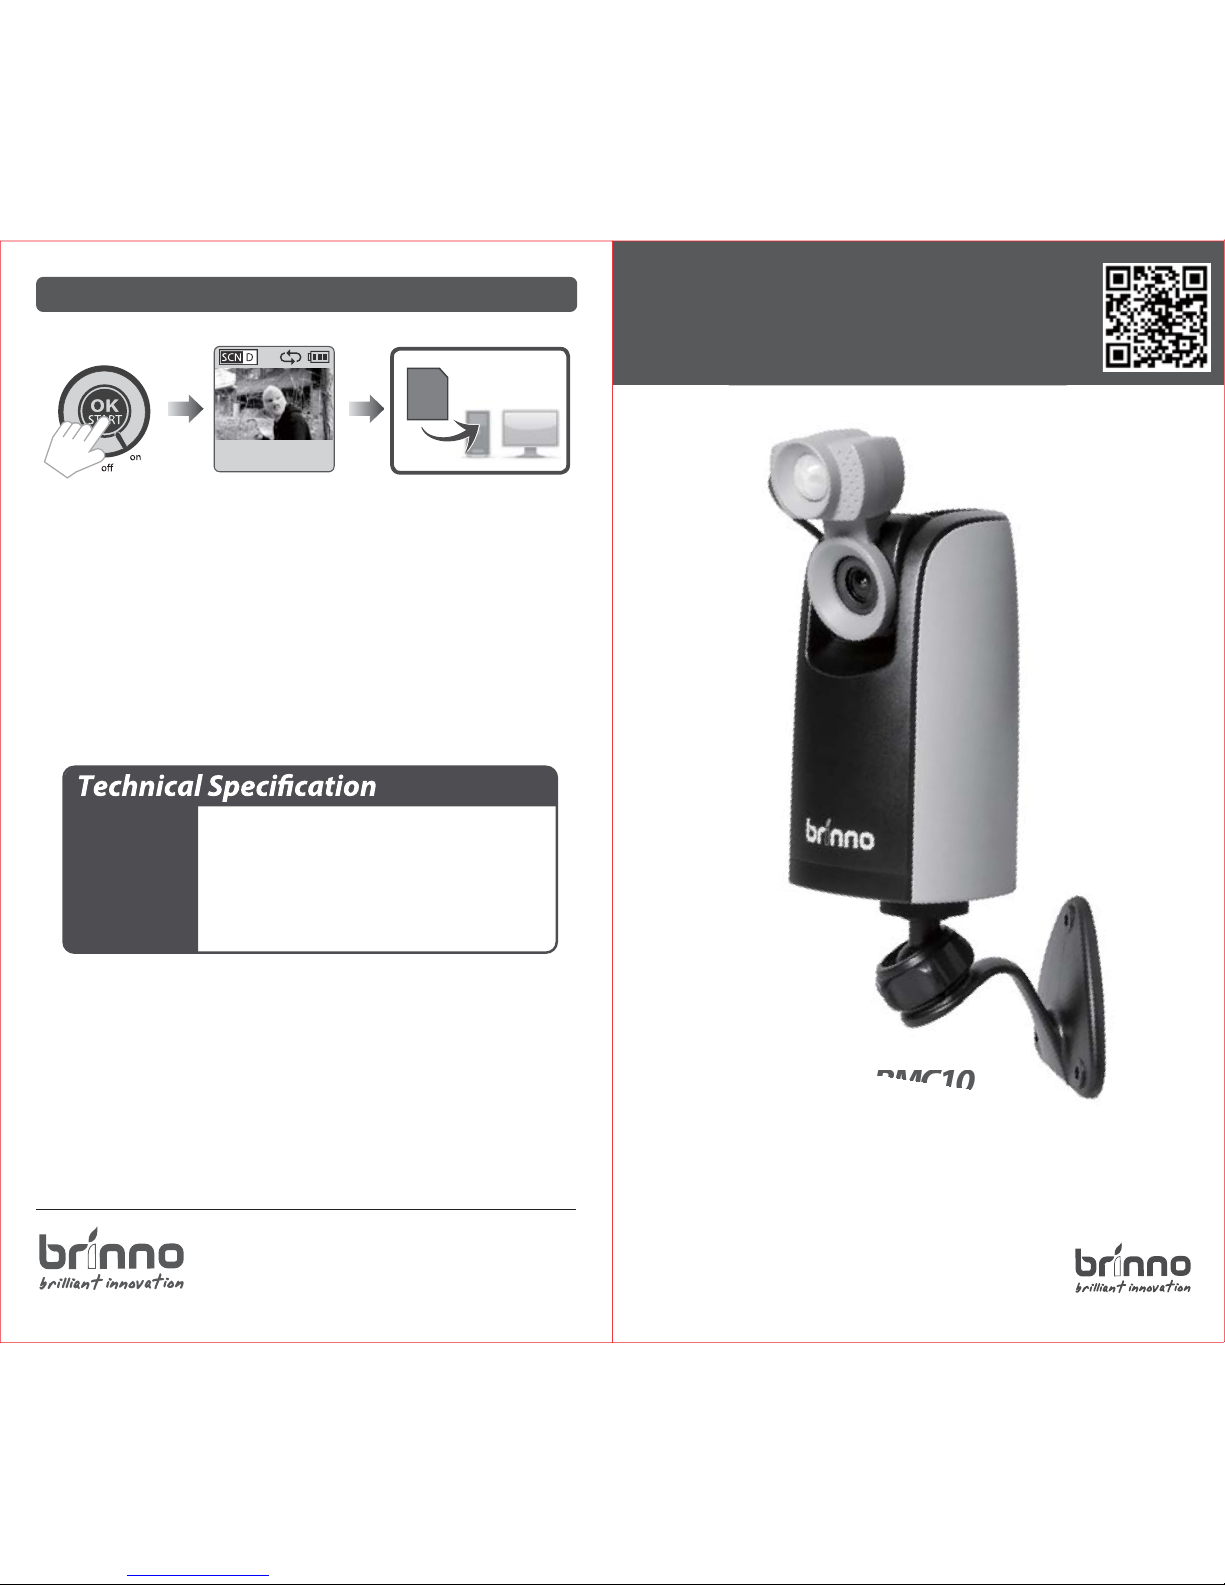
STEP 5. Finish
301-0054-00 EN A1
SD
While recording, hold the “OK” button until the LCD light turns on
and shows the text “Processing”, it means the camera is processing
le closing. When completed the processing it will display the text
"Ready” This indicates the recording session is complete.
Remove the SD card from the camera, and insert it into your
computer or laptop to enjoy your amazing Time Lapse Videos!
Done!
- Moti
on
10 seconds per triggerCapture Time
4 meters (13 feet)
Detection Distance
90˚
Detection Angle
Capture 1~4 frames per second.
(Depends on SD card speed)
Time Interval
Preview screen
Processing
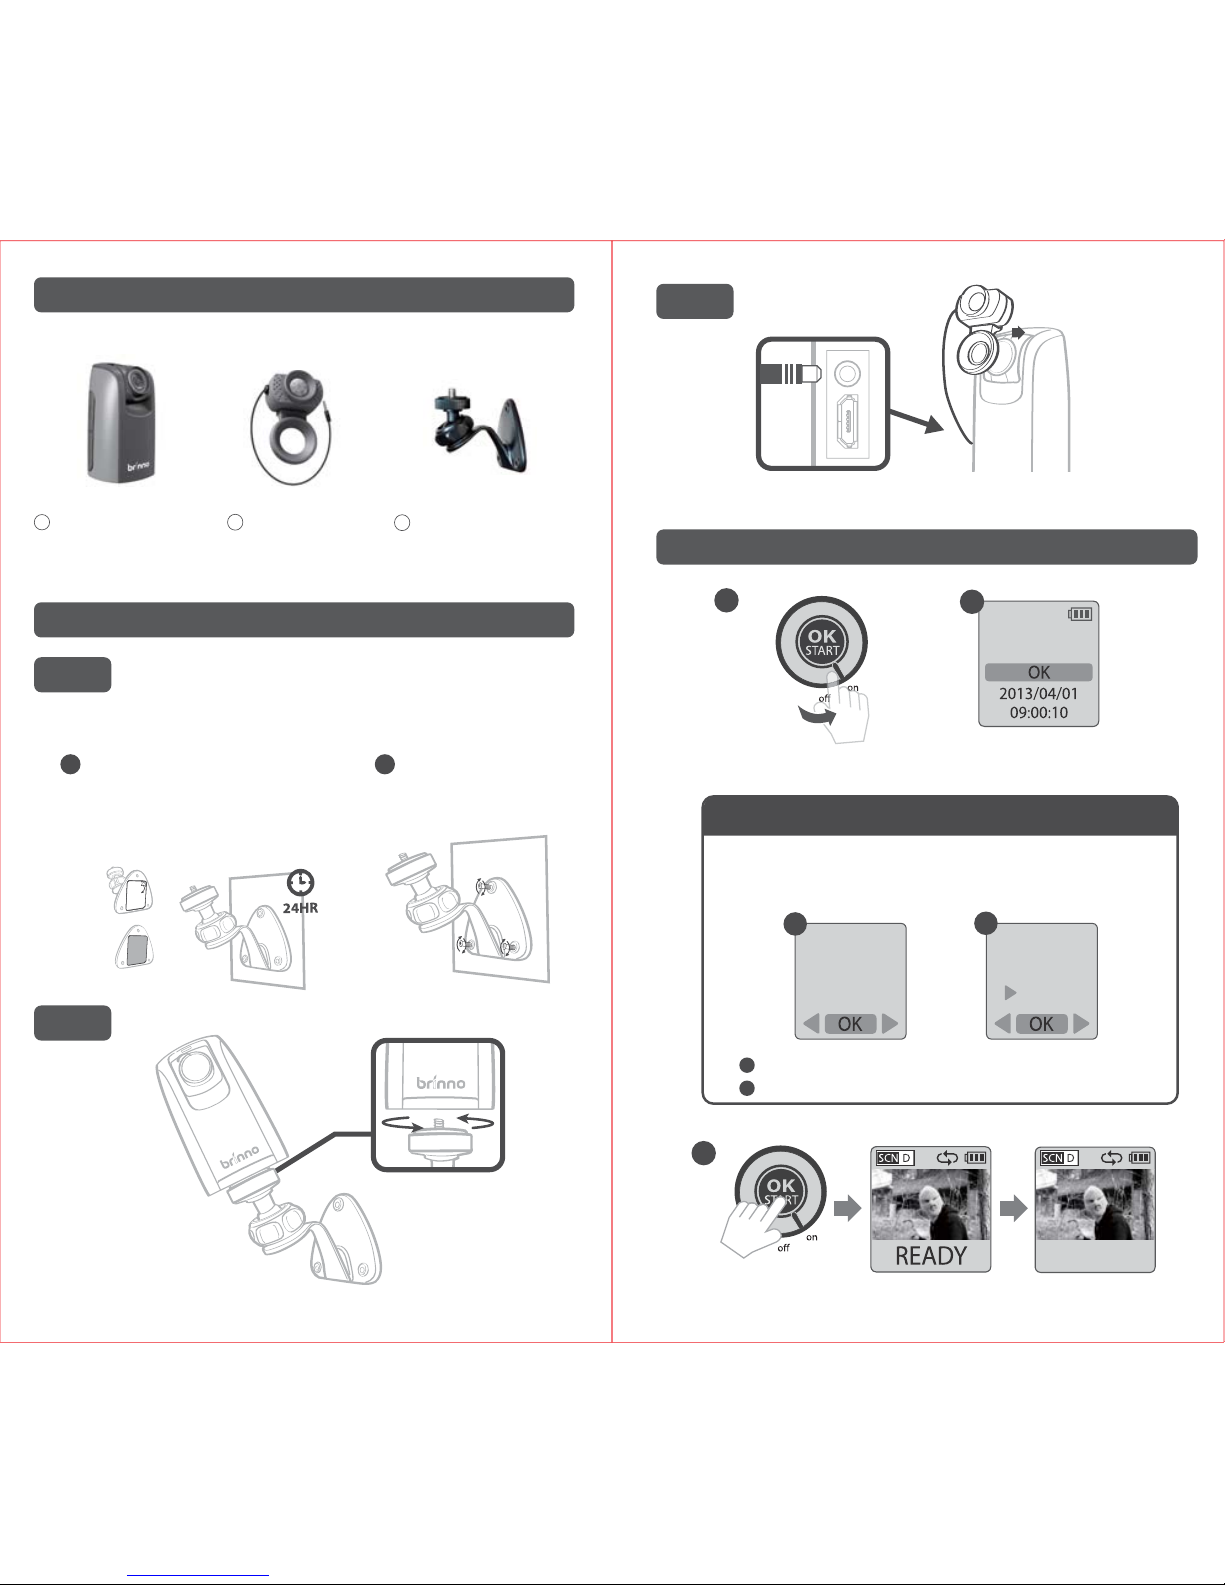
Camera Wall Mount
3
(AWM100)
STEP 4. Start Recording
STEP 3.
STEP 2.
STEP 1.
Motion Activated Camera BMC100
Motion Sensor
2
1
TimeLapse Camera
(ATM100)
(TLC200 f1.2)
BMC100 - Installation
Install the AWM100.
Install the TLC200 f1.2 .
Set up screen
2
1
1. Switch ON.
2. The LCD will show set up screen.
Preview screen
3
3. Press OK twice to the recording process.
Preview screen
.
REC
Install the ATM100 .
Motion
A
By sticker (smooth surface)
B
By screw (brick)
or
Use the screw to x on
the wall.
Clean up the at surface, be sure there
is no dust on the surface. Remove the
sticker seal, paste on the wall for at
least 24 hours.
Menu
Overwrite
Mode
A
Overwrite
o
on
B
Press MENU, select the Overwrite Mode.
Choose on or o to set up overwrite mode.
Note -
Overwrite Mode
The camera will be automatically activated overwrite mode
once Motion Sensor (ATM100) is plug in camera, you can go to
camera setting menu to change if necessary.
A
B
 Loading...