

Brinno ATH100 User Manual
User Manual
ATH100
Weather Resistant Housing
Package Contents
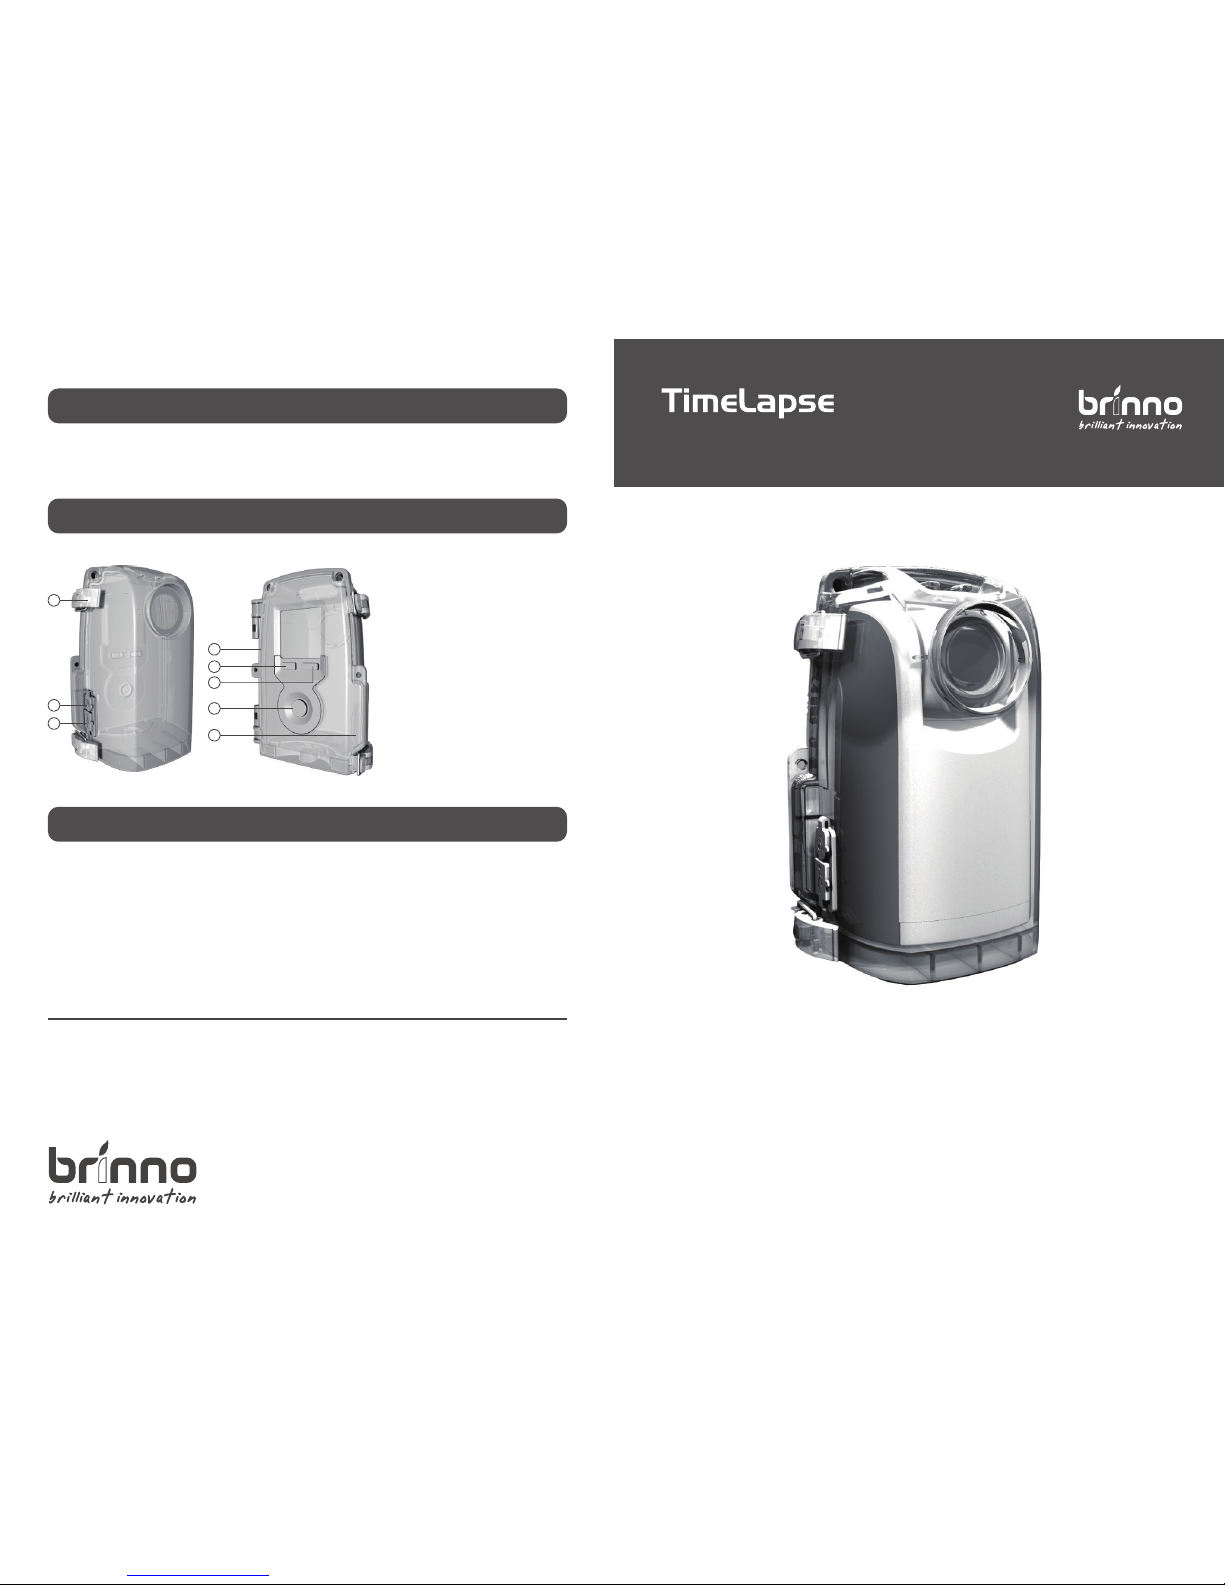
Parts of ATH100
Specication
1. ATH100 Weather Resistant Housing x1
2. User manual
Dimension
Weight
Material
Waterproof
89(W)x125(L)x54(D) mm
110 g
PC, acrylic, and rubber
IP54
1
2
3
5
4
6
7
8
1. Latch
2. I/O port
3. I/O USB port
4. Seal
5. MENU Control
6. TIME Control
7. OK/START
8. Extended space*
* this Space is for TLC200
Extension port cover.
7F, No.75, Zhou Zi St., Taipei City 11493, Taiwan
Phone:+886-2-8751-0306 Fax:+886-2-8751-0549
customerservice@brinno.com
www.brinno.com
Thank you for purchasing Brinno Time Lapse Camera Accessories!
If you have any questions or problems setting up your Brinno TimeLapse Camera
please contact the sales sta where you purchased our product or email us at
Brinno Incorporated directly:
customerservice@brinno.com
301-0036-00 EN A1
Product specifications, size and shape are subject to change without notice, and actual product appearance
may differ from that depicted herein.
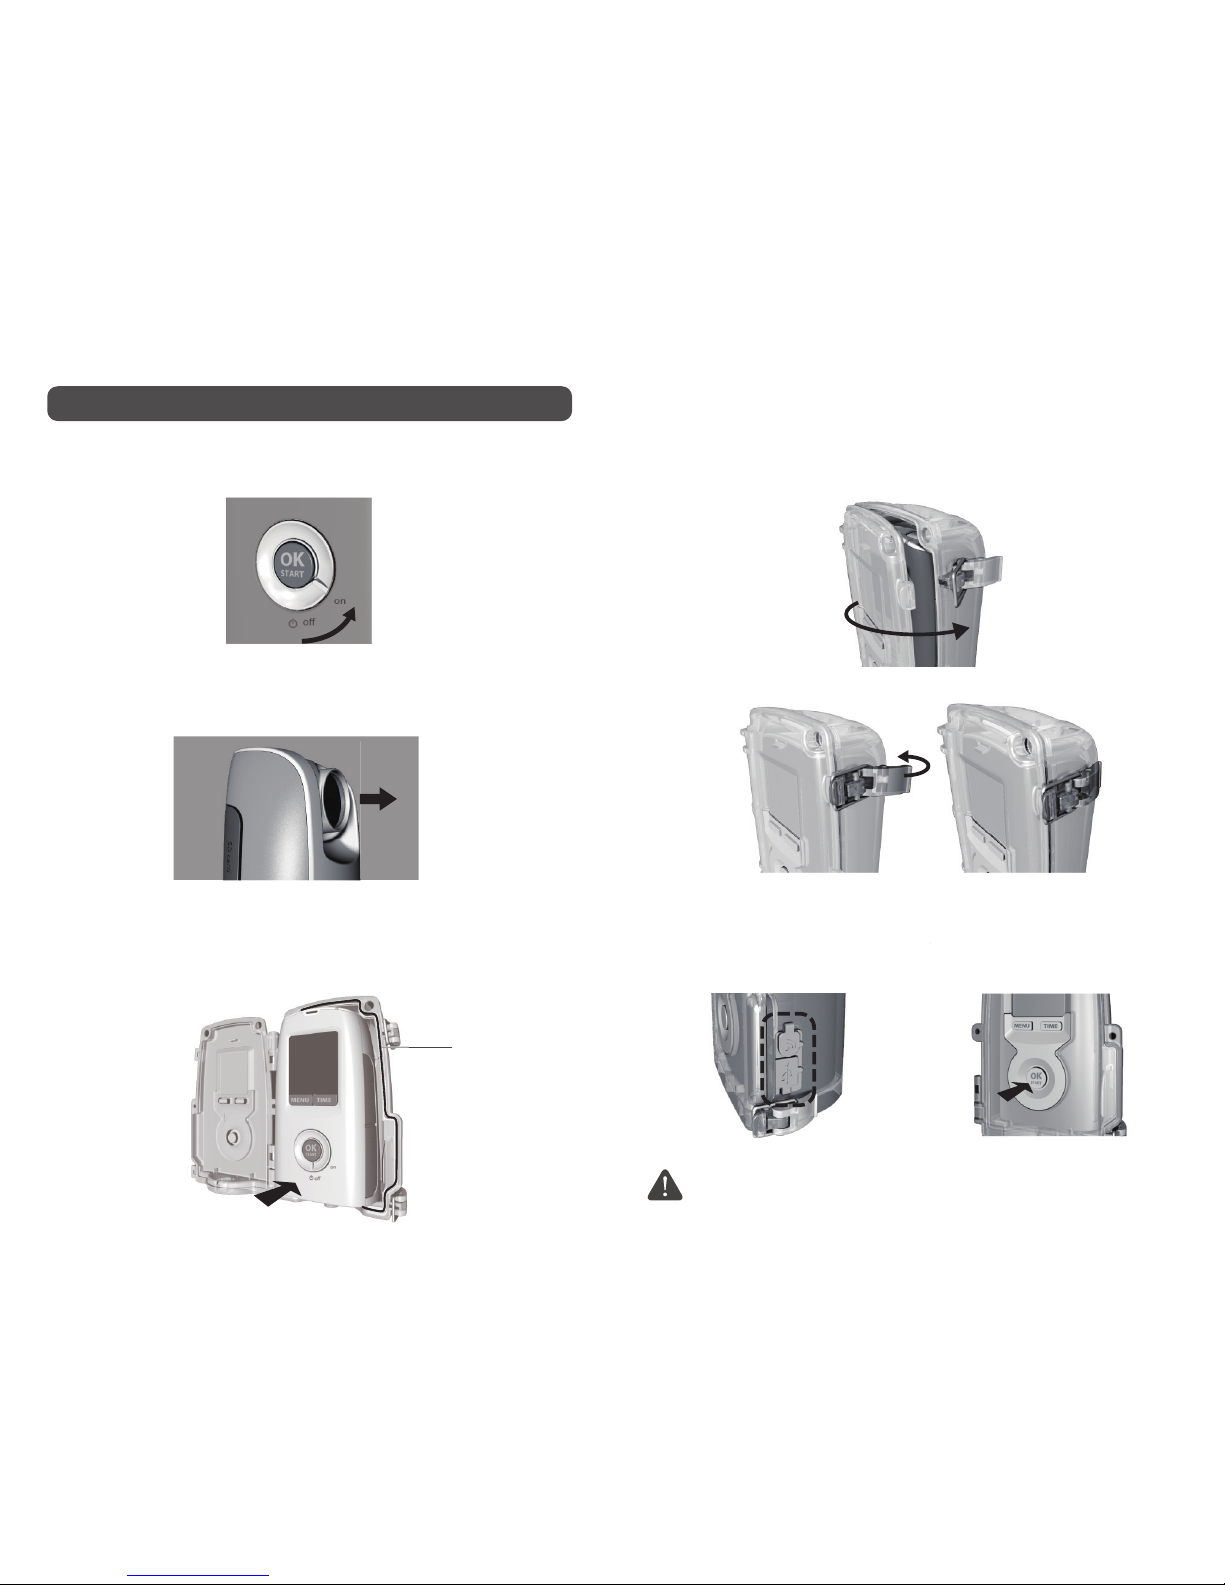
Installation Instructions- TLC200 & ATH100 (Weather Resistant Housing)
I/O ports will ONLY ACCEPT the Brinno Motion sensor cord and the
Specify External Power Supply.
Close the Weather Resistant Housing (ATH100) door and
latch the buckles (Top and bottom).
4.
Make sure the I/O
door is sealed.
5.
3.
Insert the Time Lapse Camera (TLC200) into the Weather
Resistant Housing
(ATH100), conrming the waterproof
seal is aligned correctly.
Seal
1.
Turn on the Time Lapse Camera (TLC200) power.
Set up the time interval
for image capture, and
press OK to start.
6.
Set up the time interval
f
or image capture, and
press OK to start
.
Adjust the Time Lapse Camera (TLC200) lens, facing
directly forward.
2.
 Loading...