


Breville Easy Glide User Manual
Easy Glide 1800w steam iron
www.breville.co.uk

features
g
Water tank inlet cover
1.
Steam control
2.
Shot of steam button
3.
Spray button
4.
Temperature selector
5.
Indicator light
6.
Flexible cord protector
7.
q w e r
f
t y
asd
Heel rest
8.
Cord wrap
9.
Stainless steel soleplate
10.
Pointer
11.
Water level maximum indicator
12.
Water tank
13.
Spray nozzle
14.
u
i
o
Due to our policy of continuous improvement, the actual product may differ slightly from the one illustrated in these instructions.
2

before rst use
Remove all packaging including any soleplate protection before heating the
iron.
Wipe over the soleplate with a cloth moistened with methylated spirit. Remove the
methylated spirit with a damp cloth then dry the soleplate thoroughly.
Fill the water tank and then empty it. This will rinse out any foreign particles remaining in
the water tank from the manufacturing process. Never ll your iron directly under a tap.
Always use the measuring cup supplied.
Before connecting your iron to the mains supply, make sure your supply voltage is the
same as the one indicated on your iron.
When you rst use your iron, there may be a slight odour and it may smoke slightly for the
rst few minutes of operation. This is quite normal and will disappear.
3

lling your iron
Never use fabric conditioner, starches or any other chemicals or additives.
Ensure the iron is switched off and unplugged from the mains supply socket.
1.
Set the steam control to the no steam position (0).
2.
Place the iron horizontally on a at, stable, dry, heat resistant and level surface and
3.
open the water tank inlet cover.
Using the supplied measuring cup, ll the water tank with ordinary tap water. To avoid
4.
air locks, tilt the iron slightly while lling it.
Don’t ll the iron above the water level indicator MAX marking. Check the water level
5.
by standing the iron on its heel.
When the iron is lled close the water tank inlet cover.
6.
TIP: We recommend that you:
Start with the fabrics to be ironed on a low temperature such as synthetic material.
•
Finish ironing with those fabrics which respond best to higher temperatures such as
linen.
If you iron a fabric made of a blend of bres; set the temperature control dial for the
•
most delicate bre.
Never use the burst of steam button on silks or synthetics.
•
When using starch, it should be sprayed onto the reverse side of the fabric and the
•
soleplate cleaned more frequently.
Do not iron over sharp or hard objects such as buttons, studs and zippers, as these
•
will scratch the surface of the soleplate.
4
using your iron
Ironing without steam
You may see this ‘Do not steam’ symbol on certain delicate fabrics. If you
intend to dry iron fabrics, there is no need to ll the water tank. However, if water is
already in the water tank, you do not need to empty it.
Set the steam control to the no steam position (0).
1.
Plug your iron into the mains supply and switch on.
2.
Set the temperature selector to the required temperature.
3.
The indicator light will illuminate while the iron is heating up.
4.
When the light goes out, your iron is ready to use. The indicator light will continue to
5.
turn on and off during ironing as the iron maintains the soleplate temperature.
Steam ironing
During steam ironing, if you do not allow the iron to reach the selected
temperature water may drip from the soleplate.
It is recommended that for harder to iron fabrics such as cotton and linen, steam should
be used when ironing.
When ironing cotton and linen always select the highest temperature. Steam should
never be used on delicate fabrics like nylons, acrylics and synthetics.
Following the steps on page 4 ll the iron with water.
1.
Plug your iron into the mains supply and switch on.
2.
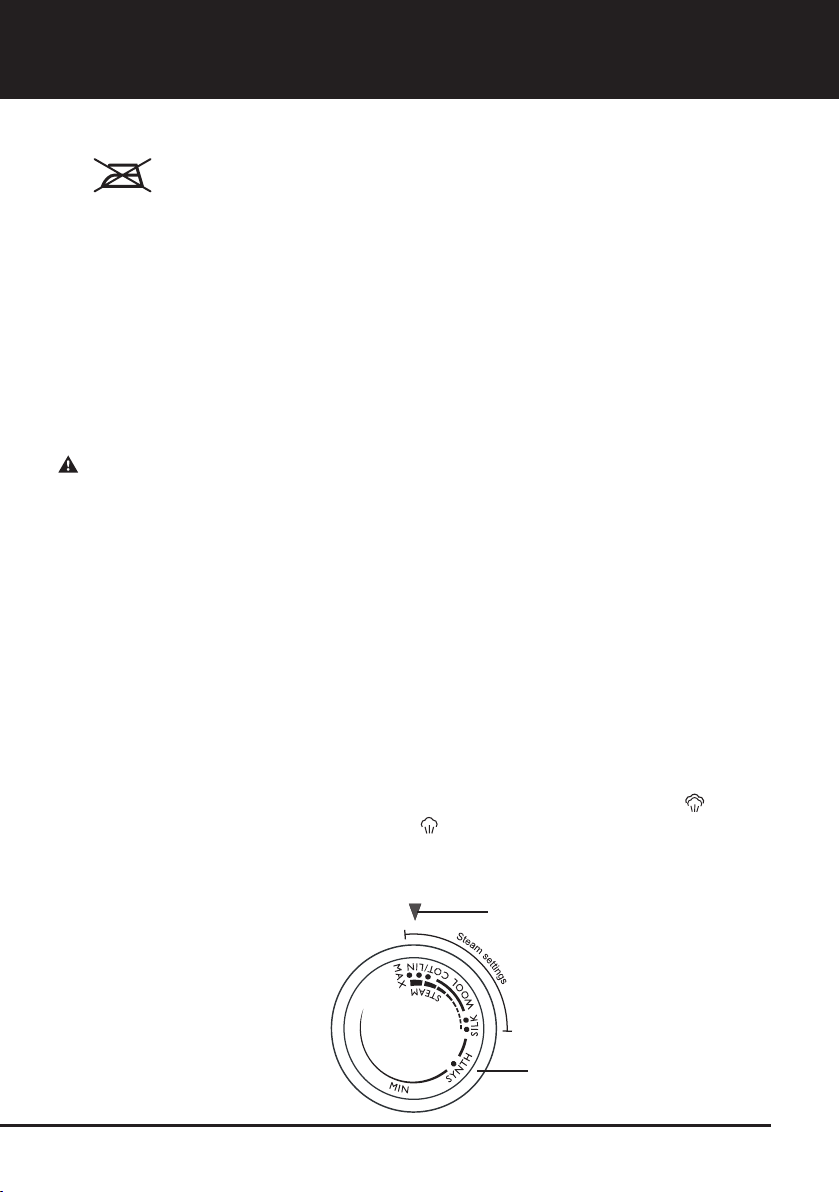
Turn the temperature selector until the pointer is within the steam setting range.
3.
The indicator light will illuminate. When the indicator light goes out the iron is ready
to use. The indicator light will continue to turn on and off during ironing as the iron
maintains the soleplate temperature.
Adjust the steam control for the desired steam output.
4.
Adjust the steam control lever to the right to increase the amount of steam , or to
5.
the left to decrease the amount of steam .
The iron will automatically begin to steam as soon as the iron is used.
6.
The steam can be shut off at any time by setting the steam control to the no steam
7.
position (0).
Pointer
Temperature selector
5