

Page 1
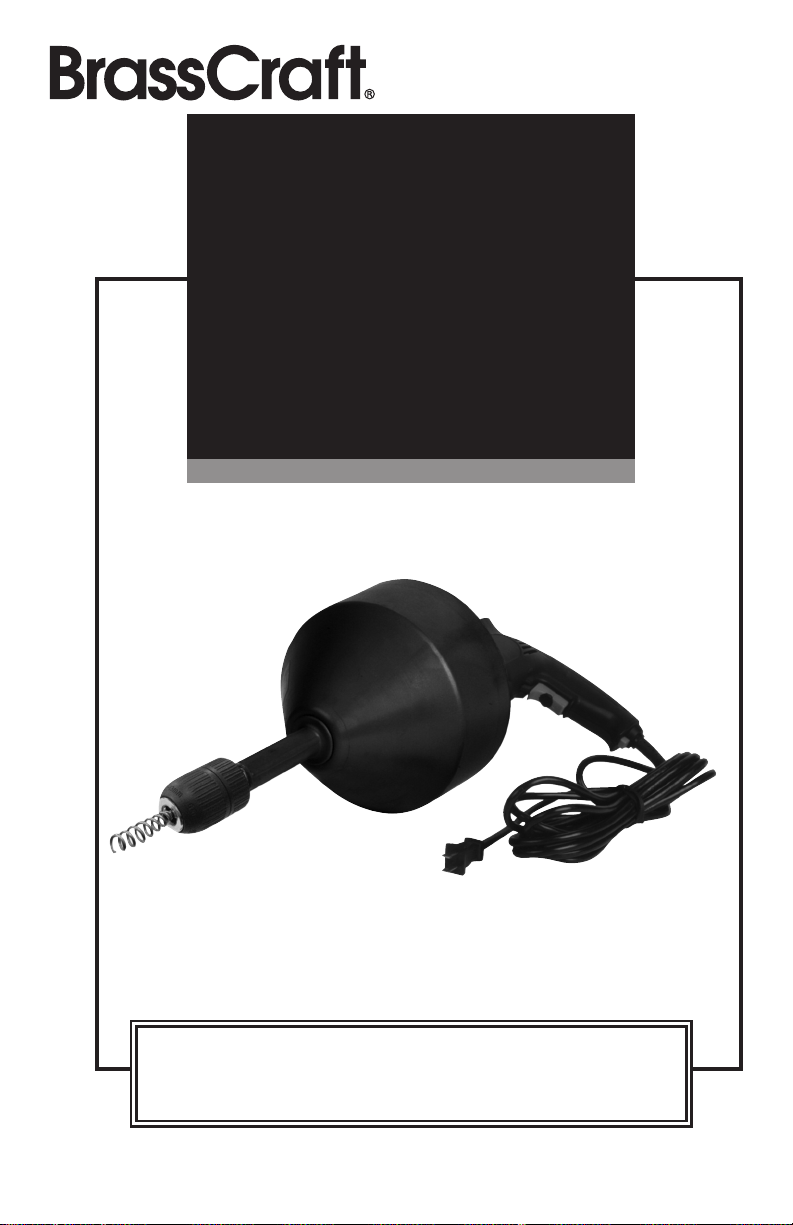
Cable Drum Machine
Operation
Manual
BC110ES SERIES
Cleans 1 1/4" to 3" lines up to 25'
Used For: Sinks, Showers &Tub Drains
WARNING - Read All Instructions, When Using Electric Tools,
Basic Safety Precautions Should Always Be Followed To Reduce The Risk
Of Fire, Electric Shock And Personal Injury. Save These Instructions.
Page 2

GENERAL
SAFETY
Important
Replacement parts:
When servicing, use
only identical
replacement parts.
Polarized plugs:
To reduce risk of electric
shock, this equipment
has a polarized plug
(one blade is wider than
the other). This plug will
fit in a polarized outlet
one way. If the plug
does not fit fully in the
outlet, reverse the plug.
If it still does not fit,
contact a qualified
electrician to install the
proper outlet.
Do not change the plug
in any way.
WORK AREA
• Keep your work area clean and well lit. Cluttered benches and dark
areas invite accidents.
• Do not operate power tools in explosive atmospheres, such as in
the presence of flammable liquids, gases, or dust. Power tools create
sparks which may ignite the dust or fumes.
• Keep bystanders, children, and visitors away while operating a
power tool. Distractions can cause you to lose control.
ELECTRIC SAFETY
• Grounded tools must be plugged into an outlet properly installed and
grounded in accordance with all codes and ordinances. Never remove
the grounding prong or modify the plug in any way. Do not use any
adapter plugs. Check with a qualified electrician if you are in doubt as
to whether the outlet is properly grounded. If the tools should
electrically malfunction or break down, grounding provides a low
resistance path to carry electricity away from the user.
• Double Insulated tools are equipped with a polarized plug (one blade is
wider than the other.) This plug will fit in a polarized outlet only one
way. If the plug does not fit fully in the outlet, reverse the plug. If it
still does not fit, contact a qualified electrician to install a polarized
outlet. Do not change the plug in any way. Double Insulation
eliminates the need for a three wire grounded power cord and
grounded power supply system. (Applicable only to Class II tools.)
• Avoid body contact with grounded surfaces such as pipes, radiators,
ranges and refrigerators. There is an increased risk of electric shock
if your body is grounded.
• Don’t expose power tools to rain or wet conditions. Water entering a
power tool will increase the risk of electric shock.
• Do not abuse the cord. Never use the cord to carry the tools or pull
the plug from an outlet. Keep cord away from heat, oil, sharp edges
or moving parts. Replace damaged cords immediately. Damaged
cords increase the risk of electric shock.
• When operating a power tool outside, use an outdoor extension cord
marked “W-A” or “W.” These cords are rated for outdoor use and
reduce the risk of electric shock.
PERSONAL SAFETY
• Stay alert, watch what you are doing and use common sense when
operating a power tool. Do not use tool while tired or under the
influence of drugs, alcohol, or medication. A moment of inattention
while operating power tools may result in serious personal injury.
• Dress properly. Do not wear loose clothing or jewelry. Contain long hair.
Keep your hair, clothing, and gloves away from moving parts. Loose
clothes, jewelry, or long hair can be caught in moving parts.
• Avoid accidental starting. Be sure switch is off before plugging in.
Carrying tools with your finger on the switch or plugging in tools that
have the switch on invites accidents.
• Remove adjusting keys or wrenches before turning the tool on. A
wrench or a key that is left attached to a rotating part of the tool may
result in personal injury.
Page 3

PERSONAL SAFETY CONT.
• Do not overreach. Keep proper footing and balance at all times.
Proper footing and balance enables better control of the tool in
unexpected situations.
• Use safety equipment. Always wear eye protection. Dust mask, nonskid safety shoes, hard hat, or hearing protection must be used for
appropriate conditions.
TOOL USE AND CARE
• Use clamps or other practical way to secure and support the work
piece to a stable platform. Holding the work by hand or against your
body is unstable and may lead to loss of control.
• Do not force tool. Use the correct tool for your application. The correct
tool will do the job better and safer at the rate for which it is designed.
• Do not use tool if switch does not turn it on or off. Any tool that can
not be controlled with the switch is dangerous and must be repaired.
• Disconnect the plug from the power source before making any
adjustments, changing accessories, or storing the tool. Such
preventive safety measures reduce the risk of starting the tool
accidentally.
• Store idle tools out of reach of children and other untrained persons.
Tools are dangerous in the hands of untrained users.
• Maintain tools with care. Keep cutting tools sharp and clean. Properly
maintained tools, with sharp cutting edges are less likely to bind and
are easier to control.
• Check for misalignment or binding of moving parts, breakage of parts,
and any other condition that may affect the tool’s operation. If
damaged, have the tool serviced before using. Many accidents are
caused by poorly maintained tools.
• Use only accessories that are recommended by the manufacturer for
your model. Accessories that may be suitable for one tool, may
become hazardous when used on another tool.
SERVICE
• Tool service must be performed only by qualified repair personnel.
Service or maintenance performed by unqualified personnel could
result in a risk of injury.
• When servicing a tool, use only identical replacement parts. Follow
instructions in the Maintenance section of this manual. Use of
unauthorized parts or failure to follow Maintenance Instructions may
create a risk of electric shock or injury.
Page 4

OPERATING
INSTRUCTIONS
Figure 1
IMPORTANT: You must read the safety instructions
for this machine before use.
1 For best results it is recommended that the machine is
positioned within 2 feet of the drain. (see Fig. 1)
2 Loosen the keyless chuck, pull sufficient cable out of the drum
and place the end of the cable as far into the drain as possible.
3 Plug the power cable into the electrical socket and switch the
power on.
4 Switch the drill direction to forward (FOR) and fully depress
the trigger. The cable will begin to turn. Keep one hand on
cable when it is rotating.
5 Pull approximately 5 feet of extra cable from the drum creating
a slight loop of cable between the machine and the inlet. This
should gently be fed into the inlet.
6 Once the obstruction has been cleared, the line should be
washed through with a hose or power washer.
7 To retrieve the cable, pull one or two feet of cable from the inlet
(drain or stack) while running the machine in forward (FOR)
position and push the cable into the drum. Continue this
procedure until the end of the cable is just inside the inlet.
8 Turn off the machine, remove the remaining cable from the inlet
and hand feed it back into the drum. Finally, tighten the chuck
(hand tight).
Warning A: Do not allow the cable to get hung up on the obstruction.
If the cable end gets hung up on an obstruction, stop the motor and
reverse (REV) the drill until the cable becomes free. Once free from
the obstruction, turn motor to the forward (FOR) position and resume
clearance operation.
Warning B: Do not allow cables to become “over-stressed.” Over
stressing cables due to a stubborn obstruction or snag will create
tension in the cable leading to cable damage or an unpredictable
cable reaction. If the cable becomes over-stressed, follow the same
procedure as advised in “Warning A.”
Warning C: Never fully retract the cable from the inlet while it
is rotating.
Note: It is recommended that the cable is continuously flushed
through with clean water as it is being retrieved from the inlet and
again before putting it away.
Page 5

SPECIAL
APPLICATIONS
Reverse Operation
Running this machine in reverse should only be done if the cable
becomes blocked and only for a few seconds, enough to free the
end of the cable. If the cable gets caught on an obstruction,
immediately release the trigger to allow the machine to come to
a complete stop. Fully tighten the chuck and turn the drill switch
to the (REV) position. Grasp the cable with a gloved hand and
pull it while jogging the trigger. When the cable is dislodged,
place the drill switch in the forward (FOR) position, loosen the
chuck, and follow normal operating procedure.
Lubrication
Grease all exposed and moving parts.
Storage
The machine must be kept in a dry, safe place, out of the reach
of children.
Cables
The metal cable should be thoroughly cleaned with water to
prevent unpleasant odors and the damaging effects of drain
cleaning compounds.
CABLE REMOVAL
& REPLACEMENT
REPLACING THE
DRILL MOTOR
• The cable is NOT attached to the inside of the auger, so to
REMOVE the cable from the drum, continue to pull the cable
from the drum until it is fully removed from the drum
• To REPLACE the cable, first bend a 45∘angle in the end of the
cable end that goes into the drum
• Continue to push the cable into the drum until complete
Replacement Cable ST-96101G
• Remove the three allen bolts from the front cover
• Remove the center hub screw with a slotted screwdriver
(left hand threads)
• Remove the three allen bolts from the drive hub
• Remove the drill from the drive hub
Page 6

1 Warner Court
Swedesboro, New Jersey 08085 USA
Customer Service……85 6-241-7 700
Fax Order Service……856 -241- 1699
 Loading...