

Page 1

Branson 20C series
Operator’s manual
20C OPERATORS MANUAL (122011).indd 1 12/29/2011 6:21:33 PM
Page 2

TABLE OF CONTENTS
GENERAL PRECAUTIONS ----------------------------------------------------------------------- 8
ABOUT WARRANTY -------------------------------------------------------------------------------- 50
OVERVIEW OF THE TRACTOR ----------------------------------------------------------------- 52
FUNCTIONS ------------------------------------------------------------------------------------------- 56
SWITCHES AND LEVERS ------------------------------------------------------------------- 57
1. MAIN KEY SWITCH ------------------------------------------------------------------ 58
2. ACCELERATOR LEVER ------------------------------------------------------------ 59
3. F/R SHUTTLE LEVER --------------------------------------------------------------- 59
4. DIRECTION LAMP S/W ------------------------------------------------------------- 60
5. HEAD LAMP & HORN S/W --------------------------------------------------------- 60
6. STEERING WHEEL TILT LEVER ------------------------------------------------ 61
7. PTO SHIFT SWITCH ----------------------------------------------------------------- 61
8. EMERGENCY LAMP SIWTCH ---------------------------------------------------- 62
9. DASH METER ------------------------------------------------------------------------- 63
PEDALS ------------------------------------------------------------------------------------------- 67
1. CLUTCH PEDAL ---------------------------------------------------------------------- 68
2. BRAKE PEDALS AND CONNECTOR ------------------------------------------- 68
3. ACCELERATION PEDAL ------------------------------------------------------------ 69
LEVER OPERATION (A) --------------------------------------------------------------------- 70
1. MID REMOTE VALVE JOYSTICK ------------------------------------------------ 71
2. MAIN GEAR SHIFT LEVER -------------------------------------------------------- 71
3. 3PT POSITION CONTROL LEVER ------------------------------------------------ 72
• • •
2
20C OPERATORS MANUAL (122011).indd 2 12/29/2011 6:21:33 PM
Page 3

4. RANGE SHIFT LEVER -------------------------------------------------------------- 72
5. PARK BRAKE LEVER --------------------------------------------------------------- 73
6,7. REAR REMOTE CONTROL LEVER ------------------------------------------ 73
LEVER OPERATION (B) ---------------------------------------------------------------------- 74
1. STOP/SLOW RETURN VALVE ---------------------------------------------------- 75
2. MFWD LEVER ------------------------------------------------------------------------ 75
3. PTO LEVER ---------------------------------------------------------------------------- 76
4. DIFFERENTIAL LOCK PEDAL ---------------------------------------------------- 76
OTHERS ------------------------------------------------------------------------------------------- 77
1. WORKLAMP SWITCH --------------------------------------------------------------- 78
2. POWER OUTLET --------------------------------------------------------------------- 78
3. WIPER SWITCH ---------------------------------------------------------------------- 78
4. CLIMATE CONTROL ----------------------------------------------------------------- 80
5. SEAT -------------------------------------------------------------------------------------- 81
OPERATION & WORK ----------------------------------------------------------------------------- 82
CHECKING BEFORE OPERATION ------------------------------------------------------- 83
STARTING/STOPPING THE ENGINE ---------------------------------------------------- 90
1. TO START THE ENGINE ------------------------------------------------------------ 91
2. TO STOP THE ENGINE ---------------------------------------------------------------- 93
DRIVING ON THE ROAD -------------------------------------------------------------------- 94
DRIVING ON THE SLOPE ------------------------------------------------------------------- 95
ENTERING AND LEAVING THE PAVEMENT ------------------------------------------- 96
TURNING ON THE PAVEMENT ------------------------------------------------------------ 97
• • •
3
20C OPERATORS MANUAL (122011).indd 3 12/29/2011 6:21:33 PM
Page 4

DIFFERENTIAL GEAR LOCK --------------------------------------------------------------- 98
TRACTOR LOADING / UNLOADING ----------------------------------------------------- 99
INSTALLING 3POINT LINK ------------------------------------------------------------------ 100
PRECAUTIONS FOR CONNECTING THE IMPLEMENT --------------------------- 103
ADJUSTING WHEEL TREAD --------------------------------------------------------------- 104
POWER STEERING --------------------------------------------------------------------------- 105
MAINTENANCE AFTER WORK ----------------------------------------------------------------- 106
MAINTENANCE AFTER WORK ------------------------------------------------------------ 107
MAINTENANCE FOR PROLONGED STORAGE -------------------------------------- 108
PERIODIC MAINTENANCE AND ADJUSTMENT ------------------------------------------ 112
PERIODIC MAINTENANCE SCHEDULE ------------------------------------------------ 113
OIL, GREASE, AND ANTI-FREEZE CHART -------------------------------------------- 115
FUEL, OIL, AND COOLANT CHART ------------------------------------------------------ 115
CHECKING AND CHANGING OF OIL ---------------------------------------------------- 116
1. ENGINE OIL ---------------------------------------------------------------------------- 117
2. TRANSMISSION / HYD FLUID ---------------------------------------------------- 118
3. FRONT AXLE FLIUD ----------------------------------------------------------------- 120
FILTERS / COOLANT REPLACEMENT -------------------------------------------------- 122
1. ENGINE OIL FILTER ----------------------------------------------------------------- 122
2. TRANSMISSION / HYD FLUID ---------------------------------------------------- 123
3. FUEL FILTER ------------------------------------------------------------------------- 124
4. COOLANT ------------------------------------------------------------------------------ 124
• • •
4
20C OPERATORS MANUAL (122011).indd 4 12/29/2011 6:21:33 PM
Page 5

OTHERS ------------------------------------------------------------------------------------------ 127
1. RADIATOR SCREEN / AIR CLEANER ------------------------------------------ 127
2. BATTERY -------------------------------------------------------------------------------- 129
3. ADJUSTING PARKING BRAKE --------------------------------------------------- 130
4. FUEL PIPES AND HOSES ---------------------------------------------------------- 131
5. ELECTRICAL CABLES -------------------------------------------------------------- 132
6. GREASING ----------------------------------------------------------------------------- 133
7. STEERING WHEEL ------------------------------------------------------------------ 134
8. BRAKE ----------------------------------------------------------------------------------- 135
9. FAN BELT ------------------------------------------------------------------------------- 136
10. AIR COMPRESSOR BELT -------------------------------------------------------- 137
11. TOE-IN ---------------------------------------------------------------------------------- 138
12. FRONT AXLE SWING -------------------------------------------------------------- 139
13. FUSE AND FUSIBLE LINK -------------------------------------------------------- 138
14. COLOR OF EXHAUST GAS ------------------------------------------------------ 139
TROUBLESHOOTING ------------------------------------------------------------------------------ 142
ENGINE ------------------------------------------------------------------------------------------- 143
CLUTCH & BRAKE ---------------------------------------------------------------------------- 146
HYDRAULIC SYSTEM ------------------------------------------------------------------------ 147
ELECTRICAL SYSTEM ----------------------------------------------------------------------- 148
SPECIFICATIONS ----------------------------------------------------------------------------------- 151
• • •
5
20C OPERATORS MANUAL (122011).indd 5 12/29/2011 6:21:33 PM
Page 6

THANK YOU FOR PURCHASING A BRANSON TRACTOR.
Before use, read and understand this manual complete.
• After reading this manual, keep it close to the tractor for immediate reference
• Any one operating this tractor should review this manual.
• In case this manual is lost or damaged, please contact your nearest authorized dealer for a copy.
• Some parts of this product may have been changed for the improvement of quality or for safety reason.
• In this case, the photographs or drawings of such parts in this booklet may not be the same as the actual parts installed
on this product.
• If you nd anything in this manual unclear or in need of further explanation, please contact your authorized dealer for
inquiry.
• • •
6
20C OPERATORS MANUAL (122011).indd 6 12/29/2011 6:21:33 PM
Page 7

The instructions given with the following marks are very important for your safety
Failure to observe the instruction given with this mark may result in death or injury.
Failure to observe the instruction given with this mark may expose you to the risk of
death or injury.
Failure to observe the instruction given with this mark may expose you to injury.
DANGER
WARNING
CAUTION
• The section, “ To Ensure Safe Operation,” on the following pages details safety points to be
observed to ensure safe operation of your tractor
• Please make sure you read it carefully before operating the tractor.
Read this Manual for correct and safe use of the product. Failure to
use the product properly may result in an accident. Keep this Manual
close to the tractor after you have read it.
• • •
7
20C OPERATORS MANUAL (122011).indd 7 12/29/2011 6:21:34 PM
Page 8

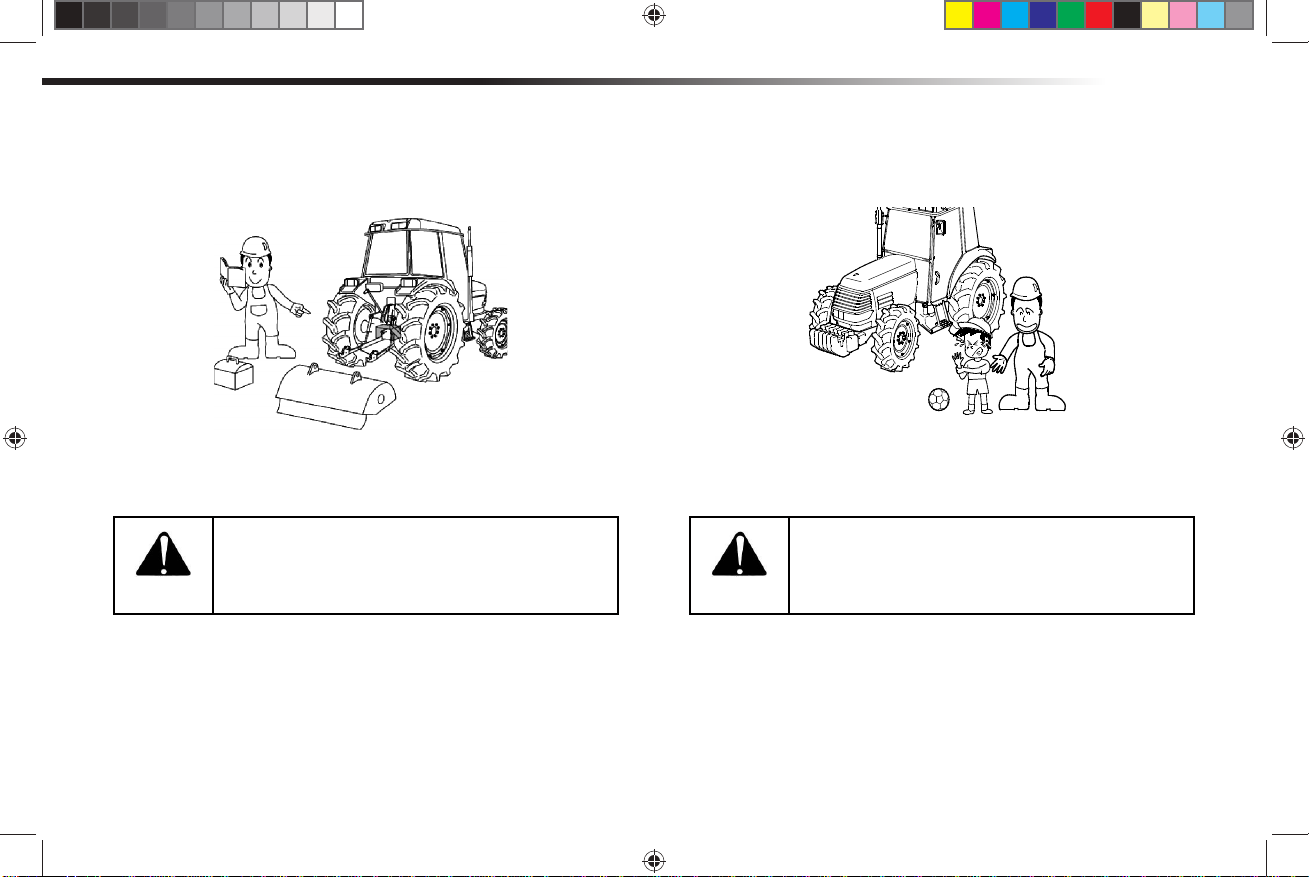
GENERAL PRECAUTIONS
(TO ENSURE SAFE OPERATION)
20C OPERATORS MANUAL (122011).indd 8 12/29/2011 6:21:34 PM
Page 9
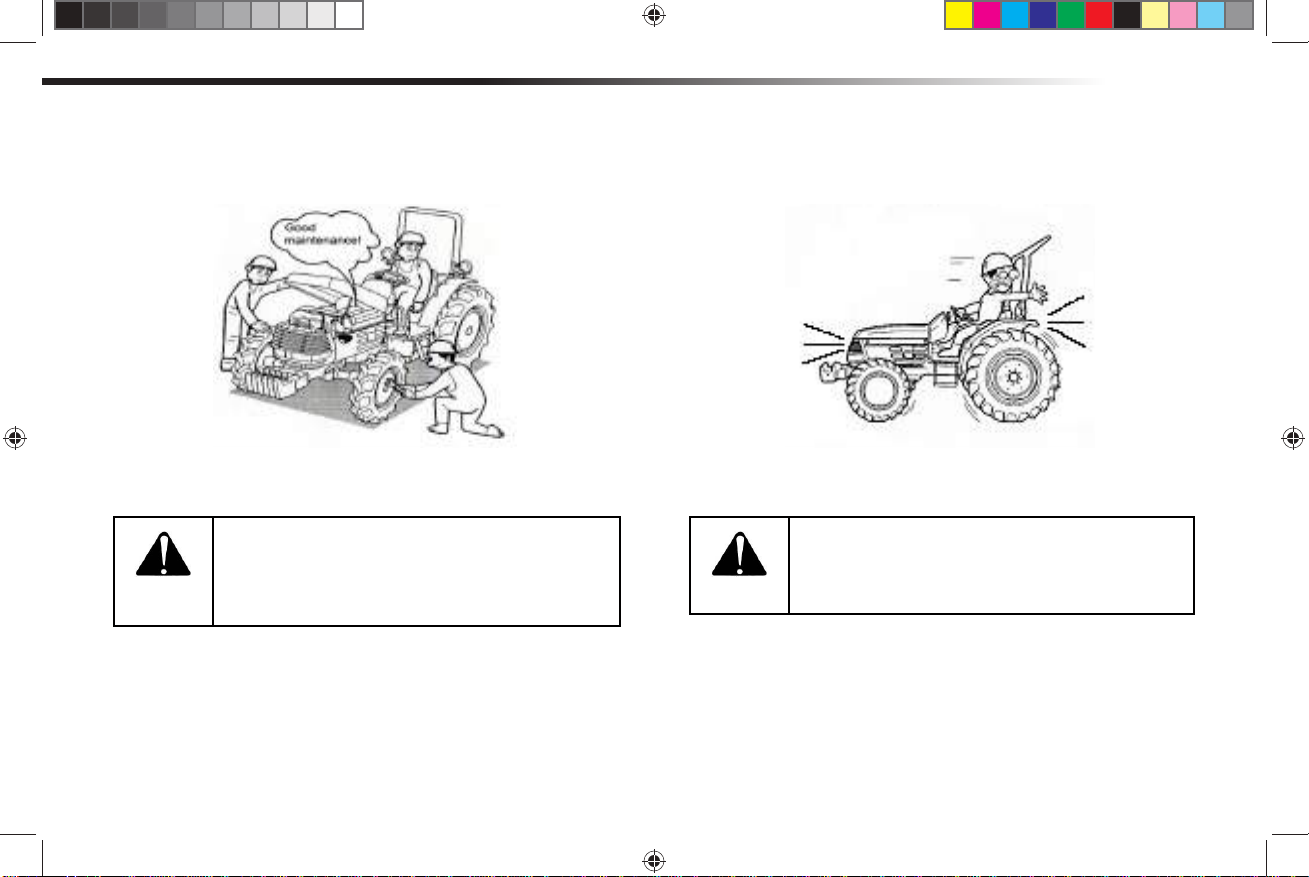
GENERAL PRECAUTIONS
• Make sure to observe the instruction given in this section to avoid equipment failure or personal injury or death.
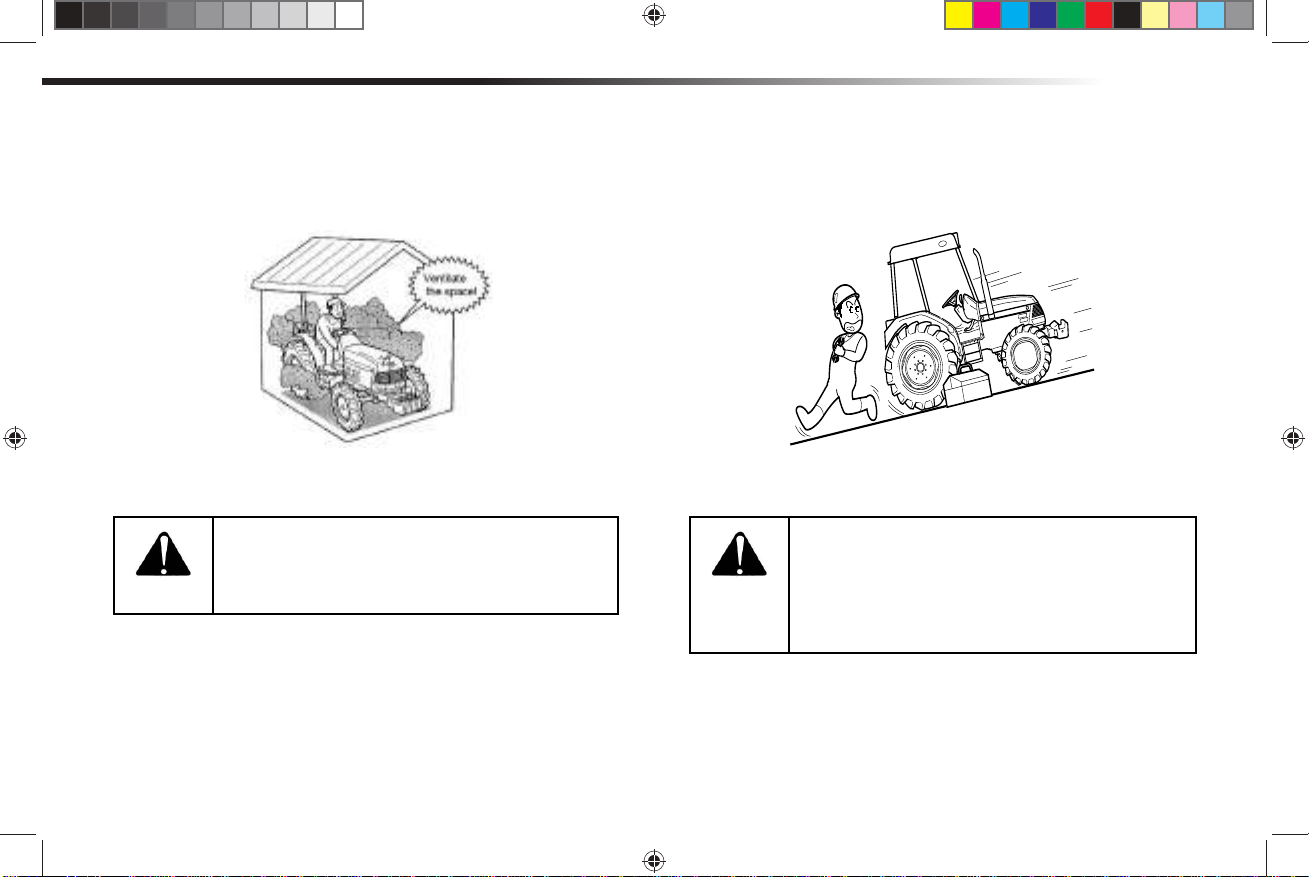
Beware of exhaust gas.
Start engine in a well ventilated area.
WARNING WARNING
[Otherwise]
The exhaust gas can cause intoxication and lead to fatal
consequences.
[Otherwise]
An unexpected accident may occur, such as overturning
of the tractor.
Select a at and safe location to secure the
tractor in place so it will not cause a risk to
people passing by. Before carrying out the
maintenance, block the front and rear tires
to prevent moving while servicing.
• • •
9
20C OPERATORS MANUAL (122011).indd 9 12/29/2011 6:21:34 PM
Page 10
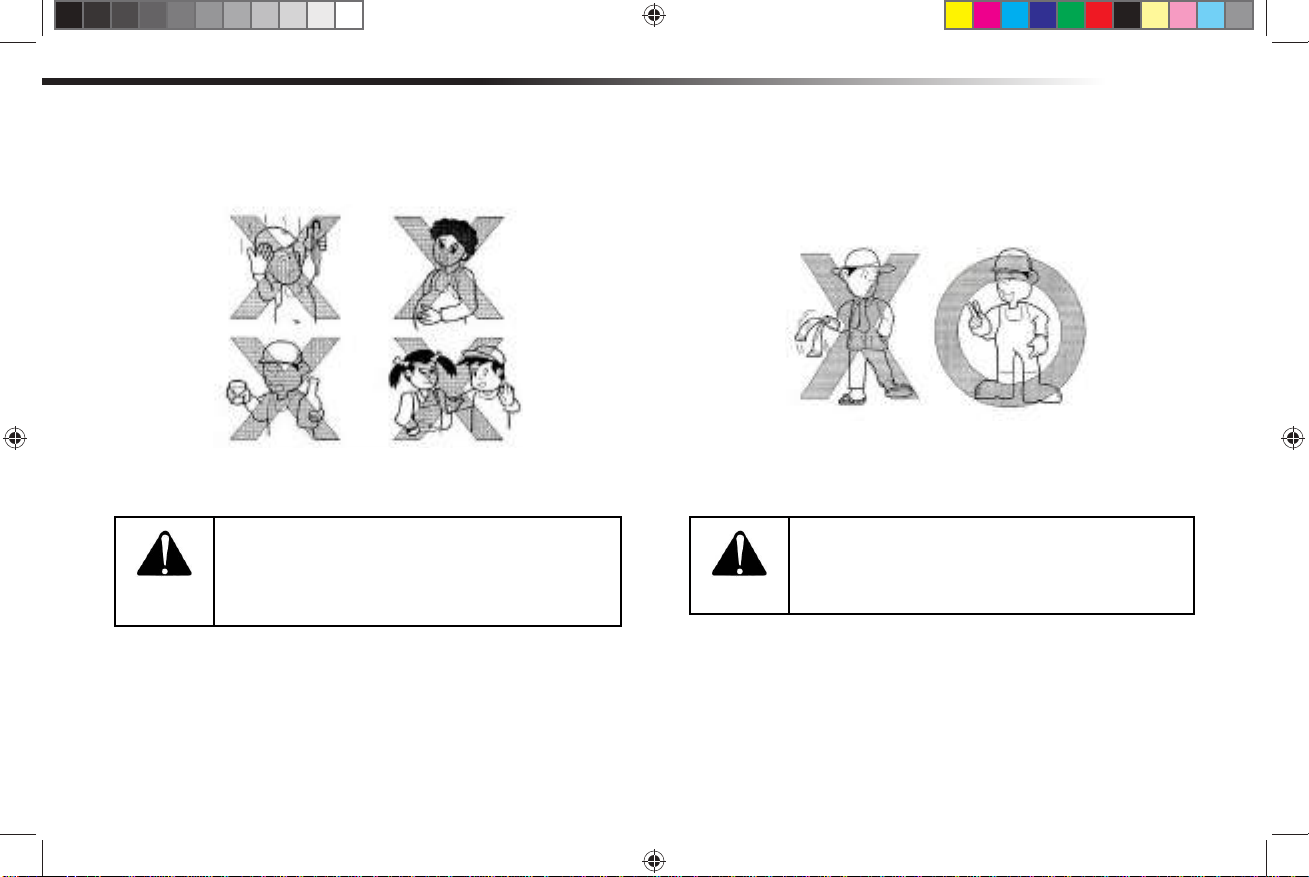
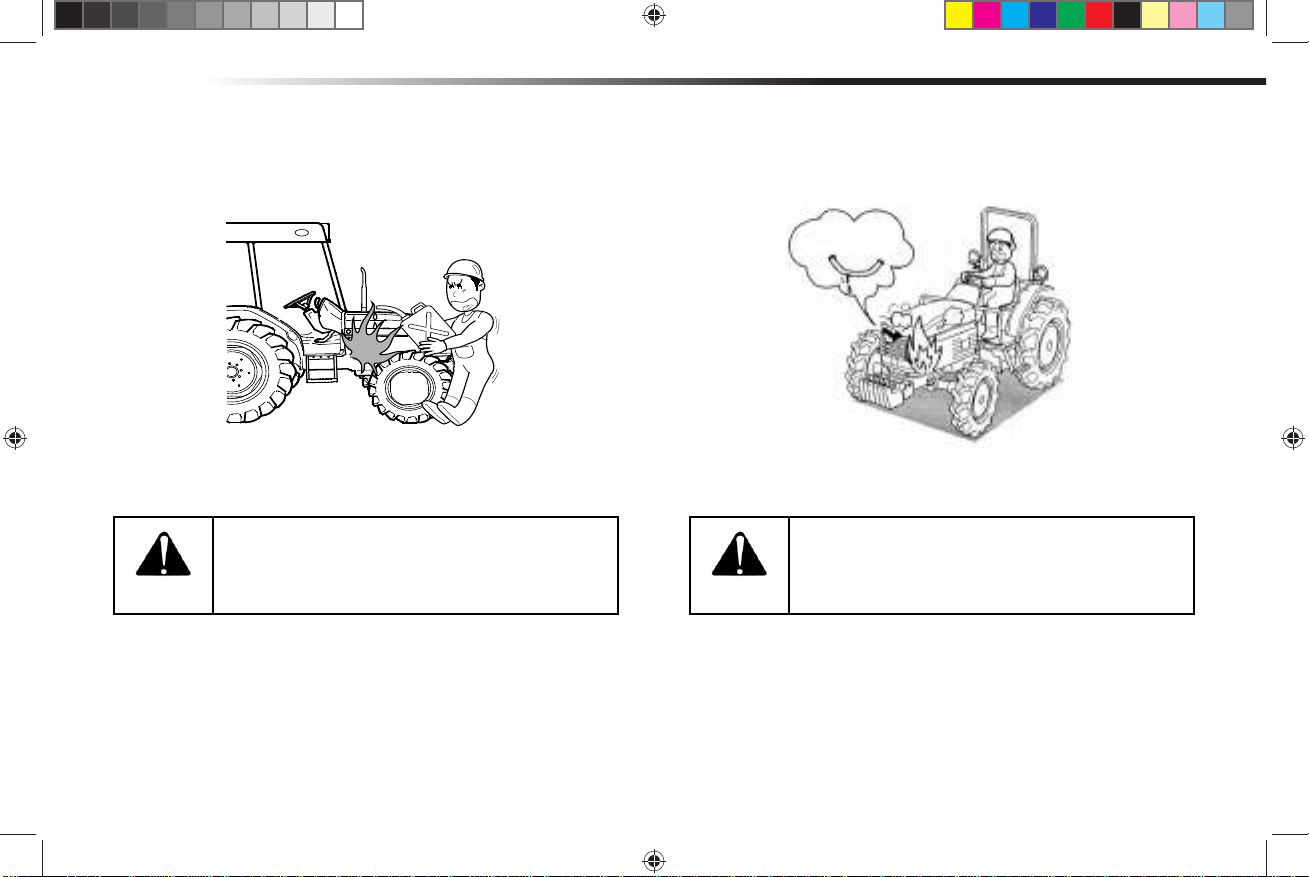
GENERAL PRECAUTIONS
Make sure work area is properly lighted.
Use safety work lights with protection cov-
WARNING
[Otherwise]
An unexpected accident may occur, possibly re or explosion.
ering.
WARNING
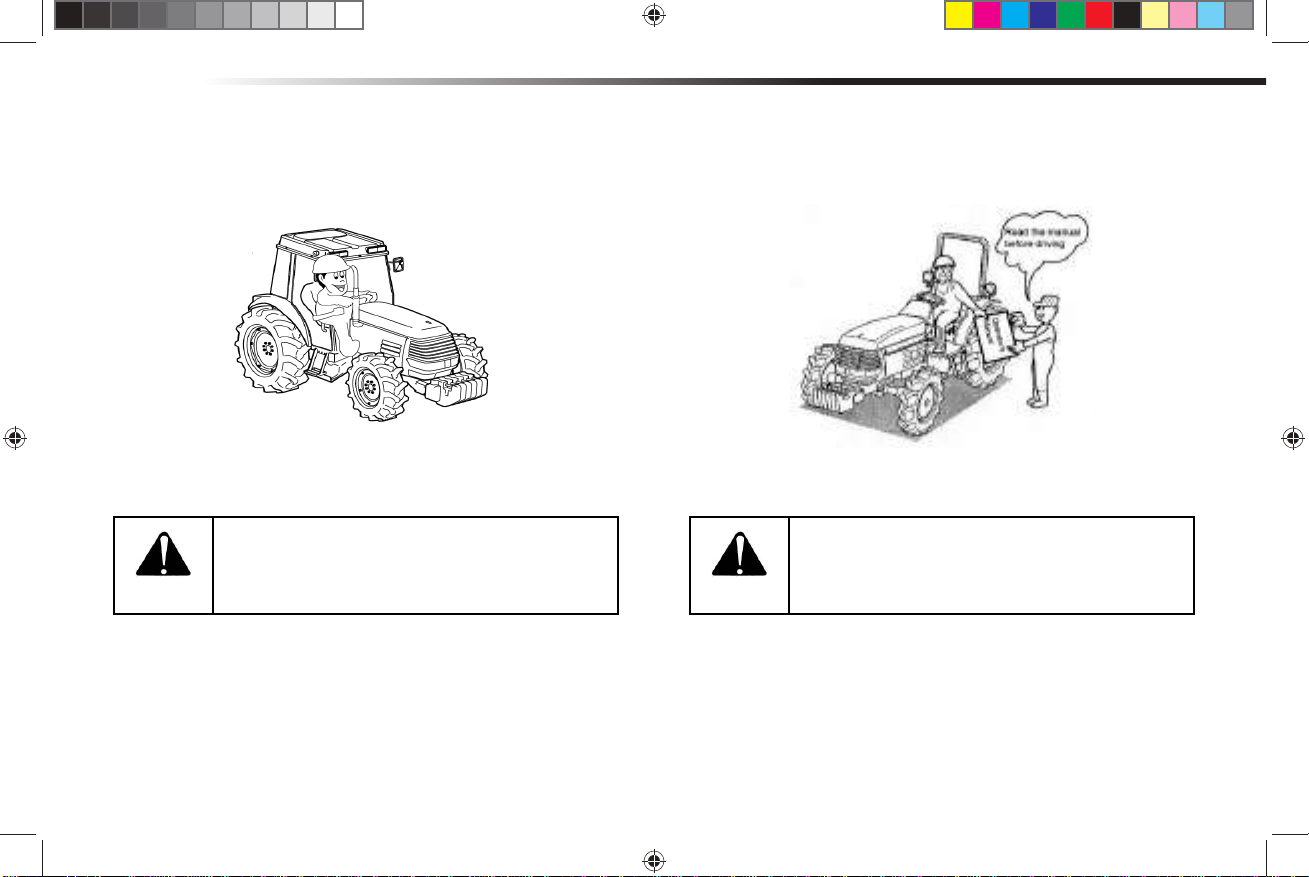
Keep a rst aid kit and re extinguisher
handy at all times while operating equip-
ment.
• • •
10
20C OPERATORS MANUAL (122011).indd 10 12/29/2011 6:21:34 PM
Page 11
GENERAL PRECAUTIONS
WARNING
Do not operate tractor or any implement at-
tached to tractor while under the inuence
of alcohol, medication, controlled sub-
stances or while fatigued.
WARNING
[Otherwise]
You will be exposed to a risk of being entangled in the
equipment resulting in injury.
Never wear loose, torn or bulky clothing
around tractor.
• • •
11
20C OPERATORS MANUAL (122011).indd 11 12/29/2011 6:21:35 PM
Page 12
GENERAL PRECAUTIONS
Fasten your seat belt at all times.
WARNING
[Otherwise]
You will be exposed to a risk of death or serious injury if
the tractor overturns.
WARNING
[Otherwise]
There is a danger of death, serious injury, or damage to
the tractor.
Before allowing other people to use your
tractor, explain how to operate and have
them read this manual.
• • •
12
20C OPERATORS MANUAL (122011).indd 12 12/29/2011 6:21:35 PM
Page 13
GENERAL PRECAUTIONS
Be sure to use only implements which are
recommended by manufacturer.
WARNING
[Otherwise]
An un expected accident may occur or tractor may not
perform properly.
WARNING
[Otherwise]
There is a risk of injury.
Fully warn children and keep them away
from the tractor at all times.
• • •
13
20C OPERATORS MANUAL (122011).indd 13 12/29/2011 6:21:36 PM
Page 14
GENERAL PRECAUTIONS
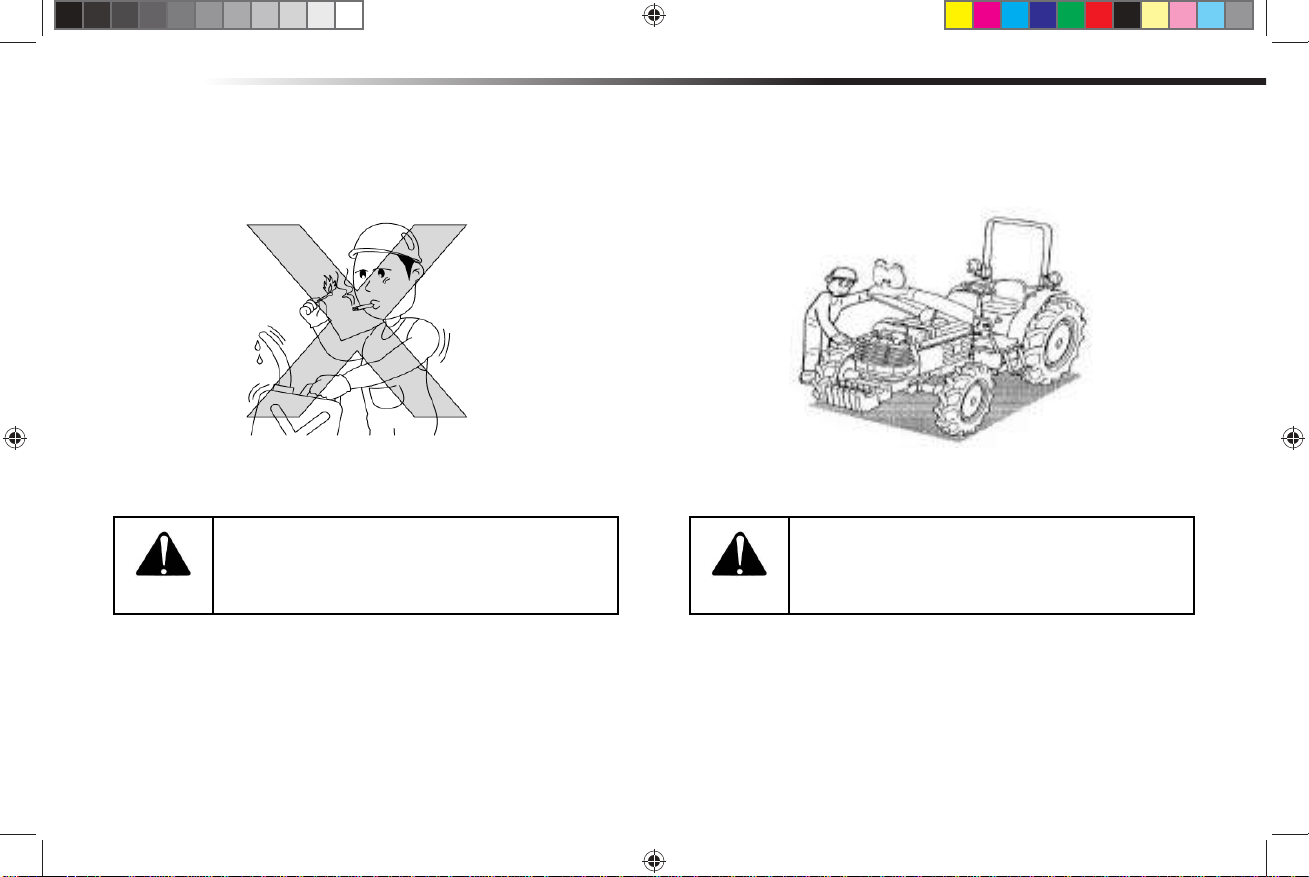
Absolutely no lit cigarettes, matches, or
lighters anywhere near when fueling the
DANGER
[Otherwise]
Fire or explosion may occur.
tank.
WARNING
[Otherwise]
There is a risk of re due to short circuit.
Inspect electrical wiring contact insulation
to avoid shorting or spark.
• • •
14
20C OPERATORS MANUAL (122011).indd 14 12/29/2011 6:21:37 PM
Page 15
GENERAL PRECAUTIONS
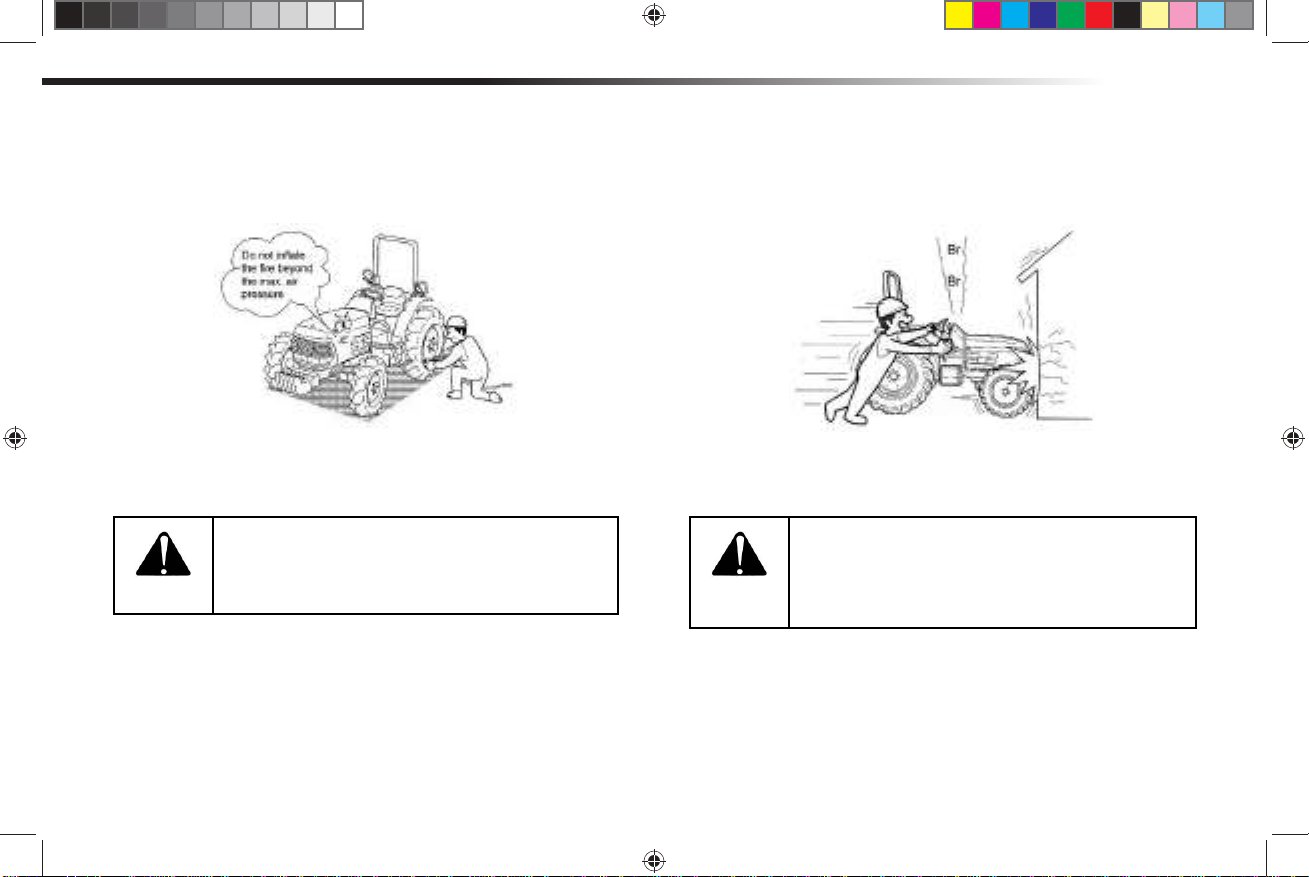
When lling tires with air, do not inate it
beyond the maximum pressure stated in
WARNING
[Otherwise]
The tire may blow out, causing an injury.
this booklet.
WARNING
[Otherwise]
An unexpected accident may occur.
When starting the engine, make sure that
you are seated in the driver’s seat with
your seat belt fastened and the safety
inspection has been performed.
• • •
15
20C OPERATORS MANUAL (122011).indd 15 12/29/2011 6:21:37 PM
Page 16
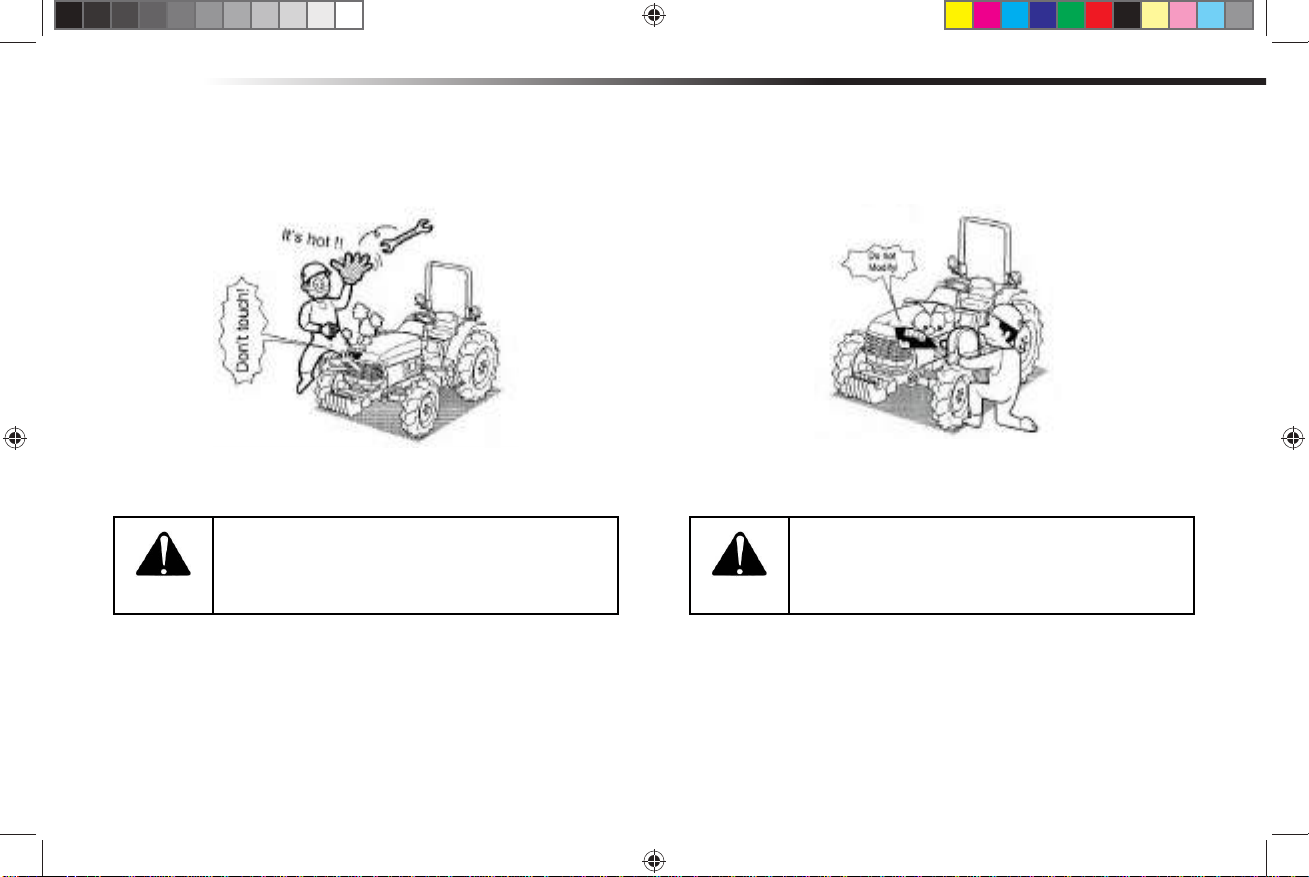
GENERAL PRECAUTIONS
During operation and right after the engine
is turned off, the mufer is very hot. Avoid
CAUTION
[Otherwise]
There is a risk of getting burnt.
touching it, as you may get burnt.
CAUTION
[Otherwise]
There is a danger of accident or injury or equipment fail-
ure. Please remember that the failure due to modication
may not be covered by warranty.
Use only the genuine parts or other ap-
proved parts. Do not modify the tractor
• • •
16
20C OPERATORS MANUAL (122011).indd 16 12/29/2011 6:21:37 PM
Page 17
GENERAL PRECAUTIONS
Perform periodic maintenance, keep each
part of the tractor in normal condition. Make
WARNING
[Otherwise]
There is danger of accident or equipment failure due to
poor maintenance.
sure to replace all hydraulic hoses and
brake hoses once every two years.
WARNING
[Otherwise]
Because signal cannot be seen by nearby workers, ag-
ricultural equipment, automobiles, etc. It may result in a
cause of accident.
Check carefully that the various safety
lamps such as direction indication lamp
before driving the tractor
• • •
17
20C OPERATORS MANUAL (122011).indd 17 12/29/2011 6:21:38 PM
Page 18
GENERAL PRECAUTIONS
Never ll the fuel tank while the engine is
running or when the engine is hot.
DANGER
[Otherwise]
The fuel may ignite and re may break out.
DANGER
[Otherwise]
There is a danger of re.
If fuel pipe is damaged, fuel will leak. Make
sure that you check for any leakage.
• • •
18
20C OPERATORS MANUAL (122011).indd 18 12/29/2011 6:21:38 PM
Page 19

GENERAL PRECAUTIONS
After lling the fuel tank, close the fuel ller
cap completely and wipe off the excess
DANGER
[Otherwise]
It may result in a re accident or environmental pollution.
fuel thoroughly.
WARNING
[Otherwise]
It may result in a re.
Every day before operating the tractor,
check for straws, dust, fuel, or other residue on and around the mufer and the en-
gine and remove them.
• • •
19
20C OPERATORS MANUAL (122011).indd 19 12/29/2011 6:21:38 PM
Page 20
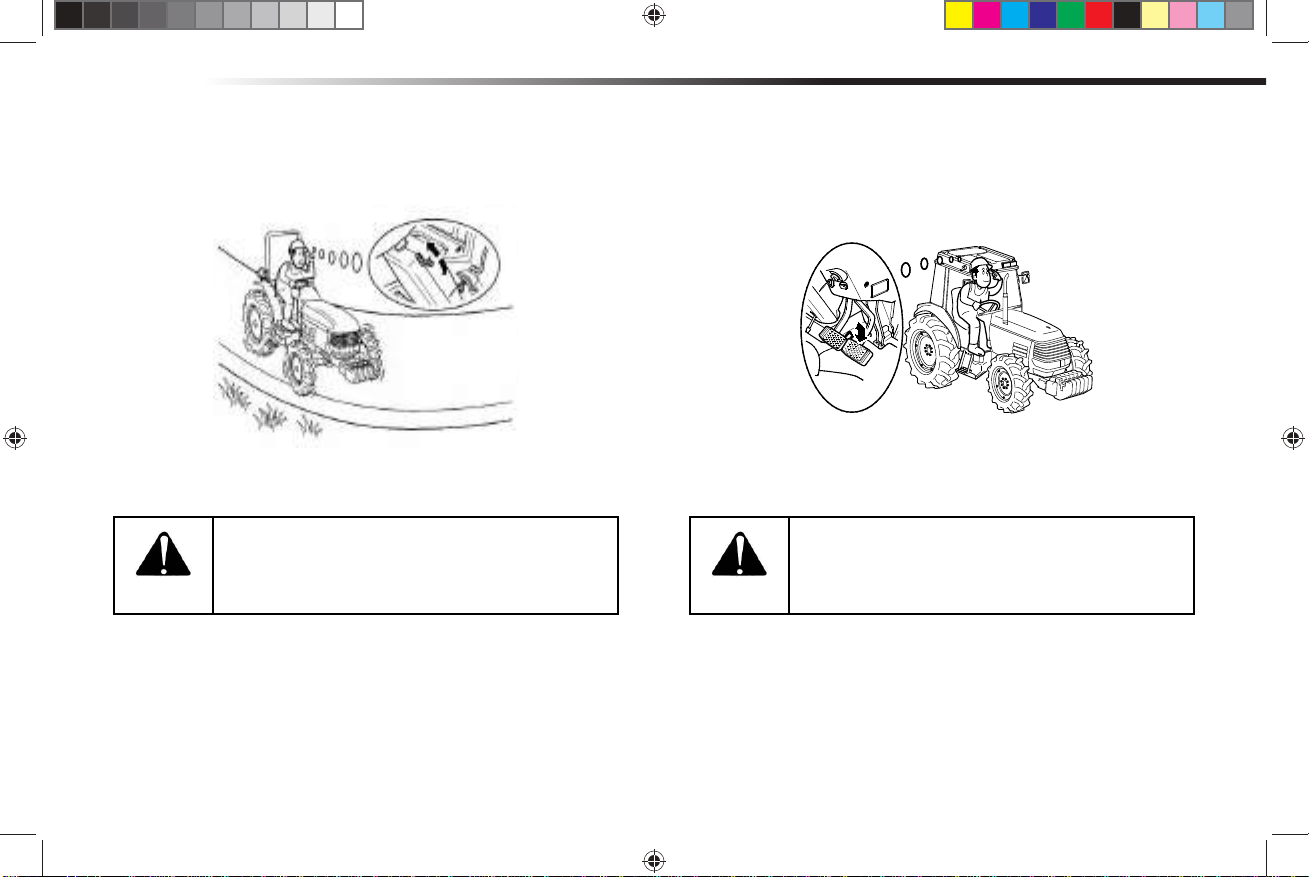
GENERAL PRECAUTIONS
Except when you adjust the steering wheel,
make sure that the tilt lever is placed in the
WARNING
[Otherwise]
The tractor may not turn to the direction you want and
may cause an accident.
<Lock> position.
WARNING
[Otherwise]
There is a risk of accident..
Check if the brakes work properly and
evenly on both sides or if the steering
wheel is loose.
• • •
20
20C OPERATORS MANUAL (122011).indd 20 12/29/2011 6:21:39 PM
Page 21
GENERAL PRECAUTIONS
Engage the parking brake during warming
of engine.
WARNING
[Otherwise]
The tractor may move and cause an accident or injury.
WARNING
[Otherwise]
There is a danger of accident.
Engage or disengage the implement on a
at and safe place. Supply proper lighting
at all times and especially night.
• • •
21
20C OPERATORS MANUAL (122011).indd 21 12/29/2011 6:21:39 PM
Page 22
Treatment of hazardous materials
GENERAL PRECAUTIONS
• Properly discard hazardous materials.
• Hazardous materials from tractor are the following:
Coolant, brake oil, oil, lter elements, battery and so
on.
• When draining fuel, oil or other liquids, use a con-
tainer without holes. Do not dispose of chemicals on
the ground or in rivers or waterways
Be careful that your body or your clothes do
not come in contact with the battery solu-
DANGER
[Otherwise]
You may get burnt or your clothes may be damaged.
tion. If you come in contact with the battery
solution, rinse it off with water immediately.
• • •
22
20C OPERATORS MANUAL (122011).indd 22 12/29/2011 6:21:39 PM
Page 23
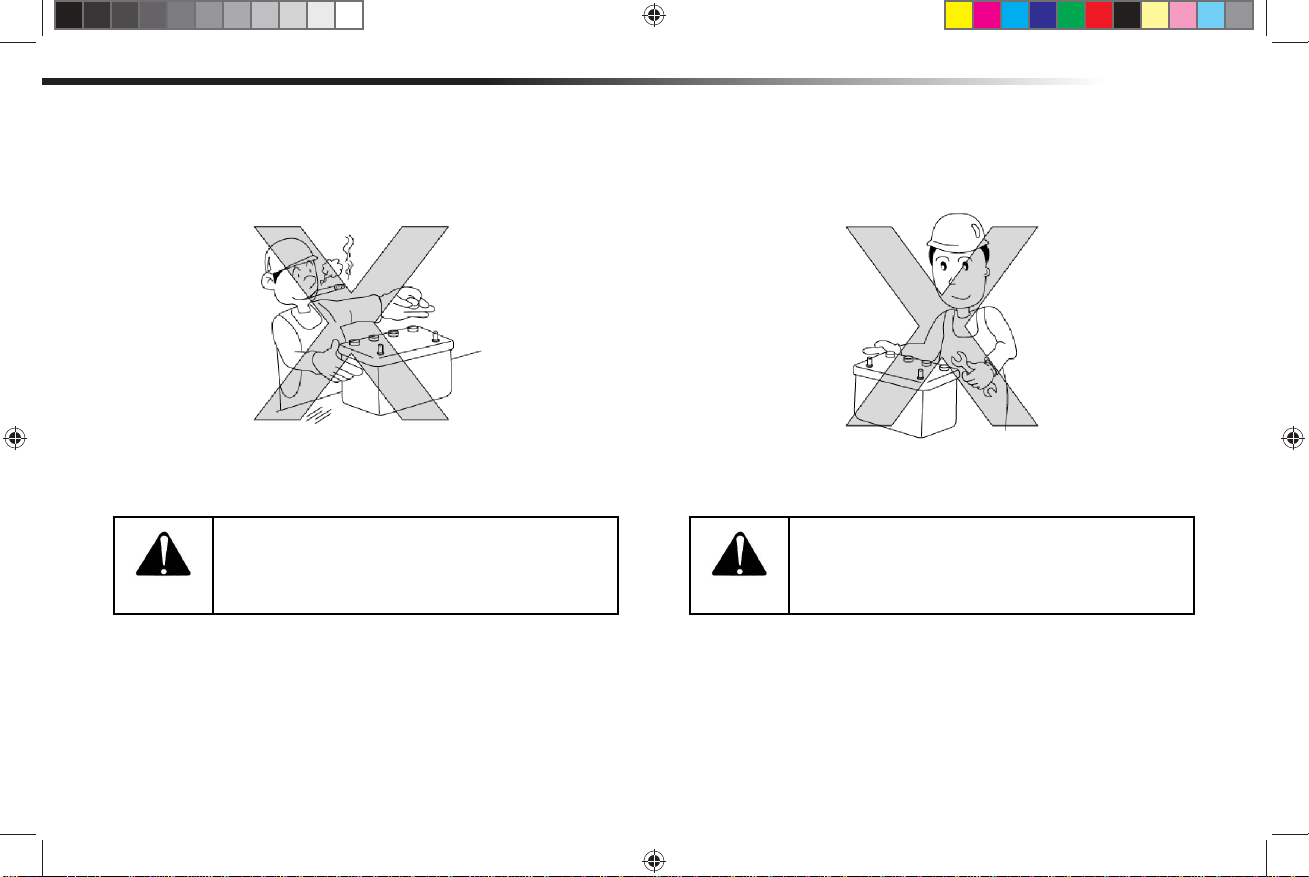
GENERAL PRECAUTIONS
Avoid re when checking or charging the
battery.
WARNING
[Otherwise]
You may get burnt due to ignition or explosion of the
battery.
CAUTION
[Otherwise]
There is a risk of burn or re due to short circuit.
Connect the (+) terminal rst when installing the battery, and disconnect the (-) ter-
minal rst when removing it.
• • •
23
20C OPERATORS MANUAL (122011).indd 23 12/29/2011 6:21:40 PM
Page 24
GENERAL PRECAUTIONS
When checking, repairing, maintaining, or
cleaning the tractor, make sure to stop the
CAUTION
[Otherwise]
There is a danger of injury.
engine.
CAUTION
[Otherwise]
The oil under high pressure may cause damage to the
skin or injury.
Make sure that the hydraulic coupling or
the hose is not loose or damaged. Before
separating the hydraulic coupling or the
hose, eliminate the high pressure inside
the hydraulic system.
• • •
24
20C OPERATORS MANUAL (122011).indd 24 12/29/2011 6:21:40 PM
Page 25
GENERAL PRECAUTIONS
CAUTION
When the PTO shaft is not in use, apply
grease to it and keep it covered.
CAUTION
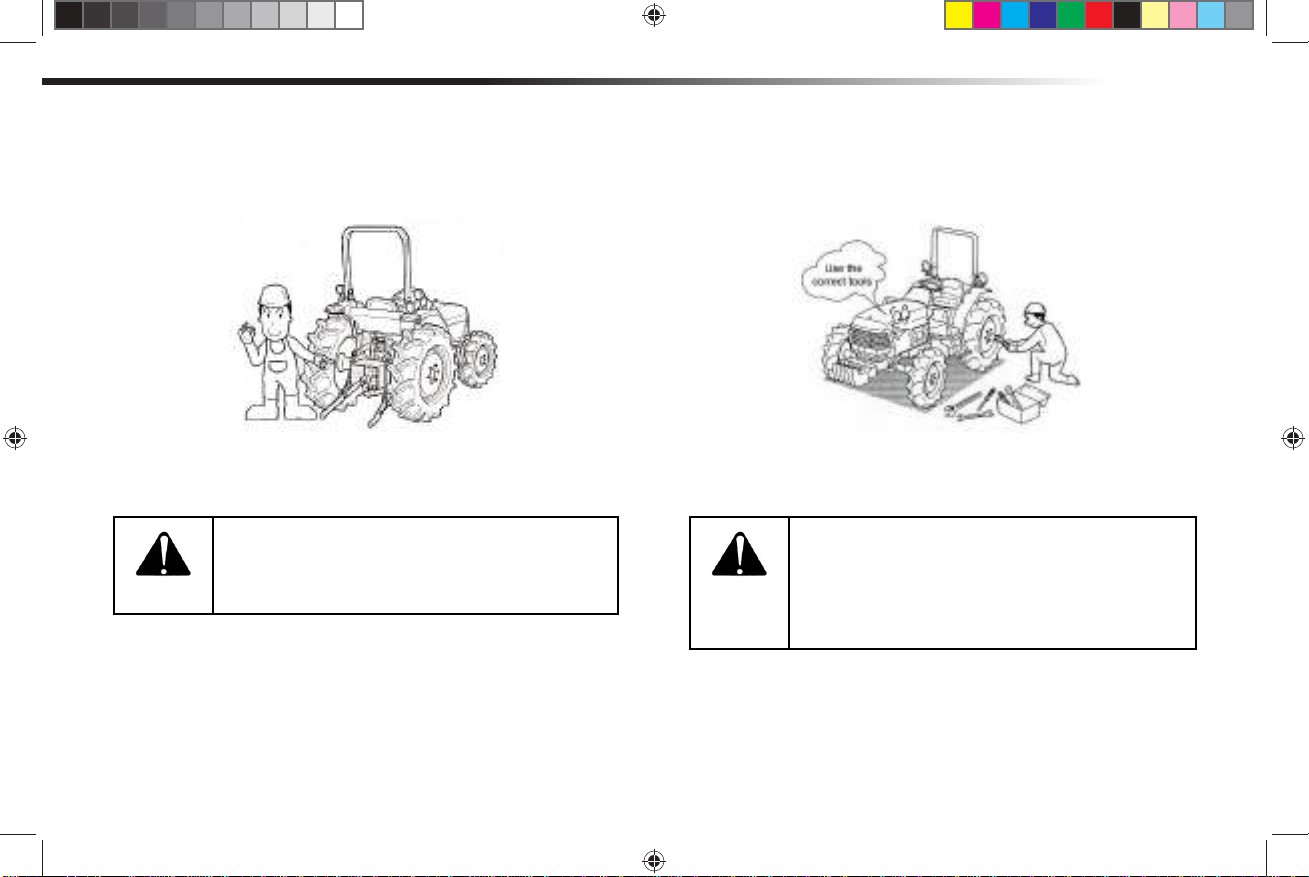
Manage the maintenance tools properly,
and use the correct tools for the type of
maintenance. Also, always keep the tools
for repairs and minor adjustment available
on the tractor.
[Otherwise]
There is a risk that you may get entangled or get injured.
[Otherwise]
There is a danger of accident due to poor maintenance.
• • •
25
20C OPERATORS MANUAL (122011).indd 25 12/29/2011 6:21:41 PM
Page 26
After opening the hood for checking or
GENERAL PRECAUTIONS
maintenance, make sure to put them in
CAUTION
[Otherwise]
There is a risk that you may get entangled in the tractor
or get injured.
their place.
• • •
26
20C OPERATORS MANUAL (122011).indd 26 12/29/2011 6:21:41 PM
Page 27
GENERAL PRECAUTIONS
Do not use a person on anything else in
place of the balance weight. Use only rec-
WARNING
[Otherwise]
There is a danger of accident or injury.
ommended balance weight for the work.
WARNING
[Otherwise]
There is a danger of accident or injury.
When engaging or disengaging the imple-
ment by moving the tractor, make sure that
no one is allowed around the tractor or be-
tween the implement or attachment and the
tractor.
• • •
27
20C OPERATORS MANUAL (122011).indd 27 12/29/2011 6:21:41 PM
Page 28
GENERAL PRECAUTIONS
When engaging a heavy implement or at-
tachment, load the weight on the front to
WARNING
[Otherwise]
There is a danger of accident or injury due to loss of balance.
keep the balance of the tractor.
WARNING
[Otherwise]
The implement unit may fall down and there is a risk of
injury
Do not get under implement or put your feet
under it.
• • •
28
20C OPERATORS MANUAL (122011).indd 28 12/29/2011 6:21:41 PM
Page 29
GENERAL PRECAUTIONS
Adjust the wheel tread (width between left
and right tires) on a slope or when towing.
WARNING
[Otherwise]
There is a danger of turning over.
WARNING
[Otherwise]
There is a danger of person injury or a collision of the
implement.
Depending on implements, the overall
length may become very long. Pay partic-
ular attention to people or objects nearby
when making a turn.
• • •
29
20C OPERATORS MANUAL (122011).indd 29 12/29/2011 6:21:41 PM
Page 30
GENERAL PRECAUTIONS
Link the brake of the trailer with the brake
of the tractor. Do not shift gear when driving
WARNING
on a hill.
[Otherwise]
There is a risk of accident or injury.
WARNING
[Otherwise]
There is a risk of personal injury or damage to the trac-
When engaging an implement to the trac-
tor, follow the instruction manual for the
implement.
tor.
• • •
30
20C OPERATORS MANUAL (122011).indd 30 12/29/2011 6:21:41 PM
Page 31

GENERAL PRECAUTIONS
During loader operation, apply weights or
an implement to avoid loosing balance be-
WARNING
[Otherwise]
There is a risk of overturning accident due to loss of balance.
tween the front and the rear side of tractor.
WARNING
[Otherwise]
The performance of the implement may not properly
work and there is a risk of accident or injury or damage
to the tractor.
Do not use a low-revolution implement at
high revolution. Be sure to know the designated PTO requirements for the imple-
ments.
• • •
31
20C OPERATORS MANUAL (122011).indd 31 12/29/2011 6:21:42 PM
Page 32

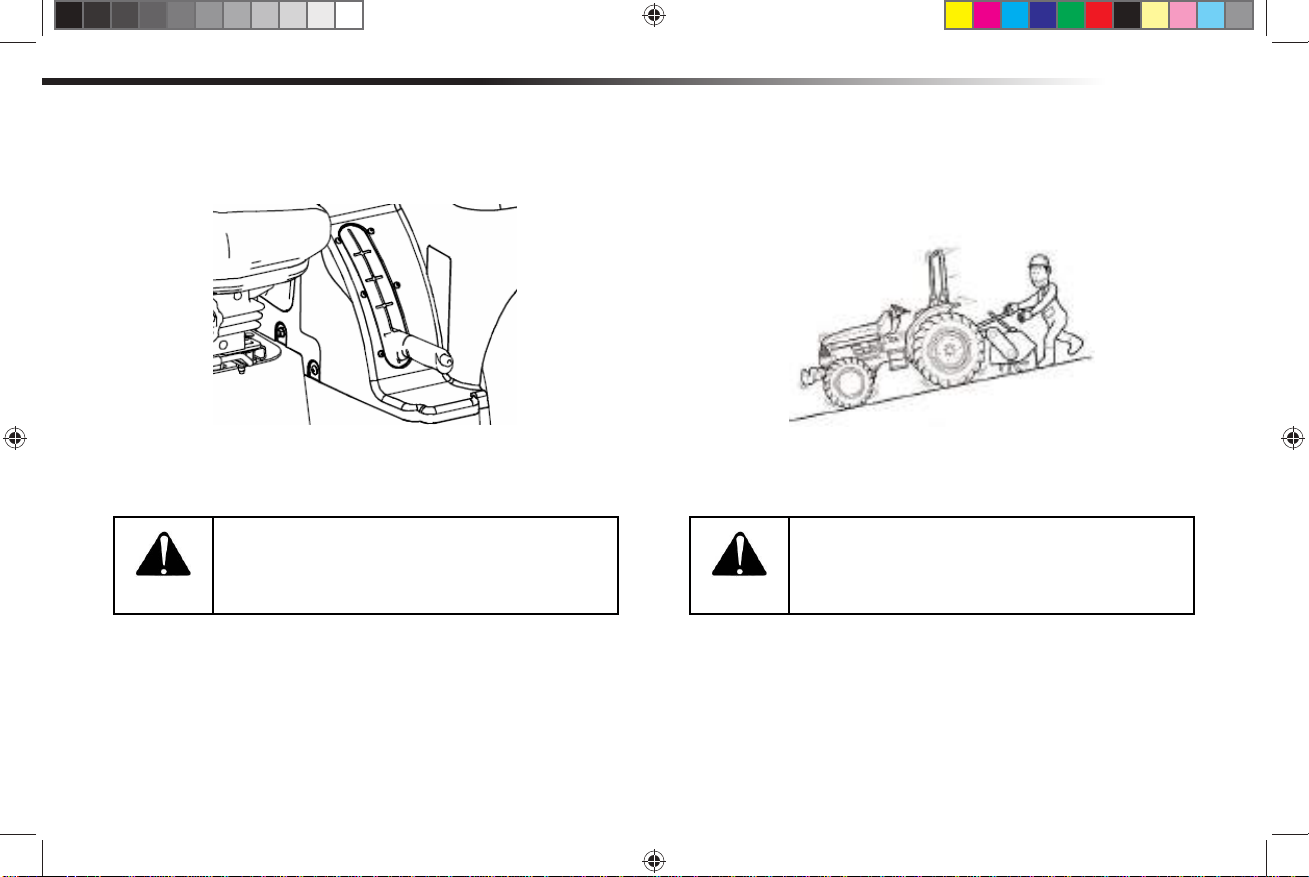
GENERAL PRECAUTIONS
Check and perform maintenance to loader
after lifting it. And x the joystick safety le-
WARNING
ver when dismantling
[Otherwise]
There is a danger of an unexpected death accident.
WARNING
[Otherwise]
Tractor may turn over.
Make sure to use the drawbar when tow-
ing. Never tow anything with the top link or
the lower link.
• • •
32
20C OPERATORS MANUAL (122011).indd 32 12/29/2011 6:21:42 PM
Page 33

GENERAL PRECAUTIONS
When working with the rotary, put the rotary
slowly on soft or rocky ground. The tractor
WARNING
[Otherwise]
There is a risk of accident or injury.
may be pushed in an unexpected direction
by the rotating force of the rotary.
WARNING
[Otherwise]
The tractor may not turn to the direction you want and
cause an accident and damage the tractor.
Make sure to release the differential gear
lock when making a turn.
• • •
33
20C OPERATORS MANUAL (122011).indd 33 12/29/2011 6:21:42 PM
Page 34

GENERAL PRECAUTIONS
Loading or unloading must be done on a at
and safe place, the tractor engine switched
WARNING
[Otherwise]
The tractor may roll backward or fall off causing accident
or injury.
off, and the parking brake engaged. The
loading ramps must be non-slip and have
sufcient strength, length, and width for the
tractor.
WARNING
[Otherwise]
The tractor may roll backward or fall off causing accident
or injury.
Move the tractor backward when loading it
on the truck, and forward when unloading
from the truck
• • •
34
20C OPERATORS MANUAL (122011).indd 34 12/29/2011 6:21:43 PM
Page 35

GENERAL PRECAUTIONS
Make sure to connect the brakes on both
sides when loading or unloading the trac-
DANGER
[Otherwise]
The tractor may overturn due to one-sided braking when
the brake pedal is depressed in an emergency.
tor.
WARNING
[Otherwise]
The tractor may roll backward or fall off causing accident
or injury.
Pay particular attention to driving on the
loading ramp. Do not operate the tractor as
you do with normal use, such as stepping
on the clutch, or putting the main gear or
range gear or shuttle lever to “Neutral”.
• • •
35
20C OPERATORS MANUAL (122011).indd 35 12/29/2011 6:21:43 PM
Page 36

GENERAL PRECAUTIONS
When driving on slopes or on the loading
ramps, select the proper gear and then do
WARNING
[Otherwise]
There is a risk of slipping, rolling, or overturning.
not shift the gear.
WARNING
[Otherwise]
There is a risk of accident that the tractor may fall off the
truck.
When transporting the tractor, apply the
parking brake with gear engaged and fas-
ten the tractor to the truck securely with
sufcient strength.
• • •
36
20C OPERATORS MANUAL (122011).indd 36 12/29/2011 6:21:43 PM
Page 37

GENERAL PRECAUTIONS
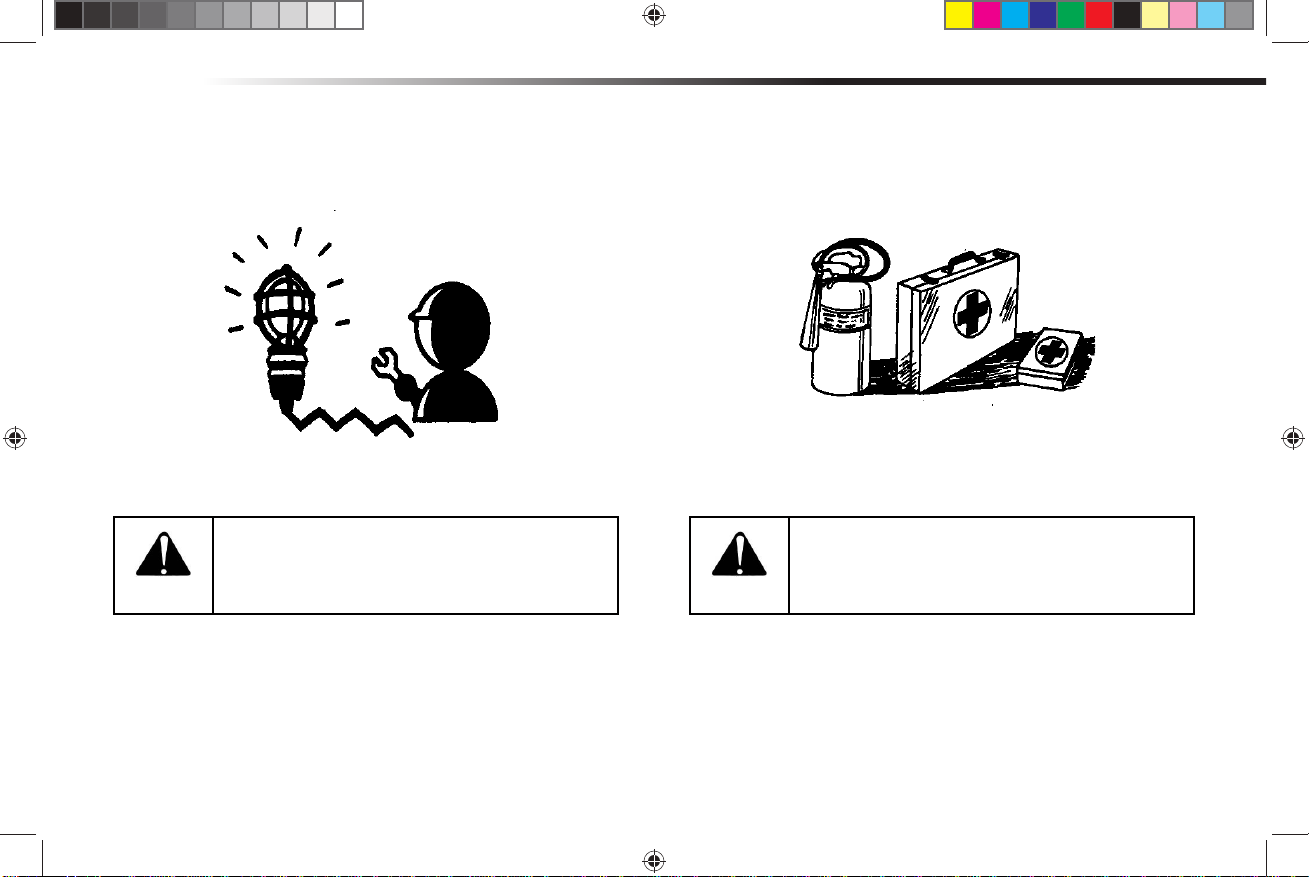
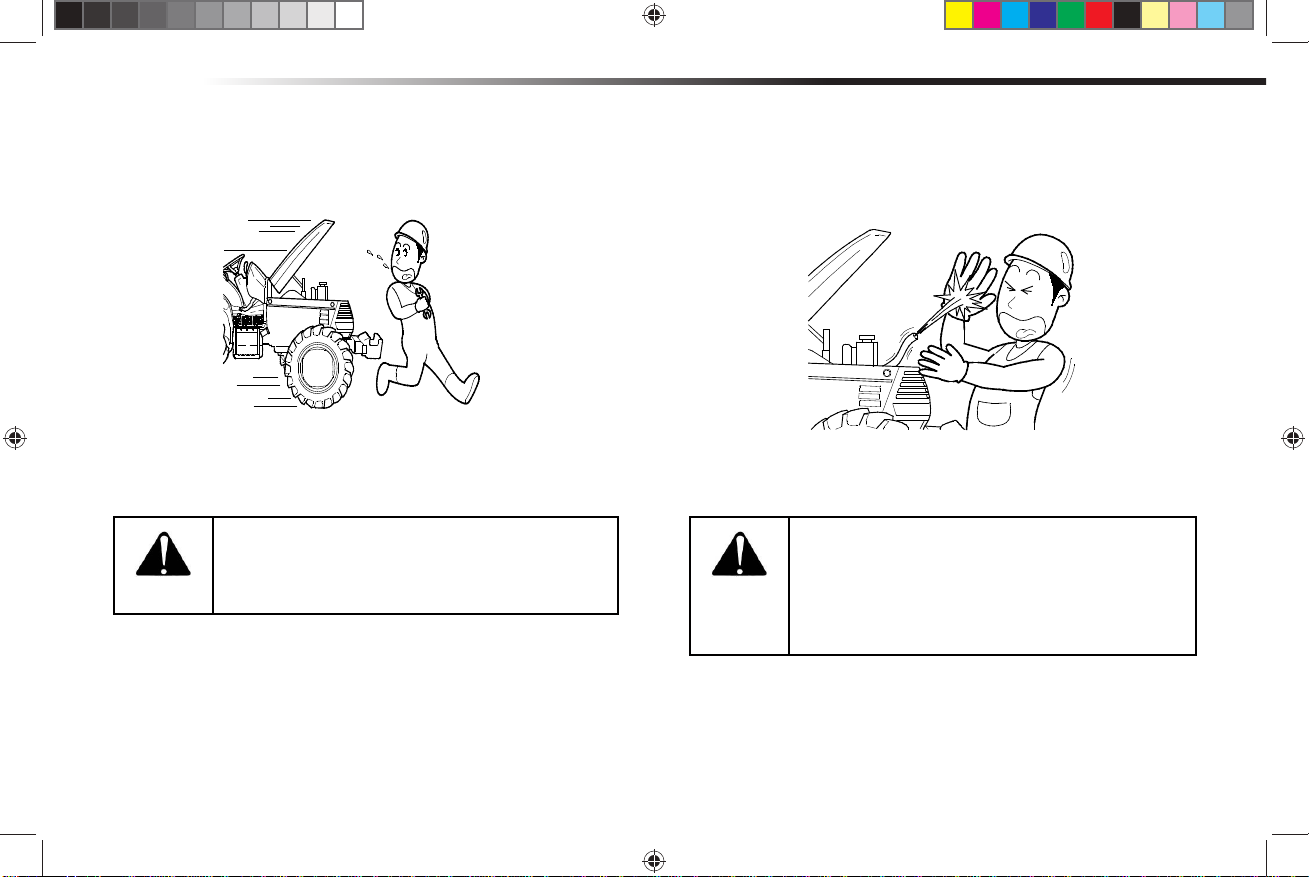
Only operate tractor while people or ani-
mals are at safe distance away.
WARNING
[Otherwise]
There is a risk of injury.
Check around the tractor, start the engine,
and move slowly
WARNING
[Otherwise]
An un expected accident may occur.
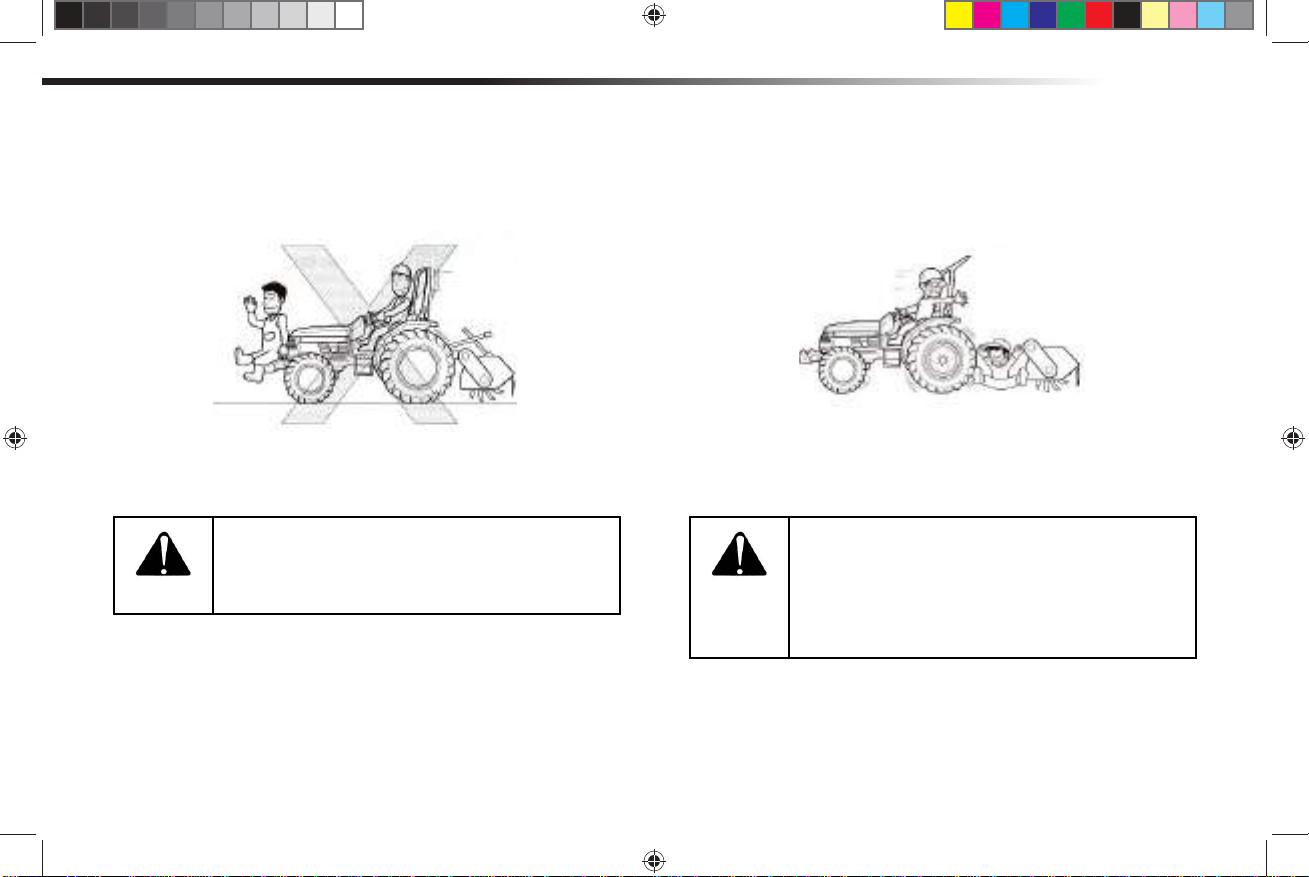
Do not allow passengers to ride on any part
of the tractor at any time. (Especially, chil-
dren)
The operator must remain in the seat at all
time.
• • •
37
20C OPERATORS MANUAL (122011).indd 37 12/29/2011 6:21:44 PM
Page 38

GENERAL PRECAUTIONS
When moving along the unpaved road with
ditches or slanted sides, pay attention to
WARNING
[Otherwise]
There is a risk of falling over.
the shoulders
WARNING
[Otherwise]
There is a danger of accident or injury.
When driving on the road, observe the traf-
c regulations.
• • •
38
20C OPERATORS MANUAL (122011).indd 38 12/29/2011 6:21:44 PM
Page 39

GENERAL PRECAUTIONS
Make sure to connect the brake pedals
when driving on a road.
WARNING
[Otherwise]
There is a danger of abrupt turning or overturning due to
one-sided braking when the brake pedal is depressed.
WARNING
[Otherwise]
There is a risk of overturning.
Reduce throttle speed when making a turn,
apply brake when driving on hilly or curved
roads.
• • •
39
20C OPERATORS MANUAL (122011).indd 39 12/29/2011 6:21:45 PM
Page 40

GENERAL PRECAUTIONS
Check if the brakes work properly and
evenly on both sides or if the steering
WARNING
[Otherwise]
There is a risk of overturning.
wheel is loose.
WARNING
[Otherwise]
There is a risk of accident that the tractor may slip or
turn over..
Be sure to use the loading ramps when
crossing a ditch or dike, or when passing
through soft land. The loading ramps must
be suitable for the tractor in width, length
and strength.
• • •
40
20C OPERATORS MANUAL (122011).indd 40 12/29/2011 6:21:45 PM
Page 41

GENERAL PRECAUTIONS
When leaving the tractor, park the tractor
on a at and safe area, turn off the engine,
WARNING
[Otherwise]
The tractor may move and cause an accident.
and apply the parking brake. Also, let the
implement rest on the ground.
WARNING
[Otherwise]
The exhaust gas can cause intoxication and lead to fatal
consequences.
Ventilate the area to let out the exhaust
gas.
• • •
41
20C OPERATORS MANUAL (122011).indd 41 12/29/2011 6:21:46 PM
Page 42

GENERAL PRECAUTIONS
Pay attention and keep hands on the steer-
ing wheel while driving.
WARNING
[Otherwise]
There is a risk of accident to injury.
WARNING
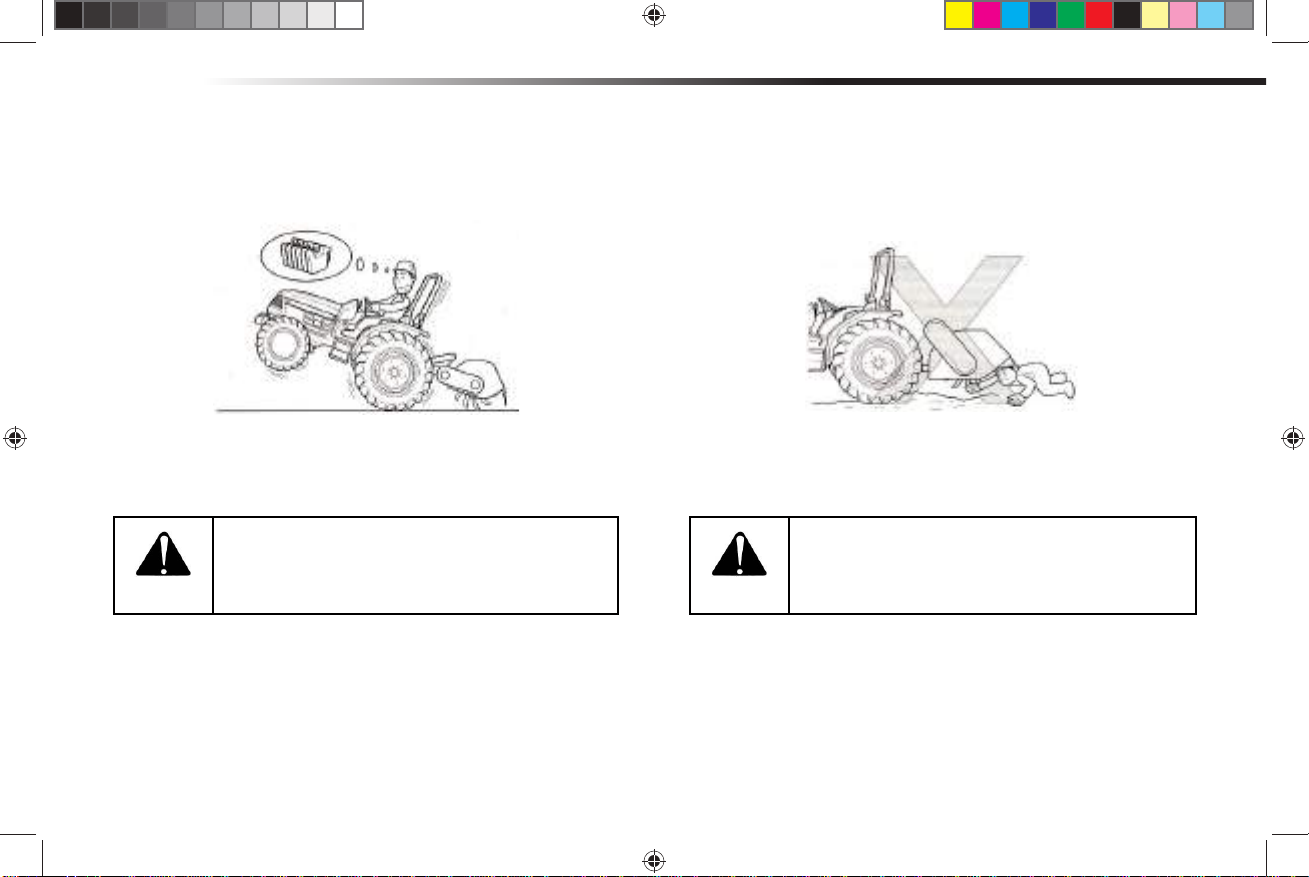
[Otherwise]
There is a danger that you will get entangled in the culti-
vator or sustain a serious injury.
Stop the engine when removing grass, etc.
from the blades of the cultivator
• • •
42
20C OPERATORS MANUAL (122011).indd 42 12/29/2011 6:21:47 PM
Page 43

GENERAL PRECAUTIONS
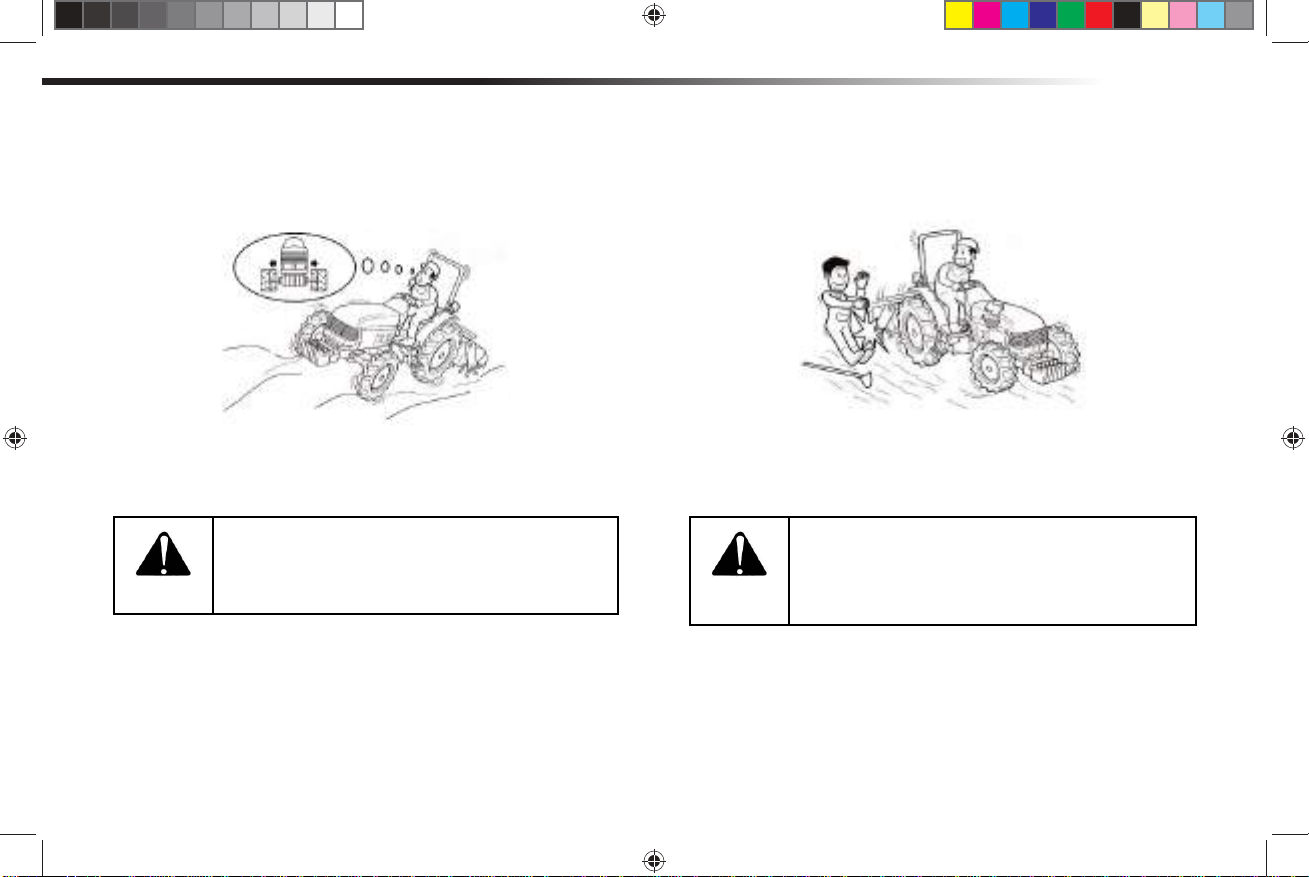
Do not look away or take hands off the
steering wheel while driving.
WARNING
[Otherwise]
There is a danger of accident or injury.
WARNING
[Otherwise]
There is a danger that the tractor may turn over due to
loss of balance.
When entering or leaving the farming eld,
or moving across a dike or a raised ground,
use the loading ramp and lower the imple-
ment as much as possible but that it does
not touch the ground.
• • •
43
20C OPERATORS MANUAL (122011).indd 43 12/29/2011 6:21:47 PM
Page 44
GENERAL PRECAUTIONS
When starting the engine, conrm that the
implement is down on ground.
WARNING
[Otherwise]
The implement may come down suddenly and cause an
injury.
WARNING
[Otherwise]
Hot water may splash, causing burns or damage.
Never open the radiator cap when the ra-
diator is heated.
• • •
44
20C OPERATORS MANUAL (122011).indd 44 12/29/2011 6:21:48 PM
Page 45

GENERAL PRECAUTIONS
Every day before operating the tractor,
check if the electrical wiring is contact with
WARNING
[Otherwise]
There is a danger of re due to short circuit.
other parts, or if the insulation is peeling off,
or the contact points are loose.
WARNING
[Otherwise]
There is a danger of re.
Every day before operating the tractor,
check for straw, dust, fuel, or other residue
on and around the mufer and the engine
and remove them.
• • •
45
20C OPERATORS MANUAL (122011).indd 45 12/29/2011 6:21:49 PM
Page 46

GENERAL PRECAUTIONS
When storing the tractor for a long period
of time, make sure to put the clutch pedal
WARNING
[Otherwise]
The tractor may move and cause injury or an accident.
in the “Disconnect” position.
WARNING
[Otherwise]
There is a risk of re.
Put tractor cover on only after parts such
as the engine and mufer cooled down.
• • •
46
20C OPERATORS MANUAL (122011).indd 46 12/29/2011 6:21:49 PM
Page 47

Longer than 300’
GENERAL PRECAUTIONS
When storing the tractor without use for a
long period of time, remove the battery and
WARNING
keep the key in a safe place.
[Otherwise]
There is a risk of an accident.
WARNING
[Otherwise]
It may cause a danger of rear-end accident.
Install the indication of disable car in accor-
dance with the local regulation at the rear
of the tractor when a failure occurs during
travelling.
• • •
47
20C OPERATORS MANUAL (122011).indd 47 12/29/2011 6:21:50 PM
Page 48

GENERAL PRECAUTIONS
Item regarding lighting devices (alarm
lamp and safety device)
• • •
48
CAUTION
• When the tractor has an implement at-
tached or is moving slowly, you must
often watch the rear side trafc sta-
tus to avoid a collision accident when
travelling on the road. In particular, be
careful when you change directions. If
necessary, the signal must be given by
hand or direction indication lamp must
be used.
• Always turn on the head light, and/or
emergency lamp at night and day as
requested by the local trafc regulation
• Maintain the light and indication plate
so it can be visible always. Immediate-
ly repair or attach the broken or missed
light and indicating plates.
20C OPERATORS MANUAL (122011).indd 48 12/29/2011 6:21:50 PM
Page 49

GENERAL PRECAUTIONS
The following items, maintenance and adjustment should not be attempted, but contact the
nearest authorized dealer, if necessary.
• Adjustment of injection pump without pre-ap-
proval. May cause components to deteriorate
the durability and performance of the engine
and may cause a fatal malfunction.
• Adjustment of hydraulic pressure set at ship-
ment. May cause a fatal failure of related
components and a subsequent accident.
• If you intend to adjust the components that
may deteriorate durability and performance,
always contact your nearest authorized deal-
er or service department of the head ofce.
[Otherwise]
Be careful it may cause a fatal error or may not be
covered by the warranty.
Use agricultural chemicals in a safe manner.
Agricultural chemicals must be sprayed properly.
Spraying of agricultural chemicals needs to be
planned in advanced and be aware of potential dam-
age to surroundings.
Do wear the protective clothing(mask, glove) for ag-
ricultural chemicals before spray work.
Clean the equipment and tractor just after spraying
work.
[Otherwise]
You may be exposed to agricultural chemicals spray.
• • •
49
20C OPERATORS MANUAL (122011).indd 49 12/29/2011 6:21:50 PM
Page 50

ABOUT WARRANTY
20C OPERATORS MANUAL (122011).indd 50 12/29/2011 6:21:50 PM
Page 51

ABOUT WARRANTY
WARRANTY
You will need the “Warranty paper work” when your trac-
tor requires warranty service. Read it and keep in a safe
place.
TROUBLE SHOOTING
In case of mechanical trouble, refer to “Trouble shooting”
at the end of this manual. If the problem cannot be cor-
rected, please contact your nearest authorized dealer.
<Information you will need when contacting the
dealer for service>
• Type of model and tractor s/n number.
• In case of engine, the engine s/n number.
• Circumstances of breakdown. (what kind of work,
gear position, etc)
• Amount of work done. (square footage or number
of hours)
• Other information in as much detail as possible sur-
rounding the circumstanced of the breakdown.
• • •
51
20C OPERATORS MANUAL (122011).indd 51 12/29/2011 6:21:50 PM
Page 52

OVERVIEW OF THE TRACTOR
20C OPERATORS MANUAL (122011).indd 52 12/29/2011 6:21:50 PM
Page 53

OVERVIEW OF THE TRACTOR
A: WORK LAMP (F)
B: SIDE MIRROR
C: DOOR GLASS
D: REAR TIRE
E: STEP
F: FRONT TIRE
G: HEAD LAMP
H: HOOD
• • •
53
20C OPERATORS MANUAL (122011).indd 53 12/29/2011 6:21:50 PM
Page 54

OVERVIEW OF THE TRACTOR
A: WORK LAMP (R)
B: REAR WINDOW
C: REAR REMOTE VALVE
D: TOP LINK
E: LOWER LINK
F: SMV SIGN
G: REAR COMBINATION LAMP
• • •
54
20C OPERATORS MANUAL (122011).indd 54 12/29/2011 6:21:50 PM
Page 55

OVERVIEW OF THE TRACTOR
A: AIR CLEANER
B: RECEIVER DRYER
C: ENGINE OIL FILTER
D: CONDENSOR
E: COMPRESSOR
• • •
55
20C OPERATORS MANUAL (122011).indd 55 12/29/2011 6:21:51 PM
Page 56

FUNCTIONS
20C OPERATORS MANUAL (122011).indd 56 12/29/2011 6:21:51 PM
Page 57

FUNCTIONS
SWITCHES AND LEVERS
1: STEERING WHEEL
2: DASH METER
3: ACCELATOR LEVER
4: MAIN KEY SWITCH
5: STEERING COLUMN TILT LEVER
6: COMBINATION LAMP SWITCH
7: F/R SHUTTLE LEVER
8: PTO SHIFT SWITCH
9: EMERGENCY LAMP SWITH
• • •
57
20C OPERATORS MANUAL (122011).indd 57 12/29/2011 6:21:51 PM
Page 58

1. MAIN KEY SWITCH
When the tractor is not in use, take out the
key and keep it in a safe place.
CAUTION
[Otherwise]
Children may start the tractor and cause an accident.
FUNCTIONS
It is used to start the engine.
“OFF” The engine is stopped, and current does not ow.
(The key can be taken out)
“ON” Electric current ows to the switches of all electrical parts. If the engine is stopped, the engine oil pres-
sure pilot lamp and the battery charge pilot lamp are lit.
Depending on the outside temperature, the thermostat
pilot lamp may also be lit.
“START” Starting motor turns and the engine is started.
Once the engine is started, take your hand off the key.
The key will return to the “ON” position automatically
and the engine will keep running.
Turn engine off before performing any maintenance on
tractor
• • •
58
20C OPERATORS MANUAL (122011).indd 58 12/29/2011 6:21:51 PM
Page 59

FUNCTIONS
2. ACCELERATOR LEVER
It is used to make the engine run faster or slower. It is
also used when working at a constant speed.
3. F/R SHUTTLE LEVER
It is used for shifting between “forward” and “reverse”
drive. When shifting the gear, depress the clutch fully.
[Precaution]
For safety, when shifting from “forward” to “reverse” or
from “reverse” to “forward”, put the lever in the “neutral”
position and wait for the tractor to stop moving before
shifting the gear to the opposite direction. To ensure
safety, the lever must rst be pulled upward for shifting to
another position.
• • •
59
20C OPERATORS MANUAL (122011).indd 59 12/29/2011 6:21:52 PM
Page 60

FUNCTIONS
4. DIRECTION LAMP S/W
With the key switch in the “ON” position, turn the direc-
tion indicator switch to the right to turn on the direction
indicator lamp in the right side, and turn the indicator
switch to the left to turn on the lamp on the left.
5. HEAD LAMP & HORN S/W
HEAD LAMP S/W :
With the main switch in the “ON” position, turn the light
switch one click to the right for high beam and two clicks
to the right for low beam.
HORN S/W:
With the main switch in the “ON” position, press the horn
button to sound the horn.
• • •
60
20C OPERATORS MANUAL (122011).indd 60 12/29/2011 6:21:52 PM
Page 61

FUNCTIONS
6. STEERING WHEEL TILT LEVER
Conrm that the steering wheel is rmly xed.
7. PTO SHIFT SWITCH
It is used for turning on or off the PTO clutch.
• PTO clutch switch [IND]
PTO gets independent, and even when the lift arm is lifted,
PTO continues to rotate and PTO lamp lights on the instru-
ment panel.
• PTO clutch switch [LINK]
PTO gets connected, and when the lift arm is lifted, PTO
stops to rotate. And when the lift arm is lowered, PTO rotates
and PTO lamp lights on the instrument panel.
• PTO clutch switch [OFF]
PTO does not rotate. When not working, put to this position.
The engine does not start up, when the PTO clutch is in [IND]
or [LINK]. Put to [OFF] position for starting up the engine.
• • •
61
20C OPERATORS MANUAL (122011).indd 61 12/29/2011 6:21:52 PM
Page 62

8. EMERGENCY LAMP SWITCH
Used to prevent accidents in an emergency. Activate by
pressing switch as to warn other vehicles. Emergency
lamp operates regardless of main switch and every di-
rection
lamp will cease at once. Press once again to cancel.
FUNCTIONS
• • •
62
20C OPERATORS MANUAL (122011).indd 62 12/29/2011 6:21:52 PM
Page 63

FUNCTIONS
9. DASH METER
• • •
63
20C OPERATORS MANUAL (122011).indd 63 12/29/2011 6:21:53 PM
Page 64

FUNCTIONS
1) ENGINE RPM INDICATOR
The needle indicates the number of engine RPM
2) ENGINE HOUR METER
It indicates the tractor’s running hours. By multiplying the digit
in the far right position by 6, you will get the time in minute.
3) PTO WORK
It indicates the position where PTO achieves 540rpm when en-
gine rpm is 2600rpm at PTO 1st stage.
It indicates the position where PTO achieves 1000rpm when
engine rpm is 2600rpm or where PTO achieves 540rpm when
engine rpm is 1000rpm at PTO 2nd stage.(econo-position).
4) PTO LAMP
Lamp will come on when PTO is engaged. On the contrary, if
PTO is disengaged, lamp will be turned off.
• • •
64
20C OPERATORS MANUAL (122011).indd 64 12/29/2011 6:21:53 PM
Page 65

FUNCTIONS
5) PRE-HEAT LAMP
Lamp will come on when the ignition switch is put into the
“ON” position with outside temperature of around 40°F,
indicating that electricity is supplied to the heater or glow
plugs. Turn the ignition switch to “START” after the lamp
has been turned off (it is turned off automatically) then it
will start the engine.
Note) The length of time the thermostat stays on will de-
pend on the temperature of the engine coolant.
Coolant temp : 32°F ~ 60°F 10sec
32°F ~ 5°F 20sec
6) BATTERY CHARGING LAMP
It will be turned on when the key switch is put into the “ON”
position, and will be turned off when the battery starts being
charged after engine is started and the engine revolution in-
creases. The battery will not be charged with the engine below
1,000 rpm. (The rpm should be 1,500 rpm or higher)
7) ENGINE OIL PRESSURE LAMP
Lamp will come on when the ignition switch is put into the “ON”
position. It will turn off when the engine is started.
If this lamp comes on while the engine is running, it indicates a
problem in the engine oil system. Stop the engine immediately
and check for problems.
• • •
65
20C OPERATORS MANUAL (122011).indd 65 12/29/2011 6:21:55 PM
Page 66

FUNCTIONS
8) FUEL GAUGE
Indicates the quantity of fuel remaining in the tank. If the needle
is in the red zone, rell immediately.
9) WATER TEMP GAUGE
The needle indicates the temperature of the engine coolant
during running. If the needle is in the red zone, stop running
the engine and check for problems.
10) HEAD LAMP (HIGH BEAM)
Indicates the head lamps beam’s position.
It will come on when the head lamps are on Hi beam. On the
contrary, if the head lamps are in the low beam, this indicator
will not be lit.
• • •
66
20C OPERATORS MANUAL (122011).indd 66 12/29/2011 6:21:55 PM
Page 67

FUNCTIONS
PEDALS
1: CLUTCH PEDAL
2: BRAKE PEDAL (LH)
3: BRAKE PEDAL CONNECTOR
4: BRAKE PEDAL (RH)
5: ACCELATOR PEDAL
• • •
67
20C OPERATORS MANUAL (122011).indd 67 12/29/2011 6:21:55 PM
Page 68

FUNCTIONS
1. CLUTCH PEDAL
It is used to transmit the engine power. Brake pedals are independent of each other and can be
2. BRAKE PEDALS AND CONNECTOR
Make sure to connect the brake pedals
with the connector when driving on a road.
WARNING
used for making a small turn on the pavement. Depress-
ing the brake pedal on the side to which to make a turn,
the rear wheel on that side is stopped and the tractor can
make a small turn.
• • •
68
20C OPERATORS MANUAL (122011).indd 68 12/29/2011 6:21:56 PM
Page 69

FUNCTIONS
3. ACCELATOR PEDAL
It is used to make the engine run faster or slower. It is
usually used when driving on a road.
• • •
69
20C OPERATORS MANUAL (122011).indd 69 12/29/2011 6:21:56 PM
Page 70

LEVER OPERATION (A)
FUNCTIONS
1: MID REMOTE VALVE JOYSTICK
2: MAIN GEAR SHIFT LEVER
3: 3PT POSITION LEVER
4: RANGE SHIFT
5: PARK BRAKE LEVER
6, 7: REAR REMOTE CONTOL LEVER (I,II)
• • •
70
20C OPERATORS MANUAL (122011).indd 70 12/29/2011 6:21:56 PM
Page 71

FUNCTIONS
1. MID REMOTE VALVE JOYSTICK
Front-loader exclusive joystick valve is attached and con-
trol lever is attached on right-front side of driver’s seat.
Loader will move up when pushed forward and move
down when pulled backward. Bucket will move up when
pushed to the left and move down when pushed to the
right. Joystick lever must be locked when driving while
loader is lifted. Otherwise it may cause accident.
2. MAIN GEAR SHIFT LEVER
The gear is shifted in four levels. When shifting the gears
depress the clutch fully.
• • •
71
20C OPERATORS MANUAL (122011).indd 71 12/29/2011 6:21:56 PM
Page 72

FUNCTIONS
3. 3PT POSITION CONTROL LEVER
Conrm that no one or a foot is under the
implement before operating the system.
WARNING
[Otherwise]
There is a danger of injury
It is used to keep the implement constantly at a certain
position. When the lift lamp is on, the implement cannot
be lowered with position control lever. A stopper is used
to x the position control lever in the “UP” position while
driving on a road.
4. RANGE SHIFT LEVER
The range gear is shifted in three levels(A-B-C). The
combination with the main gear provides 12 levels of
gear shifting.
When shifting the range gear, stop tractor and depress
clutch pedal fully.
•When lowering the implement, set the position control
lever, and the implement will go down to the set position.
• • •
72
20C OPERATORS MANUAL (122011).indd 72 12/29/2011 6:21:56 PM
Page 73

FUNCTIONS
5. PARK BRAKE LEVER
Pull the lever up while depressing the brake pedal fully to
engage the parking brake. To release the parking brake,
step on the brake pedal and push the lever down.
•Connect both brake pedals with the connector.
6, 7. REAR REMOTE CONTOL LEVER (I,II)
It is used to for the rear implement hyd-function.
LEVER# I II
DETENT N/A REAR
• • •
73
20C OPERATORS MANUAL (122011).indd 73 12/29/2011 6:21:56 PM
Page 74

LEVER OPERATION (L)
FUNCTIONS
1: STOP / SLOW RETURN VALVE
2: MFWD LEVER
3: PTO LEVER
4: DIFFERENTIAL LOCK PEDAL
• • •
74
20C OPERATORS MANUAL (122011).indd 74 12/29/2011 6:21:57 PM
Page 75

FUNCTIONS
1. STOP/SLOW RETURN VALVE
It is used to regulate the lowering speed of the implement
(slow return function). Also, if you wind the valve fully to
the right, the hydraulic pressure to the device raising the
implement is stopped.
2. MFWD LEVER
It is used to shift between 2-wheel drive and 4-wheel
drive. Depress the clutch pedal when shifting the lever.
• • •
75
20C OPERATORS MANUAL (122011).indd 75 12/29/2011 6:21:57 PM
Page 76

FUNCTIONS
3. PTO LEVER
Observe the PTO speed designated on the
implement. Otherwise, the implement may
CAUTION
The revolution of the PTO shaft can be shifted in two
levels. When shifting level, shift PTO switch to ‘OFF” po-
sition.
PTO 1 540 RPM
PTO 2 760 RPM (540E)
be damaged and cause an accident.
4. DIFFERENTIAL LOCK PEDAL
Release the differential gear lock when
making a turn. Otherwise, the tractor may
WARNING
It is used to transmit the same power to both rear wheels
and serves to prevent slipping when one of the rear
wheels is idling.
not turn in the direction you want and cause
an accident.
• • •
76
20C OPERATORS MANUAL (122011).indd 76 12/29/2011 6:21:57 PM
Page 77

FUNCTIONS
OTHERS
1: WORK LAMP SWITCH
2: POWER OUTLET 12V
3: WIPER SWITCH
4: CLIMATE CONTROL
5: SEAT
• • •
77
20C OPERATORS MANUAL (122011).indd 77 12/29/2011 6:21:57 PM
Page 78

FUNCTIONS
1. WORK LAMP SWITCH
It is used to turn on work lamps on the top roof. Accessory 12-volt electrical outlet is used when connect-
2. POWER OUTLET 12V
ing auxiliary equipment.
• • •
78
20C OPERATORS MANUAL (122011).indd 78 12/29/2011 6:21:57 PM
Page 79

FUNCTIONS
3. WIPER SWITCH
Do not use the washers when the washer
uid reservoir is empty, otherwise you will
CAUTION
Wiper blades will operate when upper buttons of wiper
switch are pressed.
Washer uid is sprayed on to windshield and the wipers
are operated when buttons are pressed once more.
damage the washer pump.
Do not use the washers if there is any danger that the uid will freeze on the windshield. If you do, your vision could be ob-
scured. For this reason, use antifreeze
Lower buttons will only spout wash liquid.
Wash liquid tank for cleaning is located on rear left side
of cab exterior.
• • •
79
20C OPERATORS MANUAL (122011).indd 79 12/29/2011 6:21:58 PM
Page 80

4. CLIMATE CONTROL
FUNCTIONS
1: COOLING FUNCTION :
When the cooling function is on, the air compres-
sor is worked then reheated according to the
temperature setting.
2: AIR FLOW RATE :
Adjust the air ow rate. The higher the rate, the
more effective the heating or cooling will be
3: AIRCONDITIONING INDICATOR
4: HEATER INDICATOR
5: AIR CIRCULATE INDICATOR
6: HEATER CONTOL
7: AIR CIRCULATE CONTROL:
Used to shift the supply of outside air and re-cir-
culates the inside air
8: TEMPERATURE :
Red, to increase the temperature.
Blue, to decrease the temperature.
• • •
80
20C OPERATORS MANUAL (122011).indd 80 12/29/2011 6:21:58 PM
Page 81

FUNCTIONS
5. SEAT
CAUTION
Never attempt to adjust your seat while the
tractor is moving. The seat could respond
with unexpected movement, and the ensu-
ing loss of tractor control could lead to an
accident.
Fore and Aft positioning : Lift handle and move
the seat forward or rearward. Release the handle
at one of several positions.
Back cushion angle adjustment : Lift the handle
and let the back cushion spring forward, or lean
backward into the cushion. Release the handle at
desired position
Weight adjustment : With seat in mid-position,
extend the crank lever from knob and rotate mi-
nus(-) direction for less support or Plus(+) for
more support. Use the indicator for approximate
weight setting. Release crank lever
• • •
81
20C OPERATORS MANUAL (122011).indd 81 12/29/2011 6:21:58 PM
Page 82

OPERATION & WORK
20C OPERATORS MANUAL (122011).indd 82 12/29/2011 6:21:58 PM
Page 83

OPERATIONS & WORK
CHECKING BEFORE OPERATION
DANGER
WARNING
• Do not provide illumination with a lit ciga-
rette or a lighter when fueling.
• Never ll the fuel tank while the engine is
running or hot.
• After lling the fuel tank, close the fuel ller
cap completely and wipe off the excess fuel
thoroughly.
• If the fuel hoses are damaged, fuel will leak.
Make sure that you check for any leakage.
Perform the maintenance on a at and safe lo-
cation that will keep the tractor in place and will
not cause a risk to people passing by. Before
carrying out the maintenance, place blocks at
the front tires to prevent movement.
[Otherwise]
An unexpected accident may occur, such as over-
turning of the tractor.
• When going under the implement, fully close
the slow/stop valve.
[Otherwise]
There is a risk of injury due to implement falling.
• If the fuel hoses are damaged, fuel will leak.
Make sure that you check for any leakage.
• • •
83
CAUTION
CAUTION
CAUTION
Stop the engine during checking, maintenance,
or repair
Carry out the maintenance work after heated
area such as the mufer or the engine have fully
cooled down.
[Otherwise]
There is risk of burn.
After detaching the covers for checking or main-
tenance, make sure to put them back in their
place.
[Otherwise]
There is a risk that you may get entangled in the
tractor or get injured.
If the fuel hoses are damaged, fuel will leak.
Make sure that you check for any leakage.
20C OPERATORS MANUAL (122011).indd 83 12/29/2011 6:21:59 PM
Page 84

OPERATIONS & WORK
To ensure a safe and comfortable operation, please
carry out the routine check-up everyday before starting
work. Correct any problem immediately, and also check
for problems after work. This checking should be done in
the following sequence.
a) Check the suspicious parts of the previous day.
Check the parts that you thought were not normal during
the work of previous day.
b) Check around the tractor.
• Parking deformation, damage or stains
• Tire pressure and abrasion
• Damage to the tractor, or loosened bolts
• Loosening of wheel bolts
• Fuel quantity, fuel leaks, or damage to the fuel hose
c) Open the engine hood.
• Engine oil level, contamination, or leakage
• Engine coolant level, leakage, or damage to the hose
• • •
84
20C OPERATORS MANUAL (122011).indd 84 12/29/2011 6:21:59 PM
Page 85

OPERATIONS & WORK
• Battery solution level
• Air cleaner
• Cooling fan belt tension, damage
• Dust or straw on the radiator grill or the engine
• • •
85
20C OPERATORS MANUAL (122011).indd 85 12/29/2011 6:21:59 PM
Page 86

• Damage to the coating of the cables, or loose connection. d) Check around the implement
• Condition of the locking pin of the universal joint in-
serted in the PTO shaft
• Condition of R pins in each part
• Loosening of the bolts holding the blade
• Quantity of oil in each part. For more details, please
refer to the implement manufacturer’s instructions.
OPERATIONS & WORK
• • •
86
20C OPERATORS MANUAL (122011).indd 86 12/29/2011 6:21:59 PM
Page 87

OPERATIONS & WORK
e) Check on the driver seat.
• Operational condition and free play of the brake
(0.2~0.4in)
• Free play of the steering wheel
(0.8~2.0in)
• Operational condition and free play of the clutch pedal
• • •
87
20C OPERATORS MANUAL (122011).indd 87 12/29/2011 6:21:59 PM
Page 88

OPERATIONS & WORK
f) Start the engine.
• Abnormal noise from the engine
• Color of the exhaust gas
• Operation of lamps and gauges
• • •
88
20C OPERATORS MANUAL (122011).indd 88 12/29/2011 6:21:59 PM
Page 89

OPERATIONS & WORK
Note) BREAKING IN YOUR TRACTOR
(FIRST 50 HOURS)
The operation of a new tractor during the rst 50 hours
in very important, as it will greatly inuence the life and
performance of the tractor.
Pay attention to the following precautions during the
break-in period.
1. Avoid rapid accelerating and abrupt stopping.
2. Avoid over-speeding and overloads.
3. Drive the tractor after the engine has been warmed
up.
4. Reduce the speed while driving on a rough road or
a slope.
5. At the rst 50th hour, carry out inspections of each
part and replace the engine oil.
• • •
89
20C OPERATORS MANUAL (122011).indd 89 12/29/2011 6:21:59 PM
Page 90

STARTING/STOPPING THE ENGINE
OPERATIONS & WORK
DANGER
DANGER
When starting the engine, make sure that
you are seated in the driver’s seat and
check position of the levers and the safety
around the tractor.
[Otherwise]
There is a risk of injury.
Do not start the engine in an enclosed
space. You must start the engine outside
where there is open air. If you should have
to start the engine inside a building, make
sure that the space is well ventilated.
[Otherwise]
The exhaust gas can cause intoxication and
can lead to fatal consequences.
CAUTION
CAUTION
Make sure to carry out checking and main-
tenance before and after the use of the
tractor, particularly the operating devices
such as the clutch and the brake lever.
[Otherwise]
There is a risk of injury or machinery break-
down.
Engage the parking brake during warmingup. Otherwise, the tractor may move and
cause an accident.
Don’t crank engine unless position control
lever is in the lowest position.
[Otherwise]
Implement might rise quickly and there is a
risk of injury or machinery breakdown.
• • •
90
20C OPERATORS MANUAL (122011).indd 90 12/29/2011 6:22:00 PM
Page 91

OPERATIONS & WORK
1. TO START THE ENGINE
a) Check fuel.
Check if there is enough fuel by observing fuel gauge.
b) F/R shuttle lever into “Neutral” position.
c) Put the position control lever into the “lowest” position
and PTO switch turn to OFF position.
Don’t crank engine unless position control
lever is in the lowest position.
WARNING
[Otherwise]
Implement might rise quickly and there is a
risk of injury or machinery breakdown
Check the safety around the tractor and
start to move slowly.
WARNING
[Otherwise]
There is a risk of injury.
• • •
91
20C OPERATORS MANUAL (122011).indd 91 12/29/2011 6:22:00 PM
Page 92

OPERATIONS & WORK
d) Put the acceleration lever to Min.
e) Main shift lever / range shift lever into “NEUTRAL”
position.
f) After the thermostat lamp has turned off, depress the
clutch pedal fully and turn the MAIN KEY SWITCH to
START
g) Once the engine has started, take your hand off the
MAIN KEY SWITCH.
h) Increase the engine to about 1,500rpm and warm it
up for about ve minutes without a load.
• • •
92
20C OPERATORS MANUAL (122011).indd 92 12/29/2011 6:22:00 PM
Page 93

OPERATIONS & WORK
2. TO STOP THE ENGINE
a) Put the acceleration lever on LOW, and turn the main
switch to “OFF”.
b) Put shuttle lever, main gearshift lever and PTO shift
lever to “N”. Put PTO clutch switch in to the “OFF” posi-
tion and front wheel lever to the “OFF”.
c) Put the position control lever on “DOWN”.
• When stopping the engine, never stop
it with the reducer lever.
WARNING
(Note) for warming-up operation, strongly step on the
brake pedal and pull your parking brake.
• After stopping the engine, make sure
to apply the parking brake.
WARNING
When leaving the tractor, park the tractor in
a at and safe place, put the shuttle lever
and the main shift lever to “N”, and block
the tires.
[Otherwise]
The tractor may move and cause an accident. ALWAYS SET THE PARKING BRAKE
• • •
93
20C OPERATORS MANUAL (122011).indd 93 12/29/2011 6:22:00 PM
Page 94

DRIVING ON THE ROAD
OPERATIONS & WORK
WARNING
• When driving on a road or crossing a
dike, make sure to connect the brake
pedals. Otherwise, the tractor may turn
abruptly or turn over due to one-sided
braking.
• Observe the trafc regulations when
driving on the road. Otherwise, you
may be involved in an accident.
• This tractor is designed to accom-
modate only one person.Do not allow
anyone on the tractor other than the
driver. Otherwise, you will be exposed
to a risk of accident.
• Put the PTO lever into “N” and connect
the brake pedals.
• When making a turn, turn in the direction indicator lamp to inform other ve-
hicles of your intention.
• Pay particular cautions to narrow farm
roads, slopes, and grassy shoulders,
and reduce the speed.
• Put the position control lever to UP and
lock it with the stopper. Otherwise, you
will be exposed to a risk of an accident.
• Connect the brake pedals when driv-
ing on a road. Otherwise, there is a risk
of abrupt turning or overturning due to
one-sided braking.
• Before every operation, make sure that
operator wears safety belt.
• • •
94
20C OPERATORS MANUAL (122011).indd 94 12/29/2011 6:22:01 PM
Page 95

OPERATIONS & WORK
DRIVING ON THE SLOPE
• Select a proper speed, and do not shift
the gear.
WARNING
• Do not park on a slope. Otherwise, the
tractor may slip or overturn and cause
an accident.
• Reduce speed and pay special attention to the speed.
• Do not depress the clutch pedal when
driving on a slope. The tractor may
slide down and lead to a serious situ-
ation.
• When starting the tractor upwards on a
slope, start slowly in low gear with low
engine rpm. Otherwise, the front of the
tractor may be lifted and cause a very
dangerous situation.
• You may shift the gear when you are
no longer on the slope. If you stop on
a slope, apply the parking brake. Oth-
erwise, you may be exposed to a risk
of accident.
• • •
95
20C OPERATORS MANUAL (122011).indd 95 12/29/2011 6:22:01 PM
Page 96

ENTERING AND LEAVING THE PAVEMENT
• Make sure to connect the brake pedal.
Otherwise, the tractor may turnover
WARNING
<NOTE>
Enter or leave the pavement in a perpendicular direction.
When climbing onto the pavement, lower the implement
to achieve a lower center of gravity. Once all wheels of
the tractor are on the pavement, raise the implement.
due to one-sided braking.
• When you cross a dike or raised ground
to enter or leave the pavement, use
loading ramps with sufcient strength,
and lower the implement to achieve a
lower center of gravity.
• Drive backward when climbing up a
steep slope, and drive forward when
climbing down.
OPERATIONS & WORK
• • •
96
20C OPERATORS MANUAL (122011).indd 96 12/29/2011 6:22:01 PM
Page 97

OPERATIONS & WORK
TURNING ON THE PAVEMENT
Make sure to release the differential gear
lock before making a turn.
WARNING
[Otherwise]
The tractor will not turn in the intended direc-
tion but may cause an accident.
When making a turn, reduce the engine rpm and make a
slow turn. When making a turn on the pavement, remove
the connector of the brake pedals. Depress the brake
pedal on the side to which to make a turn, while steer-
ing the wheel, this will allow the tractor to make the turn
without moving ahead. Make sure to keep the implement
in the up position when making a turn.
• • •
97
20C OPERATORS MANUAL (122011).indd 97 12/29/2011 6:22:01 PM
Page 98

DIFFERENTIAL GEAR LOCK
Make sure to release the differential gear
lock when making a turn.
WARNING
[Otherwise]
The tractor will not turn in the intended direc-
tion and may cause an accident
Never lock the differential gear when driv-
ing on a road.
CAUTION
[Otherwise]
Driving will be unstable and the tractor may
cause an accident
Depressing the differential gear lock pedal will make
both rear wheels roll at the same speed. Releasing the
pedal will automatically unlock the differential gear.
OPERATIONS & WORK
• • •
98
20C OPERATORS MANUAL (122011).indd 98 12/29/2011 6:22:01 PM
Page 99

OPERATIONS & WORK
TRACTOR LOADING / UNLOADING
DANGER
• Fix the direction so that the tractor will
not have to modify its direction on the
loading bridge, and proceed at the low-
est speed.
• Never depress the clutch pedal to
change direction or stop.
[Otherwise]
There is a danger that the tractor may turn
over.
WARNING
• The loading ramp must be non-slippery
and have sufcient strength, length,
and width for the tractor. To avoid slipping of the loading ramp, latch it se-
curely onto the truck.
• Move the tractor backward when load-
ing, and forward when unloading.
• Fasten the tractor to the truck securely
with rope.
[Otherwise]
The tractor may fall off the truck and cause
an accident.
• • •
99
20C OPERATORS MANUAL (122011).indd 99 12/29/2011 6:22:01 PM
Page 100

INSTALLING 3POINT LINK
1: LOWER LINK
2: DRAW BAR
3: LIFT LINK
4: CENTER LINK
5: STABILIZER LINK
OPERATIONS & WORK
a) Attach the lower link to the link hook and insert pin
into hook.
b) Connect Check chain to bracket & Lift link mounting
hole and adjust length.
Refer to instruction of implement for adjusting swing
clearance.
• • •
100
20C OPERATORS MANUAL (122011).indd 100 12/29/2011 6:22:02 PM
 Loading...