

Page 1
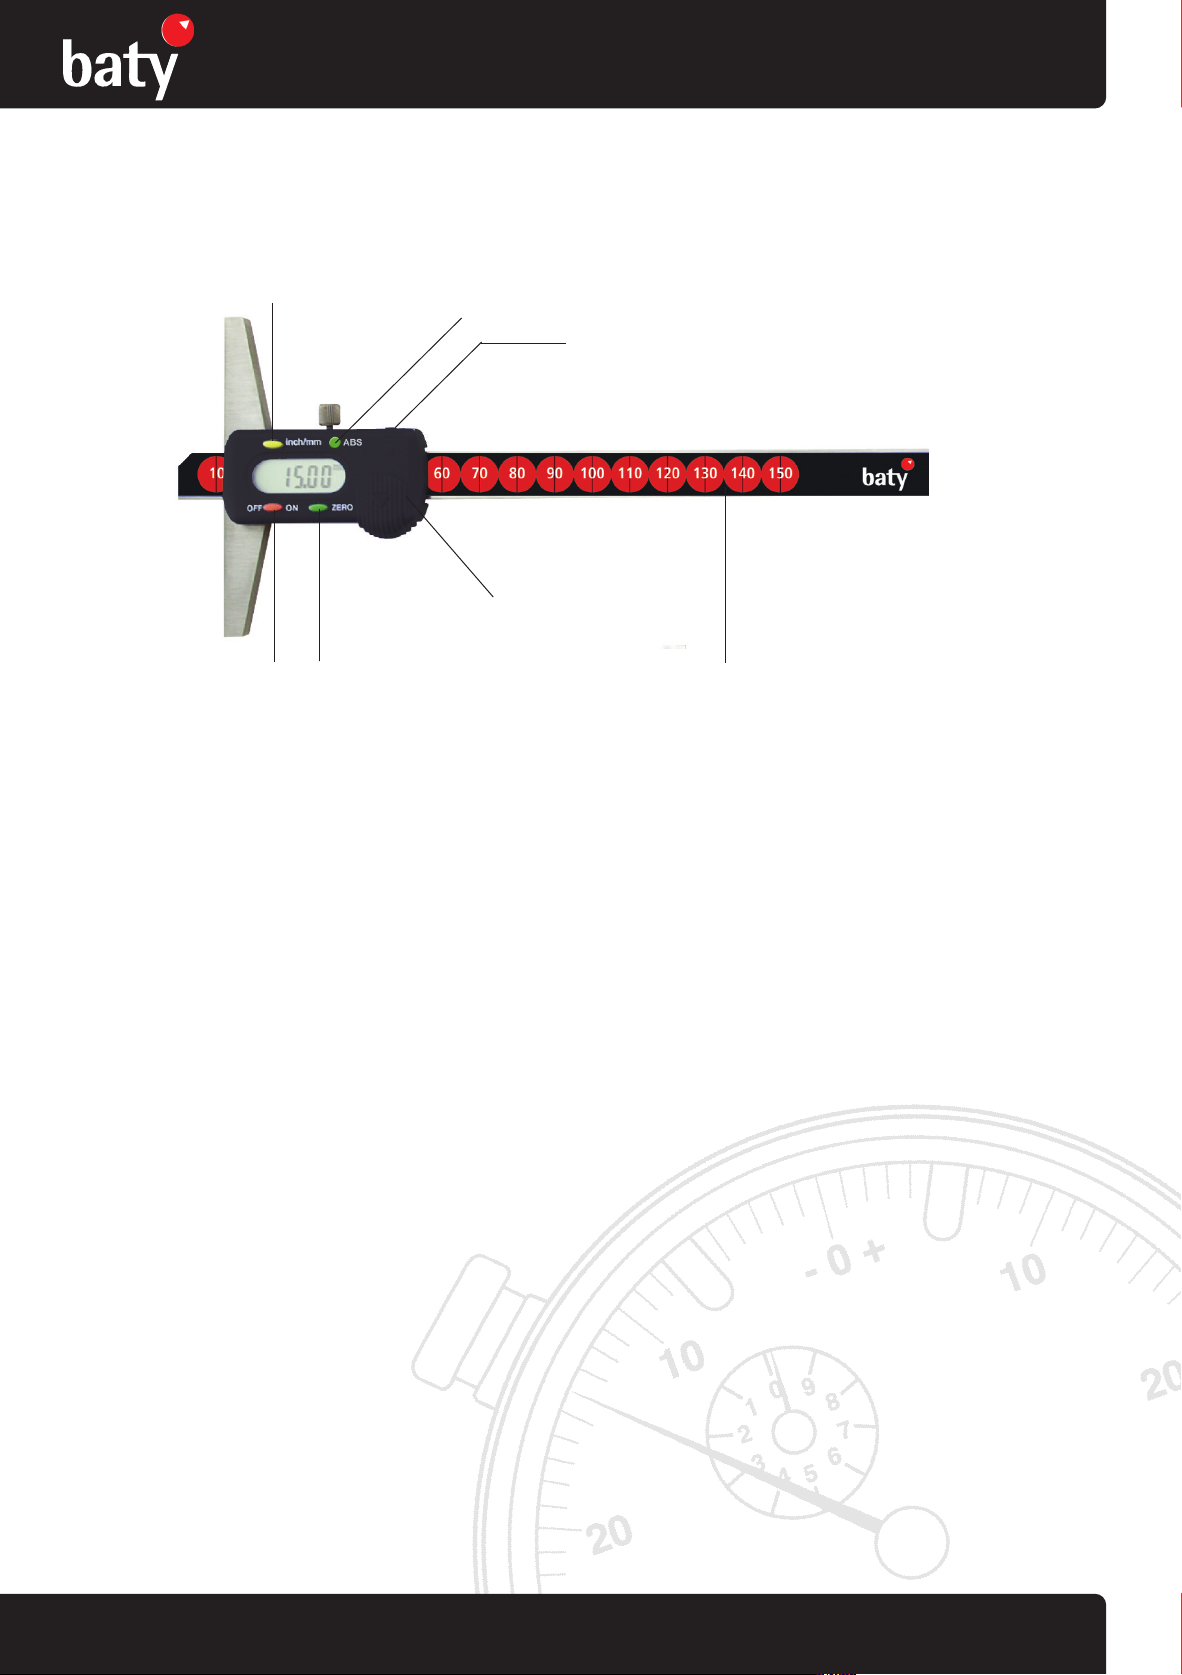
DIGITAL DEPTH GAUGE INSTRUCTIONS
Digital Depth Gauge
Please carefully review these instructions to ensure proper and accurate use of your new Digital Depth Gauge.
/inch button
mm
ABS
Co
ver for
RS232 connector
Battery cover
Model shown: DDC-15
ON/OFF button
ZERO button
Precautions:
t
• Before using this Depth Gauge, clean the surface of
• Never apply voltage on any part of this Depth Gauge o
• Take out the battery if this Depth Gauge is to stay idle for an extended period of time
he beam and sticker with a dry, clean cloth (or soaked with cleaning oil)
r engrave with an electro probe to avoid damaging the electronics
Functions:
• Digital caliper with ‘ABS’ mode for absolute and rela
• Press the <ZERO> button and ‘ 0.00mm or 0.000” ‘ wil
• Press <ABS> button at any position and ‘ABS / 0.00mm
ready for relative measurement
• Press <ABS> button again and ‘ABS’ will disappear.
tive measurement
l
appear in the display. Absolute zero is now set
or ABS / 0.000” ‘ will appear on the display. Relative zero is set and the gauge is
T
he gauge will change to absolute measurement
Cleaning:
• Clean with a soft cloth and do not use any type of so
• DO NOT immerse in liquid
lvent
In case of water/coolant splash:
g
In case of liquid splash, wipe the Depth Gauge makin
and to avoid rust.
sure the instrument is completely dry to guarantee good mechanical working order
Beam
Specifications:
Measuring range: 6"/150mm, 8"/200mm, 12"/300mm
solution: 0.0005"/0.01mm
Re
Repeatability: 10µm /0.0005"
Display: LCD (7.5mm high)
Battery: 3.0V CR2032 Lithium
Battery life: >5000h
Measuring speed: 120"/3m per second
Working temperature: +5°C - 40°C
Relative humidity: <80%
Display refresh rate: >7/sec
Data Output: RS232
For more information visit www.baty.co.uk precision measuring instruments
Page 2

DIGITAL DEPTH GAUGE INSTRUCTIONS
Digital Depth Gauge
Battery
Once display begins to flash, slide off the battery
your hand. (Never try to force or pry the battery out). Insert the new battery with the positive pole “+“ facing upwards and replace the
gasket and cover.
Please dispose of used batteries at a proper collection centre.
RESET: In order to RESET the instrument, remove the battery,
Precautions: Although a top quality product, certain precautions a
• Avoid exposure to all liquids and excessive humidity
• Avoid exposure to electromagnetic fields
• Do not expose the instrument to direct sunlight
• Do not attempt to disassemble this Depth Gauge for e
replacement:
over and rubber gasket, then remove the battery by gently tapping the instrument in
c
wait 30 seconds, replace the battery and turn the instrument on.
re required for any electronic instrument:
x
tended periods of time
Guarantee:
We guarantee this instrument against any fault of des
Any repair work carried out under the guarantee conditions is free of charge. Our responsibility is limited to the repair of the instrument or,
if we consider it necessary, to its free replacement.
Declaration of conformity and confirmation of traceability
Thank you very much for your confidence in purchasing
under our sole responsibility that this product is in conformity with standards and technical data as specified in our sales documents
(instruction manual, leaflet, catalogue).
ign, manufacture or material for a period of 12 months from the date of purchase.
of the values:
this product. We herewith certify that it was inspected in our works. We declare
In addition, we certify that the measuring equipment used to check this product refers to national master standards, the traceability of
measuring values is guaranteed by our Quality Assurance.
For more information visit www.baty.co.uk precision measuring instruments
 Loading...