

Bose RoomMatch Utility RMU108, RoomMatch Utility RMU105, RoomMatch Utility RMU206, RoomMatch Utility RMU208 Installation And Safety Manuallines
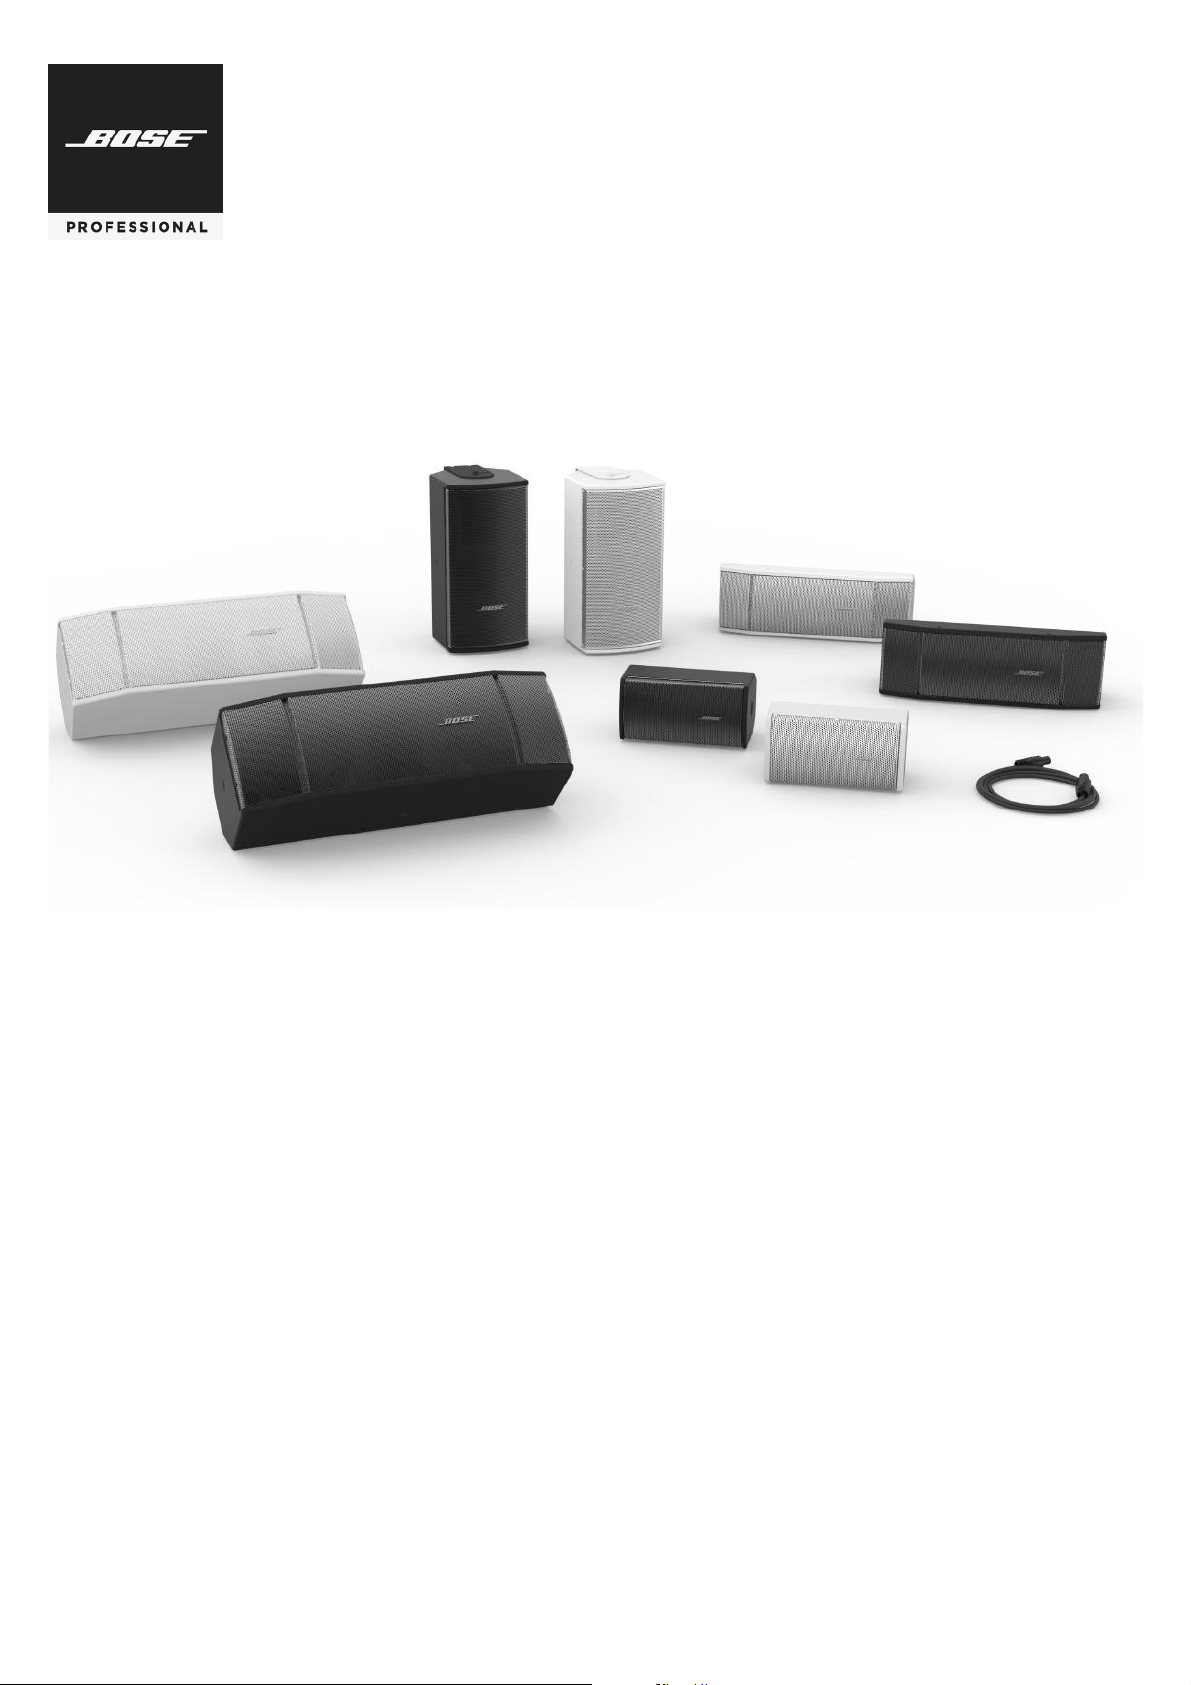
RoomMatch® Utility
Small-Format Foreground/Fill Loudspeakers
Installation and Safety Guidelines
Instrucciones de instalación y de seguridad
Installation et instructions de sécurité
Installations- und Sicherheitshinweise
RMU208
RMU206
RMU108
RMU105

Important Safety Information pro.Bose.com
2 English Installation and Safety Guidelines
This product is intended for installation by professional installers only! This document is intended to provide professional installers
with basic installation and safety guidelines for Bose RoomMatch® Utility loudspeakers in typical fixed-installation systems. Please read
this document before attempting installation.
WARNING: All Bose® products must be used in accordance with local, state, federal and industry regulations. It is the installer’s respon-
sibility to ensure installation of the loudspeakers and mounting system is performed in accordance with all applicable codes, including
local building codes and regulations. Consult the local authority having jurisdiction before installing this product.
WARNING: Unsafe mounting or overhead suspension of any heavy load can result in serious injury and equipment damage. It is the
responsibility of the installer to evaluate the reliability of any mounting method used for their application. Only professional installers with
the knowledge of proper hardware and safe mounting techniques should attempt to install any loudspeaker overhead.
Guidelines for Permanent Installation of RoomMatch Utility Loudspeakers
The installation information contained in this document is only a general guideline and cannot, as such, represent all requirements and
precautions. Accordingly, anyone using this material assumes all liability and is expressly responsible for the safety of all loudspeaker
array designs and mounting configurations applied in practice.
1. Prior to the installation of any overhead loudspeaker, a licensed professional engineer must approve the location and method of
attachment to the building structure and confirm they are consistent with all building codes and regulations. Ensure the mounting
surface and the method of attaching the loudspeaker system to the surface is capable of supporting the total weight of the system.
A safety factor of 10:1 is recommended.
2. Obtain all mounting system components from reputable manufacturers. Select a mounting system appropriate for your loudspeaker
system and its intended application. We recommend Bose mounting accessories when available. A licensed professional engineer
must review the design and fabrication of any custom mounting hardware.
3. Bose RoomMatch Utility loudspeakers feature integrated M8 threaded inserts to facilitate loudspeaker mounting by professional
installers. Do NOT use SAE 5/16” size threaded hardware! Use only metric hardware. Fasteners should be metric
Class 8.8 (load bearing rated) or equivalent. Unmarked (not rated for load bearing) fasteners should not be used.
4. Use lock washers or a locking compound intended for hand disassembly, such as LOCTITE® THREADLOCKER BLUE 242®
compound, for a vibration resistant assembly.
5. Fasteners should be tightened using torque of 15 to 20 foot-pounds (21 to 28 Newton-meters). Over-tightening the fasteners could
result in irreparable damage to the cabinet and create an unsafe assembly.
6. Do not attempt to alter the threaded attachment points or re-thread the attachment points to accommodate any other thread size or
type; doing so will compromise the safety while permanently damaging the loudspeaker.
7. Use a safety cable, separately attached to the cabinet, at a point not in common with the load bearing attachment points of the
mounting system to the loudspeaker. This is recommended even if not required by local regulation. Consult a licensed professional
engineer or a rigging professional for proper design and installation.
CAUTION: Installed loudspeakers require regular inspection and routine maintenance to ensure proper function and
safe operation. Inspect mounting hardware and attachments for signs of corrosion, bending or any other condition that may decrease
the structural integrity. Immediately replace worn or damaged components.
CAUTION: Make no modifications to the loudspeakers or mounting accessories. Unauthorized alterations may compromise safety and
could result in damage, injury, or death.
CAUTION: Never exceed 1 RoomMatch Utility loudspeaker using the included U-bracket. Additionally, never exceed 1 RoomMatch
Utility loudspeaker using the rear-enclosure M8 threaded inserts to attach to any supporting surface.
CAUTION: This product must be used indoors.
6 English Installation and Safety Guidelines
Introduction pro.Bose.com
Product Overview
RoomMatch® Utility (RMU) small-format loudspeakers are intended for use in high-quality foreground music, under-balcony, zone fill,
and vocal-range floor monitor applications. The design features a single Bose® EMB2 compression driver to provide mid/high frequency
voicing similar to that of RoomMatch full-range array modules.
Common Features
• U-bracket is included for surface-mount installations
• Rear-panel threaded inserts can accept optional pan-and-tilt brackets
• Standard connector panel can be replaced with an optional 40-watt or 100-watt 70V/100V transformer kit
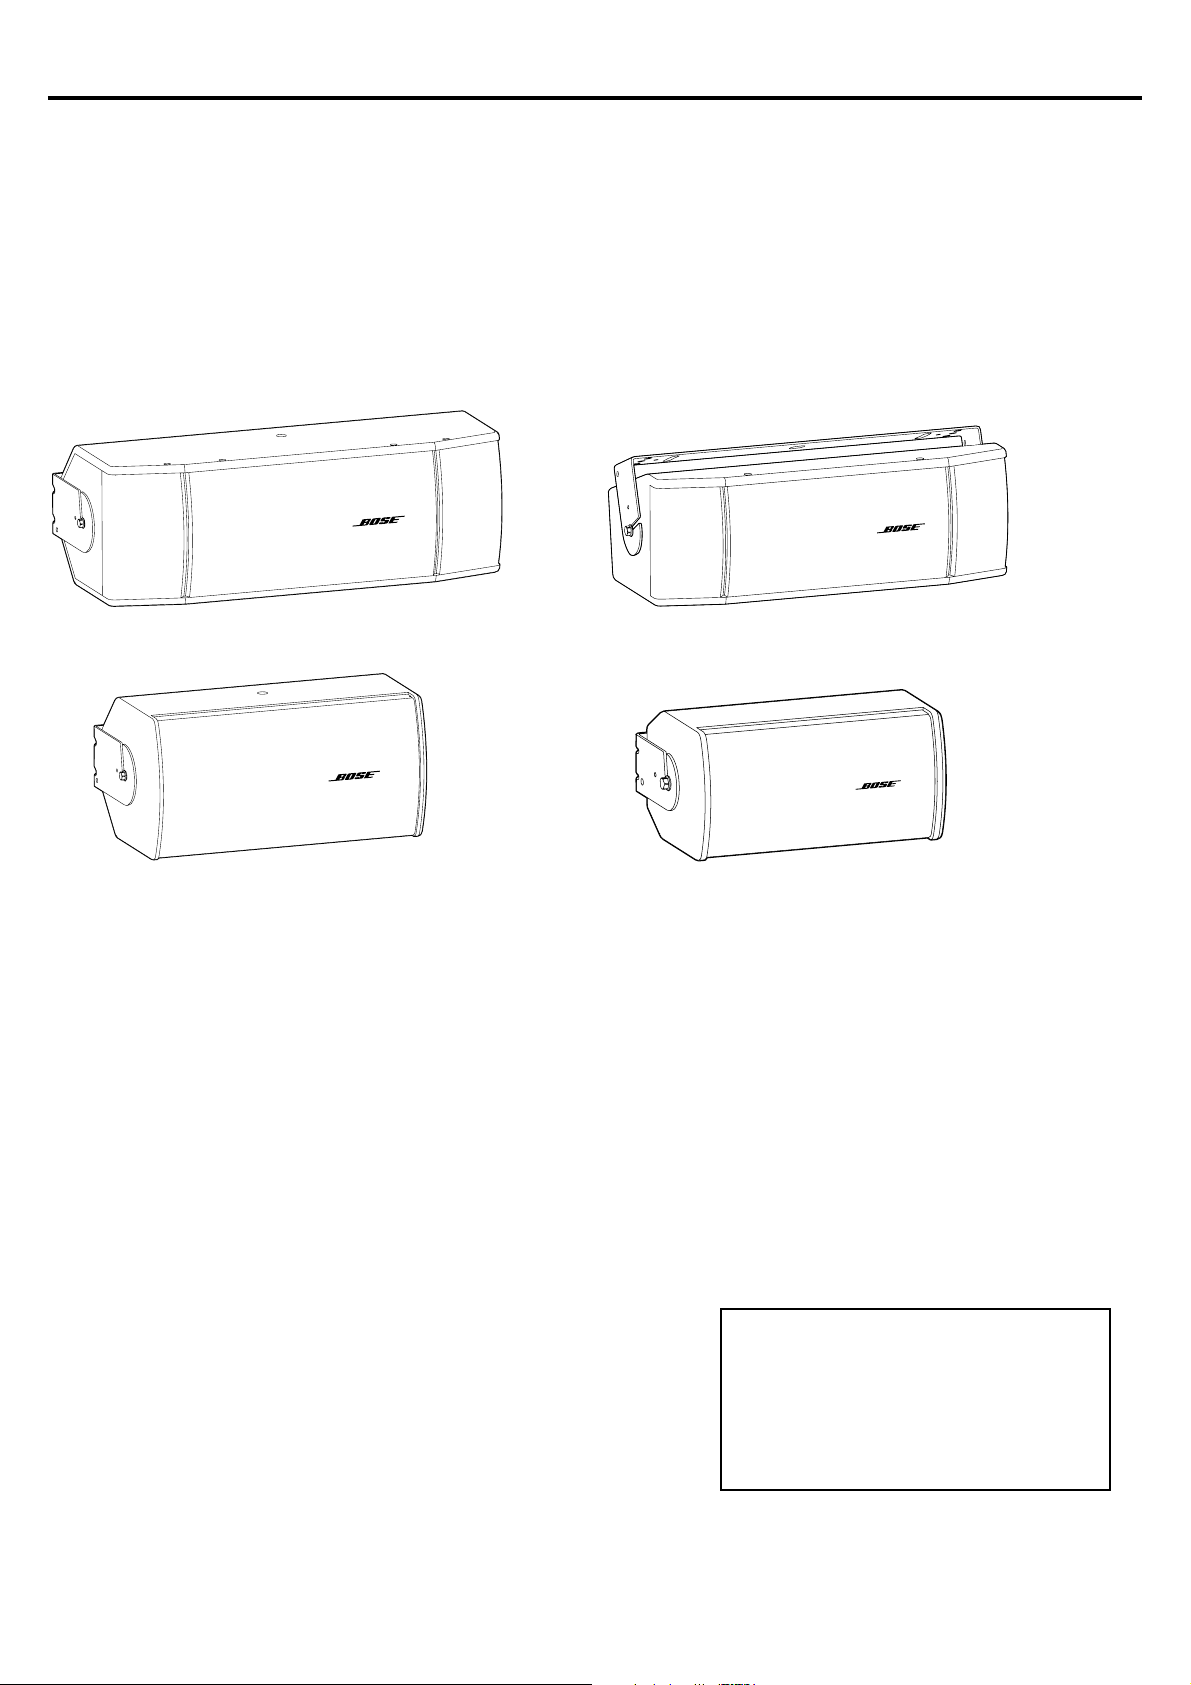
Figure 1. RoomMatch Utility loudspeakers with included U-Bracket
RMU208 RMU206
RMU108 RMU105
Parts List
Each RoomMatch Utility loudspeaker carton includes the following parts:
• RoomMatch Utility Loudspeaker
• U-bracket
• Hardware kit with M8 pan head bolts and rubber washers
• T3 square drive
• Installation guide
Please complete and retain for your
records. Serial and model numbers
are located on the rear panel of the
loudspeakers.
Serial number: _________________
Model number: _________________

Installation and Safety Guidelines English 7
pro.Bose.com Introduction
Loudspeaker and U-Bracket Dimensions
Figure 2. RMU208 loudspeaker and U-bracket dimensions
Figure 3. RMU206 loudspeaker and U-bracket dimensions
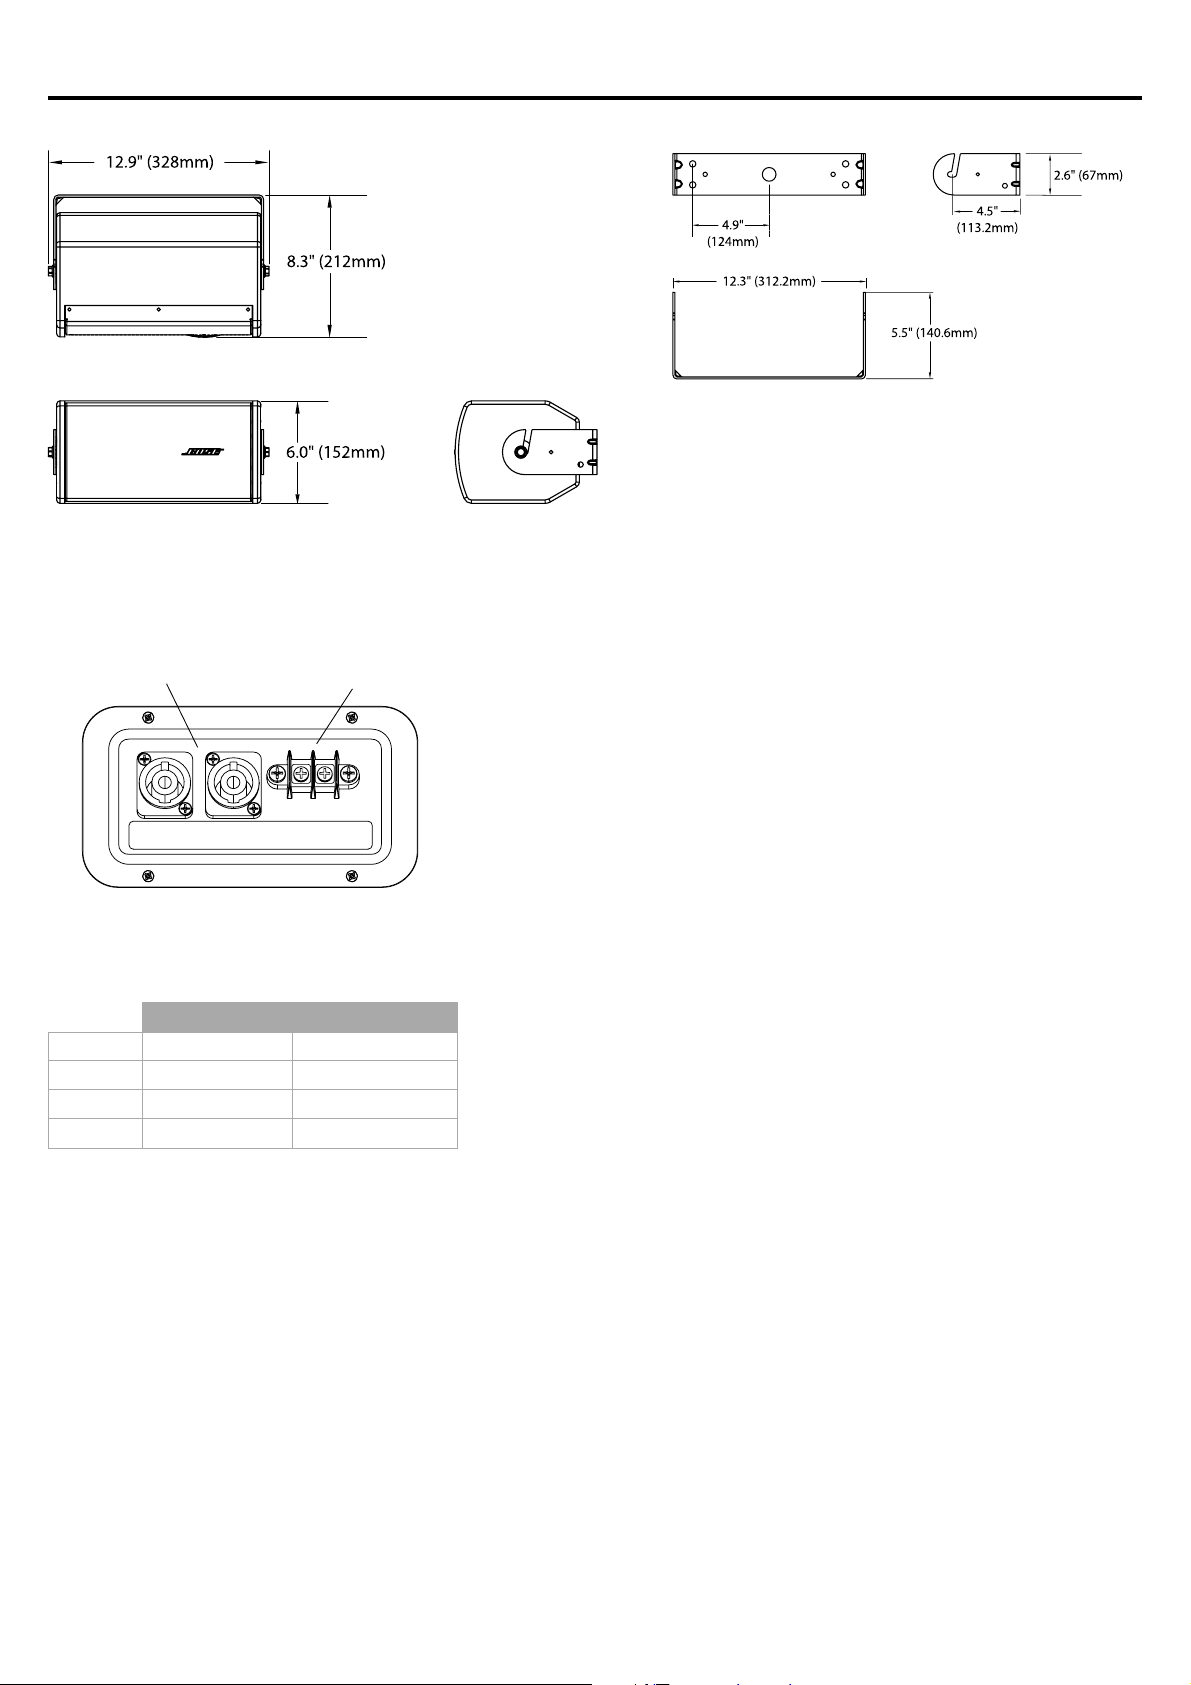
Figure 4. RMU108 loudspeaker and U-bracket dimensions
22.7” (577 mm)
9.7” (246 mm)
9.5” (242 mm)
11.1” (282 mm)
8.0” (203 mm)
9.8” (250 mm)
5.8” (146 mm)
3.1”
(80 mm)
7.1” (180 mm)
22.1” (561 mm)
8 English Installation and Safety Guidelines
Introduction pro.Bose.com
Figure 5. RMU105 loudspeaker and U-bracket dimensions
Connector Panel
The connector panel is identical for all models and includes dual NL4 connectors, to allow “loop through” connections, and a screwterminal barrier strip.
Figure 6. RMU speaker input connectors
NL4 connectors Screw-terminal barrier strip
Speaker Pitch Angles
The maximum pitch angles for RMU loudspeakers when horizontally mounted with the included U-bracket are as follows.
Wall Mounted Ceiling Mounted
RMU208 –110° –110°
RMU206 –110° –110°
RMU108 –110° –110°
RMU105 –110° –110°
 Loading...