

Bosch MIC-500-ALW18N User Manual
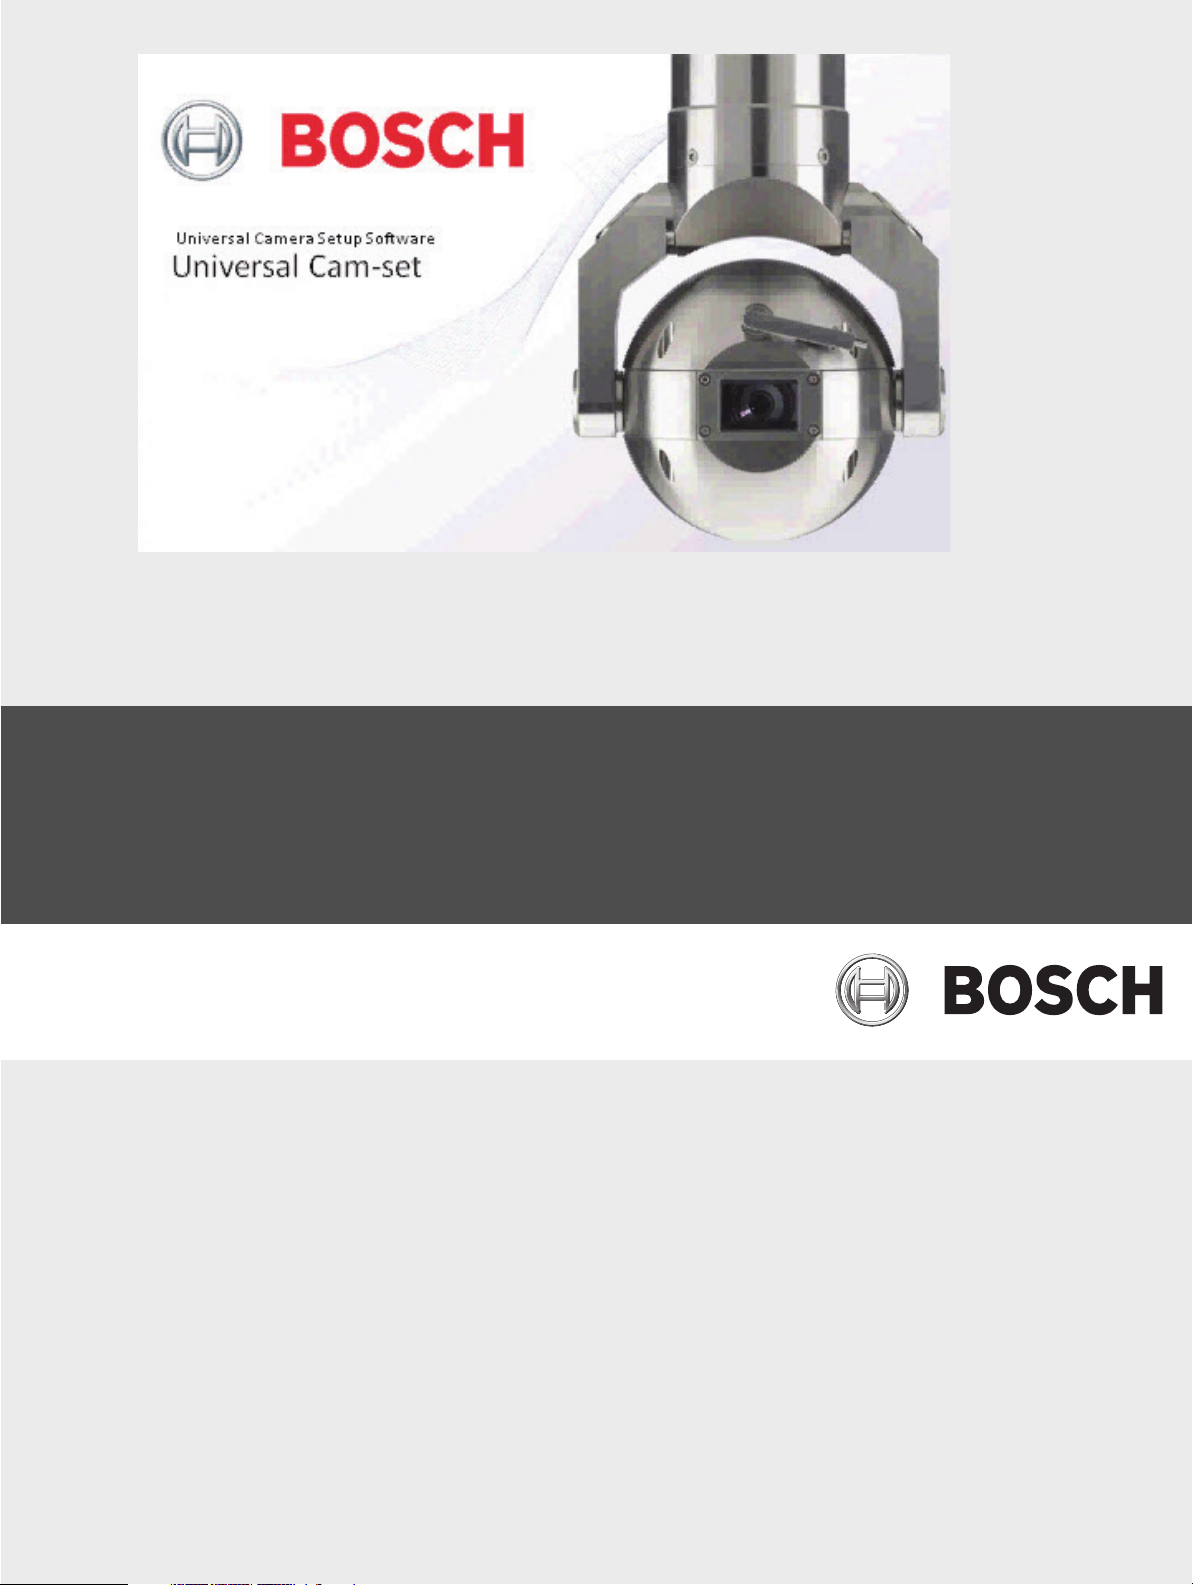
Universal Camera Setup Software
MIC Camset
en User Manual


Universal Camera Setup Software Table of Contents | en 3
Table of Contents
1 Introduction 5
2 Using Quick Start Guides 6
2.1 Connecting MIC to Universal Camset Guide 6
2.1.1 Requirements 6
2.1.2 Physical Connections 6
2.1.3 Configuring Universal Camset 6
2.1.4 General Controls 7
2.2 Programming Guide 7
2.2.1 Requirements 7
2.2.2 File Selection 7
2.2.3 Programming 7
2.2.4 Commissioning the MIC 7
3 Configuring Camset 9
3.1 Preferences 9
3.2 Reset Camset 9
4 Controlling a MIC Camera 10
4.1 MIC Settings 10
4.2 Configure MIC Communications 10
4.3 Camset Settings 10
4.4 Boot Messages 11
4.5 Manual Settings 11
4.6 MIC Protocol Programming 12
4.6.1 Selecting a MOT File 12
4.6.2 Software Versions 13
4.6.3 Telemetry Programming 14
4.6.4 Direct Connection Programming 15
4.6.5 Programmer Controls 16
4.7 Presets and Tours 17
4.7.1 Preset Position 17
4.7.2 Introduction to MIC Series Tours 17
4.8 Reset MIC 18
Bosch Security Systems, Inc. User Manual F.01U.172.623 | 1.0 | 2011.10

4 en | Table of Contents Universal Camera Setup Software
5 MIC Settings 23
5.1 Easy Setup 23
5.2 Control Settings 23
5.3 Camera Module Settings 24
5.4 IR / Lowlight Settings 25
5.5 Alarm Settings 25
5.6 Privacy Settings 26
5.7 Captions 27
5.8 Thermal Settings 28
5.9 SonySet 29
5.9.1 SonySet Controls 29
5.9.2 SonySet Options 30
5.10 Default Loader 34
5.10.1 Default Loader Controls 34
5.10.2 Upload Defaults to Multiple MICs 35
5.11 MIC Serial Number 35
5.12 Brushed Motor Settings 35
5.13 Re-map Pelco Auxiliary 36
6Diagnostics 37
6.1 Communications Testing 37
6.2 Data Monitor 38
6.3 Motor Test 38
6.3.1 Motor Test Controls 39
6.3.2 Motor Test Results 40
6.4 Rotation Analyzer 41
6.5 MIC Statistics 42
7 Advanced Setup 43
7.1 Privacy Calibration 43
7.1.1 Calibrating a Privacy 3 Card 43
7.1.2 Calibrating a Privacy 4 Card 44
7.1.3 Privacy 4 Advanced 45
7.1.4 Direct Commands 46
7.2 Send Custom Command 46
7.3 Setup Menu Explorer 46
7.4 EEPROM Copier 46
8Troubleshooting 48
F.01U.172.623 | 1.0 | 2011.10 User Manual Bosch Security Systems, Inc.

Universal Camera Setup Software Introduction | en 5
1 Introduction
– This configuration tool can be used to perform any of the following tasks with your MIC
Series camera:
– Change MIC address or baud rate
– Update the firmware or change the protocol
– Learn preset positions and define preset or pattern tours
– Configure all MIC settings to optimize for your application
– Load factory defaults
– Save and upload your own site-specific defaults
– Capture controller and MIC communications
– Run several different diagnostic tools
Bosch Security Systems, Inc. User Manual F.01U.172.623 | 1.0 | 2011.10

6 en | Using Quick Start Guides Universal Camera Setup Software
2 Using Quick Start Guides
This section contains a few quick start guides, aimed to help users to step through common
functions of Camset and the MIC range without having in-depth knowledge of the application.
2.1 Connecting MIC to Universal Camset Guide
This section provides a step-by-step guide to getting the MIC to communicate with Universal
Camset.
2.1.1 Requirements
– MIC and associated PSU
– PC running Universal Camset
– MIC-USB485CVTR2, Third party RS232 to 485 adapter (configured for 4 wire, full duplex)
or Bosch IP encoder
2.1.2 Physical Connections
To get the Camset to talk to the MIC, the unit must be powered up using a MIC PSU, and must
have the Rx and Tx communication lines connected through a device into the PC. There are
several different methods of creating this comm link: with RS485 to RS232 converters, with a
MIC-USB485CVTR2, with a third party USB-to-RS485 converter, or through a Bosch IP device.
For details on using any of these methods and making the physical connection, refer to the
appropriate sub page in the Connecting To Camset section of this help file.
For one-way (simplex) communications (Universal Camset to MIC), only the Rx lines need to
be connected.
2.1.3 Configuration
1. Open the latest version of Camset.
2. In the Camset Settings window, at the bottom left of the screen, select the model of the
MIC connected, the MIC’s protocol and baud rate. The protocol (and baud rate in some
units) is displayed in boot messages on the video of the unit approximately 10 seconds
after powering up. To make sense of the software version, look at the Software Versions
page in the Programmer section of this help file.
3. Select the communications method in the Comm Port drop-down list. For RS232 to
RS485, or third part USB to RS232 converters, the physical or emulated serial port on the
PC should be selected.
To determine a USB device’s emulated serial port number, on your PC go to Control
Panel - System - Hardware tab - Device Manager, then locate the device under Ports
(COM and LPT). The description should contain the port number (for example: USB
Serial Port (COM5)).
For MIC-USB485CVTR2 devices, select the USB option. For any Bosch IP device, use IP
and select the device from the list provided.
4. The Camset software automatically detects the last setting - the MIC address - from the
MIC’s boot messages.
5. Power up the MIC. If the communication settings and physical connections are valid, the
Boot Messages window will fill with several lines of information and the address of the
unit will be loaded into the Current Address box. If the communications link is only one
way or if the current protocol does not support boot messages, the address can be taken
from the boot message on the video as the number following CAM, and entered manually
into the Current Address box.
Camset will remember all of these settings for next time to simplify the process if you use
the same connection method every time.
F.01U.172.623 | 1.0 | 2011.10 User Manual Bosch Security Systems, Inc.

Universal Camera Setup Software Using Quick Start Guides | en 7
2.1.4 General Controls
With the communications link established and the MIC powered up, the unit should now be
controllable using the Pan and Tilt controls.
2.2 Programming Guide
This section provides a step-by-step guide to changing the software in a MIC unit and recommissioning it for your control system.
2.2.1 Requirements
– MIC and associated PSU
– PC running Universal Camset
– MIC-USB485CVTR2, Third party RS232 to 485 adapter (configured for 4 wire, full duplex)
or Bosch IP encoder
2.2.2 MIC File Selection
1. Open Camset and select the valid communications method from the Comm Port list on
the bottom left of the window.
2. Select Standard Controls > MIC Protocol Programming. The programming page appears.
3. Load the MIC file by either of the following methods:
– Select the MIC File tab, and then select the required MIC Model and Protocol from
the lists provided. If the MIC file is incorrect or out of date, try browsing for the
correct version or updating the default MIC file using the Browse for MIC File and
Update Default MIC File buttons, respectively.
– Select the MIC File tab, and then select the required MIC Model and Protocol from
the lists provided. If the MIC file is incorrect or out of date, try browsing for the
correct version or updating the default MIC file using the Browse for MIC File and
Update Default MIC File buttons, respectively.
2.2.3 Programming
If your MIC supports the latest Fixed Security code programming method, select the Fixed
Security Code tab, and then click the Upload File to MIC button. If you are unsure if your MIC
supports this, contact your local Tech Support center.
If the unit does not support this feature, select the Based on Serial No. tab, and then enter the
MIC serial number in the MIC Serial Number field. Click the Generate Security Code button to
provide the code required to unlock the MIC. Click the Upload File to MIC button to initiate
the process, which takes about 20 to 30 seconds and will indicate that the MIC has been
disconnected when complete.
For pre-brushless MICs that do not support the telemetry programming functionality, refer to
the Programmer - Direct Connection Programming help file.
2.2.4 Commissioning the MIC
Once re-programmed, the MIC may not work immediately with the new protocol, as the
programming process can cause the internal settings to be set randomly. Therefore there are
a few important steps required to get the MIC to the default state for the given protocol and
enable direct connection with the new control system.
1. Set Camset to the appropriate MIC Model, Protocol and Address, on the bottom left of
the Camset window.
2. Confirm that you have PTZ operation by using the controls on the Standard Controls >
PTZ Controls + Auxiliaries window.
Bosch Security Systems, Inc. User Manual F.01U.172.623 | 1.0 | 2011.10

8 en | Using Quick Start Guides Universal Camera Setup Software
Easy Commission
1. On the Standard Controls > PTZ Controls + Auxiliaries window, click the Start Easy Setup
Process button.
2. Answer all of the questions provided to set up the MIC to your requirements. At the end,
the settings can be saved to a file for easy configuration of multiple cameras on one
install. See Advanced commission or Default loader for instructions on how to use these
files in other units.
3. Check that the Aux commands are working as expected (for example, Wiper, IR, etc.)
using the associated controls on the Standard Controls - PTZ Controls + Auxiliaries
window.
4. Modify the MIC address and baud rate as required using the MIC Settings sub window
which can be opened by clicking the Configure MIC Communications button on the
bottom left of the Camset window.
Advanced Commission
1. On the Settings > Default Loader window, click the Load Settings into Cam-set button
and select the file MIC Production Defaults.xml (or other appropriate file if you require IR
functionality, or a custom site setup). The controls in the software should populate with
the default settings (Pan Reverse: Off, etc).
2. Click Set Settings to Single MIC. This process will take a few seconds and will finish with
the MIC locating its mechanical limit stops in tilt.
3. Once complete, check that the MIC orientation is correct and adjust Pan Reverse, Tilt
Reverse and Image Flip as required.
4. Check that the Aux functions are working as expected (for example, Wiper, IR, etc.) using
the associated controls on the Standard Controls - PTZ Controls + Auxiliaries window.
5. Modify the MIC address and baud rate as required using the MIC Settings sub window
which can be opened by clicking the Configure MIC Communications button on the
bottom left of the Camset window.
F.01U.172.623 | 1.0 | 2011.10 User Manual Bosch Security Systems, Inc.

Universal Camera Setup Software Configuring Camset | en 9
3 Configuring Camset
This section describes the settings that specifically affect Camset software rather than the
MIC camera itself. Access these settings under File > Preferences.
3.1 Preferences
Comms Mode
There are 3 options for comms modes:
– Full Duplex: Full 2 way 4 wire communications connection. Messages are transmitted and
received on separate comms pairs.
– Half Duplex: 2 way, 2 wire communications connection. Messages are transmitted and
received on the same pair of wires. The 485 drivers deal with the switching of the line
directions automatically.
– Simplex: 1 way 2 wire communications connection. Messages are only transmitted to the
camera. This will work for most manual controls, but anything that requires a response,
such as Pot Test, Exact Positioning, Programming, etc. will fail.
Video Window
Select the Always on top for the video preview window to appear above all other Universal
Camset windows.
Serial Port Defines
Select RTS to define the state of the RTS line on the serial port which can be used to power in
line RS232 to 485 adapters. See Connecting Through RS232 subsection in Connecting To
Camset for more information.
Advanced Controls Access
Some of Universal Camsets more advanced controls are locked behind a password which can
be entered here. This will only be provided to approved installers and repair centers.
Protocol Access
Some of Universal Camsets protocols are locked behind a password providing access only to
licensed customers. These can be obtained from repair centers upon proof of the licensing
agreement.
3.2 Reset Camset
This re-initializes all of the controls for the software to the state it would be on boot. All text
boxes, check boxes and radio buttons are cleared and therefore will no longer represent the
current settings in the MIC. This control is found under File > Reset Universal Cam-Set.
Bosch Security Systems, Inc. User Manual F.01U.172.623 | 1.0 | 2011.10

10 en | Standard Controls Universal Camera Setup Software
4 Standard Controls
This section describes some of the basic controls available in Universal Camset for controlling
and programming your MIC Series unit. The majority of these controls are found under the
Standard Controls menu in the tool bar.
4.1 MIC Settings
MIC Address
This box indicates the address to which commands are sent from Camset. This therefore
needs to match the address of the MIC that needs to be controlled. When the MIC is booted
the first line of the messages it sends is the address, which is read and put into this box
automatically.
4.2 Configure MIC Communications
This button opens up a new window which provides the options to reconfigure the MIC
communications settings. If the MIC Model is set to 500, then all of the options on the new
window become available. No other model provides the multi protocol and therefore only the
Address and Baud Rate options are available.
In order for any of these modifications to work, Camset must have full communications with
the MIC. Ensure this by performing a simple manual control test (Up, Down, etc). To store the
new settings, click Apply once the modifications have been made. To discard any changes,
click Cancel.
New Address
This input box defines the new address to which the MIC should change after you click Apply.
The value will also be copied into Current Address on the main form to provide continual
control. This feature will not work on any brushed releases, or brushless releases prior to
131CN in Panasonic Protocol. Refer to Panasonic Menu Controls in Advanced Controls for
instructions on another method for these releases.
New Protocol
This drop-down list provides a full list of the protocols available in Camset. These may not all
be supported by the MIC, in which case Camset will change protocol and the MIC may not,
causing a lack of control. To regain control should this happen, reset the Camset Protocol to
the original settings.
New Baud Rate
This drop-down list provides the valid baud rates for the chosen protocol. In the case of a nonMIC 500 model, the baud rate options reflect the protocol as set on the main form for Camset
itself. In FV protocol, the option is toggle, which switches the MIC between 4800 and 9600. If
control is not present after the window is closed, try changing the Camset Baud Rate.
4.3 Camset Settings
Cam-set Protocol
This drop-down list provides access to the available protocols Camset can produce. When an
option is selected, all the Camset controls are reset and then the availability of certain
features is set dependent on their availability in the MIC itself. Any features that are not
accessible for the chosen protocol will still be visible but will be shaded out. The
communication settings will be set to the default for the chosen protocol, indicating this on
the Cam-set Baud Rate drop-down list.
F.01U.172.623 | 1.0 | 2011.10 User Manual Bosch Security Systems, Inc.

Universal Camera Setup Software Standard Controls | en 11
Cam-set Baud Rate
This displays the current Baud Rate at which outgoing messages are sent, and the other
options available for the given protocol above. Changing this without first changing the MIC
baud rate will cause a loss of communications.
MIC Model
This provides a list of all the available MIC Models. This should be set to the type of camera
being controlled as Camset is then set up accordingly to provide more or less options
dependent upon the combination of this setting with the Cam-set Protocol above.
Comm Port
This provides a list of the available Comm Ports detected by the software on the PC. If a
comm port is in use when it is selected, the user will receive an error, and should either select
another port or close the application currently using it. If an FV USB to 485 dongle is
connected, this will be indicated as USB at the end of the list. The final option is Close, which
will close any open communications port meaning that other applications can then use the
port for other purposes.
IP Address
This indicates the IP address of the Bosch encoder that is currently providing control.
4.4 Boot Messages
The large square text box in this area will display boot messages coming from the MIC. One of
the first lines contains the MIC address which is decoded and entered into the Address input
box. The rest of the lines indicate the MIC model number, control card serial number, MIC
Software, etc. At the same time, a boot message is displayed on the video indicating similar
information, which may be helpful if return comms are not set.
4.5 Manual Settings
Pan, Tilt and Zoom
The Up, Down, Left and Right buttons send commands to the MIC to move in the selected
direction at the speed indicated by the Speed slider, which goes from 1% to 100%. Zoom In
and Zoom Out control the zoom position of the camera lens at a fixed rate.
if the Latch PTZ option under PTZ Options is checked, Camset will not transmit a stop
command when a PTZ control is released.
MIC Menu
The On Screen Menu button loads the MIC Menu, displayed on the video itself. This is then
controlled using the pan and tilt controls above.
Iris Controls
Auto Iris lets the MIC automatically adjust to changing light levels, while Manual Iris gives the
user control with Open and Close buttons.
Focus Controls
Auto Focus lets the MIC automatically focus on a changing scene, where Manual Focus gives
the user control with Near and Far buttons.
Auxiliaries
Controls are provided for directly accessing the most commonly used auxiliaries such as
wiper, IR, etc. These are all immediate controls meaning that they are not remembered by the
MIC over a power cycle. On boot, the MIC wiper, IR, washer, etc. will all be turned off.
Bosch Security Systems, Inc. User Manual F.01U.172.623 | 1.0 | 2011.10

12 en | Standard Controls Universal Camera Setup Software
See the list below for a description of each auxiliaries function.
– Slow Zoom: Reduces the speed at which the MIC zooms.
– PTZ Scale: Scales the MIC speed dependent on zoom position.
– Wiper: Turns on or off the MIC wiper if fitted.
– Washer: Activates the washer relay in the PSU (if purchased). Also moves MIC to the
stored WashWipe position and turns on the wiper. Once de-activated, the MIC will return
to its original position and turn off the wiper.
– IR / Thermal: Dependent on the MIC, this will do one of 3 things:
For a Non-IR Standard MIC, the IR cut filter will come in and the image will go black and
white.
For a twin IR MIC, the cut filter will come in and the lamps will turn on.
Note: If the lamps do not turn on, ensure the power supply is an IR version and that Auto
Alarm and Multi Alarms are both turned on.
For a thermal MIC, the video output will switch from the Sony module to the thermal
module.
– Digital Zoom: This will enable the MIC to continue into the digital zoom once the optical
limit has been reached. For this option to function, you must enable Digital Zoom under
the MIC Setups tab.
– Auto Pan: This will start the MIC panning between left and right defined limits.
– On Screen Data: This activates the Sony modules’ on-screen icons.
User Defined Auxiliaries
This section enables the user to transmit a specific On or Off Aux command to the MIC where
the number is user defined.
4.6 MIC Protocol Programming
This section describes the controls found on the Programmer page of Camset. The
Programmer is designed to allow the user to update or change the software inside any MIC
product, either remotely or with a direct connection. This software can also be used to
generate and set the security code inside the MIC which is used for up the telemetry
programming, reliant upon a correct password being entered (these options are for user with
Forward Vision protocol only).
4.6.1 Selecting a MOT File
Using a MIC File
The MIC files provide an easier method of locating the correct MOT file for a required MIC
model and protocol. Each individual MOT file is stored along with some basic information
allowing for an easier interface.
Camset will automatically open the latest MIC file stored in the folder location - Install
Directory\MIC Files\ - and load the contents into the drop-down boxes.
If a newer version of the MIC File is downloaded from the Bosch website, it can be loaded into
this folder easily by using the Update Default MIC File. A browse window opens in which the
user can select the new file. Click Open. The file will be copied into the correct directory.
Alternatively, load an older or specific MIC file by clicking the Browse for MIC File and
selecting the required file.
With either method of MIC file selection, the filename and location will be indicated in the text
box and the Status window will indicate some attributes associated with the MIC file,
including file type (indicating the data structure method), description and release. The combo
boxes below will also populate with the options stored inside of the batch file. An individual
F.01U.172.623 | 1.0 | 2011.10 User Manual Bosch Security Systems, Inc.
Universal Camera Setup Software Standard Controls | en 13
file can then be located by selecting the MIC Model and Protocol as required. Information on
the chosen file is indicated in the Status window on the right, including the filename, model,
protocol, compatible Camset, release date and release notes.
Using a Single MOT File
To find an MOT file to upload, click the Browse button at the bottom of the Single MOT File
tab. A Microsoft Windows Open an MOT File dialog box opens. Browse to the MOT file, select
it, and then click Open. The dialog box closes, and the filename and location will be indicated
in the text box to the left.
CAUTION!
When reflashing or changing the protocol on a standard MIC 400 or 400 IR model, select 400
from the MIC Models drop-down list. Do not select 300,400,440 from the drop-down list; this
option is reserved for older "brushed" models. In addition, you must reset the camera’s
default settings. Refer to Section 4.9 Resetting Default Values After a Protocol Change, page 18.
4.6.2 Software Versions
Each MIC camera suses different software file types depending on the model, build state and
protocol. Uploading incorrect software may cause your MIC to lock up, so ensure that you
select the correct version. If you are unsure, please contact Tech Support for advice.
MIC 500
The MIC 500 Range supports multiple protocols in one software bundle and therefore the
titles are different from those for all other MIC products. The software code name is 8
characters long and formed as below.
500B C.DDE
where
500 Denotes the MIC model, this is the only 3 digit numeric code for MIC 500 Series.
B Denotes the mechanical build state, which is changed only if the software for this
configuration would conflict with other builds.
C Denotes the major release number.
DD denotes the minor release number.
E Denotes the protocol group with a single letter. The options are as follows:
– P: Forward Vision / Bosch
– A: Forward Vision / American Dynamics
– K: Forward Vision / Kalatel
– N: Forward Vision / Panasonic
– D: Forward Vision / Pelco P / Pelco D
– L: Forward Vision / VCL
MIC 300 / MIC 400 / MIC 410 / MIC 411 / MIC 412 / MIC 440
All non-MIC 500 cameras use the following 5 character method to identify the software.
AAABC
where
Bosch Security Systems, Inc. User Manual F.01U.172.623 | 1.0 | 2011.10

14 en | Standard Controls Universal Camera Setup Software
AAA Denotes the build state of the MIC, this is a 3 digit numeric code. The options are as
follows:
– 117: Early MIC 300, using potentiometers (pre 2001)
– 118: Early MIC 300, using first generation resolvers (pre April 2003)
– 120: MIC 300 / 400 with brushed motors
– 131: MIC 400 with brushless motors
– 410: MIC 410 Thermal
– 411: MIC 411 Thermal
– 412: MIC 412 Thermal
B Denotes the software release version as a letter A through Z.
C Denotes the protocol with a single letter code. The options are as follows:
– A: American Dynamics
– B: 360 Vision
– D: Pelco P / Dl
– K: Kalatel
– L: VCL
– M: Molynx
– N: Panasonic
– P: Bosch
– V: Vicon
– W: Forward Vision
Contract Reviews
There is a final type of software available known as a Contract Review which will have been
written specifically for one customer or site. These may be simple changes or additions to an
existing standard software, or a new protocol entirely. The title is 8 characters long as below:
“CR”AABBCC
where
AA Denotes the release month.
BB Denotes the release year.
CC A 2-digit unique code for that month.
The title therefore contains no information as to the build state or function of the software, so
please contact technical support with the software title for any further information as
required.
4.6.3 Telemetry Programming
How to Program through Telemetry
Select the required MOT file as an individual file, or select your MIC and protocol combination
from the MIC file. Click the Upload File to MIC button on the Fixed Security Code tab.
How to Program through Telemetry: MIC Series pre March 2010
Select the required MOT file as an individual file, or select your MIC and protocol combination
from the MIC file. Click the Based on Serial No. tab, and enter your MIC’s Serial number in the
input box. Click the Generate Security Code button and then click the Upload File to MIC
button.
With what will this work?
This method of programming is only valid for MICs with a 6E control card or later, or older
cards that have the telemetry programming upgrade card 400-213 or 400-214. This requires
F.01U.172.623 | 1.0 | 2011.10 User Manual Bosch Security Systems, Inc.

Universal Camera Setup Software Standard Controls | en 15
the correct security code to be entered for the MIC. Any discrepancies on this will not allow
the MIC to be re-programmed.
Telemetry programming is performed through a normal 2 way 4 wire 485 comms connection
to the host PC. This process will not work over 2 wire connections.
The programming process
1. Open and Read MOT File
This takes the file selected and reads it into memory, indicating the file size and ID tag. A
fail here would indicate an invalid or corrupted MOT file.
2. Connect to the MIC Through Telemetry
This verifies that the security code matches the serial number. If they match, the security
code is sent to the MIC to put into program mode. If the control care is 6E or later, then a
confirmation byte will be sent. Whether or not Camset waits for this is defined by the Old
Control Card check box.
3. Setup MIC to Receive MOT File
The next few stages get the processor in the correct state to receive the MOT file. Initially
a handshaking occurs to confirm the communications speed, and then several Kernel files
are sent to first erase the memory and then provide an interface to store the MOT file
data in the correct positions in memory. If any of these steps fail, then the process will
jump out. Ensure that all files are located in the correct position, and that the header is
seated correctly into the connector.
4. Send the MOT File
This stage is the longest and sends out the MOT file sequentially. The time this takes is
dependent on the upload speed chosen and the size of the file. Typically this takes
around 20 to 30 seconds. The progress bar underneath indicates the current stage in the
process.
5. Error Check the MIC Flash
If Error Check is selected, this process will run and set up the MIC to send back the
contents of its memory. Once 2 kernel files are sent, the program will sit receiving the
data back storing all the data for comparison with the original file. An error count is then
indicated in the status window.
6. Disconnect the MIC
At the end of the process, the programmer will disconnect and restart the MIC. This
means the MIC doesn't require a power reboot to start the new software. The MIC can
then be set up as required using the other controls in Camset.
4.6.4 Direct Connection Programming
How to Program with a 900-200
To gain access to the programming socket, remove the bottom shell of the MIC. Connect the
Programming Header 900-200 into the corresponding socket on the front of the board and
remove the red jumper situated next to the connector. Then connect the other end to your
computer’s RS232 port. If the camera is powered up and the connections made correctly, you
should see that the LED on the programming header is illuminated. If at any point an error
occurs, disconnect and reconnect the header on the MIC control card to get the LED
illuminated again.
What will this work with?
This method of programming is only valid for older MICs with pre-6E control cards which have
the programming socket built onto them. For all other MICs use the Telemetry Programming
method.
Bosch Security Systems, Inc. User Manual F.01U.172.623 | 1.0 | 2011.10

16 en | Standard Controls Universal Camera Setup Software
The programming process
– Open and Read MOT File
This takes the file selected and reads it into memory, indicating the file size and ID tag. A
fail here would indicate an invalid or corrupted MOT file.
– Set up MIC to Receive MOT File
The next few stages get the processor in the correct state to receive the MOT file. Initially
a handshaking occurs to confirm the communications speed, and then several Kernel files
are sent to first erase the memory and then provide an interface to store the MOT file
data in the correct positions in memory. If any of these steps fail, then the process will
jump out. Ensure that all files are located in the correct position, and that the header is
seated correctly into the connector.
– Send the MOT File
This stage is the longest and sends out the MOT file sequentially. The time this takes is
dependent on the upload speed chosen and the size of the file. Typically this takes
around 20 to 30 seconds. The progress bar underneath indicates the current stage in the
process.
– Error Check the MIC Flash
if Error Check is selected, this process will run and set up the MIC to send back the
contents of its memory. Once 2 kernel files are sent, the program will sit receiving the
data back storing all the data for comparison with the original file. An error count is then
indicated in the status window.
– Disconnect the MIC
Once the programming is complete, remove the 900-200 from the control card, and
replace the red link next to the socket. The MIC should then boot running the new
software. Replace the lower shell and set up as required using the other controls in
Camset.
4.6.5 Programmer Controls
Fixed Security Code, or Based on Serial No.
These 2 tabs define the security code functionality. To simplify the programming process, the
latest range of MIC models run from the same security code and as such this is entered
automatically by selecting the Fixed option. When you select Based on Serial No., the MIC
Serial Number and Security Code boxes are cleared and become available for editing.
MIC Serial Number / Security Code
These 2 input boxes are where the MIC Serial Number and corresponding 12 character
Security Code are entered. The serial number can be found in the paperwork that came with
the MIC, on a label on the MIC, or by using the Get Serial feature on the Advanced Controls
page.
The Security Code is unique and matches the Serial Number of the MIC to ensure security for
the programming process.
Generate Security Code
This button enables the user to generate the security code from the provided Serial Number.
The code is automatically entered into the Security Code input box.
Plug in telemetry programming header
If this option is checked, the programmer will not wait for a confirmation from the MIC that
the telemetry programming connection has been made, which is only available on MIC cards
6e or later. If you try to program an older card with this unchecked, the software will report
that no connection has been made and the process will stop.
F.01U.172.623 | 1.0 | 2011.10 User Manual Bosch Security Systems, Inc.
 Loading...