

Black & Decker IR2010, IR2020, IR2030, IR2050, IR2110 Getting Started
...
GETTING STARTED WITH YOUR
ADVANCED STEAM IRON
PREPARACIÓN PARA UTILIZAR SU
PLANCHA CON SISTEMA DE
VAPOR AVANZADO
POUR COMMENCER AVEC VOTRE
FER À VAPEUR PERFECTIONNÉ
IR2010 IR2020 IR2030 IR2050 IR2110 IR2150
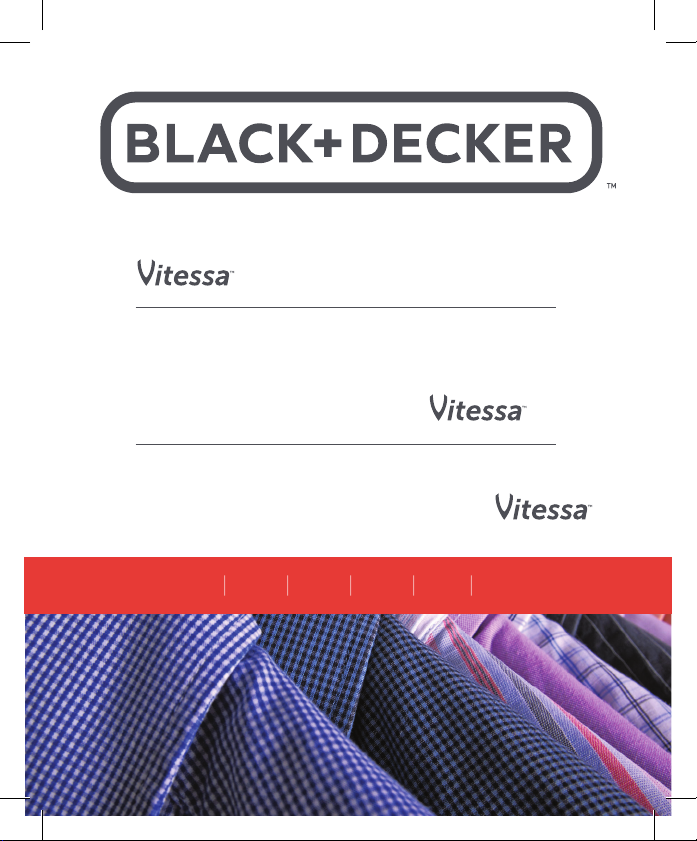
Congratulations on your purchase of the Vitessa™ Iron!
Your Vitessa
™
Advanced Steam Iron features our Even Steam
soleplate design. This soleplate was engineered to provide
a more even flow of steam from heel to tip, enabling you to
quickly tame wrinkles anywhere on your garment
†
. We hope
you will enjoy the benefits of ironing made easy.
Quick Start Tips:
1. Fill your water tank.
2. Plug in your iron. The red power light will
illuminate indicating that the iron is heating.
3. Check the garment tag to find the right setting. If
you’re unsure of the proper setting, always start with
low heat.
Tip: organize garments from low to high heat for extra time savings.
4. Select the heat and steam level by turning the
SmartSteam
™
dial to the desired setting.
5. Allow the iron to preheat for 2 minutes and then iron
as long as needed.
6. When finished ironing, turn the dial to MIN and
unplug. Allow to completely cool before storing.
7. For easy cord management, loosely wrap the cord
around the heel of the iron and use the clip on the
plug to keep the wrap together.
Note: If the iron is left inactive for for 30 seconds on its
soleplate or sides, or 8 minutes on the heel, it will go
into Auto-Off mode. Simply move the iron and it will
resume heating.
† vs BLACK+DECKER IR08X standard iron with standard soleplate.
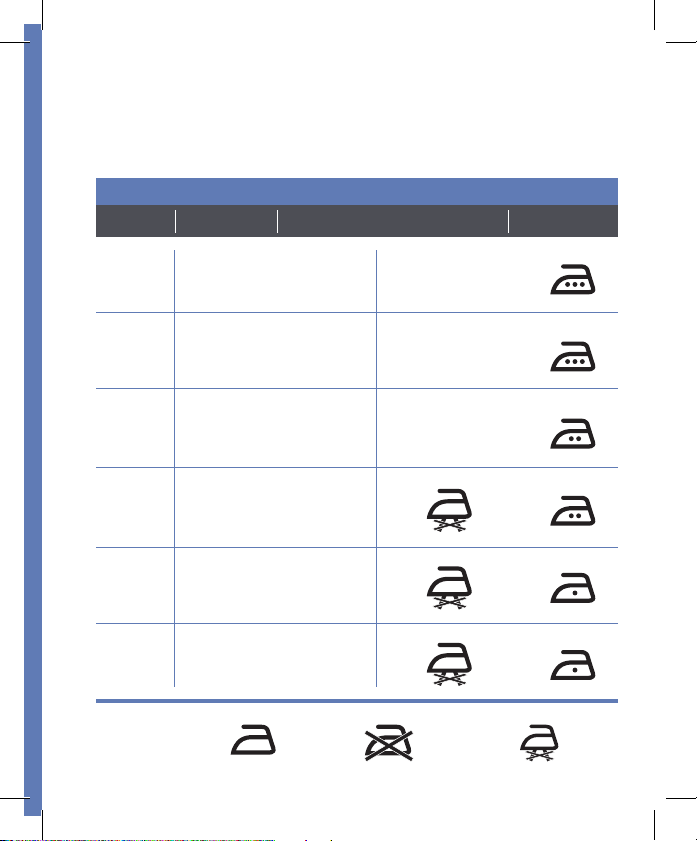
Fabric Guide
Always make sure to check the garment manufacture's tag for detailed care
instructions. The chart below shows what settings work best with the care
instructions provided. When in doubt, always start at a low heat to prevent
damage.
Iron Setting Details Garment Tag Care Instructions
Setting Steam Level
Steam LevelHeat Level Heat Level
6
Cotton
& Linen
5
Wool
4
Blends
3
Polyester
2
Nylon
& Silk
1
Silk
Other Ironing
Symbols
High
Steam
Medium
Steam
Low
Steam
Dry
Iron
Dry
Iron
Dry
Iron
High
Heat
High
Heat
Medium
Heat
Medium
Heat
Low
Heat
Low
Heat
Any
Temp
no
standard
icon
no
standard
icon
no
standard
icon
Do Not
Iron
Do Not
Steam
 Loading...