

Page 1
SC-Keypad
Manual v1.1
Dec 2015
Page 2

SC-Keypad User Manual v1.1 Dec 2015
3
Contents
1. What is the SC-Keypad? ................................................................. 4
2. Supported Media Formats ............................................................. 4
3. In the Box ....................................................................................... 5
4. Setup Instructions .......................................................................... 6
5. Programming Content & Screen .................................................... 9
Adding Audio ................................................................................. 9
Editing Screen Text ...................................................................... 11
6. Status LED .................................................................................... 12
Update Notes ................................................................................... 12
Page 3

SC-Keypad User Manual v1.1 Dec 2015
4
Thank you for purchasing the SC-Keypad.
The SC-K is one of a range of products we offer specific to the
heritage marketplace. We are confident that we have other
products you will find useful and look forward to hearing from you
again soon.
T: +44 (0)1639 767007 | W: www.blackboxav.co.uk
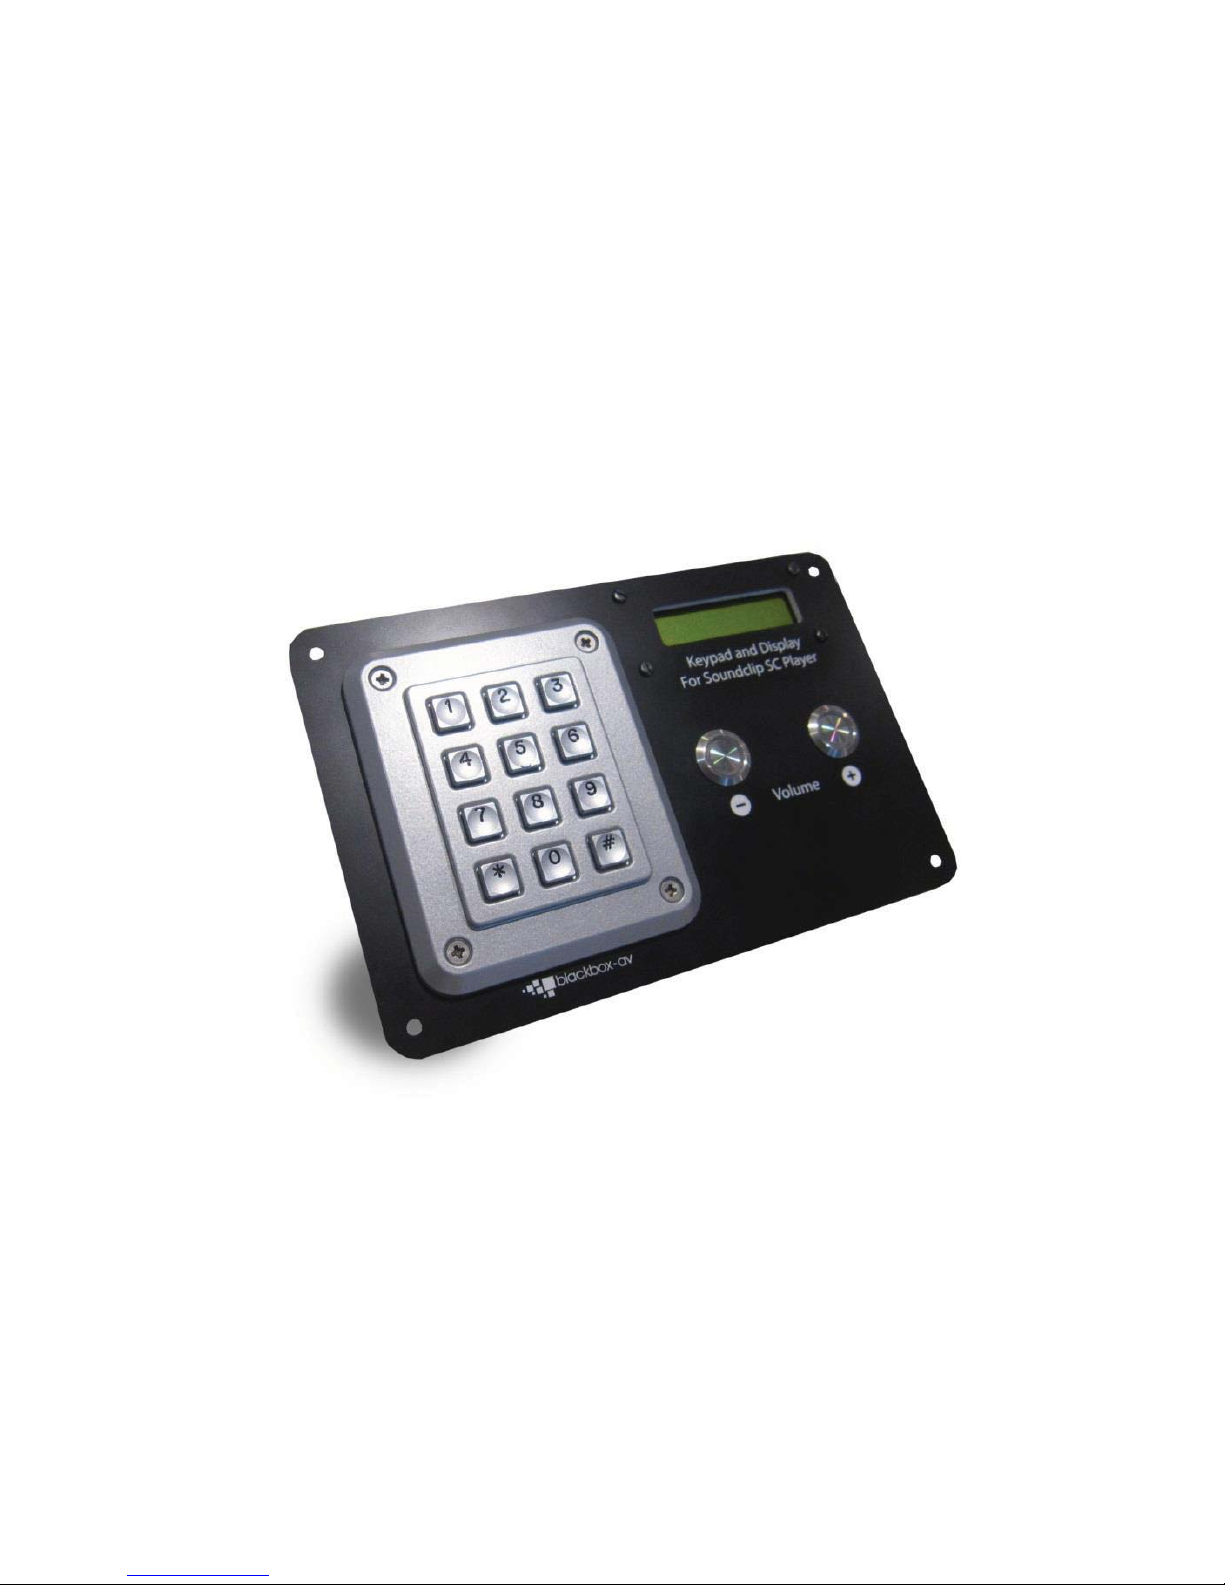
1. What is the SC-Keypad?
The SC-Keypad combines our SoundClip audio player with a
numerical keypad and screen, allowing you to present up to 99
audio tracks to visitors accessible by inputting numbers 01 - 99.
The screen will display a customisable welcome message as well as
the currently playing track number.
2. Supported Media Formats
The SC-K supports audio in two formats;
x .mp3
x .wav
We recommend all files be used in .mp3 format, if you have issues
playing any audio content we recommend you convert your audio
using ‘Format Factory’. This can be downloaded for free here:
http://www.pcfreetime.com/
Page 4
SC-Keypad User Manual v1.1 Dec 2015
5
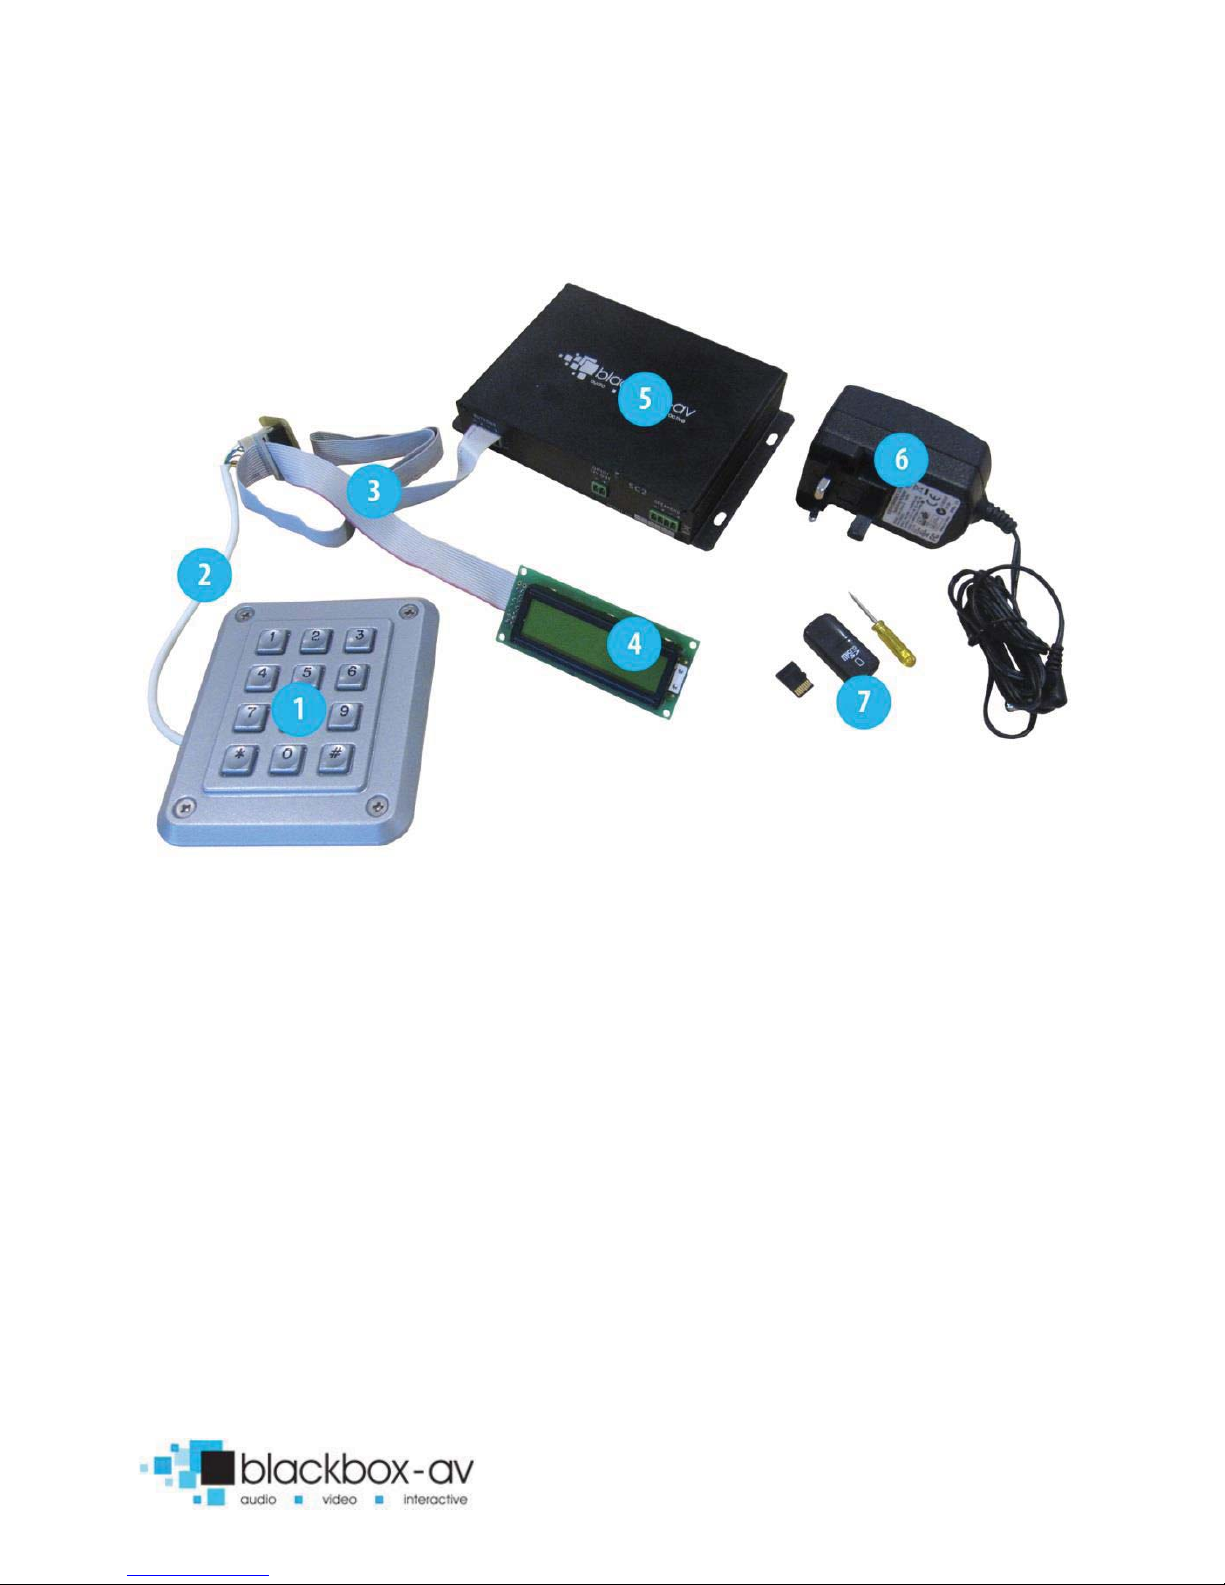
3. In the Box
1. IP65 Rated Keypad - vandal resistant
2. Keypad Connector, 500mm
3. Cable Assembly, max 1 meter
4. 16x2 Backlit Green LCD screen
5. SoundClip Audio Player
6. Power Supply 12V
7. MicroSD card / USB - MicroSD / Screwdriver
Page 5

SC-Keypad User Manual v1.1 Dec 2015
6
4. Setup Instructions
FRONT
REAR
1. 12v DC Power in
2. Master Volume Control
3. Headphone 1 7 2 in 3.5mm jack
4. MicroSD Slot
5. Button Volume Input
6. Speaker Out
7. Cable Assembly out
Setting up your SC-Keypad is simple, you will need the following;
- The SoundClip
- 12v DC Adapter
- Keypad
- Screen
- Headphones or Speakers (not included)
- MicroSD Card with content on (see programming section
Page 6

SC-Keypad User Manual v1.1 Dec 2015
7
Powering your SC-K (1)
Connect the supplied 12v DC adapter to the 12v DC in.
Master Volume Control (2)
Set the master volume control (right = up left = down). The SC-K will
always start-up to half this amount allowing users to
increase/decrease the volume via the assigned volume up and
down buttons (buttons not provided).
Connecting headphones to your SC-k (3)
The SC-K can support up to 2 headphones with the built in 3.5mm
jack, simply connect them via the headphone 1 and 2 output.
Add content to your SC-K (4)
To add content to your SC-K you must first add it to the supplied
MicroSD card and insert this into the MicroSD slot: see
‘Programming Content’ section for more details.
Connecting volume buttons (5)
As mentioned in (2) the SC-K has dedicated volume terminals
allowing you to give visitors control over volume levels. Connect 2
buttons to the designated terminals to do so. If volume buttons are
used the screen will display the changing volume.
Connecting Speakers (6)
Wire speakers to the ‘speaker L’ and ‘speaker R’ terminal block.
Follow the + and - directions if appropriate, insert wires and screw
into place.
Connecting Keypad and Screen - Cable Assembly Out (7)
The Cable Assembly connects both the Keypad and Screen to the
SoundClip.
Page 7

SC-Keypad User Manual v1.1 Dec 2015
8
You connect the devices like so;
1 = Cable Assembly
2 = Screen Connection
3 = Cable Assembly Connection
4 = Keypad Connection
The Cable Assembly (1) connects both the SoundClip and Screen (2)
to the interface board (3) which also connects to the Keypad (4).
Page 8

SC-Keypad User Manual v1.1 Dec 2015
9
5. Programming Content & Screen
Content for your SC-K is stored on the supplied MicroSD card. To
add content you will need;
1) Audio Content in .mp3 format (supports up to 99 tracks)
2) A PC or laptop Windows OS
3) MicroSD Card (supplied)
4) MicroSD to USB convertor (supplied)
------------------------------------------------------------------------------------------
Note: The SoundClip will come in Keypad ready mode, do not alter
the dipswitches located on the front of the device. These will be in
the following position:
1 2 3 4 6 = on
5 7 8 = off
------------------------------------------------------------------------------------------
Adding Audio
The name of your audio files will determine their assigned number
on the keypad. Audio files must be named 001 - 099, they are then
activated by pressing two numbers, so;
001 = 01 | 002 = 02 | 003 = 03 | 010 = 010 | 011 = 11 etc.
Page 9

SC-Keypad User Manual v1.1 Dec 2015
10
Programming the SC-K is as easy as transferring your audio files to
the supplied MicroSD Card.
Step 1:
Prepare your audio files for transfer, we recommend you use .mp3
files however .wav files are also supported. Rename each file to
001, 002, 003 etc. depending on which number you wish them to
be activated via the keypad.
Step 2:
Insert the MicroSD Card into the MicroSD - USB convertor and
connect to your PC
Step 3:
Transfer all of your Audio content onto the SD Card;
Page 10

SC-Keypad User Manual v1.1 Dec 2015
11
Note the ‘Config.txt’ file - this is the file which sets the welcome
text on the screen.
Editing Screen Text
The screen is able to display 16
characters per line across two
different messages - so 32 characters
in total per screen. For example see
image to right.
Config.txt
The message is programmed via a config.txt file located on the
MicroSD Card.
The provided MicroSD card will be supplied with test content and a
config.txt file - you are able to edit this to change the message or if
you do not have the test files simply create a new .txt file (rightclick
on desktop > new > text document) be sure to name it ‘Config’.
Line1: Message 1 (Screen 1)
Line 2: Message 2 (Screen 2)
END
Page 11

SC-Keypad User Manual v1.1 Dec 2015
12
Note: Each line consists of 16 characters; you must type both
characters and spaces. In the example the spaces have been
entered to make each message cover 2 lines.
The Config.text must end with the word ‘END’.
6. Status LED
The SoundClip has 2 LED’s;
Red - on/off
The red LED will be lit when unit is powered on, and off when unit is
powered down.
Green - Status
The green LED will be lit when content is being played.
Update Notes
V1.1
Changed Programming Content instructions
 Loading...