

Page 1

BiPAC 7300GX
3G/ADSL2+ Wireless Router
Quick Start Guide
Page 2

Page 3
Billion BiPAC 7300GX 3G/ADSL2+ Wireless Router
A
PLEASE READ THE QUICK START GUIDE AND FOLLOW THE
STEPS CAREFULLY. THIS QUICK START GUIDE WILL HELP YOU
INSTALL THE DEVICE PROPERLY AND AVOID IMPROPER USAGE.
IF YOU NEED MORE INFORMATION ON THIS SOFTWARE
CONFIGURATION, PLEASE REFER TO THE USER’S MANUAL ON
THE CD-ROM.
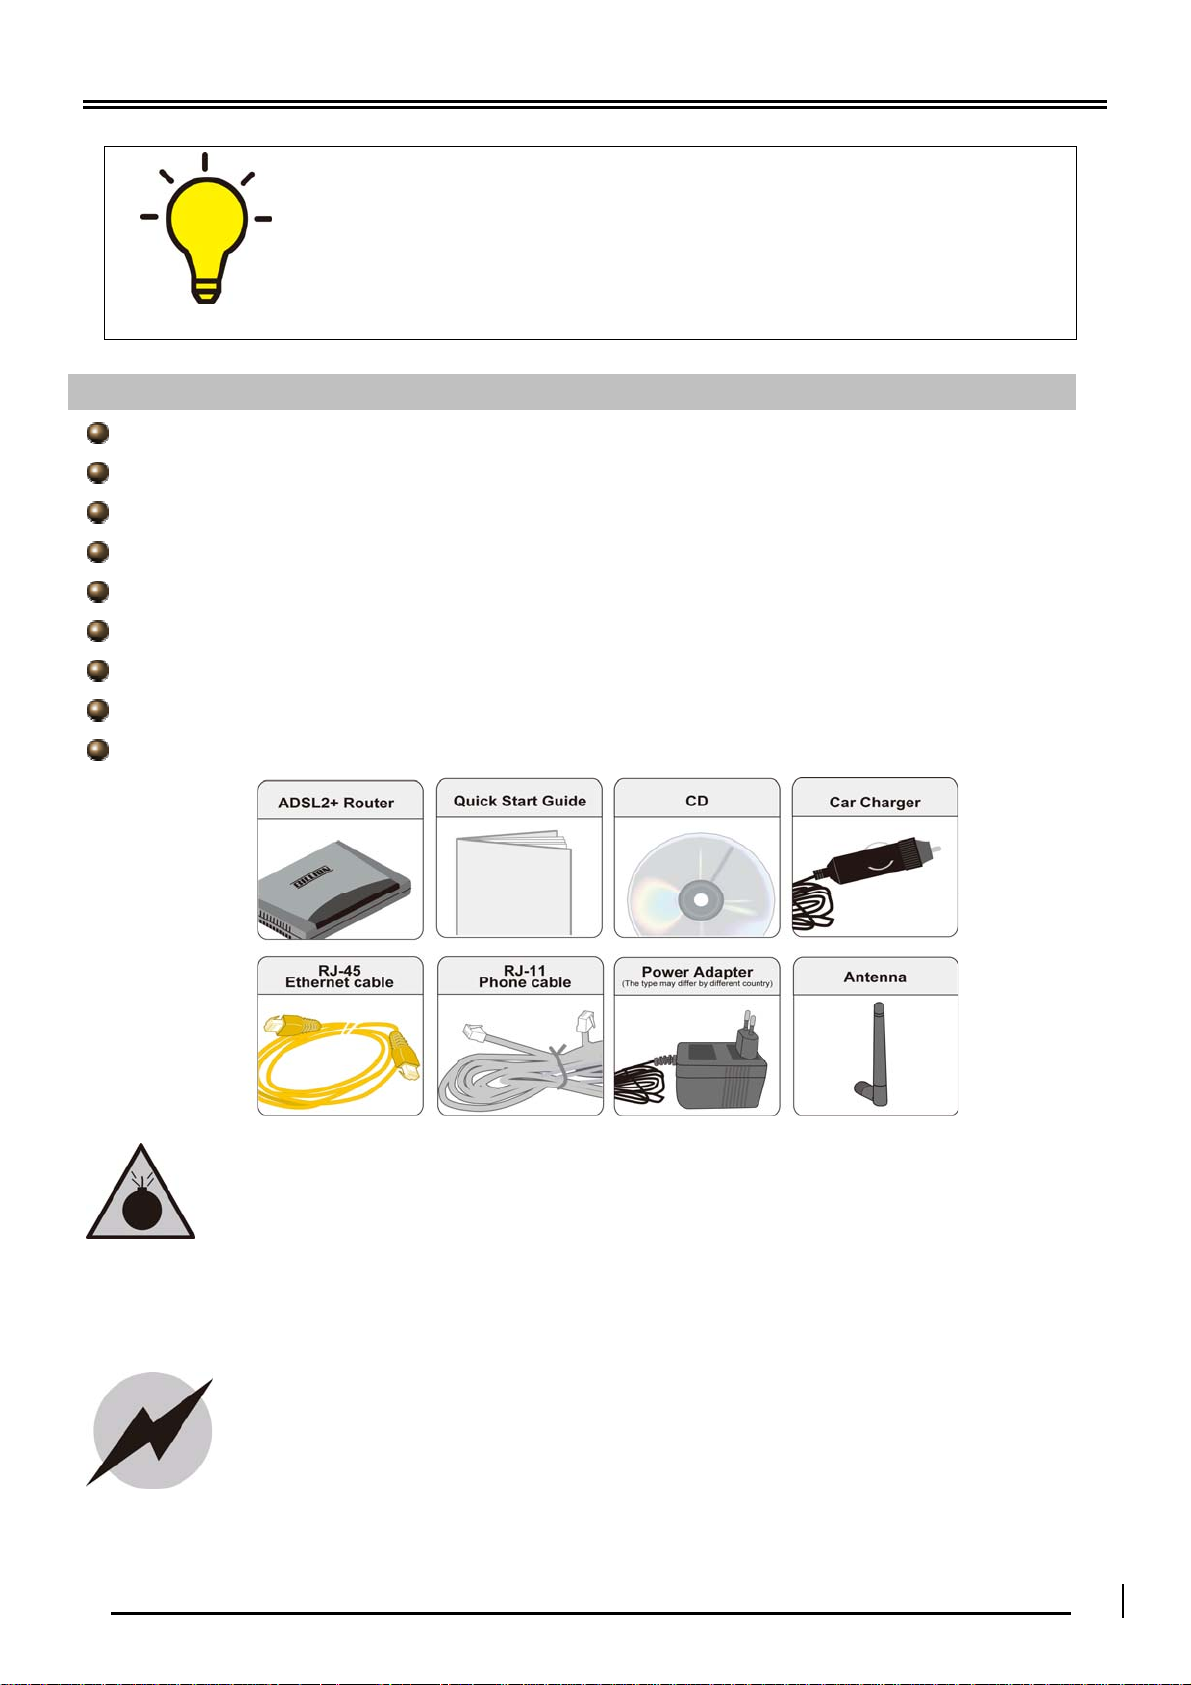
Package Contents
BiPAC 7300GX 3G/ADSL2+ Wireless Router
CD containing the on-line manual
RJ-11 ADSL/telephone cable
Ethernet (CAT-5 LAN) cable
Detachable 2dBi antenna
Car Charger adapter (12V DC, 1A)
AC-DC power adapter (12VDC, 1A)
This Quick Start Guide
Splitter/ Micro-filter (Option)
Do not use the router in high humidity or high temperatures.
Do not use the same power source for the router as other
equipment.
Do not open or repair the case yourself. If the router is too hot,
turn off the power immediately and have it repaired at a qualified
service center.
Avoid using this product and all accessories outdoors.
Warning
Place the router on a stable surface.
Only use the power adapter that comes with the package. Using a
different voltage rating power adaptor may damage the router.
Have better use the 3G/ HSDPA data card that offered by ISP or
ttention
recommend on the color box.
The 3G/HSDPA card slot does not support hot swap (swapping
whilst the device is still turned on). If you need to insert or change
the 3G/HSDPA card, please turn the power off before replacing the
3G/HSDPA card.
1
Page 4

Quick Start Guide
s
e
eady
Hardware Overview
The Front LEDs
Lights Green when
the power and
router system are
ready.
Lit green when the
wireless connection
is established
Lights when 3G
rviceis r
Lit when successfully
connected to an ADSL
DSLAM
connection.
Lit when connected
.
to an Ethernet
device
Lit steady when there
is a PPPoA / PPPoE
The Rear Ports
Connect the
detachable antenna
Connect the supplied
RJ-11 cable to this
port when connecting
to the ADSL/telephone
network
Connect your
computer to a LAN
port, using the
included Ethernet
cable
Push WPS button
to trigger Wi-Fi
Protected Setup
Press it to reset
the device or
restore to factory
default settings
Connect the 3G
card bus data
card to this slot
Connect the
supplied power
adapter to this jack
Power
ON/OFF
switch
2
Page 5

Billion BiPAC 7300GX 3G/ADSL2+ Wireless Router
Hardware Connection
Hardware Installation
1. Power Connection
Plug the supplied power adapter to the wall jack and the other side to the router.
Please note that the plug type may differ according to different countries.
2. LAN Connection
Connect the supplied RJ-45 Ethernet cable to one of the Ethernet ports, and the
other side to the PC’s Ethernet interface.
3
Page 6

Quick Start Guide
3. ADSL Connection
Connect the supplied RJ-11 phone cable to the router’s ADSL port, and the other
side to the phone jack on the wall.
4. Splitter/ Micro-filter Connection
Splitter / Micro-filter are important for ADSL installation. High-frequency signals are
directed to the ADSL modem, and low-frequency signals are directed to the
telephone or other analog voice-channel device to prevent inter-modulation
distortion and also to get good speed and stable ADSL sync rate.
a) Splitter connection
If the installation has only a single telephone and a single ADSL modem, then a
splitter can be employed.
b) Micro-filter connection
If the installation has several telephones or other analog devices, then an internal
micro-filter can be employed at each analog device.
4
Page 7

Billion BiPAC 7300GX 3G/ADSL2+ Wireless Router
Easy Sign-On:
User just installs all of cables and uses the browser to surf Internet. At this time, the Easy
Sign-On WEB GUI will be popped up and request you to input some basic information. Af ter this,
you can surf Internet right away.
Troubleshooting
1. None of the LEDs are on when you turn on the router.
Check the connection between the adapter and the router. If the error persists, you may have
a hardware problem. In this case you should contact technical support.
2. You have forgotten your router login and/or password.
Try the default login and password, please refer to Chapter 3. If this fails, you can restore
your router to its factory settings by holding the Reset button on the back of your router over 6
seconds then release it.
3. Can’t ping any PCs on the LAN.
Check the Ethernet LEDs on the front panel. The LED should be on for a port that has a PC
connected. If it is off, check the cables between your router and the PC. Make sure you have
uninstalled any software firewall for troubleshooting. V erify that the IP address and the subnet
mask are consistent between the router and the workstations.
4. Frequent loss of ADSL linesync (disconnections).
Ensure that all other devices connected to the same telephone line as your router (e.g.
telephones, fax machines, analogue modems) have a line filter connected between them and
the wall socket (unless you are using a Central Splitter or Central Filter installed by a qualified
and licensed electrician), and ensure that all line filters are correctly installed and the right
way around. Missing line filters or line filters installed the wrong way around can cause
problems with your ADSL connection, including causing frequent disconnections. If you have
a back-to-base alarm system you should contact your security provider for a technician to
make any necessary changes.
5. 3G interface can not work.
Check the 3G LED on the front panel. The LED should be on for the 3G data card connect
successfully. Because this device is not support hot plug function in 3G card slot. Please
power off the device and re-install the 3G data card at first then power on the device again.
And also check your 3G data card had been list at our support list.
Product Support and Contact Information
Most problems can be solved by referring to the Troubleshooting section in the User’s Manual.
If you cannot resolve the problem with the Troubleshooting chapter, please contact the dealer
where you purchased this product.
Contact Billion
WORLDWIDE: http://www.billion.com
5
Page 8

Quick Start Guide
r
Only use power chargers that have been approved by Billion to be used with the
device.
The supplied power charger adapter can only be used with a 12V car lighter
socket. Please make sure you do not use a 24V car lighter socket.
If your car uses a 24V car lighter socket, please make sure you use a voltage
regulator to change the voltage from 24V to 12V.
The car charger adapter provides you with power supply to the 7300GX whilst in
the car.
You should start the car's engine before connecting the power charger adapter o
switching on the device. The concern is that when you turn on the car's engine
the temporary spike in electricity to the power charger adapter might cause
damage to the device.
Please be aware that if using the power charger for lengthy periods when the
engine of the car is turned off, the battery of the car may be slowly drained. This
may cause the car not to start.
The power charger adapter should not be used in conditions where it is exposed
to high humidity and extreme temperatures (hot or cold) for long periods.
Try to avoid a sudden change in temperature around the device as this might
cause moisture to be trapped within the case of 7300GX causing damage to the
device. If this ever occurs, please wait until the device is fully dried before
powering it on.
Do not place the power charger adapter or the device near any flammable liquid,
gas or explosives.
When setting up the device in the car, please consider the placement position of
the device and make sure it is securely fastened down. (i.e. don't place it in areas
where it may be in the way of the car's safety airbag system, or in a position
where it may be dislodged and become dangerous as an airborne projectile
during an impact or accident.)
Please avoid long exposure to high and low temperature as this may cause
permanent damage to the device. (i.e. don’t leave the device in the car on a hot
summer's day or a cold winter's night.)
For your safety, we strongly recommend you not to operate the device whilst
driving.
Extreme caution should be exercised when using the car
charger adapter!
7300GX v101EN
6
 Loading...