

Page 1

BaumCut 26.4 Side Table
Installation Instructions
TP10425
Page 2

These side table instructions shows
assembling (1) side table and the parts
required. A complete kit contains parts
for (2) side tables. Instructions in this
manual are for both sides.
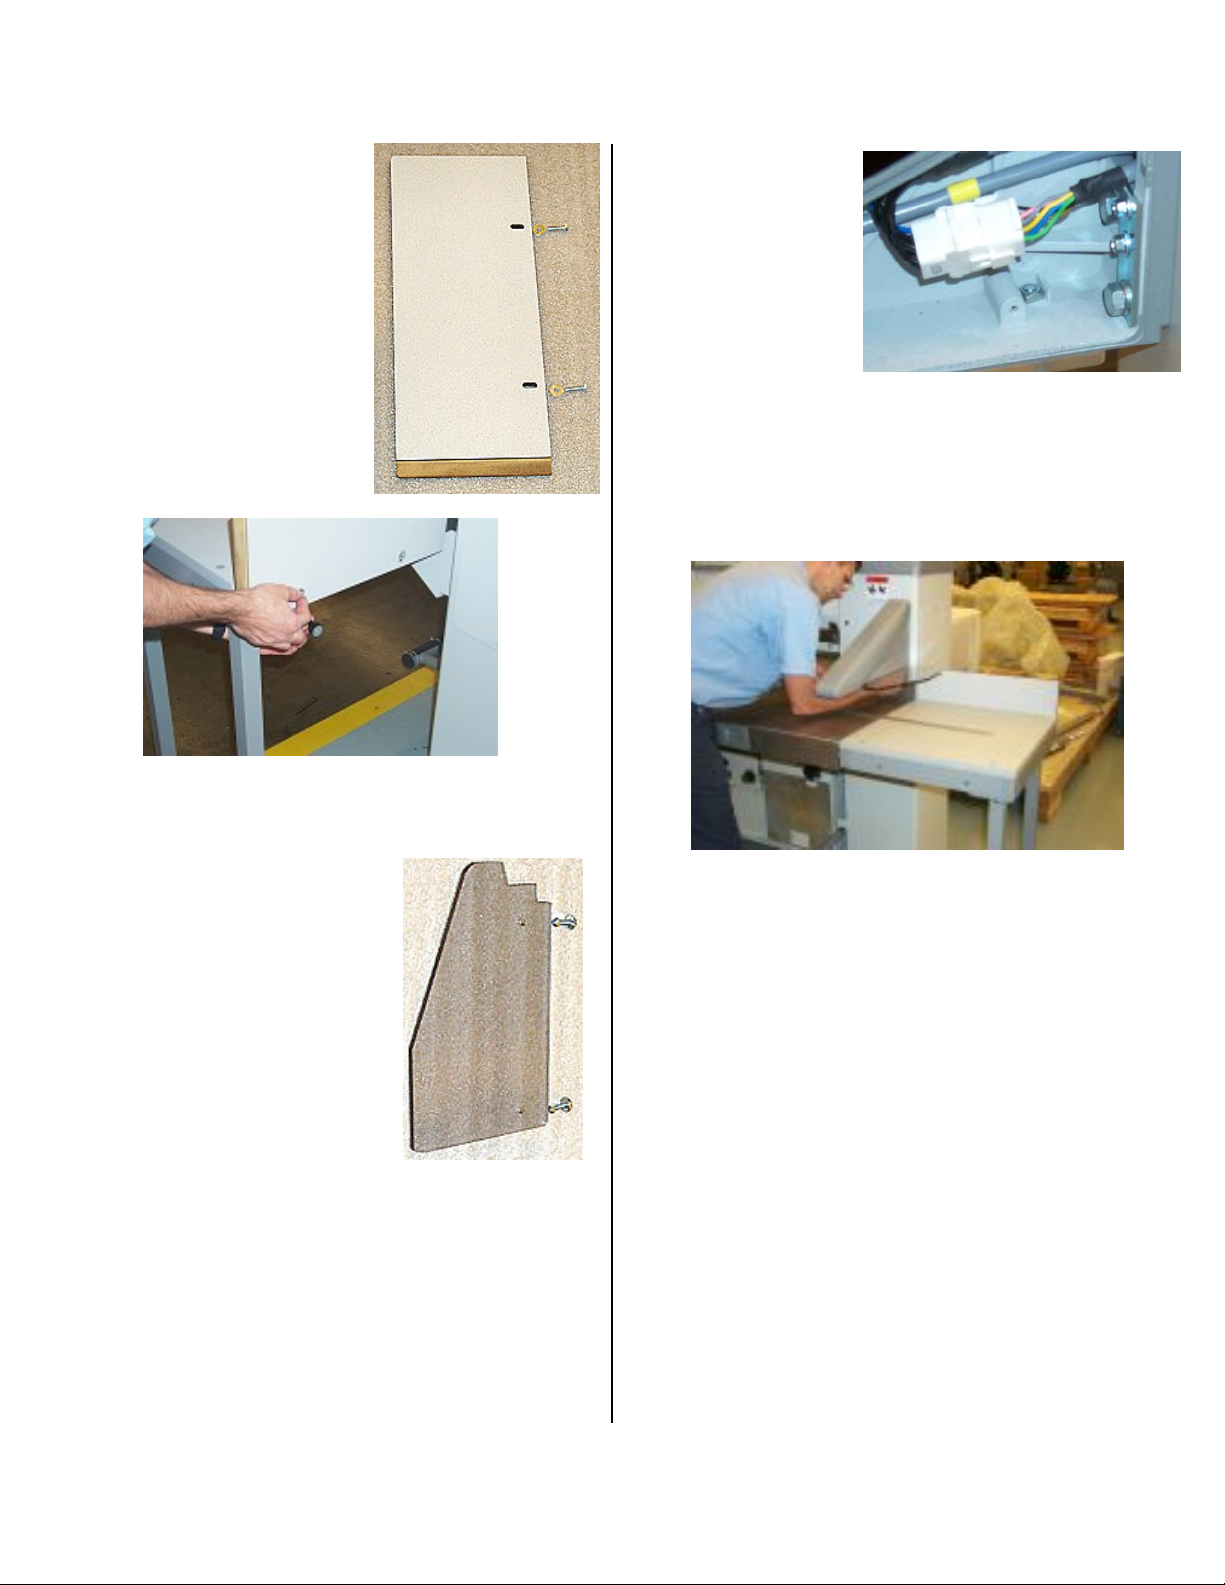
Remove
the existing
RH and LH
end plates
on the
existing
cutter
table.
The parts shown are for (1) side table.
The entire kit contains parts for (2).
Assemble the (2)
legs as shown. Ball
end of threaded rod
is for triangular foot.
Include jam nut for
final leveling
position.
Note that the
setscrews shown
are to be installed.
Assemble (2) leg assemblies to the far
end of a side table using (4) socket
head capscrews and (4) flat washers
as shown
.
Page 3

Install (2)
black
plastic
threaded
inserts into
the large
holes from
the inside of
the table.
These are for the back plate that will
be mounted later.
Locate the
mounting
brackets
and
hardware
shown at
the right.
Assemble mounting brackets to table
as shown
Align side
table with
mounting
bracket as
shown.
Align side
table as
shown with
existing
cutter table.
Level table using straight edge
Adjust the
height by
turning leg
adjustment
screws to
make table
level.
Page 4
Install back plate
on side table using
parts shown.
Install the plastic
arm shield guards
that mount
underneath the
existing infrared
light beams. This is
a mandatory safety
requirement! This
piece prevents the
operator from being
able to reach in from the side and
come in contact with the clamp and
knife. Peel off the protective film
covering on the part before installing.
Use the hardware shown. Note that
there is to be (2) square nuts and (2)
screws for each arm shield.
Remove the
triangular cover
on the infrared
side beam. Install
the (2) square
nuts as shown.
Fasten the plastic arm shield to the
underneath side using the (2) screws.
The holes for the screws are already
in the housing.
Reinstall the triangular side covers on
the infrared light beams.
Page 5

Baumfolder Corporation
1660 Campbell Rd.
Sidney, OH 45365
1-800-543-6107
www.baumfolder.com
baumfolder@baumfolder.com
 Loading...