

Page 1
Operator Control Panel Operation
Instructions
For Model(s):
2015 Pile Feed
2018 Pile Feed
2020 Pile Feed
2020 Continuous Feed
TP10386 © Page 1 of 12
Page 2
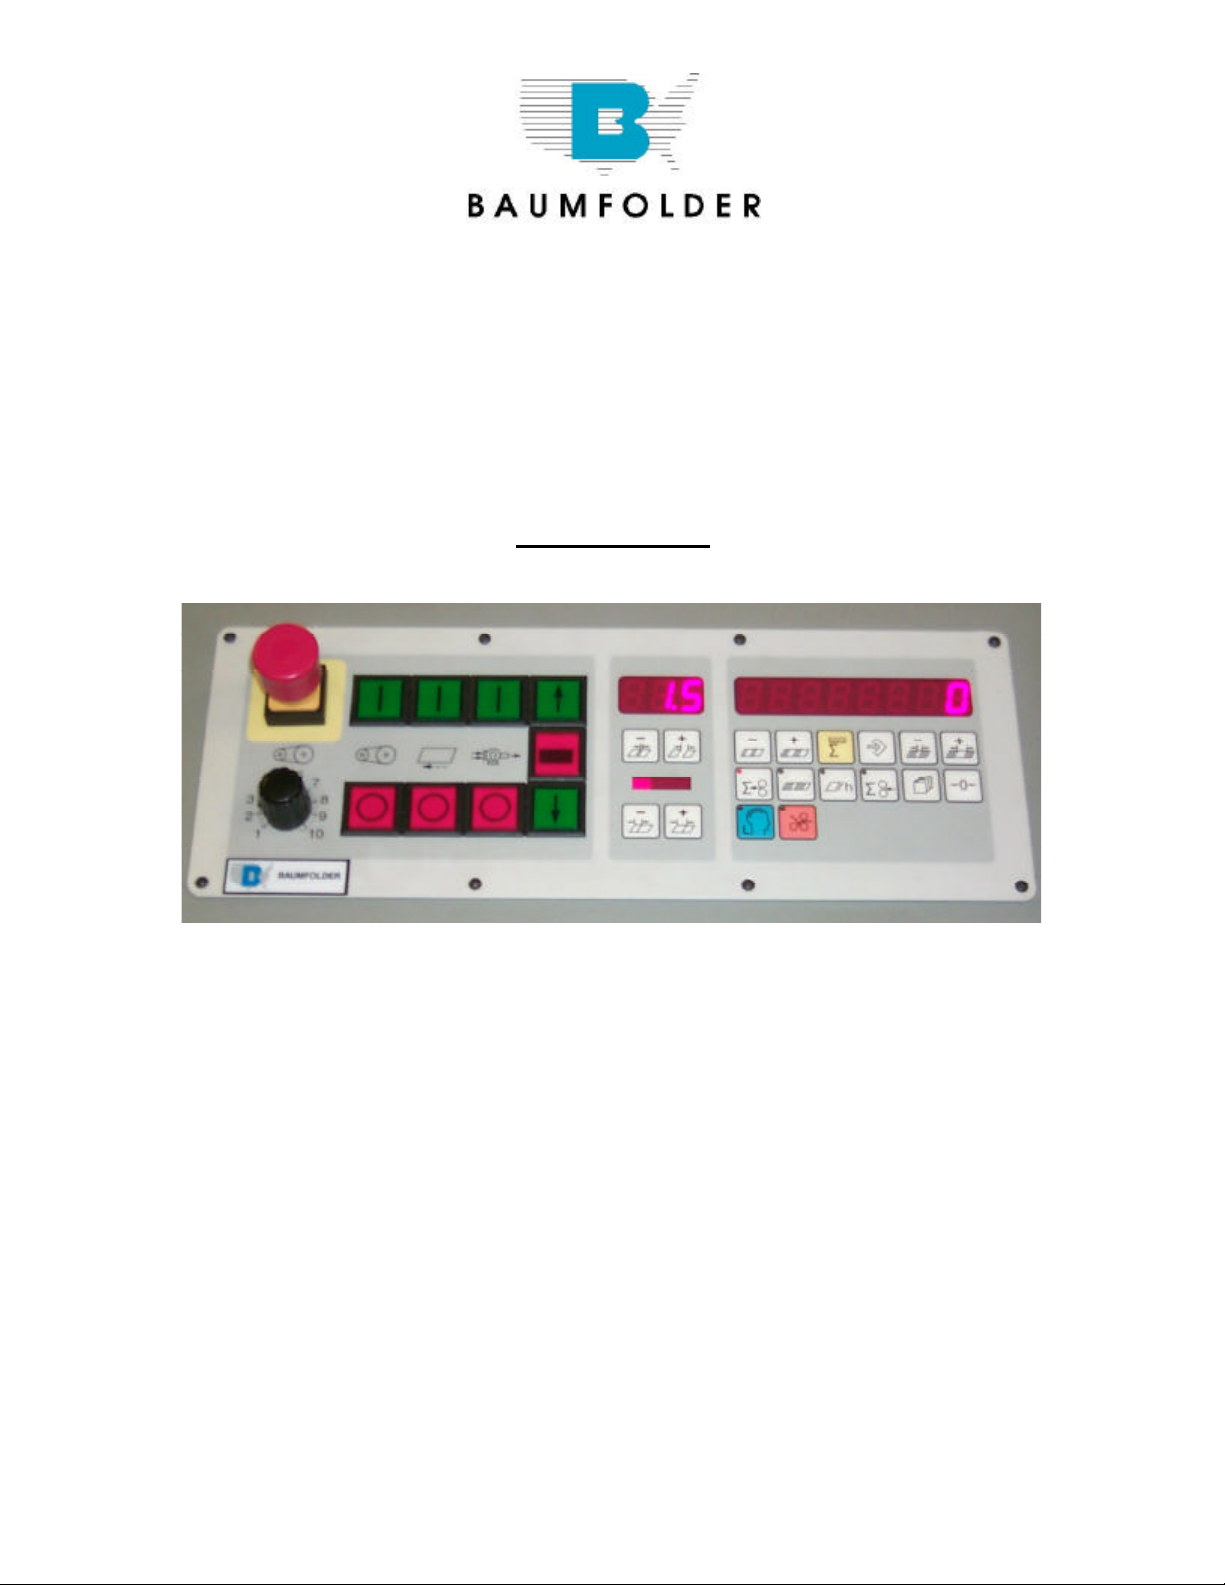
BAUMFOLDER 2000 Series “QUICK START” INSTRUCTIONS
TURNING THE MAIN SWITCH ON
When you turn on the Main Power Switch located on the side of the
Control Box , you must let the Control automatically run a self-test. During the
self-test DO NOT Press any buttons. Pressing of a button will cause an Error
Message to appear in the Main Display. To CLEAR Message turn Power OFF at
the Main Power Switch—WAIT
5 SECONDS, then turn Power back on.
1. Turn on Main Power Switch on left side of control enclosure.
- Wait until control finishes self-test.
2. Load paper on Pile Feed Table. Press Pile up
Pile will raise automatically to correct height .
NOTE: To STOP Pile—Press RED Button
3. To START Drive Motor & Pump—Press GREEN Button ABOVE the
symbol.
To STOP Drive Motor ---Press RED Button BELOW the symbol or Press
EMERGENCY STOP BUTTON
GREEN Button
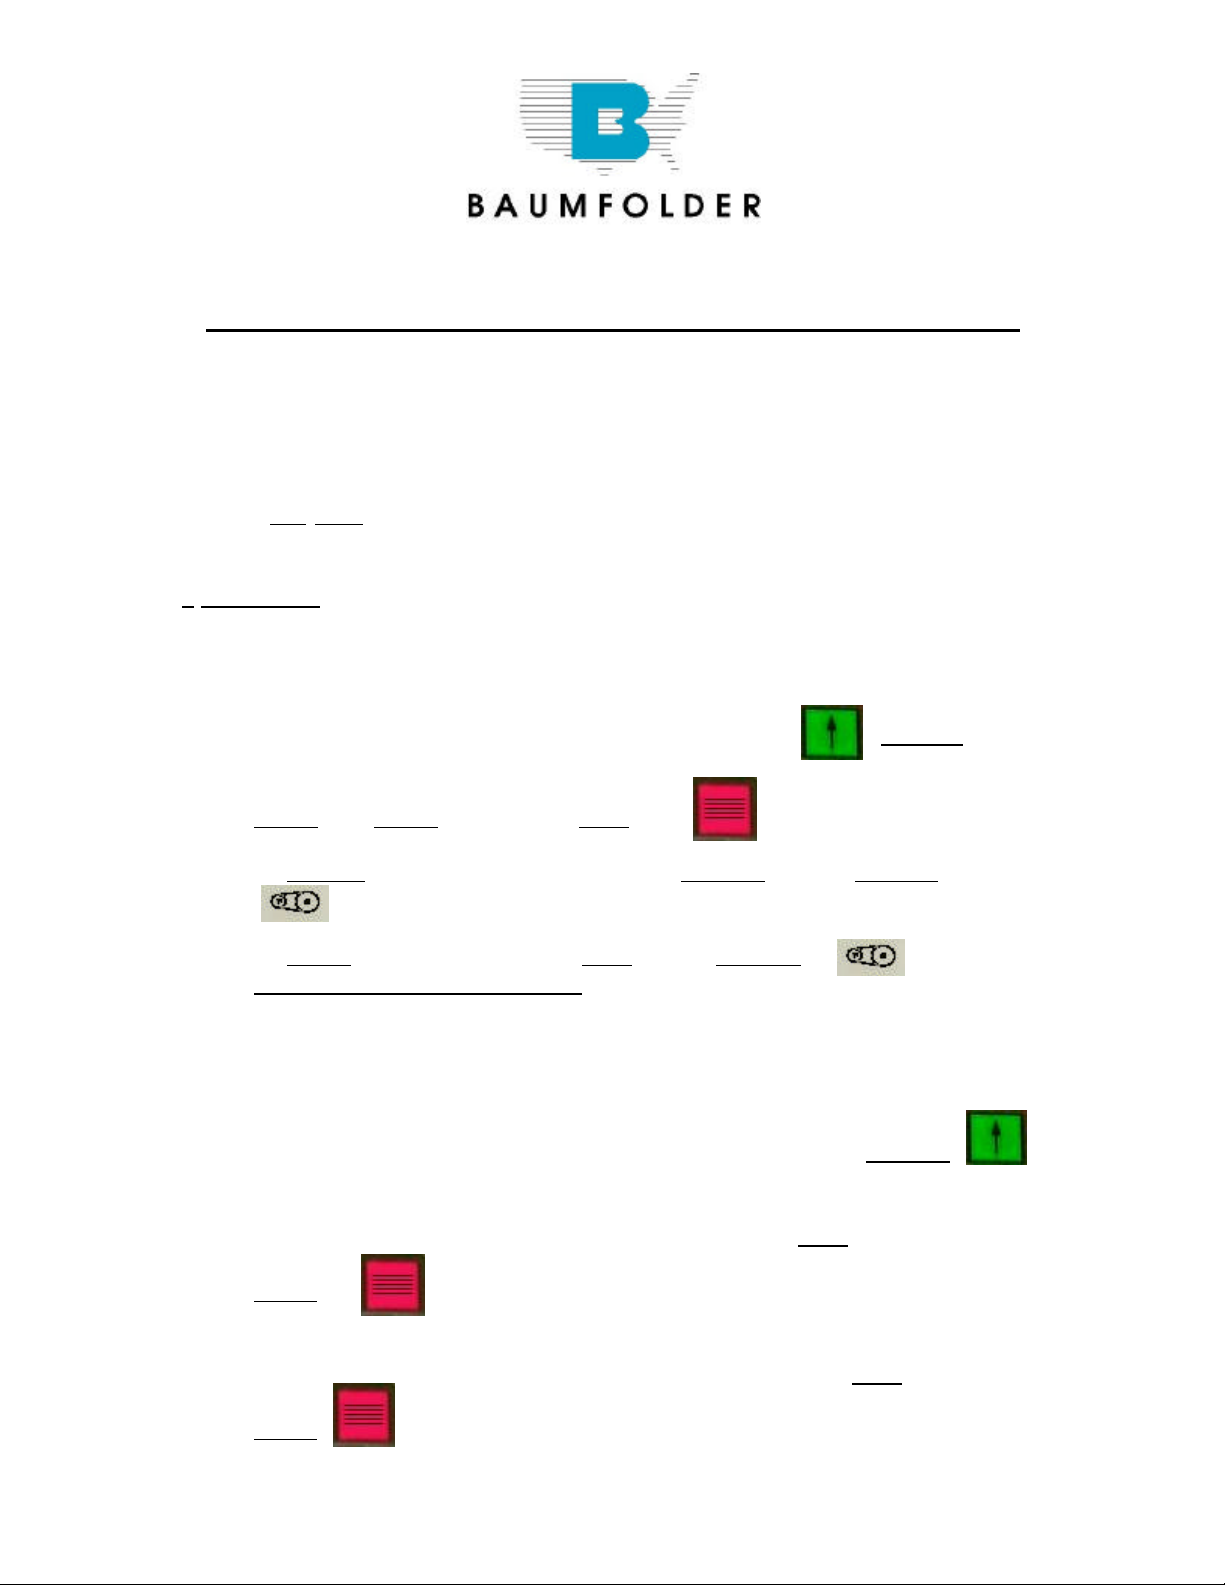
RAISING AND LOWERING THE PILE FEEDER LIFT TABLE
1. After loading paper onto Pile Feeder Lift Table, Press the GREEN
Button
This will raise the paper to the proper feeding height automatically. You
can stop the Pile Feeder Lift Table by Pressing the RED Pile Feeder
STOP Button
2. To lower the Pile Feeder Table, you must first Press the RED Pile Feeder
STOP Button
TP10386 © Page 2 of 12
Page 3
.
Then Press the GREEN Button to lower Pile Feed Table. The
Table will lower and stop automatically in its lowest position .
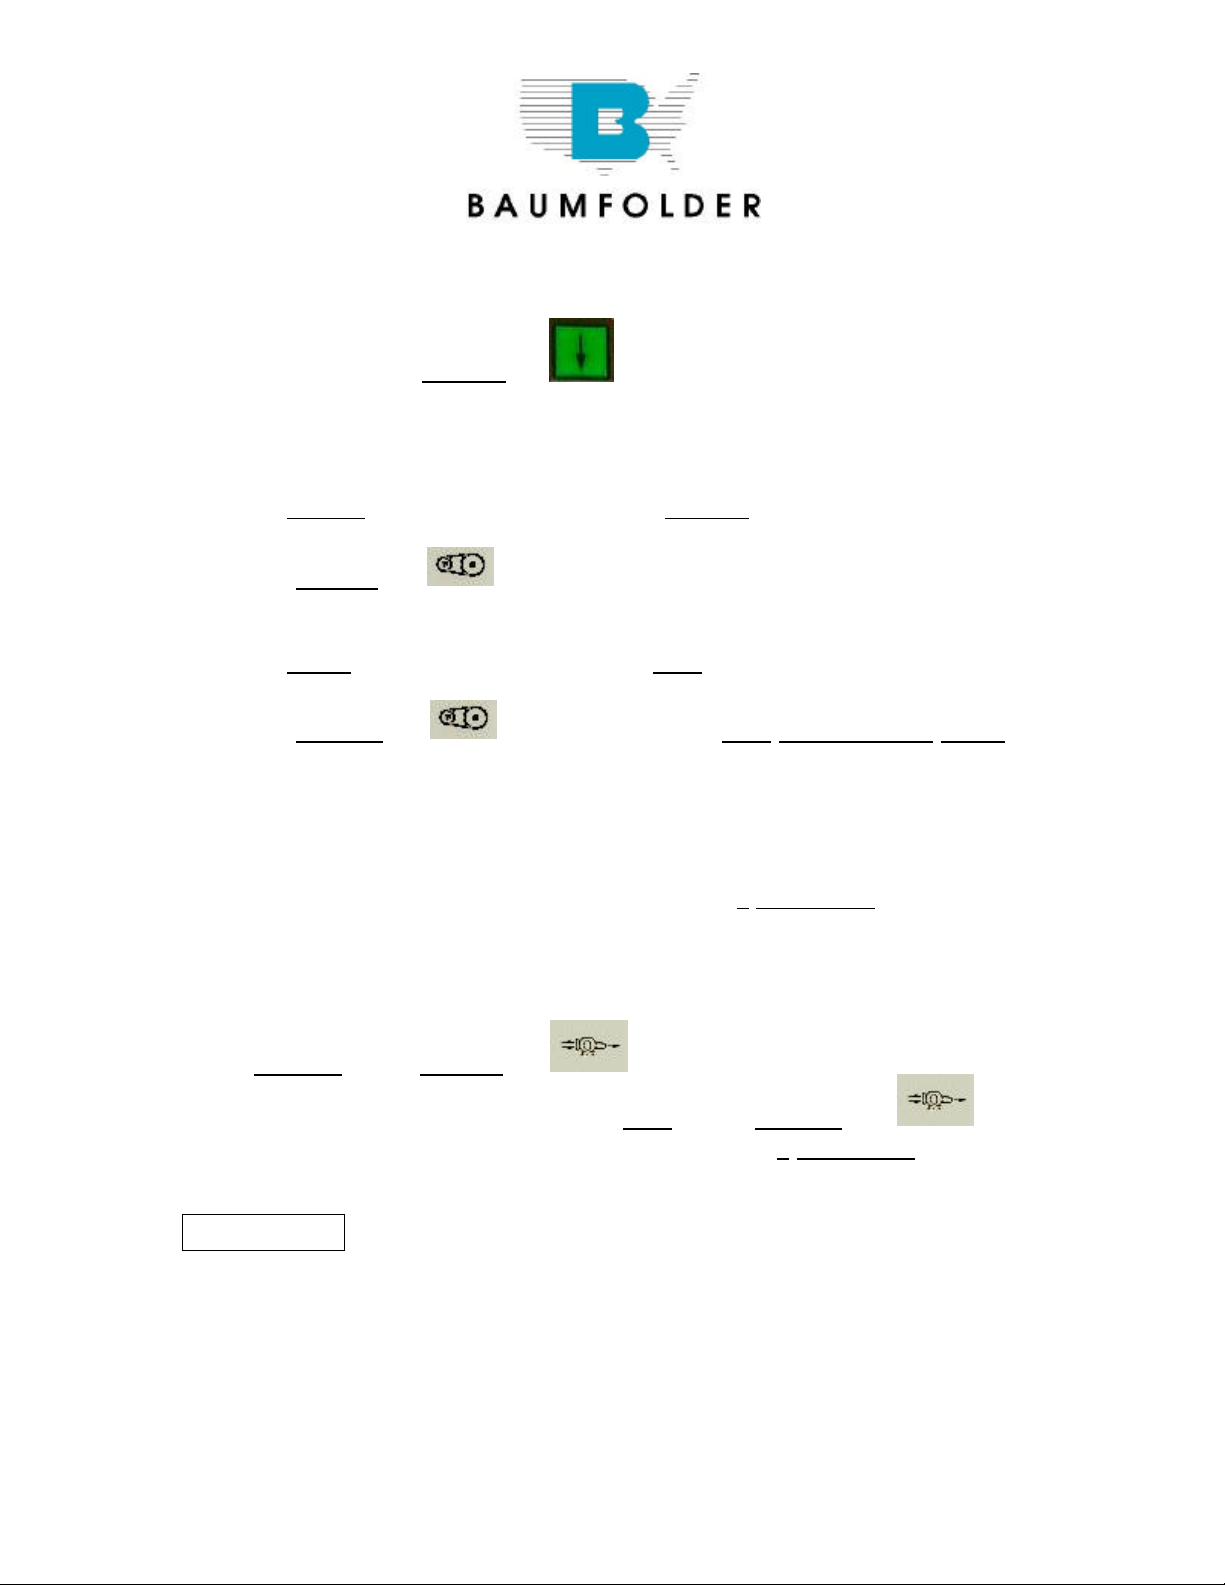
STARTING PRODUCTION WITH THE BAUM 2020
1. To START the Folder Drive, Press the GREEN Button on the Control
Panel
just ABOVE the symbol, this will Start the Folder Drive and the
Pump will automatically come on.
2. To STOP the Folder Drive, Press the RED Button on the Control Panel
just BELOW the symbol or Press the RED EMERGENCY STOP
Button on the Control Panel or on the Stacker Control Panel. The Folder
Drive will STOP, The Pump may continue to run for about 7 seconds. If
you want to stop the pump at the same time as the folder drive press the
Drive STOP button twice within a 0.5 seconds.
The Pump circuit has a minimum ON time of 4 SECONDS. If the Pump is
commanded OFF within 4 seconds after it is started, it will continue run for
the duration of the 4 seconds and then shut OFF.
3. To Turn the Pump ON without the Folder Drive coming On, Press the
GREEN Button ABOVE the symbol
4. To Turn the Pump OFF, Press the RED Button BELOW the
symbol NOTE: the Pump will stay ON for at least 4 SECONDS before
being able to shut off.
Easy Mode:
This mode is an automatic setup mode that sets the sheet gap to 1 inch and
vacuum duration to 5 inches. Most jobs may be ran with this mode of operation.
A Z-fold or a product with a window will require the Continuous Mode of
operation. You can not change the sheet gap or vacuum duration settings
manually using the Easy-Mode. Only the DCT500 mode or Continuous Cycle
mode allows adjustment of these settings.
TP10386 © Page 3 of 12
Page 4
The Easy-Mode is used for folds that require half of the sheet length or less
going into the foldplate. These folding applications normally operate with a 1.0
Inch sheet gap. If you are folding half of the sheet length or more into the
foldplate you must have a greater gap.
TURN THE EASY-PARAMETER ON/OFF
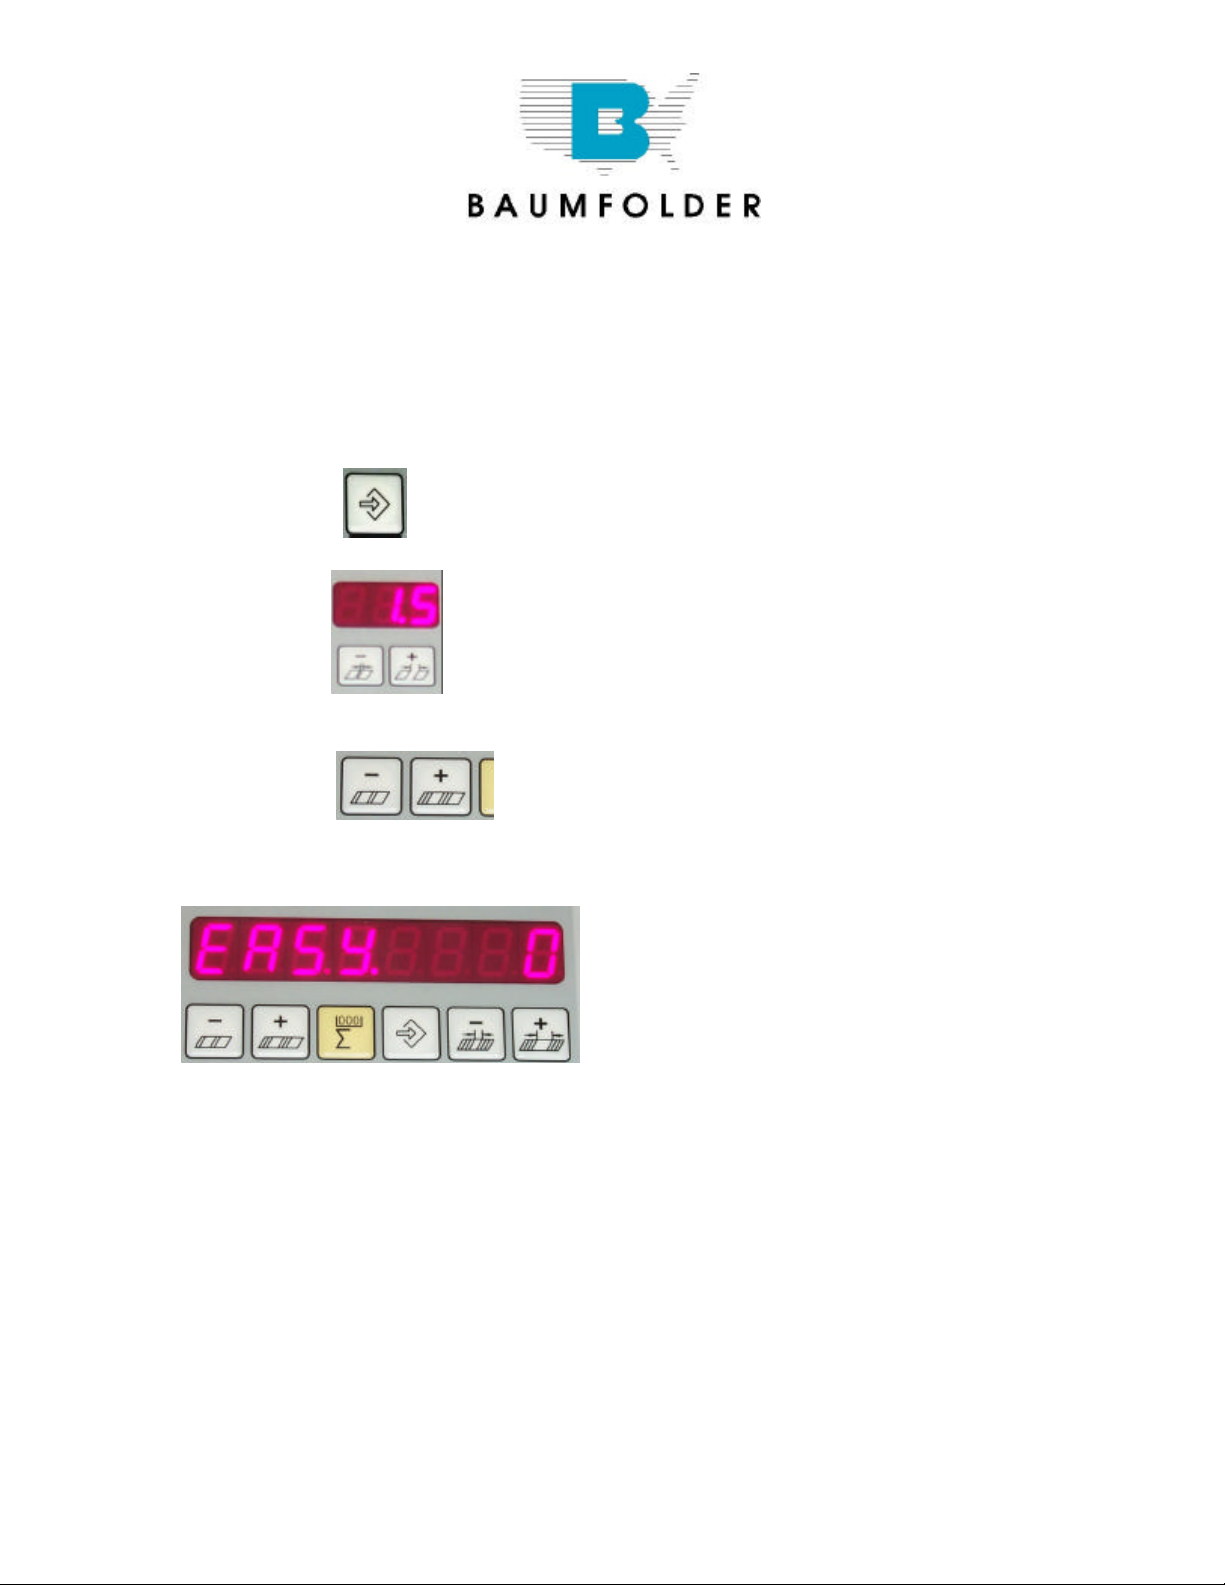
1. Press the Machine Setup button found in the top row.
2. Press the Sheet Gap
+ or – Buttons until P20 appears in the sheet gap display.
3. Press the Batch Count + Button until P25 appears in the
sheet gap display. You will now see the word “EASY” in the counter display, see
Figure E1.
Figure E1.
TP10386 © Page 4 of 12
Page 5

4. Look to the right hand end of the counter display. If an “ 1 “ appears in the
display the Easy-Parameter is turned on. If an “ 0 “ is displayed, the EasyParameter is turned off, see Figure E1.
To turn the Easy-Parameter on or off, Press the Plus (+) button
for the batch time delay setup. Pressing this button changes the “ 1 “ to an “ 0
“ and back. This button is found at the far right side of the top row, see Figure E1.
5. Press the Machine Setup button again in the top row to confirm
and exit programming mode.
SELECT EASY MODE
Pressing this button enables the selection of either the EASY mode or cYcL
mode
+
+
Pressing these buttons will toggle between the EASY mode or cYcL mode. Set
EASY in the large display. You will notice that the sheet gap display screen has
(3) dashes when the Easy Mode is on and a number when it is off.
Press the mode selection button again to exit mode selection.
TP10386 © Page 5 of 12
Page 6

SELECT CONTINUOUS CYCLE MODE
It is recommended to use the continuous cycle mode when the job requires more
than ½ of the sheet length to go in the #1 fold plate or if the product has a
window that will be sensed as the trailing edge of the sheet.
The continuous cycle mode allows you to select the SHEET GAP, SHEET
LENGTH and the SUCTION LENGTH.
Pressing this button enables the selection of either the EASY mode or cYcL
mode
+
+
Pressing these buttons will toggle between the EASY mode or cYcL mode. Set
cYcL in the large display (see figuree E1).
SETTING THE SHEET GAP AND SHEET LENGTH
The small 3 digit display shows the current setting for the sheet gap. The
number on the right hand side of the large display (1) represents the current
sheet length. Set the sheet gap and sheet length for the current job.
SETTING THE SUCTION LENGTH
Use the + and – buttons under the 10 segment bar graph display to adjust the
suction length. Each segment represents 5% of sheet length. If 10 segments
are illuminated 50% of sheet length is selected. So, it is important that the sheet
length is set properly for the current job.
Press the mode selection button again to exit mode selection.
TP10386 © Page 6 of 12
Page 7

TO START FEEDING
1. Press the GREEN Button to START the Folder Drive and the Pump.
2. Press the GREEN Button ABOVE the symbol to START the
Vacuum Solenoid. The Sucker Wheel will pull a sheet from the Feeder
onto the Register.
TO STOP FEEDING
1. Press the RED Button BELOW the symbol. This will turn the
Vacuum
Solenoid OFF. The Sucker Wheel will STOP pulling sheets—BUT the
Folder Drive and the Pump will stay ON.
NOTE: You can also STOP feeding by Pressing the
RED PILE FEEDER STOP BUTTON.
CHANGE SPEED OF FOLDER DRIVE
To change the speed of the Folder Drive, just turn the Potentiometer Speed
adjust Knob on the Main Control Panel 1 thru 10, 10 being maximum speed
MACHINE PARAMETERS
Pressing Button allows access to the Machine Parameters. The Machine
Parameters may be monitored, some changed and various options (kicker, pile
re-load, etc.) enabled or disabled.
Navigation through the parameters is accomplished by using the following
procedure:
1. Pressing and directly UNDER the 3 digit display will select
the various Parameters Groups by count of tens.
TP10386 © Page 7 of 12
Page 8

EXAMPLE: Hold the MINUS Button, this will automatically count
back to P00 (group P0). Now by Pressing the Button
will take you to the next Parameter Group P10 – P20 - P30 –
P40 – P50 – P60
2. Pressing and directly UNDER the left 3 digits of the Large 8
digit
display, this will select the individual Parameters in a select group.
EXAMPLE: Start with the first Group of Parameters, the 3 digit
display reads P00. Pressing the this will take you to
Parameters P01 – P02 – P03 – P04 – P05
- To go to the next Group of Parameters Press
The display will show P10. Pressing the button
will take you to Parameters P11 – P12 –P13 – P14 (continue
this sequence to move thru the rest
of the Parameter Groups P20 – P30 – P40 – P50 – P60
3. To change one of the machines Parameter Settings Press or
Buttons UNDER the right most 2 digits of the large 8 digit display.
The following is a list of the available parameters. Please see the Operators
Manual for a definition of each parameter.
TP10386 © Page 8 of 12
Page 9

TP10386 © Page 9 of 12
Page 10

To get out of the Machine Parameter Settings Mode, Press again. The
ood
oo
1
2
displays will return to normal operations.
BATCH COUNTING SETUP
To enter Batch Count Set-Up, Press
1. This will bring up 3 display functions on the Control Panel.
First is the Small 3 digit display – this display must show
If the display shows any other Mode, the Batch Counter
will not function. To change, Press the or Buttons directly
UNDER the 3 digit display to change this Mode of Operation.
NOTE: If the display shows or the wrong
ooo
batching device is selected. These batching devices are Options not sold
as standard equipment.
2. In the Large 8 digit display you will see 2 display functions.
1. Is the number of sheets in the batch.
2. Is the time delay between batches.
A. In the first 3 digits of the 8 digit display, this is the number of Sheets
in each batch. To adjust the number, press the or
Button directly UNDER the display until the desired number is
displayed.
B. In the last 2 digits of the 8 digit display, is the time between batches
setting. This setting moves in Tenth (10th) of Seconds, to adjust,
Press
o
TP10386 © Page 10 of 12
Page 11

the or Buttons directly UNDER the 2 digit display until
the desired delay number is displayed.
EXAMPLE:
This is set-up for 10 pieces in a Batch with a 1.5 second
delay between Batches.
3. To return back to RUN mode, Press Button and set either the
Batch Size or Time Delay to Zero and the Folder will run continuously.
STOP FEED
In Batch Count Mode, you also can have the Feeder Set-Up for a Stop Feed
Count. You can enter the number of Sheets that you wish to Feed and the
Feeder will Feed that number and STOP. The feeder will not Re-Start until you
Press SHEET START Button.
1. Press the Button on the Control Panel, the 3 display functions on
the Control Panel will appear.
A. In the first 3 digits of the 8 digit display enter the Number of
Sheets that you wish the Feeder to Feed by Pressing either
or Buttons.
B. In the Last 2 digits of the 8 digit display, Press and HOLD
the Button until the LETTERS appears – the
machine will now Feed only the Number of Sheets that you
have entered.
EXAMPLE:
With this setting the Feeder will run 10 sheets
TP10386 © Page 11 of 12
Page 12

and Stop Feeding.
RESETTING THE TOTAL COUNTER
To reset the Total Counter, Press Button ; ensure the red LED is
illuminated.
Press Button and HOLD DOWN for 3 SECONDS,
The Large 8 digit display will begin to Count BACKWARDS from 5.4.3.2.1,
then display CLEARED, the Counter is then ZERO.
You MUST Press and HOLD Button as the display is counting
BACKWARDS, if at anytime the ZERO Button is released, the Counter
will display the Last Count Value
NOTE The Batch counter will also be reset to 0 by this procedure.
RESETTING THE BATCH COUNTER
Press the Batch counter Button ; ensure the red LED is illuminated.
Press Button and HOLD DOWN for 3 SECONDS,
The Large 8 digit display will begin to Count BACKWARDS from 5.4.3.2.1,
then display CLEARED, the Counter is then ZERO.
NOTE The Total counter will not be reset to zero.
TURN OFF BATCH COUNTING:
Press the counter setup button and set either the batch size or time dwell
to zero.
Exit the counter setup mode by pressing the counter setup button again or any
button in the second row.
TP10386 © Page 12 of 12
 Loading...