

Page 1
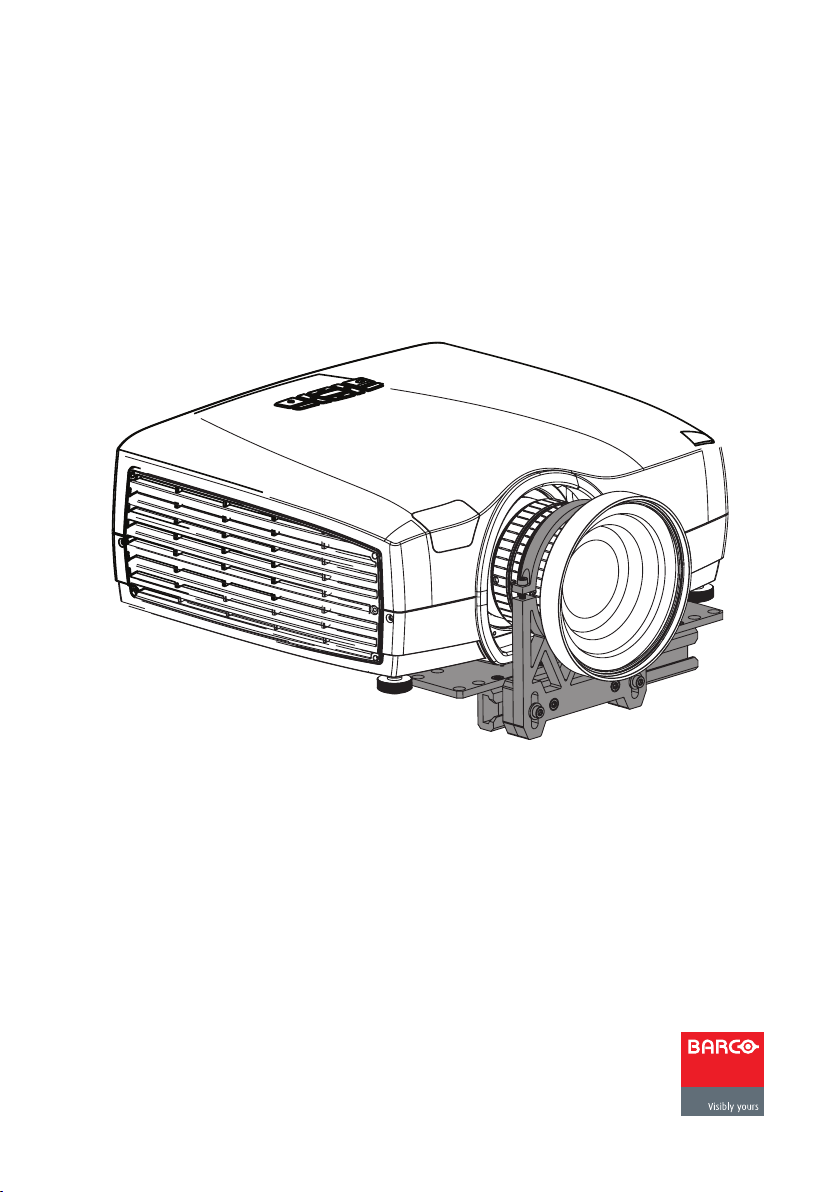
Lens Support Kit
F50 series
User and Installation Manual
601-0367-00
Page 2
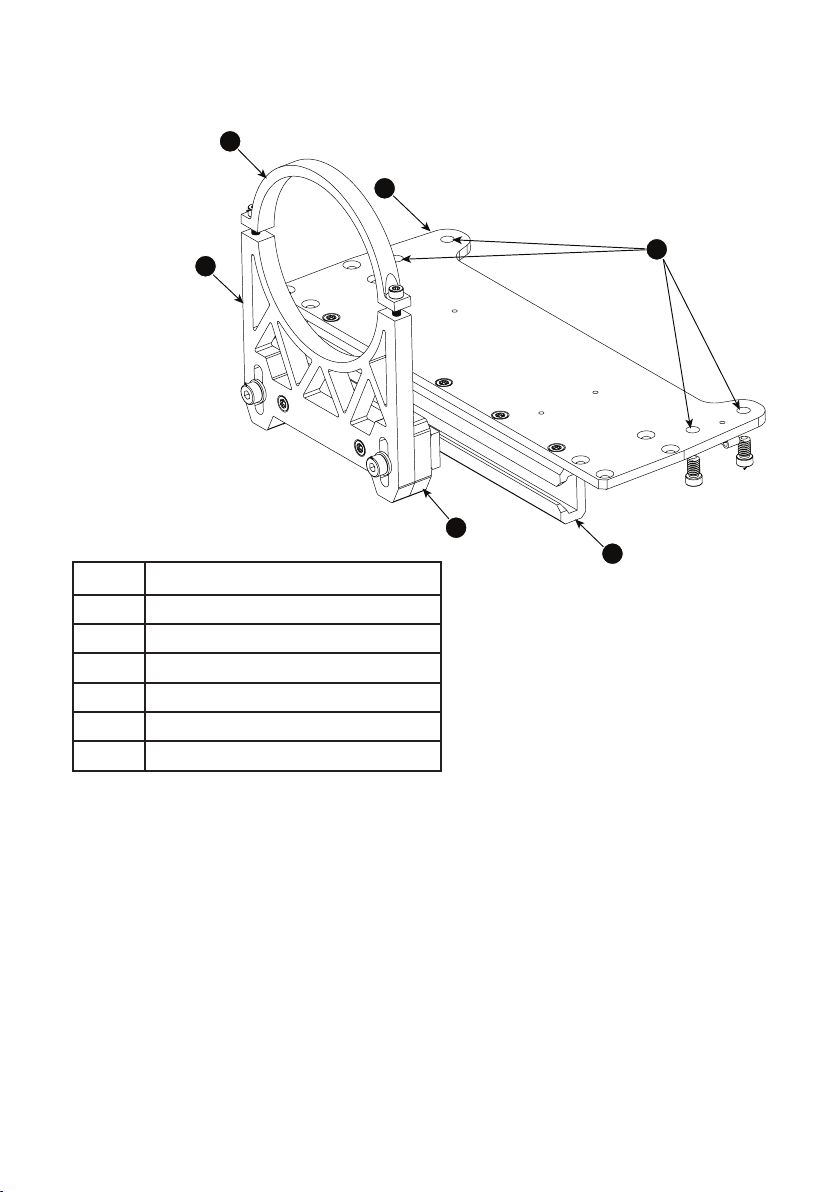
Lens Support Kit
6
1
5
Item Description
1 Baseplate
2 Mounting screws (4 pcs M6 x 12)
3 Shim
4 Sliding rail
5 Lower lens ring bracket
6 Upper lens ring bracket
Installation
2
4
3
General advice
• Use caution when tightening screws. Applying too much force may cause
damage to the lens or lens support.
• It is recommended that zoom, focus and iris positions are locked using
their respective Z-lock screw (tool: 1.5mm allen key) before mounting the
lens support.
• Lens shi should be disabled in the projector (service) menu aer
mounting the lens support kit. Contact your Barco service representative
for assistance if required.
Page 3

Installation
Mounting on different lenses
Before mounting the lens support kit on the EN52 and EN54 lenses, the
lower lens ring bracket should be rearranged so that the shim is on the side
furthest from the projector.
EN51, EN53,
EN55, EN56,
EN57
EN52, EN54,
EN52, EN54
EN521 EN53,
EN55, EN56,
EN57
Procedure
1. Remove the projector lens.
2. Use the mounting screws (2) to mount the baseplate (1) to the underside of
the projector.
3. Loosen the 2 connection screws on the lens ring bracket and remove the
upper lens ring bracket (6).
4. Check that the shim (4) position is correct for the type of lens you are
using.
5. Loosely mount the lower lens ring bracket (5) to the sliding rail (3). Do not
over tighten.
6. Replace the projector lens. If required, adjust the lens settings.
7. Replace the upper lens rings bracket (6) and tighten the 2 connection
screws rmly.
8. Tighten the lower lens ring/sliding rail screws rmly.
Page 4

Barco nv
Noordlaan 5, B-8520 Kuurne
Phone: +32 56.36.82.11
Fax: +32 56.36.883.86
Support: www.barco.com/esupport
Visit us at the web: www.barco.com
Production Address
Habornveien 53
N-1630 Gamle Fredrikstad
Phone: +47 6930 4550
Fax: +47 6930 4580
 Loading...