

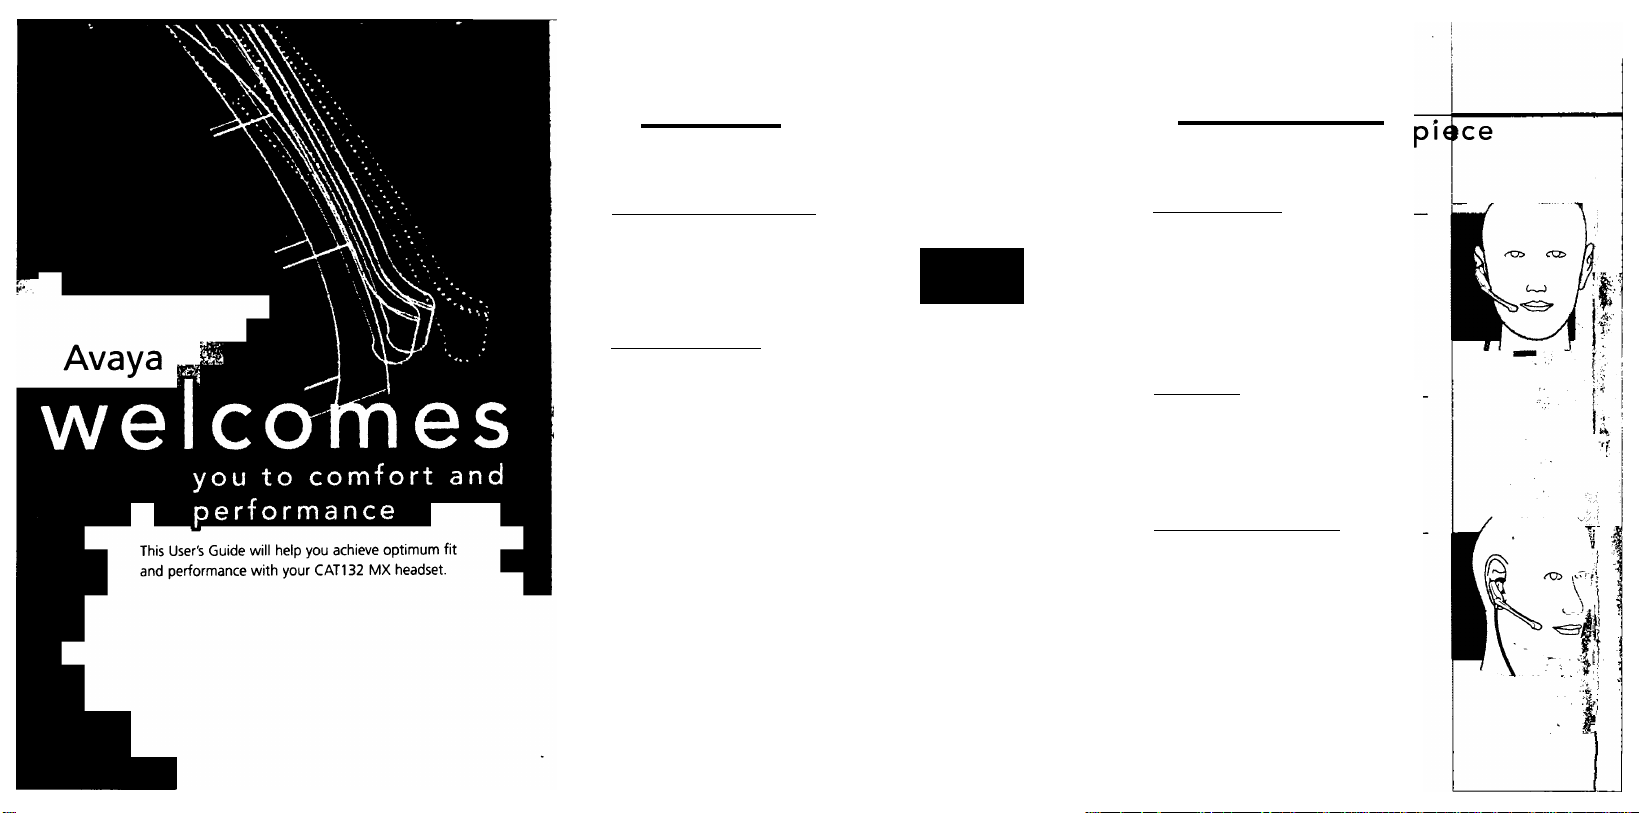
Page 1

guide
AVAVA
/ comnpcommunication
49119-01 (11 »00)
Printed in USA
AVAVA
/ comncommunication
Page 2
before
1
\/ r\ I
you begin
2
adjusting
^ the eir’
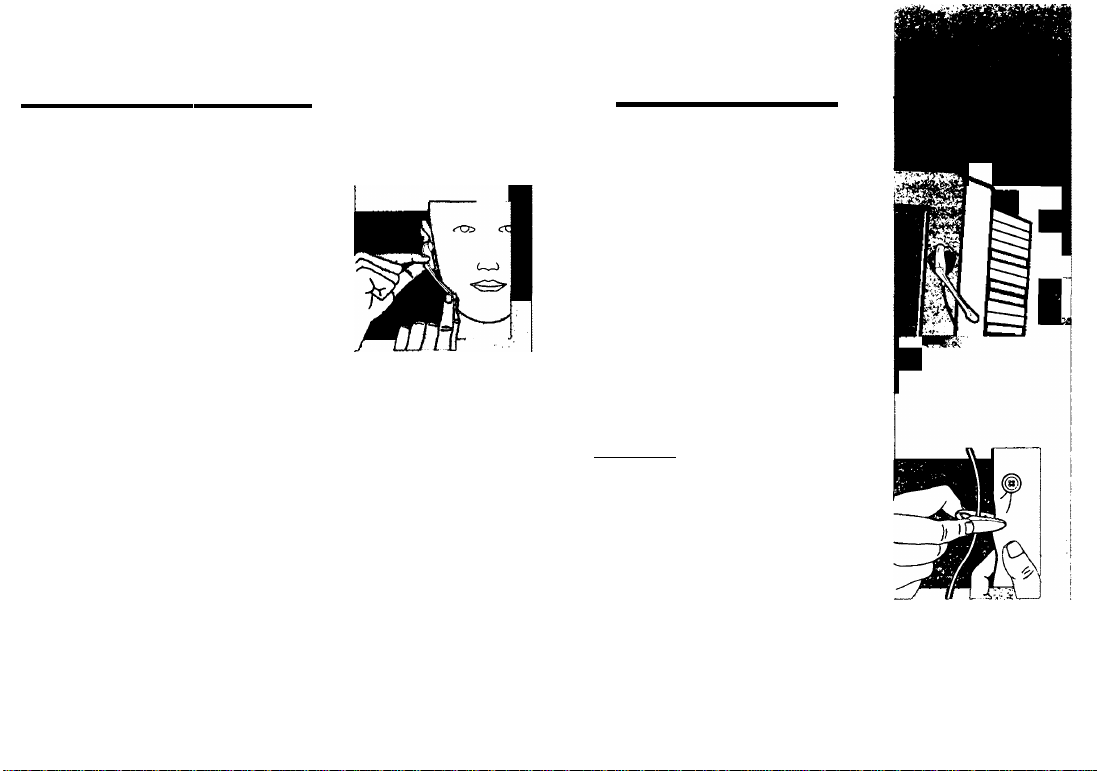
Headset/computer connection
Match the icons on the headset cable plugs
to the appropriate ports on your computer.
Your headset has separate plugs for head
phone O and microphone ♦ .
Verifying performance________________
To verify the headset is working properly
record and playback a sound clip, using the
audio software you have available.
o t
Headset placement
Place the round end of the headset into
your outer ear as shown. The earpiece
hangs gently just inside your ear. Don't
force the earpiece into the ear canal.
Position the headset at an angle which
feels comfortable to you.
Enhancing fit
You can wear the headset without an ear
cushion or with one of the enclosed cush
ions. For a more secure fit use the enclosed
circular ear cushion or the stabilizer ear
cushion.
Using the circular ear cushion
1. Gently pull the ear cushion over the
earpiece.
2. Place the round end of the headset
into your outer ear. Let the earpiece
hang gently inside your ear.
___________
Page 3

Using the stabilizer ear cushion
1. Gently pull the stabilizer ear cushion
over the earpiece. The tip of the cush
ion should point straight up.
2. Initially place only the part of the circu
lar cushion covering the earpiece into
your outer ear. Then gently push the
stabilizer into the upper ear cavity.
_________
I I I I ^
using
---------------------------------------
the fl^ible еагЦоок
Begin by using the headset without the flexible j
If you require a more stable fit, follow the instru
Attaching the earhook_______________
The flexible Earhook permits your headset
to be worn on either ear. For use on your
(a) left or (b) right ear, first attach the flexi
ble Earhook as shown.
1
farhook.
C)
below.
3. The stabilizer should be positioned
between the earpiece and your
ear cavity.
Earhook placement
1. Place the receiver end of the headset
into your outer ear as shown. The
headset should rest at an angle that
feels comfortable to you.
2. With one hand firmly hold the headset
in place while gently shaping the flexi
ble Earhook behind your ear and along
the side of your head with the other hand.
■
Once shaped, the Earhook should require
little or no readjustment on next use.
Page 4
A ad] 11 sting _
■ the mtcroph
With one hand, hold the earpiece securely.
With the other hand, rotate the microphone
boom so the microphone is near the corner
of your mouth.
one
a.dditiona
features
Headset cradle
Your headset includes a cradle for conven
ient storage.
1. Remove the paper strip to reveal the
adhesive on the back of the cradle.
2. Position cradle on your monitor.
3. Press securely to adhere to surface.
4. To store your headset, place the ear
piece in the curved slot of the cradle.
Clothing clip
The clothing clip keeps the headset
properly seated and free from the cord's
weight. Attach the clothing clip at a
comfortable level.
 Loading...