

Avaya Avaya Scopia XT Telepresence Platform Quick Setup Manual
Avaya Scopia® Telepresence Platform
Package Content:
• Camera mount for the 3 cameras
• Avaya Scopia Desktop Software
with a 10-port license
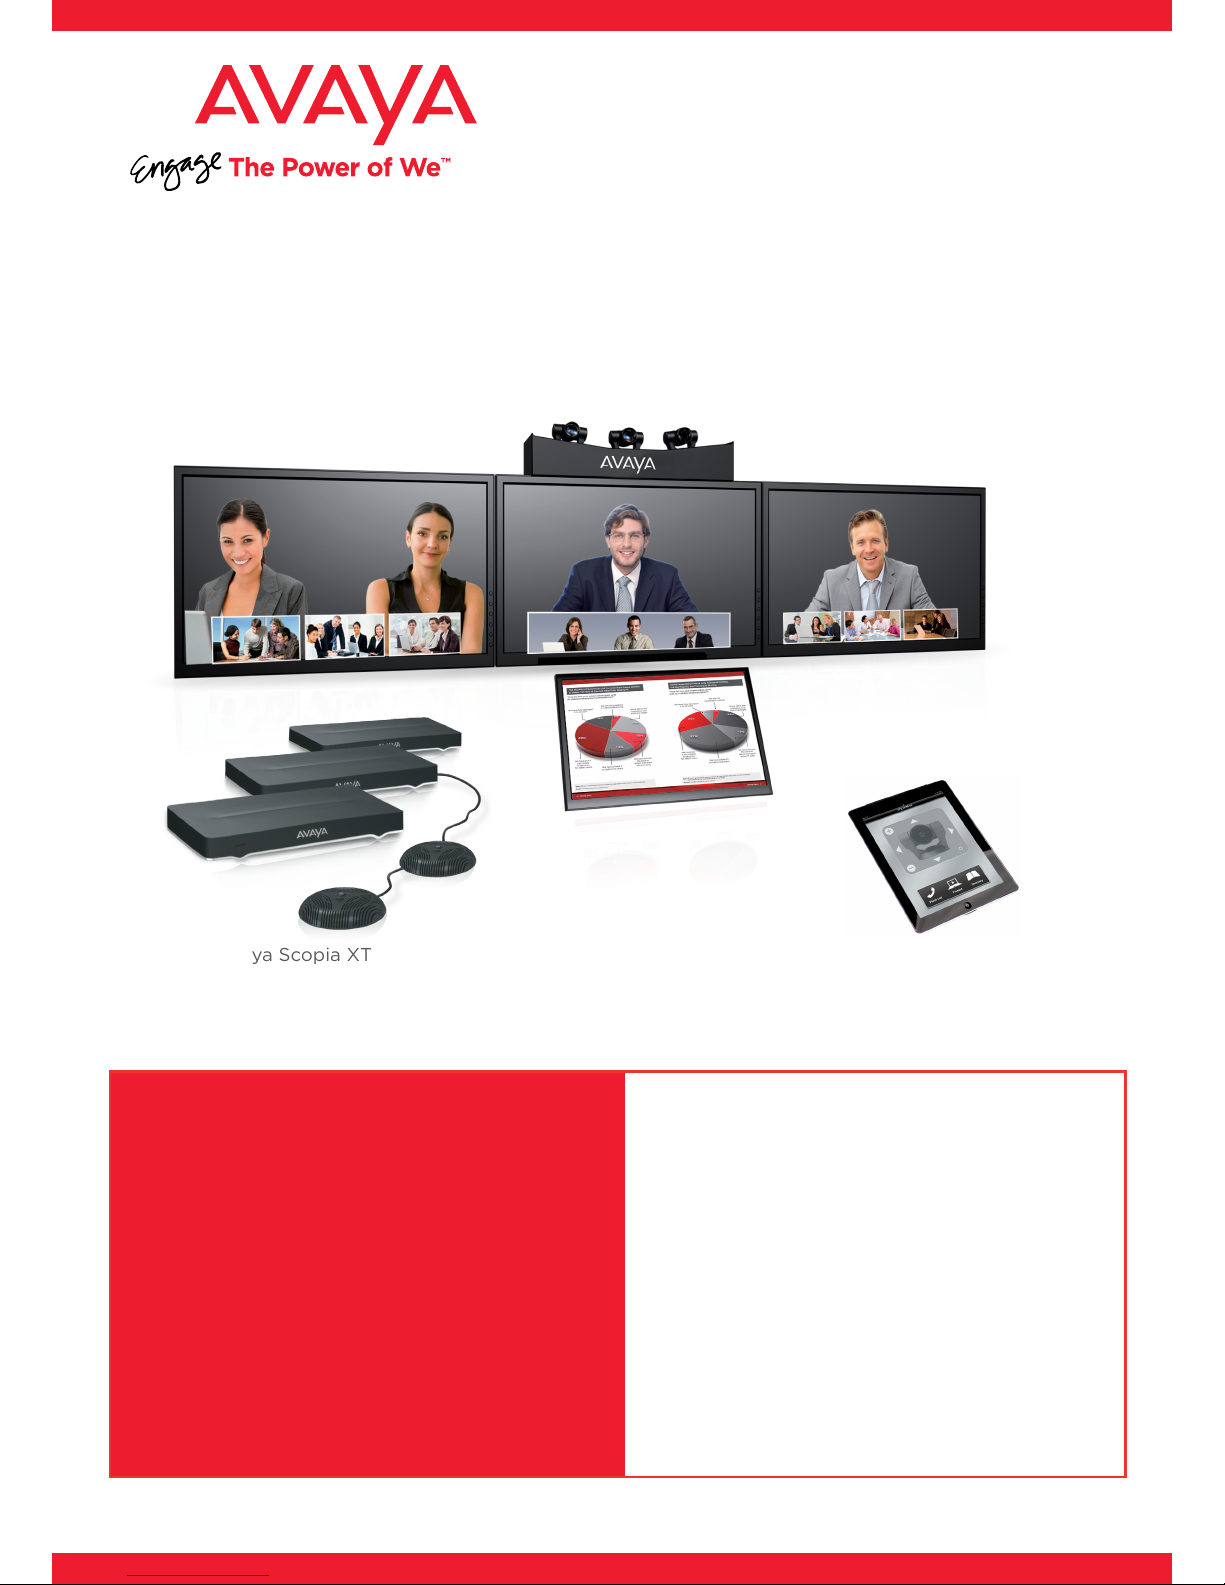
The Avaya Scopia XT Telepresence Platform
Platform creates a lifelike, immersive
experience replicating the feeling of meeting
in-person. The Avaya Scopia XT Telepresence
Platform is customizable to the unique
requirements of individual rooms and
customer needs. Installed and configured
by Avaya’s worldwide network of channel
partners, the Avaya Scopia XT Telepresence
Platform provides a cost-effective and
highly flexible approach, enabling partners
to meet the unique needs of each customer
deployment.
Quick Setup Guide
Avaya Scopia XT5000
Avaya Scopia Control
Step 1. Initial Setup
1. Install the three telepresence monitors and the monitor
(or projector) for PC content.
2. Ensure that table distances and furniture comply with the
recommendations.
3. Check that light conditions are uniform.
4. Check that loudspeaker position complies with
recommendations.
For information about recommendations and operational
information, see the Deployment Guide for
Avaya Scopia XT Telepresence Platform.
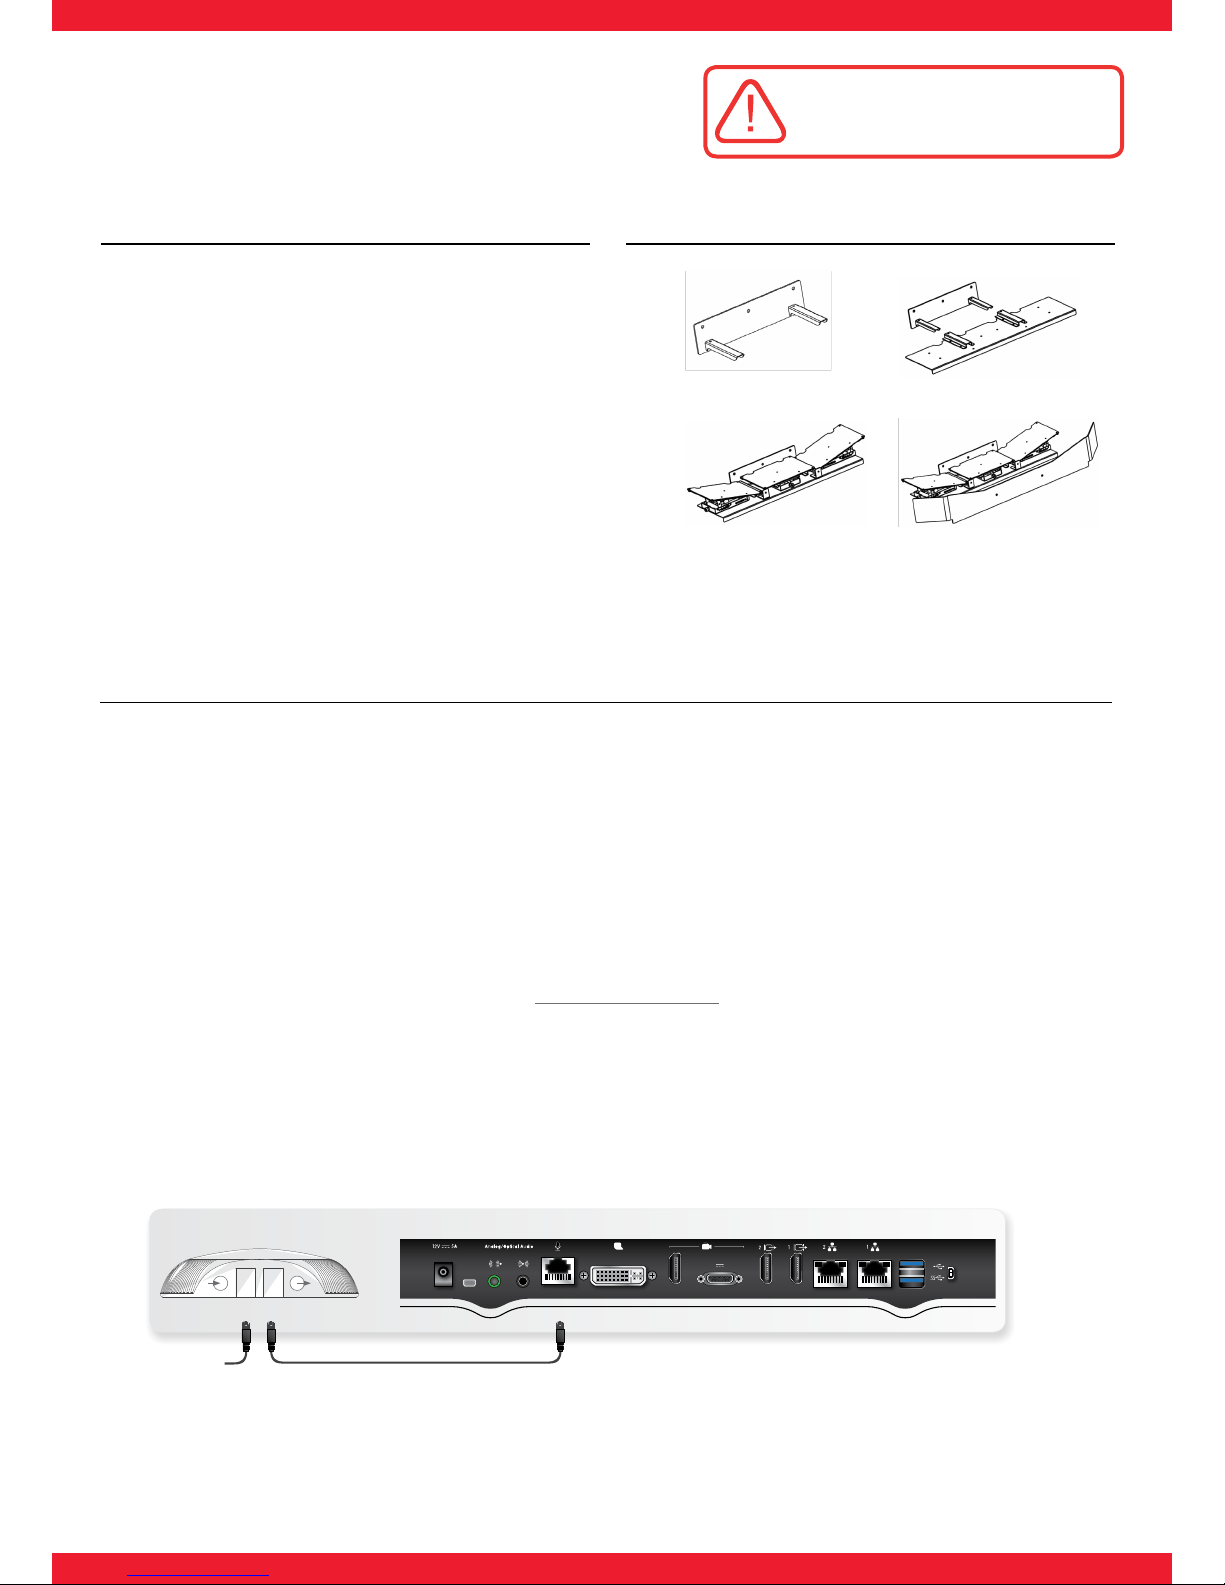
Step 2. Camera Mount Setup
Place the camera mount at the center of the Primary monitor,
following the instructions in the Deployment Guide for
Avaya Scopia XT Telepresence Platform.
Step 1
Step 2
Step 3
Step 4
10/100/1000
HD CAM2HD CAM
HD
CTRL
DVI-I IN
S/PDIF
10/100
1
CAM
24V 3.75A
1HD2
DIAG
ANALOG
OUTPUT
12V 2.2A
Microphone
Pod input
Microphone
Pod output
Avaya Scopia XT1200
10/100/1000
XNET
DIAG
HD CAM
2
HD CAM
HD
CTRL
DVI-I IN
S/PDIF
10/100
1
CAM
OUTPUT
12V 2.2A
24V 3.75A
1HD2
10/100/1000
XNET
DIAG
HD CAM
2
HD CAM
HD
CTRL
DVI-I IN
S/PDIF
10/100
1
CAM
OUTPUT
12V 2.2A
24V 3.75A
1HD2
Second Microphone
Second Microphone
Microphone
Pod input
Microphone
Pod output
Avaya Scopia XT5000
10/100/1000
XNET
DIAG
HD CAM
2
HD CAM
HD
CTRL
DVI-I IN
S/PDIF
10/100
1
CAM
OUTPUT
12V 2.2A
24V 3.75A
1HD2
10/100/1000
XNET
DIAG
HD CAM
2
HD CAM
HD
CTRL
DVI-I IN
S/PDIF
10/100
1
CAM
OUTPUT
12V 2.2A
24V 3.75A
1HD2
CAUTION: Make sure all units are
switched off whenever connecting
or disconnecting devices.
Step 3. Installing Avaya Scopia XT1200 or Avaya Scopia XT5000 Systems
1. Unpack all three Avaya Scopia XT5000 Codec Units.
2. Set up the Primary Codec (central one), connecting it to the Primary monitor and to the PC Presentation monitor as
described in the Deployment Guide for Avaya Scopia XT Telepresence.
3. Connect one Microphone Pod to the Primary codec input.
4. Connect the second Microphone Pod to the first Pod.
5. Distribute the Microphone Pods evenly on the table.
6. Install two Auxiliary endpoints (Right and Left), connecting them to their corresponding telepresence monitors as described
in the Deployment Guide for Scopia XT Telepresence.
7. Place the cameras on the camera mount. For mounting instructions, see the Deployment Guide for Avaya Scopia
XT Telepresence.
8. Retrieve your LAC (License Authentication Code) from your Customer Letter
9. Access Product Licensing Delivery System (PLDS): https://plds.avaya.com
10. Fill in LAC and get the list of your Entitlements
11. For each XT5000 endpoint, provide the information required on PLDS
12. For each XT5000 endpoint, the web form returns a license key that will enable your entitlements.
 Loading...