

Page 1
AVR32 EVK1101 Getting Started Guide
Introduction
Installation
The EVK1101 provides a complete development environment for the AT32UC3B microcontroller series from Atmel. The device is pre-loaded with an application, called the
Control Panel.
The Control Panel application is a demonstration application. Its purpose is to scan onboard sensors and actuators data and events (data acquisition through ADC channels)
and make these available to a PC application (known as «AVR32 Control Panel»)
through a simple USB cable.
In the following chapter, the term «AVR32 UC3B Control Panel PC Demo» refers to the
application running on the PC, while «AVR32 UC3B Control Panel Firmware» is the
application running on the EVK1101.
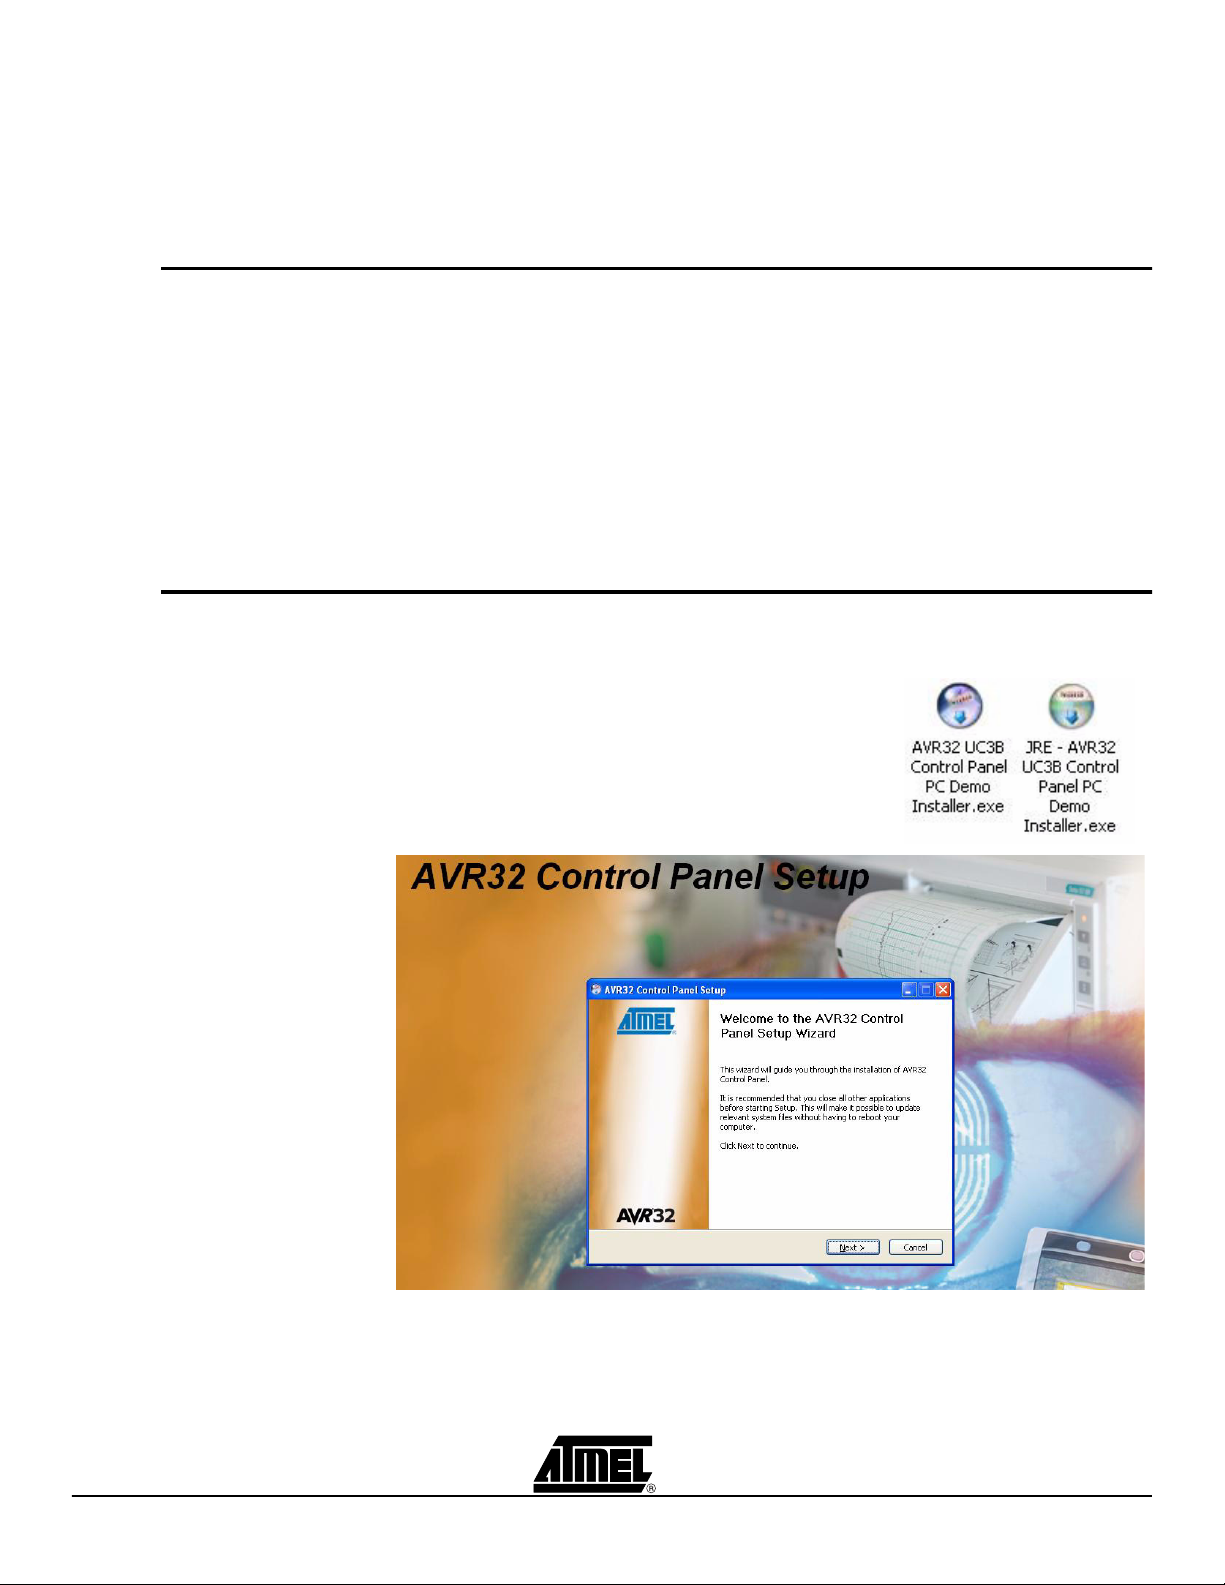
First, the PC application shall be installed prior to connecting the EVK1101.
The application needs a Java Runtime Environment (JRE 5.0 or higher)..
If you already have installed a JRE, then launch the
«AVR32 UC3B Control Panel PC Demo Installer.exe»
application and follow the instruction.
If you don’t have a JRE, launch the «JRE - AVR32
UC3B Control Panel PC Demo Installer.exe». This will
also install a JRE 5.0 Update 6.
Both applications are available in the AVR32 Technical Library CD bundled with the
EVK1101 and on atmel.com/avr32.
When the installation is done, the EVK1101 can be connected to the PC.
AVR32 EVK1101 Getting Started Guide 1
7733B–AVR32–07/07
Page 2
Power up
Step 2
Step 1
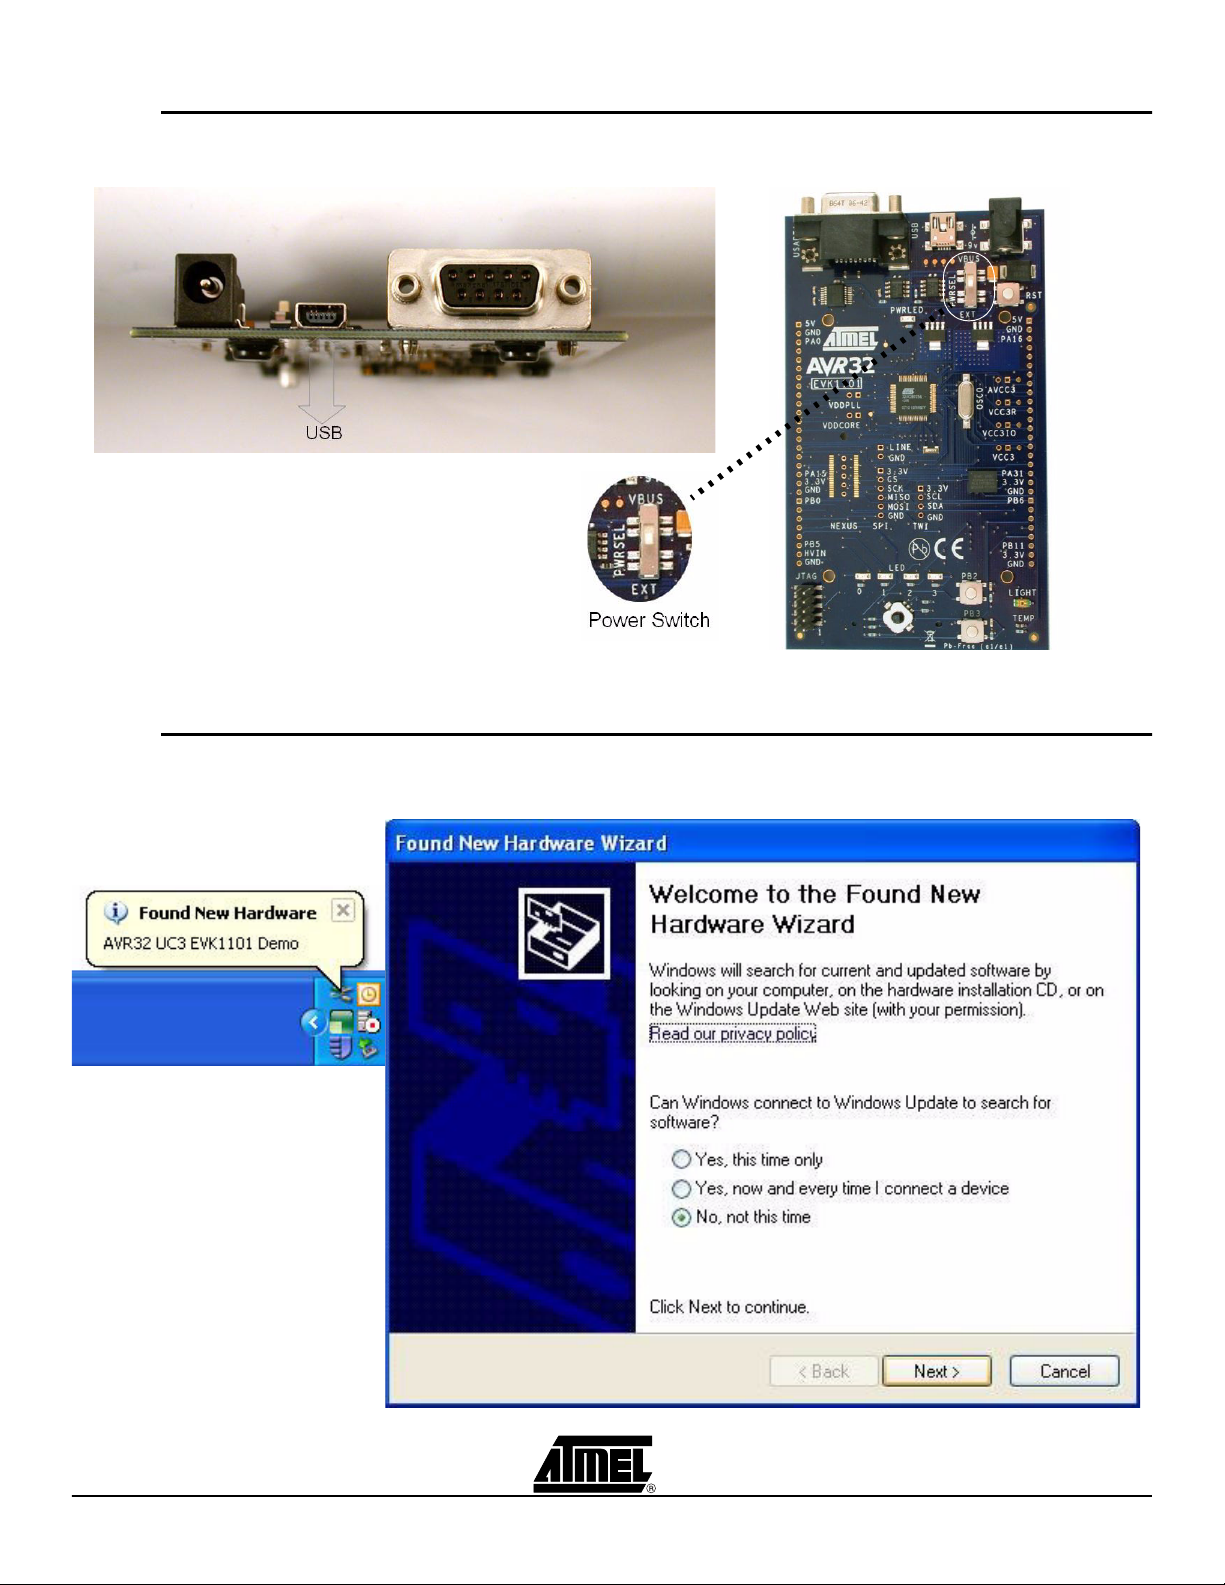
Step 1: Connect the USB cable to the PC and to the EVK1101.
Step 2: Set the boards’ power switch to VBUS (i.e. power from USB).
The 4 LEDS shall shortly blink: the Control Panel is up & running.
Driver installation
For the first connection of the EVK1101 on the PC, the operating system will detect a
new peripheral. This will open a new hardware installation window. Choose «No, not this
time” to connect to Windows Update for this installation and click ‘Next’:
2 AVR32 EVK1101 Getting Started Guide
7733B–AVR32–07/07
Page 3

On the next screen, select “Install from a list or specific location (Advanced)” and click
‘Next’. Then request to search in the usb folder of the «AVR32 UC3B Control Panel PC
Demo» installation directory as shown below and click ‘Next’:
Using the Control Panel
Windows will then process the installation of the driver. Once completed, click ‘Finish’.
Launch the AVR32 Control Panel PC Demo application (a shortcut is added on the
desktop after the installation).
For the initial start of the application, you must select the target. Choose «EVK1101» in
the list. Click «OK»: the application will connect to the EVK1101.
AVR32 EVK1101 Getting Started Guide 3
7733B–AVR32–07/07
Page 4

The application is now running and shows the status of the various sensors and
actuators:
Further Information
The AVR32 Control Panel complete source (PC Demo and Firmware) code and user
guide is available in the AVR32 Technical Library CD bundled with the EVK1101 (in the
AT32UC3-SoftwareFramework-x.x.x.zip package of the AVR32 AT32UC3 Software
Framework, under the AT32UC3-x.x.x/APPLICATIONS/EVK1101-DEMO folder).
Web links:
www.atmel.com/avr32 - The official AVR32 homepage
www.avrfreaks.net - AVR32 forum homepage
©2007 Atmel Co rporation. All rights reserved. Atmel®, logo and combinations thereof, are the trademarks or regis tered trademark s, of Atmel
Corporation or its subsidiaries. Other term s and product names may be t radem arks of others.
4 AVR32 EVK1101 Getting Started Guide
7733B–AVR32–07/07
 Loading...