Page 1

9190A Ultra-Cool
Calibration equipment
accuracy and stability
Accurate and stable calibration equipment impacts business results (e.g. quality, efficiency, less waste)
Lower
calibration
uncertainty
Improved
process
control
Increased
measurement
reliability
Business
results
Field Metrology Well
Ultra-cool dry-block calibrator
with best-in-class stability
The Fluke Calibration 9190A Ultra-Cool Field Metrology
Well is the most accurate and stable, cold temperature
dry-block on the market. It’s ideal for applications that
demand strict quality control and regulatory process compliance. These applications include on-location validation
and calibration of RTDs, thermocouples, thermometers,
and sensors used with process control equipment such
as medical freezers, laboratory refrigerators, cold rooms,
blood banks, sterilizers (autoclaves), and freeze dryers.
Great for cleanroom environments
Calibration baths are the most stable and uniform temperature
sources available, but they aren’t a good fit for cleanrooms. The
size of a bath limits its portability; it uses fluids that produce fumes
that can easily be spilled. The 9190A Ultra-Cool Field Metrology
Well is a great alternative. Its wide temperature range brackets the
coldest and highest temperature ranges required for pharmaceutical, biomedical and food processing applications. The 9190A is
small and lightweight, making it easy to transport. There are no
fluids so cleanrooms stay clean. And the 9190A cooling and heating times are faster than a calibration bath—that means calibration
work gets done more quickly.
Technical Data
An accurate temperature source is critical for
dependable process measurements
Unreliable process measurements can have a damaging impact on
business, leading to poor product quality, recalls, fines, waste, and
lost profits. Ultimately, measurements are only as good as the temperature sources used to calibrate the measurement equipment.
The 9190A Ultra-Cool Field Metrology Well incorporates the
best technology and design expertise gained from decades of dryblock development experience. The 9190A conforms to EURAMET
cg-13, guidelines for best measurement practices for temperature
block calibrators. As a result, the 9190A specifications for accuracy,
stability, axial (vertical) uniformity, radial (well-to-well) uniformity,
loading, and hysteresis have been thoroughly and carefully defined
and tested. With a 9190A Ultra-Cool Field Metrology Well, you can
be confident you’re using the most accurate and stable ultra-cool
dry-block calibrator available. And that will have a positive impact
on your business.
Page 2

Features at a glance
Wide temperature range
From –95 °C to 140 °C
Excellent accuracy
Accuracy using built-in reference thermometer readout:
± 0.05 °C full range
Display accuracy: ± 0.2 °C full
range
Best-in-class stability
± 0.015 °C full range
Fast cooling time
23 °C to –90 °C: 80 minutes
23 °C to –95 °C: 90 minutes
140 °C to 23 °C: 60 minutes
Portability
Weighs only 16 kg (35 lb)
Built-in front and back handles
for easy two-handed carry
Best measurement
practices
Conforms to EURAMET cg-13
guidance on measurement
practices for temperature block
calibrators
Ergonomics
• Two-handed carry; built-in
handles on front and back
• All controls and inputs on the
front panel
Stability indicator
• Shows whether block tem-
perature is stable and within
limits defined by the user
PC interface
• USB and RS-232 support
remote operation from a
computer
Dual heater zone
• Active heater zone control
compensates for differential
temperatures between zones
• Minimizes axial temperature
gradients
Ramp-and-soak set-points
• Define up to eight set-point
temperatures; automatically
ramp to and “soak” at each
set-point
• Specify soak time, number of
cycles, and direction
Fast time to temperature and
small footprint
• Compact, efficient free piston
Stirling cooler technology
(FPSC)
Optional process
features
Reference sensor control
• Set-point temperature control
gets passed from the
internal sensor to external
reference PRT
• 9190A controls the well tem-
perature based on its
measurement and position
inside the well
• Helps minimize the effects of
the axial gradient when
reference PRT is aligned with
short sensors
4-20 mA connectors
• Power a 4-20 mA transmitter
from the drywell
• Supplies 24 V dc loop power
4-wire PRT/RTD input
• Reads a 4-wire, 3-wire, or
2-wire PRT/RTD
• Accuracy ± 0.02 °C
• 4-20 mA circuit fuses
Thermocouple input
• Accepts common thermo-
couples with mini-jack
termination
• Types: J, K, T, E, R, S, M, L, U,
N, C
Reference thermometer input
• Smart connector input accepts
–A terminated reference PRTs
• Accuracy ± 0.01 °C at –95 °C
2 Fluke Calibration 9190A Ultra-Cool Field Metrology Well
Page 3

Specifications
Base unit specifications
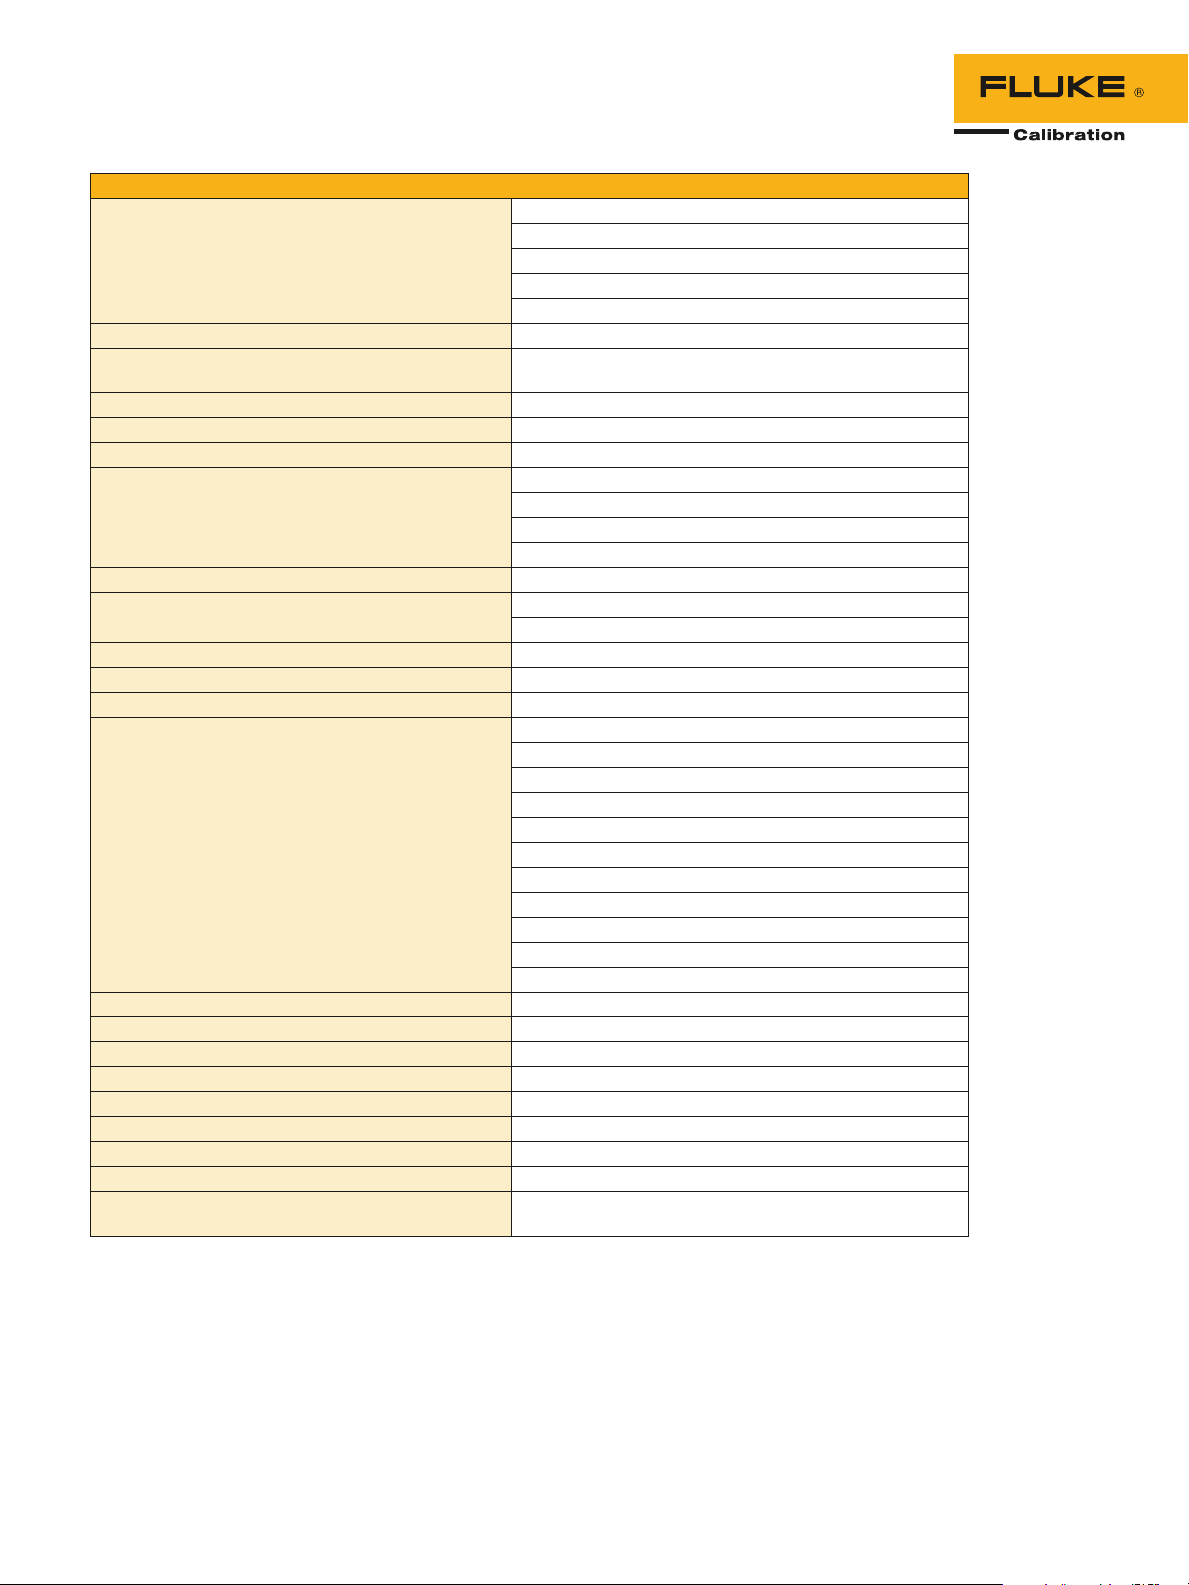
Temperature range at 23 °C –95 °C to 140 °C (–139 °F to 284 °F)
Display accuracy ± 0.2 °C full range
Accuracy with external reference
Stability ± 0.015 °C full range
Axial uniformity at 40 mm (1.6 in) ± 0.05 °C full range
Radial gradient ± 0.01 °C full range
Loading effect (with a 6.35 mm reference probe and three 6.35 mm probes)
Operating conditions 0 °C to 35 °C, 0 % to 90 %
Environmental conditions for all
specifications except temperature range
Immersion (well) depth 160 mm (6.3 in)
Well diameter 30 mm (1.18 in)
Heating time
Cooling time
Stabilization time
[1]
[1]
[2]
Resolution 0.01
Display LCD, °C or °F user selectable
Size (H x W x D) 480 mm x 205 mm x 380 mm (18.8 in x 8.0 in x 14.9 in)
Weight 16 kg (35 lb)
Power requirements 100 V to 115 V (± 10 %) 50/60 Hz, 575 W
System fuse ratings 115 V: 6.3 A T 250 V
4–20 mA Fuse (-P model only) 50 mA F 250 V
Computer interface RS-232, USB Serial, and 9930 Interface-It temperature
Safety IEC 61010-1, Installation Category II, Pollution degree 2
Electromagnetic environment IEC 61326-1: Basic
Refrigerants R32 (Difluoromethane)
[3]
± 0.05 °C full range
± 0.006 °C full range
(versus display with one 6.35 mm probe)
± 0.25 °C at –95 °C
± 0.10 °C at 140 °C
RH (non-condensing) < 2000 m altitude
13 °C to 33 °C
–95 °C to 140 °C: 40 min
23 °C to –90 °C: 80 min
23 °C to –95 °C: 90 min
140 °C to 23 °C: 60 min
15 m i n
200 V to 230 V (± 10 %) 50/60 Hz, 575 W
230 V: 3.15 A T 250 V
calibration software included
< 20 g, ASHRAE safety group A2L
R704 (Helium)
< 20 g, ASHRAE safety group A1
3 Fluke Calibration 9190A Ultra-Cool Field Metrology Well
Page 4

-P Specifications
Built-in reference thermometer readout
accuracy (4-wire reference probe)
[3]
± 0.010 °C at –95 °C
± 0.013 °C at –25 °C
± 0.015 °C at 0 °C
± 0.020 °C at 50 °C
± 0.025 °C at 140 °C
Reference resistance range 0 Ω to 400 Ω
Reference resistance accuracy
[4]
0 Ω to 42 Ω: ± 0.0025 Ω
42 Ω to 400 Ω: ± 60 ppm of reading
Reference characterizations ITS-90, CVD, IEC-751, resistance
Reference measurement capability 4 wire
Reference probe connection 6-pin din with INFO-CON technology
Built-in RTD thermometer readout accuracy NI-120: ± 0.015 °C at 0 °C
PT-100 (385): ± 0.02 °C at 0 °C
PT-100 (3926): ± 0.02 °C at 0 °C
PT-100 (JIS): ± 0.02 °C at 0 °C
RTD resistance range 0 Ω to 400 Ω
Resistance accuracy
[4]
0 Ω to 25 Ω: ± 0.002 Ω
25 Ω to 400 Ω: ± 80 ppm of reading
RTD characterizations PT-100 (385),(JIS),(3926), NI-120, resistance
RTD measurement capability 2-wire, 3-wire, and 4-wire RTD with jumpers only
RTD connection 4-terminal input
Built-in TC thermometer readout accuracy
[5]
Type J: ± 0.70 °C at 140 °C
Type K: ± 0.75 °C at 140 °C
Type T: ± 0.60 °C at 140 °C
Type E: ± 0.60 °C at 140 °C
Type R: ± 1.60 °C at 140 °C
Type S: ± 1.60 °C at 140 °C
Type M: ± 0.65 °C at 140 °C
Type L: ± 0.65 °C at 140 °C
Type U: ± 0.70 °C at 140 °C
Type N: ± 0.75 °C at 140 °C
Type C: ± 1.00 °C at 140 °C
TC millivolt range –10 mV to 75 mV
Voltage accuracy 0.025 % of reading +0.01 mV
Internal cold junction compensation accuracy ± 0.35 °C (ambient of 13 °C to 33 °C)
TC connection Miniature connectors (ASTM E1684)
Built-in mA readout accuracy 0.02 % of reading + 0.002 mA
mA range Cal 4-22 mA, Spec 4-24 mA
mA connection 2 terminal input
Loop power function 24 V dc loop power
Built-in electronics temperature coefficient
± 0.005 % of range per °C
(0 °C to 13 °C, 33 °C to 50 °C)
Notes:
[1]
For ambient temperature of 23 °C.
[2]
Time from when the SETPOINT is reached to when the unit is with in stability specification.
[3]
The temperature range may be limited by the reference probe connected to the readout.
The built-in reference accuracy does not include the sensor probe accuracy. It does not include the probe uncertainty or probe
characterization errors.
[4]
Measurement accuracy specifications apply within the operating range and assume 4 wires for PRTs. With 3-wire RTDs add 0.05
Ω to the measurement accuracy plus the maximum possible difference between the resistances of the lead wires.
[5]
The thermocouple input readout is sensitive to EM fields in the frequency range of 500 MHz to 700 MHz.
4 Fluke Calibration 9190A Ultra-Cool Field Metrology Well
Page 5

Ordering Information
9190A Ultra-Cool Field Metrology Well
Model Description
9190A-X Ultra-Cool Field Metrology Well, –95 °C to 140 °C, with
9190-INSX
9190A-X-P Ultra-Cool Field Metrology Well, –95 °C to 140 °C, with
9190-INSX, with Process Electronics
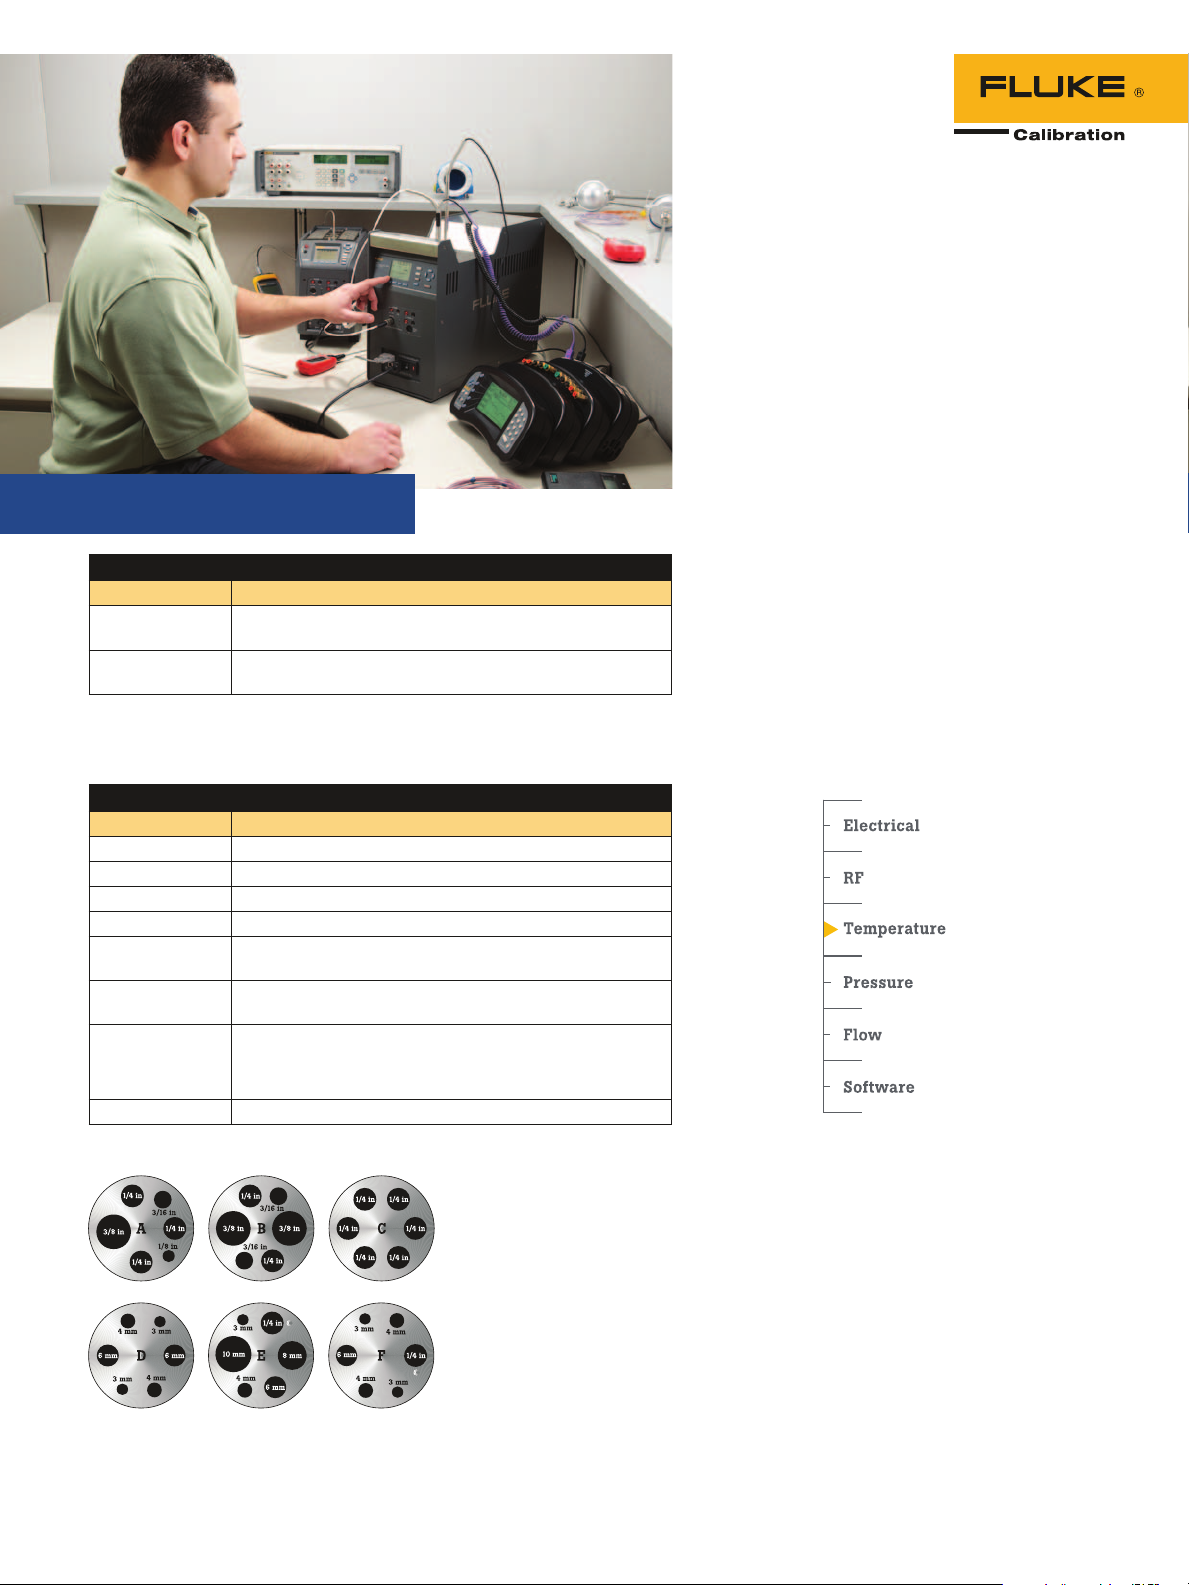
‘X’ in the above model numbers to be replaced with A, B, C, D, E, and F as
appropriate for the desired insert. See the inserts illustration and listing
below.
Recommended accessories
Model Description
9190-INSA Insert “A” 9190, imperial miscellaneous holes
9190-INSB Insert “B” 9190, imperial comparison holes
9190-INSC Insert “C” 9190, 0.25 inch holes
9190-INSD Insert “D” 9190, metric comparison holes
9190-INSE Insert “E” 9190, metric miscellaneous holes with 0.25
inch hole
9190-INSF Insert “F” 9190, metric comparison miscellaneous holes
with 0.25 inch hole
9190-INSY Insert “Y” 9190, custom insert
Custom insert is based on a maximum of eight holes.
Please contact your local sales representative if you have special
requirements.
9190-INSZ Insert “Z” 9190, blank
Fluke Calibration.
Precision, performance, confidence.
™
5 Fluke Calibration 9190A Ultra-Cool Field Metrology Well
Fluke Calibration
PO Box 9090, Everett, WA 98206 U.S.A.
Fluke Europe B.V.
PO Box 1186, 5602 BD
Eindhoven, The Netherlands
For more information call:
In the U.S.A. (877) 355-3225 or
Fax (425) 446-5116
In Europe/M-East/Africa +31 (0) 40 2675 200 or
Fax +31 (0) 40 2675 222
In Canada (800)-36-FLUKE or
Fax (905) 890-6866
From other countries +1 (425) 446-5500 or
Fax +1 (425) 446-5116
Web access: http://www.flukecal.com
©2013 Fluke Calibration.
Specifications subject to change without notice.
Printed in U.S.A. 1/2013 4264972A D-EN-N
Pub-ID 12027-eng
Modification of this document is not permitted
without written permission from Fluke Calibration.
 Loading...