

Page 1
E334
Page 2
PC Probe Setup
PC Probe is a convenient utility to monitor the computer system’ s vital components. This is an optional software to help
you monitor your Notebook PC.
NOTE: In order for PC Probe to run, Intel’ s LDCM and other hardware monitoring programs cannot be installed.
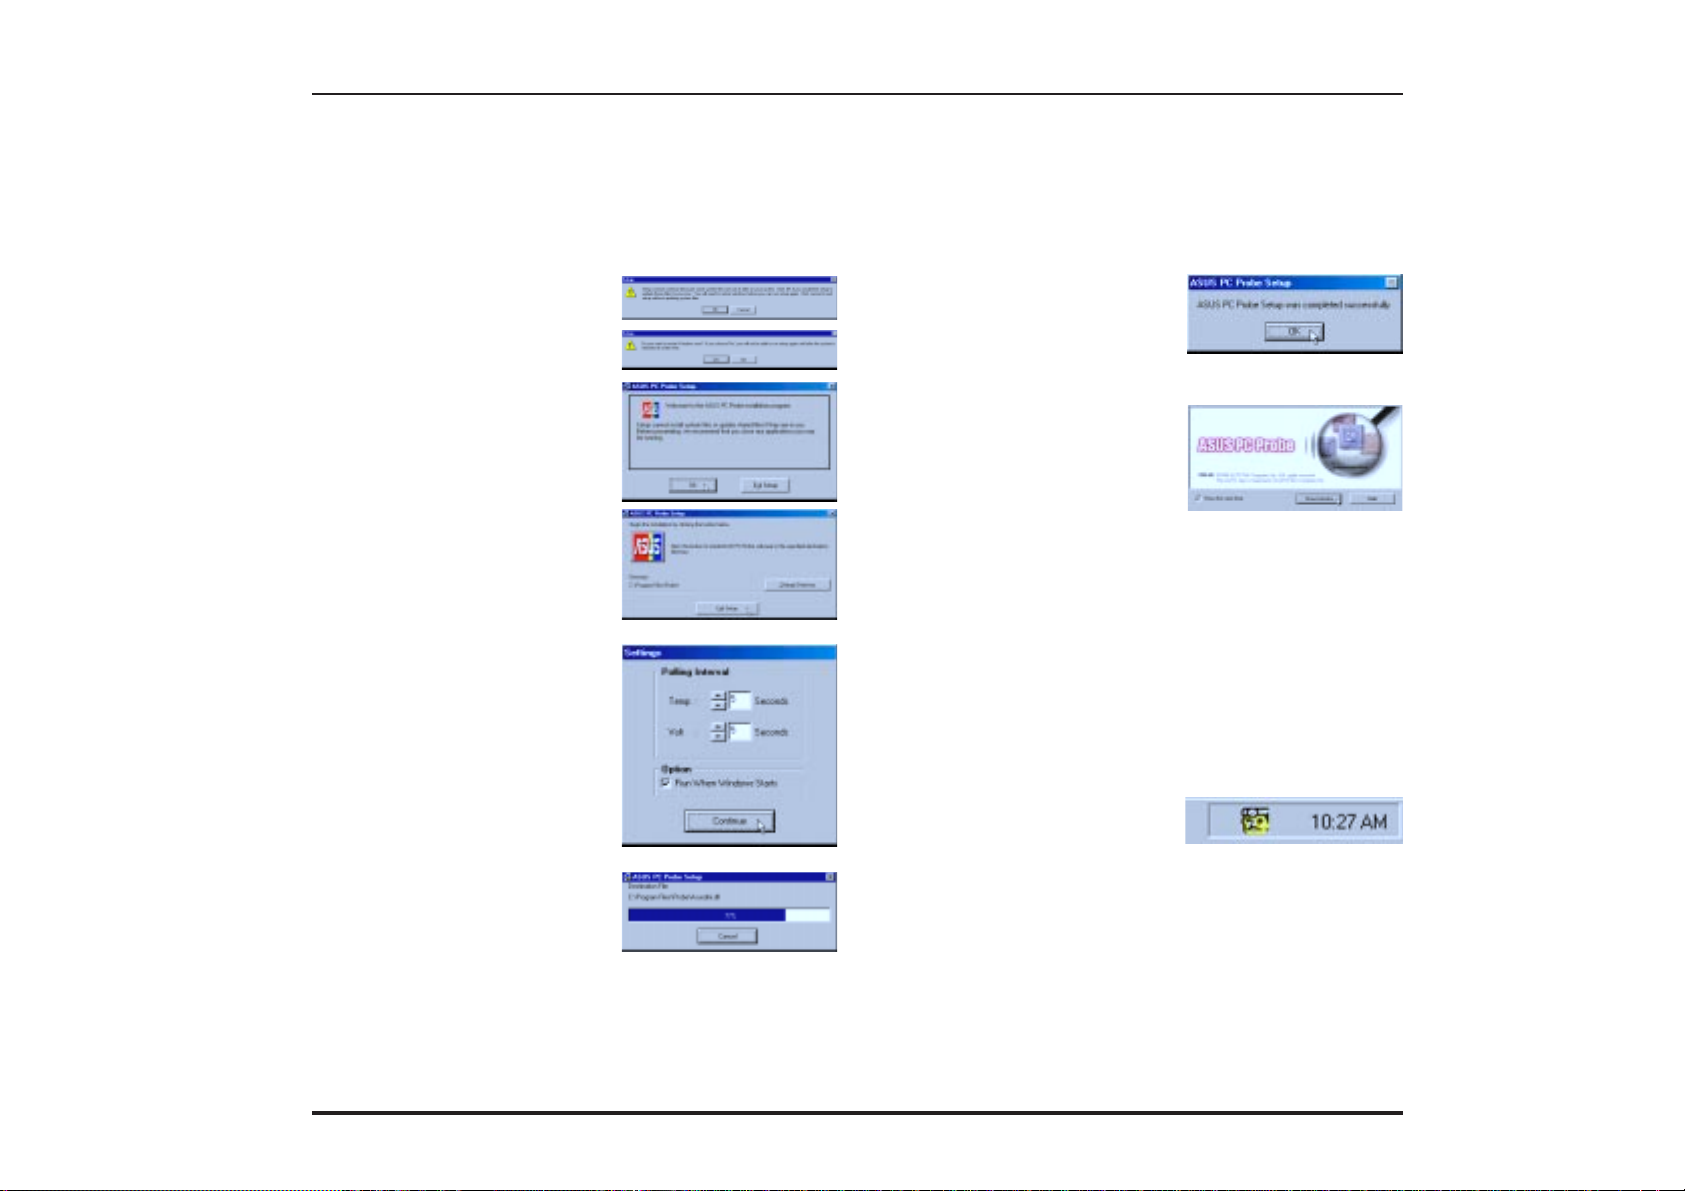
Installation Procedure
1. Click on “PC Probe
Setup” from the autorun.
2. Your system may require
updating before installing,
if so click OK and Yes to
restart your computer.
3. Click “OK” after reading
the welcome message.
4. Click the colored logo to
install to the default directory. Click “Change Directory” if you wish to set
a different destination.
5. Configure the settings if
you desire (you can also
make settings any time after you install PC Probe).
The default setting runs a
check on the system every
5 seconds for the T emperature and Voltage. Decreasing these values increases
real-time accuracy but decreases system performance. Increasing these
values produce the reverse
effect. The “Run When
Windows Starts” option is
normally checked to start
PC Probe upon entering
Windows each time.
6. Click “OK” when the installation is completed.
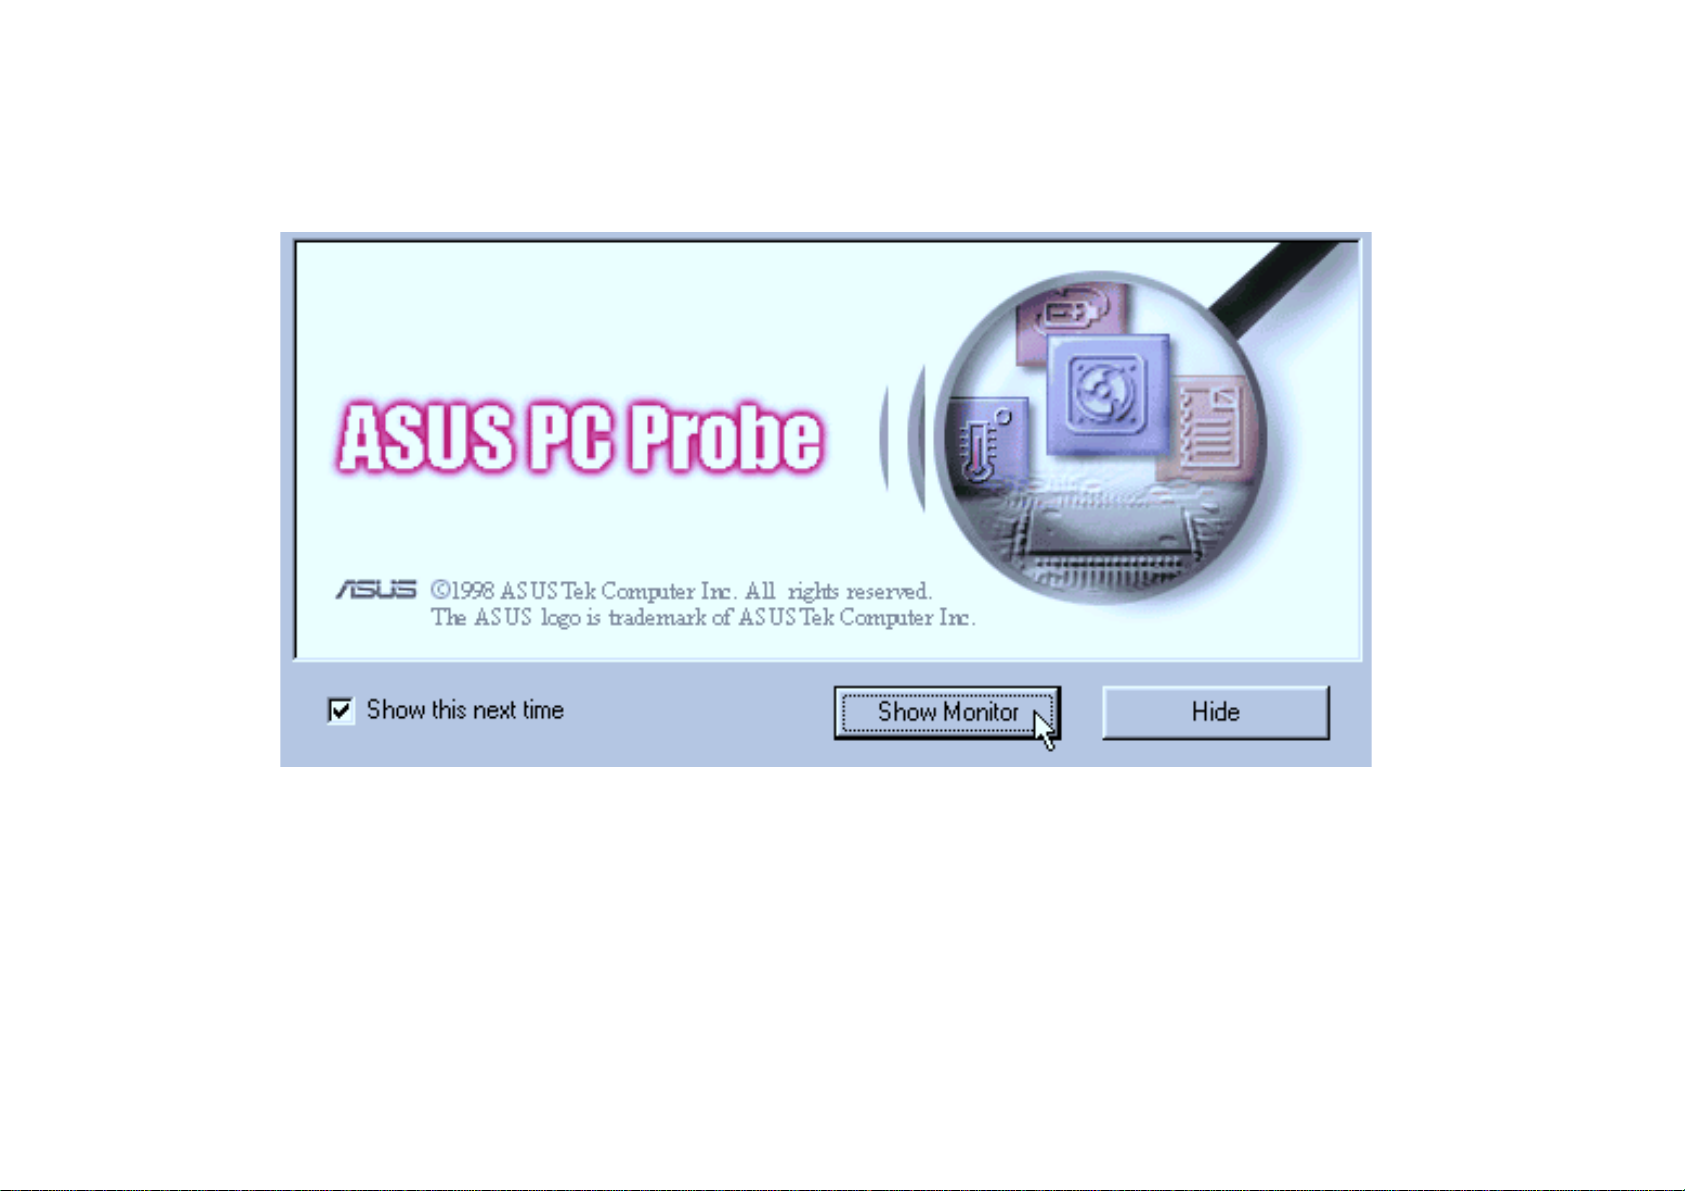
PC Probe will run automatically.
When PC Probe starts, a splash
screen appears allowing you to
“Show Monitor” or “Hide.”
“Show Monitor” allows you to
see PC Probe in action and
make adjustments. Hide will
place “PC Probe” in the background while monitoring your
system. Y ou can select whether
you want the splash screen to
show in the future by selecting
or clearing the “Show this next
time” box.
A yellow “doctor” will appear
on the far right of the task bar
indicating that PC Probe is running. Left clicking the yellow
“doctor” will allow you to see
your PC status.
2 Notebook PC User’s Manual
Page 3

Using PC Probe
Notebook PC CPU Temperature Status
CPU’s upper temperature warning
threshold adjustment (drag arrow)
Analog view of CPU’s temperature
(red thermometer)
Click here for CPU
Temperatur e Status
(as shown here)
Digital view of CPU’s temperature
Digital view of CPU’s upper temperature
warning threshold in C°/F° (r ed digits)
(yellow digits)
The red arrow points to the temperature warning threshold. Adjust the warning threshold by dragging the arrow so it is
above the thermometer’s red mark and in between the green area. PC Probe will sound an alarm if the thermometer
reaches the dark red range.
Notebook PC Voltage Status
Upper voltage warning threshold
Lower voltage warning threshold
warning upper & lower thresholds
adjustment (dark red bar)
Analog view of PC’s voltages
(bright green bar)
adjustment (dark red bar)
Digital view of PC’s voltages
(yellow digits)
Digital view of PC’s voltage
(red digits)
Click here for PC Voltage
Status (as shown here)
For voltage warnings, it is bad to be above or below the required voltages. There are two dark red adjustment bars to raise
and lower the upper and lower warning ranges. A bright green bar on the green bars will indicate the current voltage. The PC
Probe will sound an alarm if the bright green bar is within either of the two dark red regions. If adjustment is necessary , use
the “voltage warning threshold adjustments” to open a green region above and below the bright green indicator .
3Notebook PC User’s Manual
Page 4

Using PC Probe (Cont’)
PC Probe System Info.
Get information on your Notebook
PC and BIOS from this scr een.
termine whether an update is available for your Notebook PC. Each BIOS version always contain previous updates, so there is no need to keep track of or
make multiple updates.
The system information is very useful
to understand your Notebook PC’ s CPU,
memory , and BIOS. Since the CPU and
memory is the most vital part of any
computer, be sure you know what you
are getting before purchasing. In order
to support future peripherals, BIOS updates are available from the internet or
from your dealer. Your “product” and
“BIOS version” will be necessary to de-
PC Probe Settings
Change PC Probe refresh times here Check the thresholds you wish to r eset to
Check here to start PC Pr obe each
time you enter Windows.
If you would like to change the polling intervals and PC Probe startup as described in the installation procedure, you
may do it from this screen. The “Reset to Default” button allows you to reset the warning thresholds to the installation
defaults. Clear the items you do not want to return to default and then click “Reset to Default.”
its default values and click this button.
Click here to exit the Settings screen.
PC Probe Task Bar Icon
Right clicking the “doctor” will bring
up a menu to turn PC Probe on, off, or
to exit the utility. NOTE: PC Probe
will start again if “Run When Windows Starts” is checked.
4 Notebook PC User’s Manual
The “doctor” appears gray when off.
NOTE: When set to “Off”, you cannot
display the PC Probe by left clicking
on the icon.
When there is a problem, the “doctor’s”
light flashes red, the PC speaker sounds,
and the PC Probe monitor will be displayed.
 Loading...