

Page 1
¤
GigaX 1016D
Desktop Fast Ethernet Switch
English
English
Quick Installation Guide
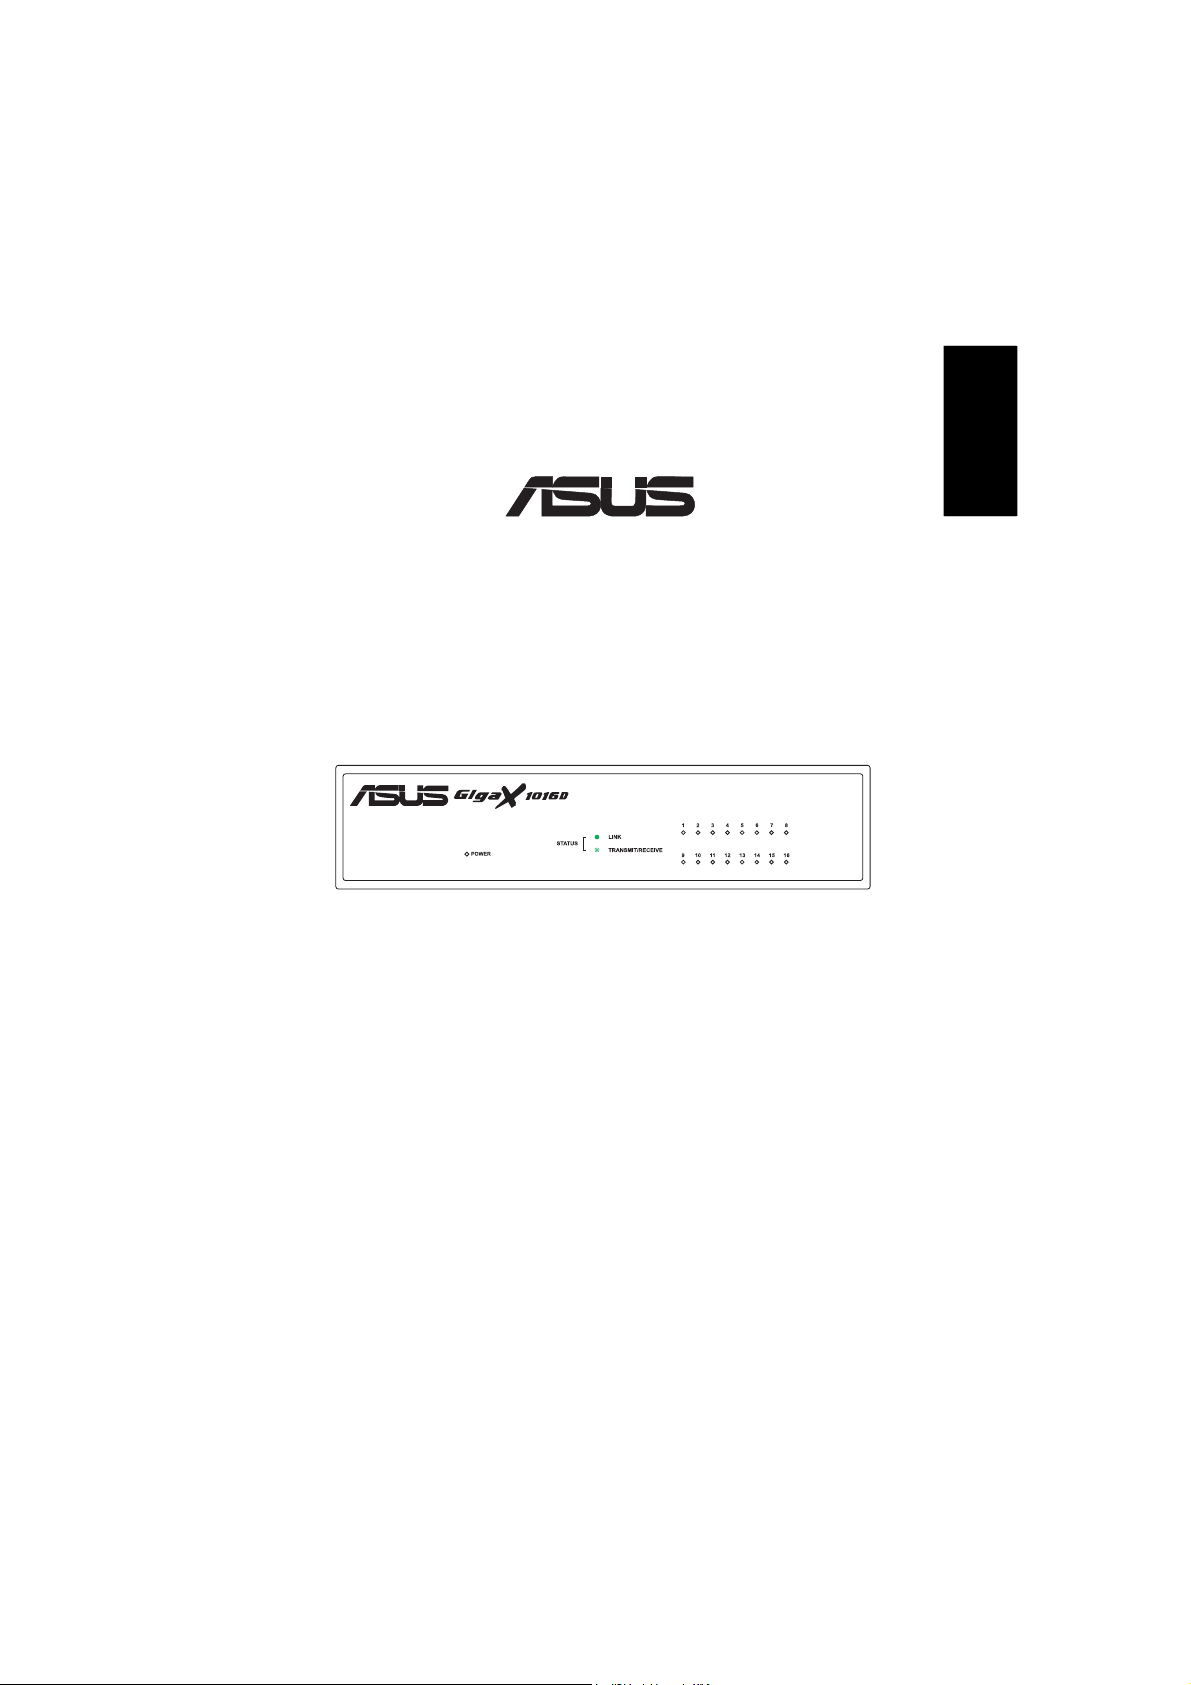
ASUS GigaX 1016D
1
Page 2
English
Introduction
Thank you for buying the ASUS GigaX 1016D Desktop Fast Ethernet Switch! ASUS
GigaX 1016D switch provides non-blocking, wire-speed performance to meet your
intensive network needs. This switch comes with 16 Fast Ethernet ports with autosensing and auto MDI/MDIX capabilities. W ith easy connectivity and flow control,
GigaX 1016D is guaranteed to enhance your network performance and productivity .
Features
• 16 10/100 Mbps RJ-45 ports
• Up to 200Mbps for all ports in full duplex mode.
• Plug-and-play: Auto MDI/MDIX and auto-sensing for speed and duplex
mode on all ports.
• Flow control schemes (802.3x in full duplex mode) to support zero loss
under temporary network congestion.
• 4K MAC address learning and aging
• Easy to read indicators provide quick indication of link status.
Package Content
Before installing the GigaX 1016D switch, check your package for the following
items. Contact your retailer if any of items is damaged or missing.
• GigaX 1016D
• Power Adaptor
• Quick Installation Guide
• ASUS Networking Sticker
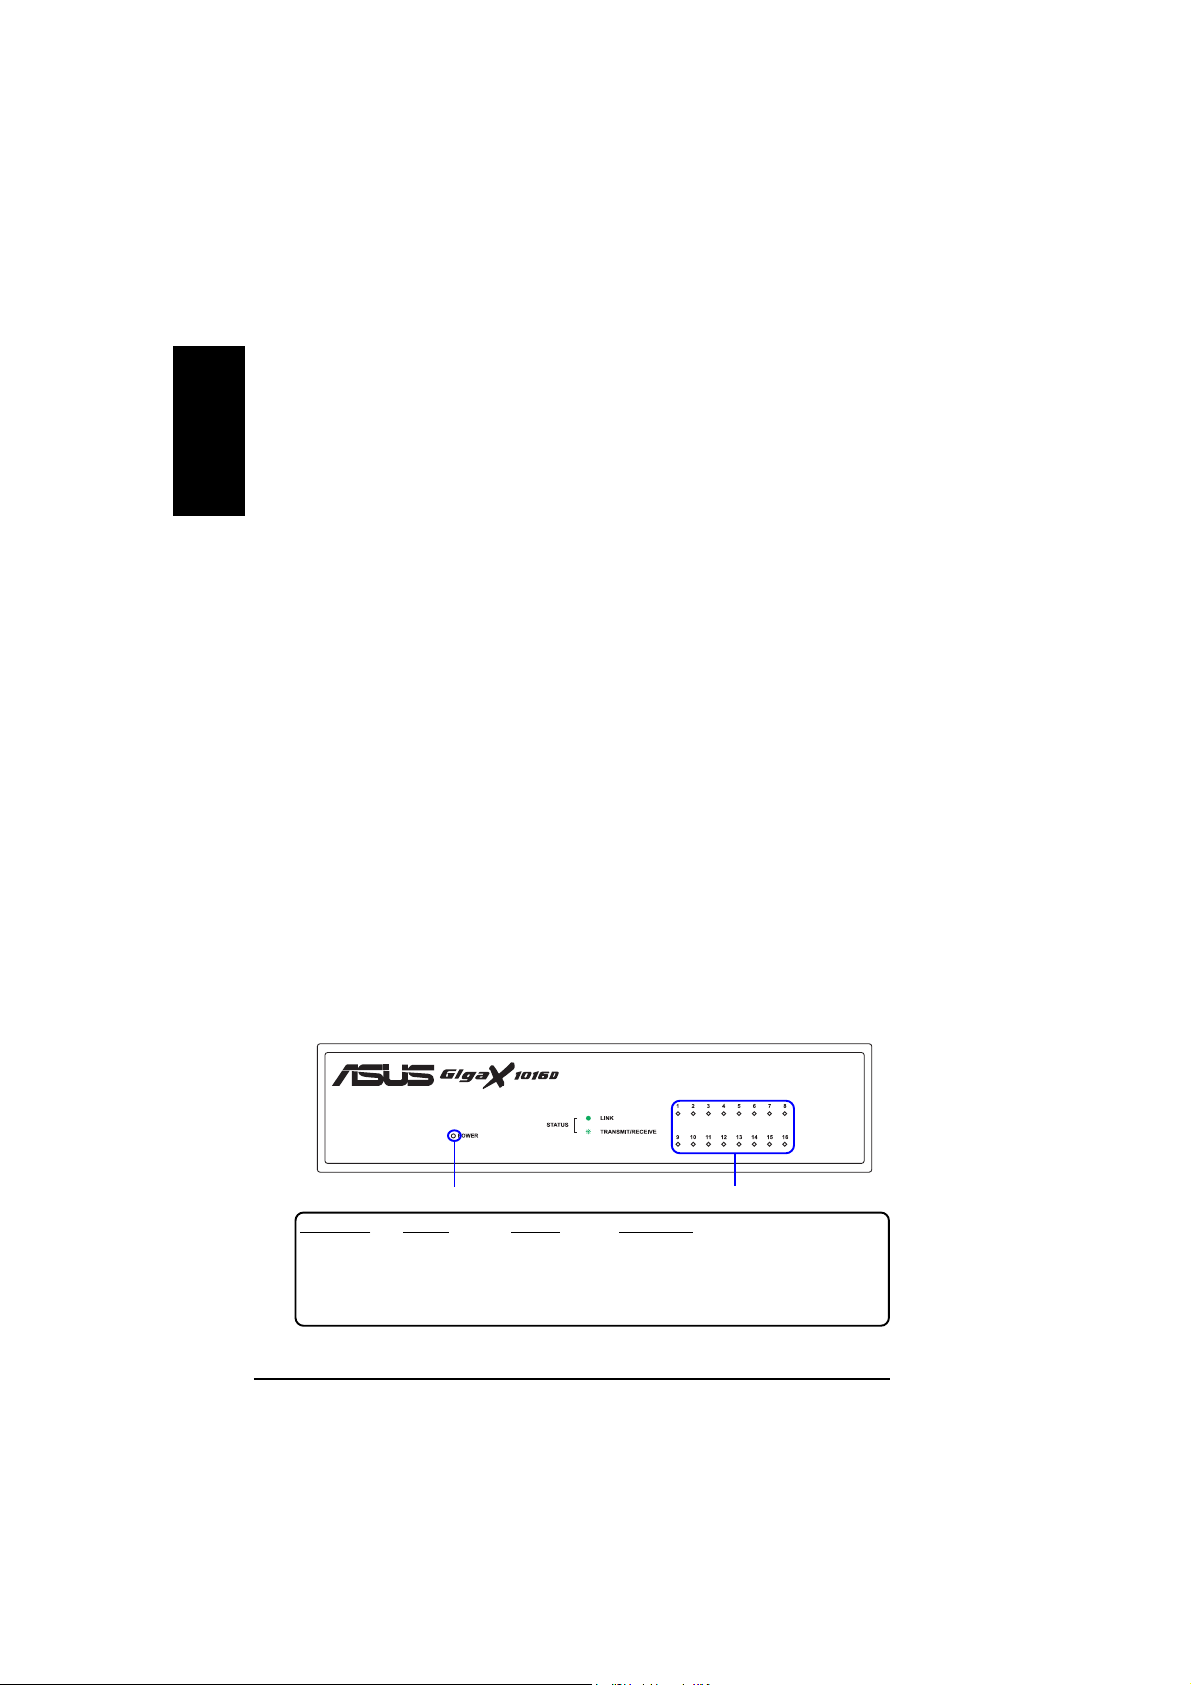
Front panel
Power Indicator
INDICATOR COLOR STATUS INDICATION
POWER GREEN ON The switch is powered on.
STATUS GREEN ON A link is established.
2
OFF The switch is powered off.
BLINKING Receiving or transmitting data packets.
ASUS GigaX 1016D
Status Indicator
Page 3

Rear panel
AC IN
h
s
i
l
g
n
E
RJ-45 Ethernet
s
Connector
AC Power Input
Placement options
Placing the switch on a flat surface
Place the switch on a flat surface that can support the weight of the switch and its
accessories. Make sure the surface meets the operating environment specifications.
NOTE: The length of the UTP Category 5 cable should not exceed 100 meters.
Connecting
To connect network devices to the GigaX 1016D switch.
1. Connect one end of the Ethernet cable to an Ethernet port on the back of
the switch. Connect the other end to the Ethernet port on the network
device. Repeat this step to connect additional network devices.
Note:Use Category 5 Ethernet straight-through cables to ensure proper connection between
the switch and the other network devices.
Note:The Ethernet ports on the switch may be used as uplink ports to other switches, hubs,
or repeater. The switch is capable of detecting and adjusting either cross-over or
bridges,
straight-through cables.
Network Devices
2. Plug the AC adaptor to an electrical outlet, then plug the other end to the
power connector on the back of the switch.
3. The power indicator and active port indicators will light up indicating
that the device is turned ON and in use.
ASUS GigaX 1016D
3
Page 4

English
Troubleshooting
This troubleshooting guide provides answers to some common problems that you
may encounter while installing and/or using the switch. These problems require
some simple troubleshooting that you can perform by yourself. Contact your retailer
if you encounter problems that are not mentioned here.
The POWER indicator does not light up.
• Check if the power cable is properly connected to the switch, and to an
electrical outlet with the correct voltage output.
The STATUS indicator does not light up even after an Ethernet cable is
connected.
• Check if the Ethernet cable is properly connected to the switch and to the
network device.
• Make sure that the switch and your network devices are turned ON.
• Check if the Ethernet cable supports your network speed. Make sure you
are using at least Category 5 cables. You can use lower quality cables if
your network speed is only 10 Mbps.
Technical specifications
Physical dimensions 185mm (H) x 124 mm (W) x 44mm (D)
Environmental ranges
Power Input 9V, 1.5A
Certification EMC: CE, FCC, VCCI, C-Tick, CCC, MIC
4
Temperature 0º to 55º C -20º to 70º C
Humidity 20 to 95% 5 to 95%
Altitude up to 15,000 ft up to 40,000 ft
Safety: UL, CCC
ASUS GigaX 1016D
Operating Storage
(4,500 m) (12,000 m)
 Loading...