How it Works
Log In / Sign Up
Buy Points
How it Works
FAQ
Contact Us
Questions and Suggestions
Users
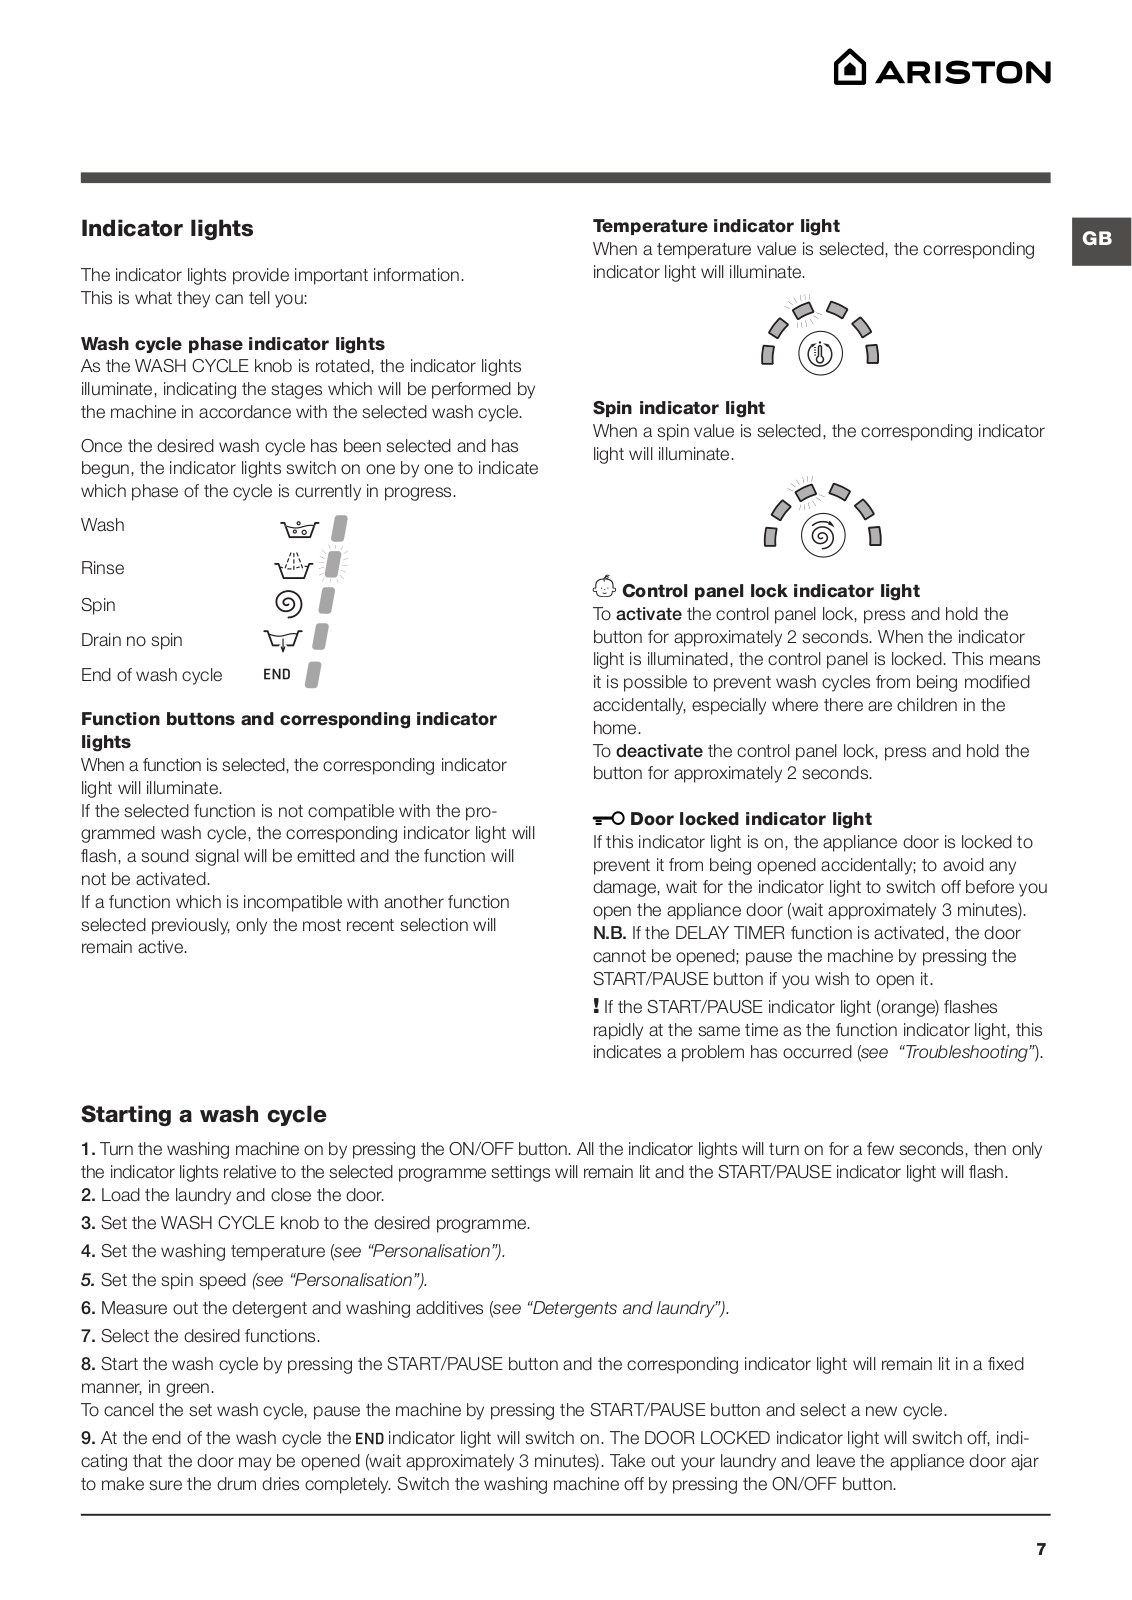
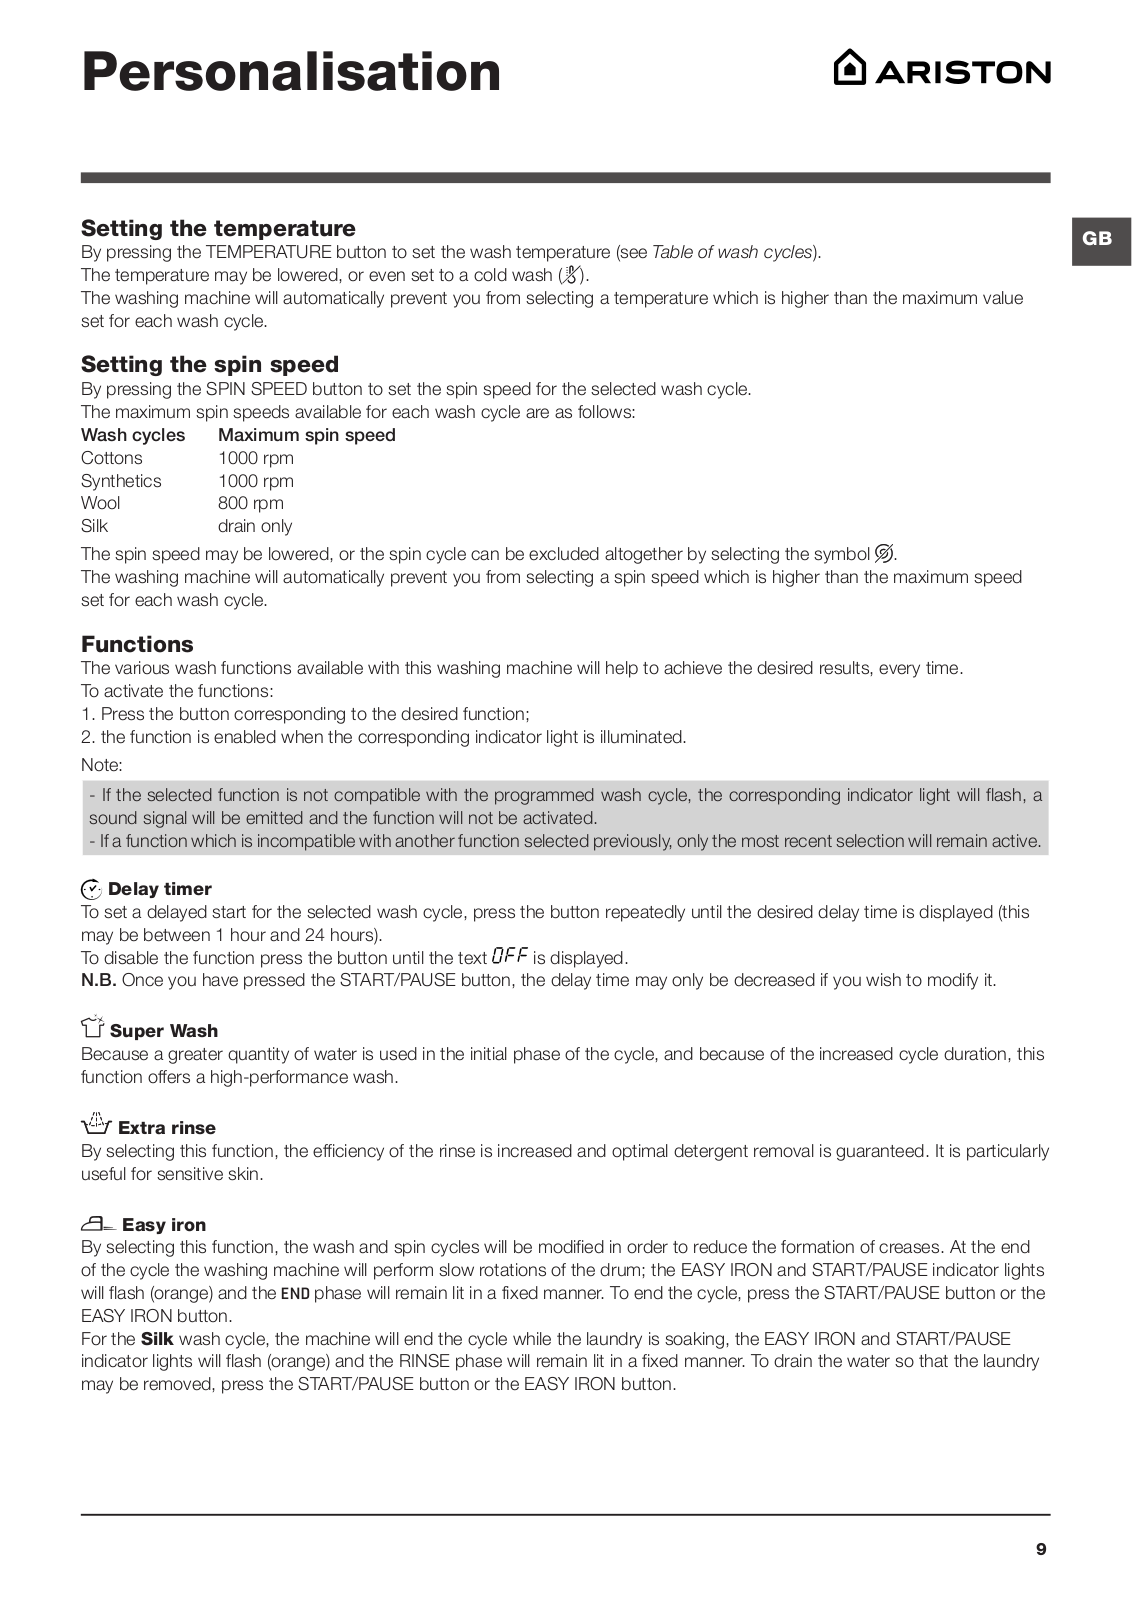
ARISTON
Loading...
A
AQSD 129
2
AQSD 297 U
AQSD 29 U
AQSF 05 U
AQSF 09 U
AQSF120
AQSF 129
2
AQSF 297 U
AQSF 29 U
AQSL 05 U
2
AQSL 109
AQSL 85
2
AQSL 857 U
Aquabravo ITD 130
2
AQUABRAVO ITD 150
AQUABRAVO ITD 215
AQUABRAVO ITD 305
AQUABRAVO ITI 130
AQUABRAVO ITI150
AQUABRAVO ITI 215
AQUABRAVO ITI 255
AQUABRAVO ITI305
AQUABRAVO ITI 80
AQUABRAVO ITSI 215
AQUABRAVO ITSI 255
AQUABRAVO ITSI 305
AQXD 129
AQXF 109
AQXF129
AQXF 129 H
AQXGD169H
AQXGF141H
AQXL 105
2
AQXL109
2
AQXL129
AQXL145
AQXL 85
AQXLAVTL 109
AQXXD 129 H
AQXXD 129 H (EU)
AQXXD 169 H
2
AQXXD 169 HEU
AQXXF121
2
AQXXF129
AQXXF129H
AQXXF141H
AQXXF149
AQXXL129
AR340T
AR6F 105 EX.M
AR6F 105 GCC
AR6F 85 HK
AR6L 105 EX.M
AR6L 105 HK
AR6L 85 (AG)
AR6L 85 (EX)
AR6L 85 EX.M
AR6L 85 HK
AR6L 85 UR
AR7F 105 S (AG)
AR7F 125 EX
AR7L 85 (AG)
ARF105
ARFC8 TI21SX
10
ARFC8 TO21SX H
3
ARGD149K
ARH60X-L
ARH6SIX
ARH9SIX-L
Ariston
ARL 105
ARM7F125
ARM7F 125(AG)
ARM7L 105 (EX)
2
ARM7L 125 (EX)
ARM7L 125 S (EX)
2
ARMF 125
ARMF125 (AUS)1
ARMXL135
ARMXXD 109
ARMXXD1097
2
ARMXXD 129
ARMXXD1297
2
ARMXXF149
ARMXXL1057
2
ARMXXL125
ARMXXL 129
ARMXXL 1297
2
ARSD 109
2
ARSD 129
ARSD 1297
ARSF 100
ARSF 105
ARSF 109
ARSF 120
ARSF 125
ARSF 1290
ARSF 80
ARSF 85
ARSL 103
Loading...
Loading...
Nothing found
AR6F 105 GCC
User Manual
36 pgs
1.76 Mb
0
Table of contents
Loading...
ARISTON AR6F 105 GCC User Manual
...
ARISTON User Manual
Download
Specifications and Main Features
Frequently Asked Questions
User Manual
Download
Loading...
+
25
hidden pages
Unhide
You need points to download manuals.
1 point = 1 manual.
You can buy points or you can get point for every manual you upload.
Buy points
Upload your manuals
 Loading...