

Anvil TSA3009 R01, TSA2009 R01, TSA5009 R01, TSA6009 R01, TSA9009 R01 Installation And Care Manual
...
NB:
REGISTER ON-LINE TODAY
Register your warranty on-line now at www.anvilworld.com
NO WEB ACCESS
If you do not have access to the Web. Kindly register by completing
the warranty registration form and fax it to the ANVIL ofce in the
country of purchase.
Failure to do so will invalidate your warranty.
SANDWICH PRESS
INSTALLATION OPERATION AND CARE OF
SANDWICH PRESS ELECTRIC
MODELS:TSA1009 R01/TSA2009 R01/TSA4009 R01
TSA6009 R01/TSA1309 R01/TSA3009 R01
TSA5009 R01/TSA9009 R01/TSA1212 R01
TSA1309 R01
TSA1009-120/TSA2009-120/TSA4009-120
TSA6009-120/TSA2009-120/TSA3009-120
TSA5009-120/TSA9009-120/TSA1212-120
TSA1309-120
4-INS-TSA6009 R01
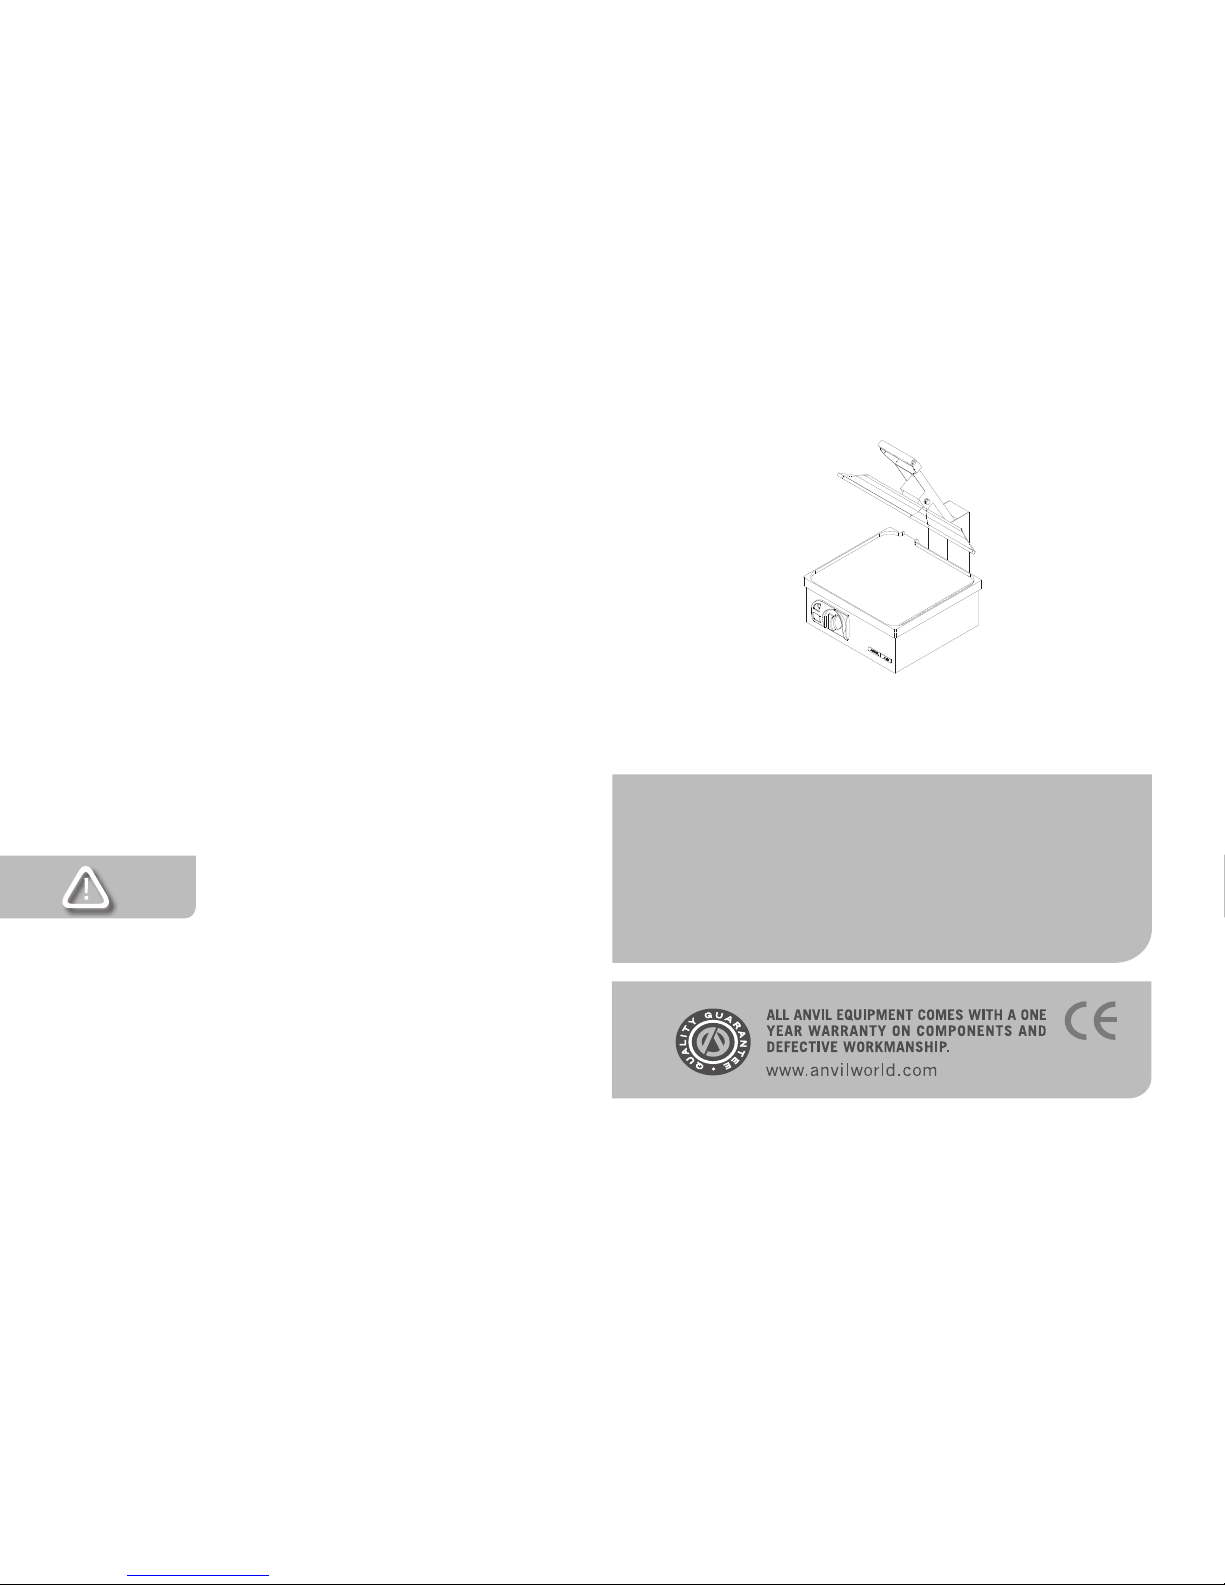
LIMITED WARRANTY
All equipment which is sold under ANVIL trademark and used for
commercial purposes is warranted against defects in materials and
workmanship. The warranty runs for one year from the date of original installation and is for the benet of the original purchaser only.
All other Warranties ,expressed or implied , statutory or otherwise,
including without limitations any implied Warranty of Merchantability
or tness for purpose are excluded .The Seller shall in no event be
liable for direct,indirect or consequential damages in connection with
ANVIL commercial products.
The Sellers obligation under this Warranty is limited to the repair of defects without charge. Defective units must be taken or
shipped,transportation charges prepaid,to ANVIL.
This Warranty is not effective if damage occurs because of
accident,carelessness,improper installation,lack of proper setup,supervision when required or if the equipment is installed or
operated in any manner contrary to the installation and operating
instructions. In these cases,repairs will be made at a reasonable
cost. Work performed by unauthorized personnel or unauthorized
service agencies voids this Warranty.

THESE INSTRUCTIONS MUST BE FOLLOWED FOR US TO
GUARANTEE OUR FULL SUPPORT OF YOUR CLAIM FOR
PROTECTING AGAINST LOSS FROM CONCEALED DAMAGE. THE FORM FOR FILING SUCH A CLAIM WILL BE
PROVIDED BY THE CARRIER.
UNPACKING
Unpack the product and check for any damage incurred during
transit. This should be reported to the responsible carrier, railway or
postal authority, and a request for a damage report should be made.
GENERAL INSTALLATION AND OPERATION
INSTRUCTIONS
These sandwich presses are medium duty electrical appliances capable of toasting a variety of bread products and sandwiches. The
thermostat also acts as the ‘ON’ and ‘OFF’ switch.
1. Install the sandwich press in the most convenient location for
ease of cleaning, maintenance and general operation. If the
toaster is to be positioned in close proximity to a wall, partitions,
kitchen furniture, decorative nishes, etc. it is recommended
that they be made of a non-combustible material. If not, they
shall be clad with a suitable non-combustible heat insulating
material, and the closest attention be paid to re prevention
regulations.
2. Certain sandwich presses are manufactured in two different volt
age versions, each requiring a grounded, single- phase recep tacle.
3. The appliance is equipped with a pilot light to indicate when
the heating elements are energized.
4. Buttering both sides of the sandwich will prevent the sandwich
from sticking as well as giving a golden brown nish to the end
product.
5. With use, plates of the toaster become ‘naturally’ conditioned to
create a non stick surface. Use of tinfoil or other coverings will
not only impede the conditioning process, but may also affect
performance.
6. Do not leave food on the plates after cooking, particularly in the
case of the non-stick plates as this will cause the non–stick
effect to diminish and acids in the food to attack the coating.
7. When the sandwich press is not in use, turn the temperature
control to the lowest temperature and ensure that the lid is kept
open.
Part
No.
1 TOP HINGE AXLE M8
2 12 SLICE TOASTER HANDLE
3 STAINLESS STEEL TOASTER HANDLE
4 PLASTIC TOASTER HANDLE
5 STAINLESS STEEL COVER
6 12 SLICE TOP CASTING
7 TOP ELEMENT
8 BOTTOM ELEMENT
9 CONTROL FACIA PANEL
10 PILOT LIGHT
11 KNOB
12 BEZEL
13 CONTROL PANEL INSERT
14 ANVIL AXIS LOGO
15 THERMOSTAT
16 GALVANISED BOTTOM COVER
17 LARGE RUBBER FEET
18 STAINLESS STEEL BODY
19 PANINI EYE BOLT
20 TOP HINGE AXLE M8
21 HANDLE HINGE BRACKET
22 CABLE GRIP
23 POWER CORD
24 12 SLICE BOTTOM CASTING
25 PANINI SPRING
26 FAT CUP
27 ADJUSTING SCREW
MODEL: 12 SLICE SANDWICH PRESS
MODEL CODE : TSA1212 R01
Description

SANDWICH PRESS FLAT PLATE - TSA1009 /TSA1309 /
TSA9009 /TSA6009 /TSA1212
1. Before using the sandwich press, turn the control knob to 300°C
(570°F). Close the lid and allow the toaster to burn in for ± 30
minutes. You will notice smoke appearing due to the internal
protective mill-board burning in. This is normal.
2. After the 30 minute burning in time has elapsed, turn the sand
which press down to operating temperature of ± 250°C
(480°F) and grease plates generously with butter or oil. Never
allow excess fat or oil to build up as this will result in build–up of
carbon on the plates. This can be removed with a scraper or grill
brick.
SANDWICH PRESS FLAT PLATE NON-STICK - TSA2009 /
TSA3009 / TSA4009 /TSA5009
1. In the case of the coated plates, remove the label off the sur face and wash the plate with soapy water. Thereafter, rinse and
dry thoroughly. ‘Condition’ the surface with a thin coating of
cooking oil or fat. Then set the thermostat control knob to a
maximum of 240°C (464°F).
DUAL CONTROL SYSTEM – TSA4009 /TSA5009 /TSA6009
These models are provided with a rocker switch that allows the user
the option of switching on either both top and bottom plates or only
the bottom plate.
EXPLODED DIAGRAM
SANDWICH PRESS 12 SLICE
MODEL CODE: TSA1212 R01
SPECIFIC OPERATING INSTRUCTIONS
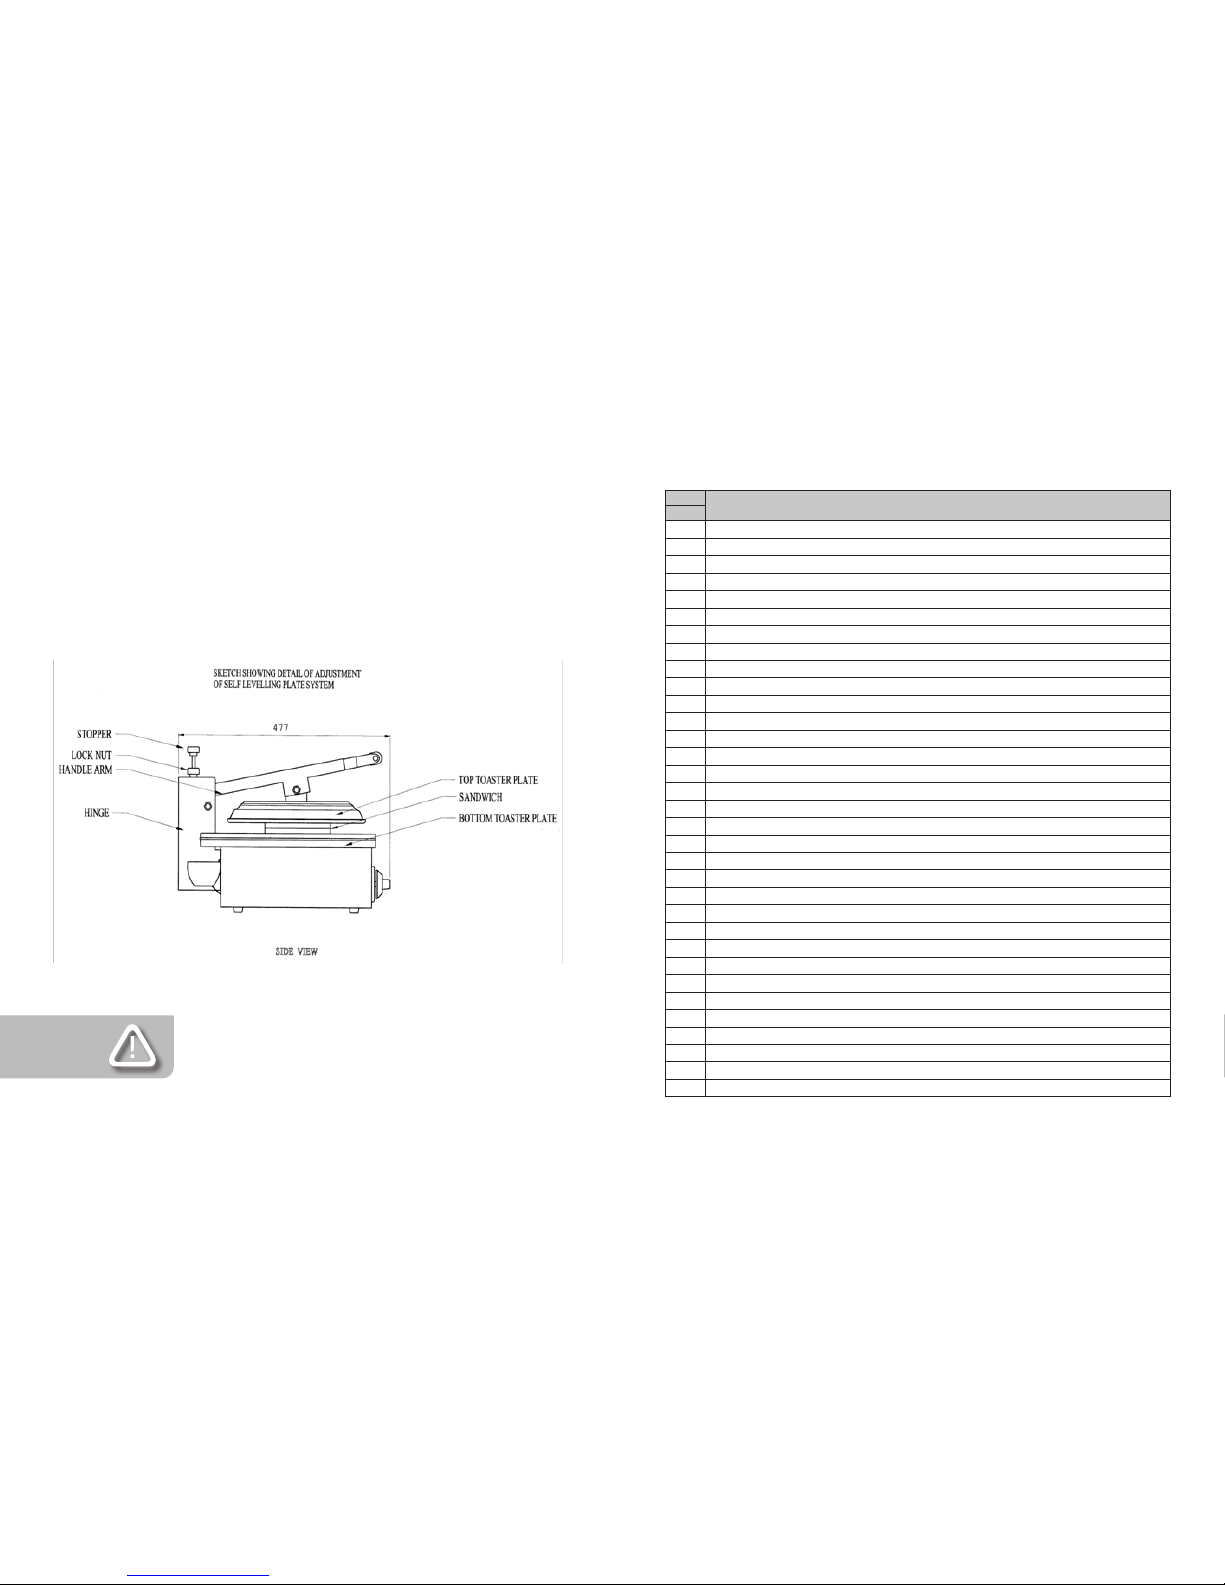
PLATE SELF LEVELLING SYSTEM
These appliances are provided with a self levelling plate system and
it is important to observe the following to ensure efcient toasting of
the sandwich press
• Push the handle downward as far as possible to seal the
sandwich.
• Adjust the stopper until it touches the handle arm as shown
in the sketch.
• Lock the stopper into position with the nylon lock nut pro vided.
THIS INSTRUCTION BOOKLET COVERS THE ENTIRE
RANGE OF SANDWICH PRESSES. PLEASE ENSURE
THAT YOU CHECK THE MODEL NO. AT THE REAR OF
THE UNIT AND FOLLOW THE SPECIFIC INSTRUCTIONS THAT PERTAIN TO THE RELEVANT PRODUCT.
Part
No.
1 TOP HINGE AXLE M8
2 9 SLICE TOASTER HANDLE
3 STAINLESS STEEL TOASTER HANDLE
4 PLASTIC TOASTER HANDLE
5 STAINLESS STEEL PRESSED COVER
6 M5 HEX SPACERS
7 TOP ELEMENT COVER PLATE
8 5MM MILL BOARD TOP
9 TOP ELEMENT 950W
10 ALUMINIUM TOP CASTING PANINI
11 BOTTOM ELEMENT 1200W
12 CONTROL FACIA PANEL
13 PILOT LIGHT
14 KNOB
15 BEZEL
16 CONTROL PANEL INSERT
17 ANVIL AXIS LOGO
18 THERMOSTAT
19 STAINLESS STEEL BODY
20 M5 PLATED EYE BOLT
21 SMALL RUBBER FEET
22 GALVANISED COVERPLATE
23 BOTTOM ELEMENT COVER
24 BOTTOM INSULATION PAD
25 BOTTOM HINGE AXLE M8
26 CABLE GRIP
27 POWER CORD
28 HANDLE ADJUSTMENT SCREW
29 HANDLE HINGE BRACKET
30 ALUMINIUM BOTTOM CASTING
31 HANDLE SPRING
32 DRIP CUP
33 SPRING BRACKET
Description
MODEL:SANDWICH PRESS RIBBED (NON TEFLON)
MODEL CODE : TSA9009 R01

CLEANING
1. Always ensure that the unit is disconnected from the mains
power supply before cleaning
2. This appliance should not be cleaned with a water jet or im mersed in water. Use only a damp cloth or sponge dipped in
soapy water.
3. Wipe off the unit with a dry cloth and wait at least half an hour
before re – connecting to the mains outlet.
WARNING
Burn Hazard.
Do not touch hot food,liquid or heating surfaces
while equipment is heating or operating
Hot surfaces and food can burn skin. Allow the hot surfaces to cool
before handling
THIS APPLIANCE SHOULD NOT BE CLEANED WITH
A WATER JET OR IMMERSED IN WATER. USE ONLY
A DAMP CLOTH OR SPONGE DIPPED IN SOAPY
WATER. DO NOT USE STEEL-WOOL WHICH WILL
MARK THE BRIGHT STAINLESS STEEL FINISH
EXPLODED DIAGRAM
SANDWICH PRESS RIBBED (NON TEFON)
MODEL CODE: TSA9009 R01
 Loading...