

Page 1
AE02B-A3659 Rev -- APPENDIX B
APPENDIX B
CONTROL SOFTWARE
1.0 INSTALLATION
The control software can be installed on any PC or Laptop running Windows 95/98/NT. An available
comm port and approximately 5 Mbytes of hard drive space will be required. Insert disk 1 into the drive
and run the “Setup.exe” program located on the floppy disk. This program can be started from either
the Start | Run menu on the Windows Taskbar or by double clicking on it from Windows Explorer.
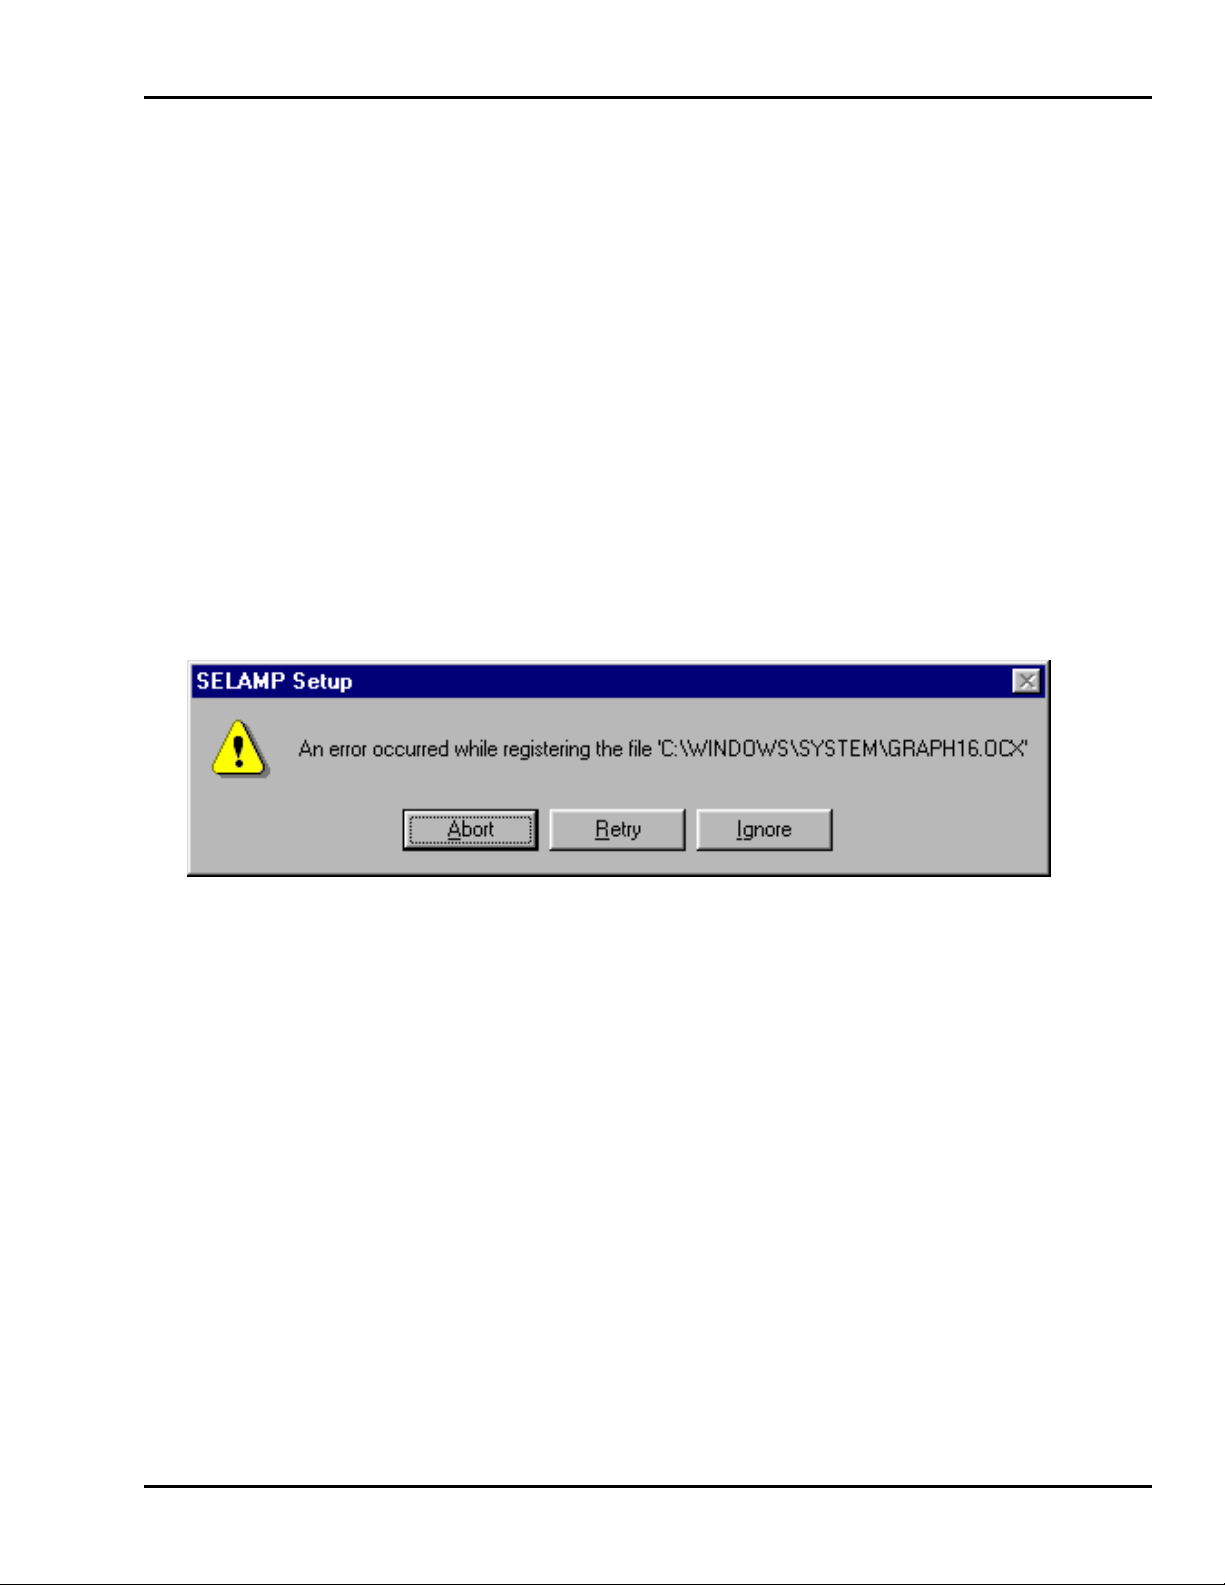
Follow the instruct ions until the setup program is complete. During installation, you may receive the
following error messages.
Press “Ignore” to continue. (This is a problem with the setup program and some versions of WIN95. It does
not affect SELAMP.)
Note: When installing a newer version of SELAMP to an existing directory, the setup program will
overwrite all files with old file dates and/or old file versions. The version number can be found by
selecting Help | About from t he menu.
2.0 OPERATION
The amplifier should be turned on and the programming cable (and adapter if necessary) should be
connected between the comm port of the PC and the front panel connector of the paging repeater. Start
the progra m by double cl i ck in g t he ico n on the de skt o p or by clickin g on the pr og r am na me fr om the St ar t ,
Programs pull down menu. The main window will open similar to Figure B-1.
Document use is restricted to that described on cover B-1
Page 2

AE02B-A3659 Rev -- APPENDIX B
Figure B-1. Main software control screen.
The software will immediately start communicating with the amplifer if the comm port and cabling is
configured properly. A green bar displaying “ connected to amplifer” will be displayed on the bottom of the
main window. If a red bar indicating “timeout on response from amplifier!” is displayed then most likely the
comm port has to be configured. This is accomplished by clicking on the Config pull down menu and
selecting the appropriate comm port. Once the software is communicating properly with the amplifier then
the channels may be programmed. This is accomplished by clicking inside the channel boxes. A Set
Channel window will open as shown in Figure B-2.
Document use is restricted to that described on cover B-2
Page 3

AE02B-A3659 Rev -- APPENDIX B
Figure B-2. Set Channel screen.
Each of the channels may be programmed by either clicking inside the box and entering the desired
frequency or clicking on the numbers. Click on the Set button to send the frequency information to the
amplifier. Click on the Ex it button to close the Set Channel w indow and return to the main screen.
The program may be closed by simply cli cking on the Exit button on the main scr een.
Document use is restricted to that described on cover B-3
 Loading...