

Amana NED7300WW1, NGD7300WW1, NGD7300WW0, NED7300WW0 Owner’s Manual

ELECTRONIC DRYER
,®
For questions about features, operation/performance, parts,
accessories, or service,call: 1-800-843-0304
or visit our website at...
7Fandem
www.amana.com
In Canada, call: 1-800-807-6777
or visit our website at...
www.amanacanada.ca
QUICK START GUIDE/
DRYER USE ............ PG. 4
Para una versibn en espahol, visite:
www.amana.com
NQmero de pieza W10240880A
SECHEUSE
ELECTRONIQUE
Pour assistance, installation, ou service, composez le : 1-800-807-6777
GUIDE DE DI_MARRAGE RAPIDE/UTILISATION
ou visitez notre site internet A..
www.amana.ca
DE LA SI_CHEUSE.... PG. 13
LE0FC 8
Page
DRYER SAFETY ........................................................................................... 2
QUICK START GUIDE/DRYER USE .......................................................... 4
Cycles ....................................................................................................... 6
Additional Features ................................................................................... 6
Changing Cycles and Settings ................................................................. 6
DRYER CARE ............................................................................................... 7
TROUBLESHOOTING ................................................................................. 8
WARRANTY ............................................................................................... 10
ASSISTANCE OR SERVICE .................................................. BACK COVER
Page
SECURITE DE LA SECHEUSE ................................................................. 11
GUIDE DE DEMARRAGE RAPIDE/
UTILISATION DE LA SI_CHEUSE ............................................................. 13
Programmes ........................................................................................... 15
Caract_ristiques suppl6mentaires .......................................................... 15
Changement des programmes et optionss ........................................... 15
ENTRETIEN DE LA SEOHEUSE ............................................................... 16
DEPANNAGE ............................................................................................. 18
GARANTIE .................................................................................................. 20
ASSISTANCE OU SERVICE ............................... COUVERTURE ARRIERE
W10240875A
W10240880A - SP

DRYERSAFETY
Your safety and the safety of others are very important.
We have provided many important safety messages in this manual and on your appliance. Always read and obey all safety
messages.
This is the safety alert symbol.
This symbol alerts you to potential hazards that can kill or hurt you and others.
All safety messages will follow the safety alert symbol and either the word "DANGER" or "WARNING."
These words mean:
You can be killed or seriously injured if you don't immediately_
follow instructions.
You can be killed or seriously injured if you don't follow
instructions.
All safety messages will tell you what the potential hazard is, tell you how to reduce the chance of injury, and tell you what can
happen if the instructions are not followed.
WARNING - "Risk of Fire"
- Clothes dryer installation must be performed by a qualified installer.
- Install the clothes dryer according to the manufacturer's instructions and local codes.
- Do not install a clothes dryer with flexible plastic venting materials, if flexible metal
{foil type) duct is installed, it must be of a specific type identified by the appliance
manufacturer as suitable for use with clothes dryers, Flexible venting materials are
known to collapse, be easily crushed, and trap lint. These conditions will obstruct
clothes dryer airflow and increase the risk of fire.
- To reduce the risk of severe injury or death, follow all installation instructions.
- Save these instructions.
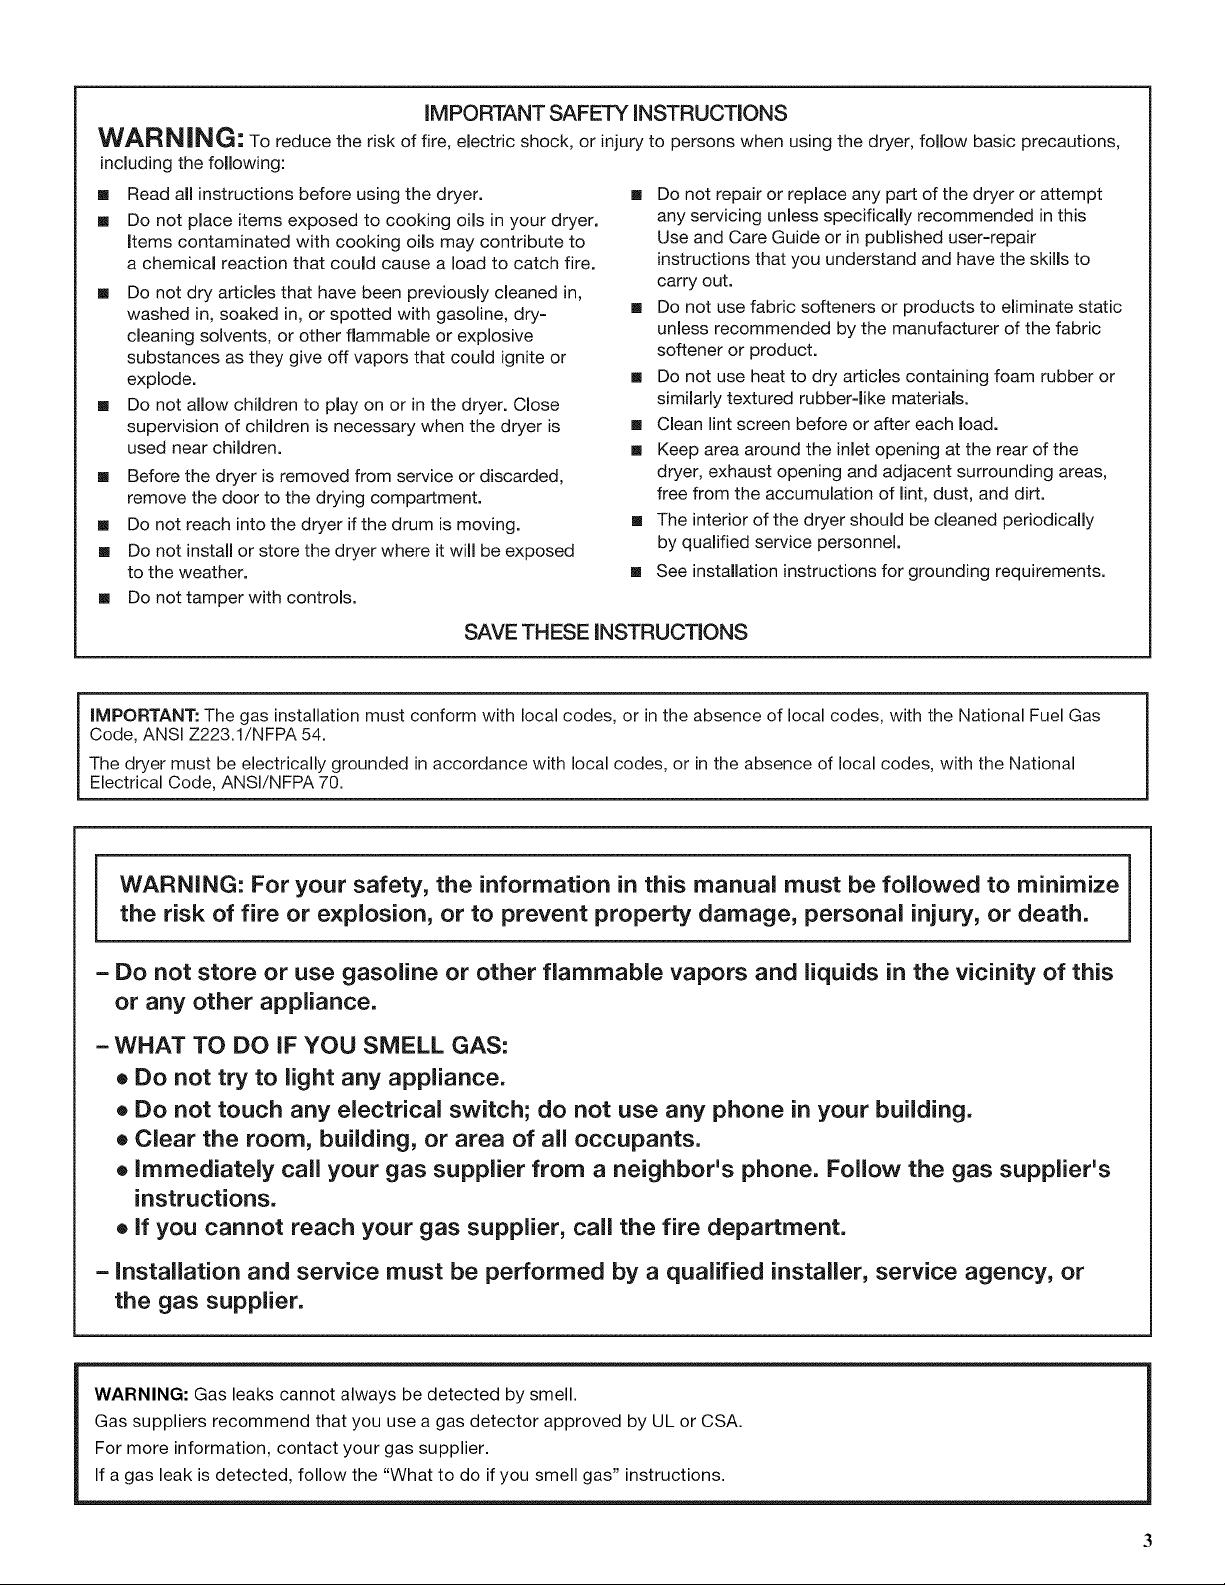
IMPORTANT SAFETY INSTRUCTIONS
WARN_NG." To reduce the risk of fire, electric shock, or injury to persons when using the dryer, follow basic precautions,
including the following:
[] Read all instructions before using the dryer.
[] Do not place items exposed to cooking oils in your dryer.
Items contaminated with cooking oils may contribute to
a chemical reaction that could cause a load to catch fire.
[] Do not dry articles that have been previously cleaned in,
washed in, soaked in, or spotted with gasoline, dry-
cleaning solvents, or other flammable or explosive
substances as they give off vapors that could ignite or
explode.
[] Do not allow children to play on or in the dryer. Close
supervision of children is necessary when the dryer is
used near children.
[] Before the dryer is removed from service or discarded,
remove the door to the drying compartment.
[] Do not reach into the dryer if the drum is moving.
[] Do not install or store the dryer where it will be exposed
to the weather.
[] Do not tamper with controls.
[] Do not repair or replace any part of the dryer or attempt
any servicing unless specifically recommended in this
Use and Care Guide or in published user-repair
instructions that you understand and have the skills to
carry out.
[] Do not use fabric softeners or products to eliminate static
unless recommended by the manufacturer of the fabric
softener or product.
[] Do not use heat to dry articles containing foam rubber or
similarly textured rubber=like materials.
[] Clean lint screen before or after each load.
[] Keep area around the inlet opening at the rear of the
dryer, exhaust opening and adjacent surrounding areas,
free from the accumulation of lint, dust, and dirt.
[] The interior of the dryer should be cleaned periodically
by qualified service personnel.
[] See installation instructions for grounding requirements.
SAVE THESE INSTRUCTIONS
IMPORTANT: The gas installation must conform with local codes, or in the absence of local codes, with the National Fuel Gas
Code, ANSI Z223.1/NFPA 54.
The dryer must be electrically grounded in accordance with local codes, or in the absence of local codes, with the National
Electrical Code, ANSI/NFPA 70.
WARNING: For your safety, the information in this manual must be followed to minimize
the risk of fire or explosion, or to prevent property damage, personal injury, or death.
- Do not store or use gasoline or other flammable vapors and liquids in the vicinity of this
or any other appliance.
- WHAT TO DO IF YOU SMELL GAS:
• Do not try to light any appliance.
• Do not touch any electrical switch; do not use any phone in your building.
• Clear the room, building, or area of all occupants.
• Immediately call your gas supplier from a neighbor's phone. Follow the gas supplier's
instructions.
• If you cannot reach your gas supplier, call the fire department.
= Installation and service must be performed by a qualified installer, service agency, or
the gas supplier.
WARNING: Gas leaks cannot always be detected by smell.
Gas suppliers recommend that you use a gas detector approved by UL or CSA.
For more information, contact your gas supplier.
If a gas leak is detected, follow the "What to do if you smell gas" instructions.
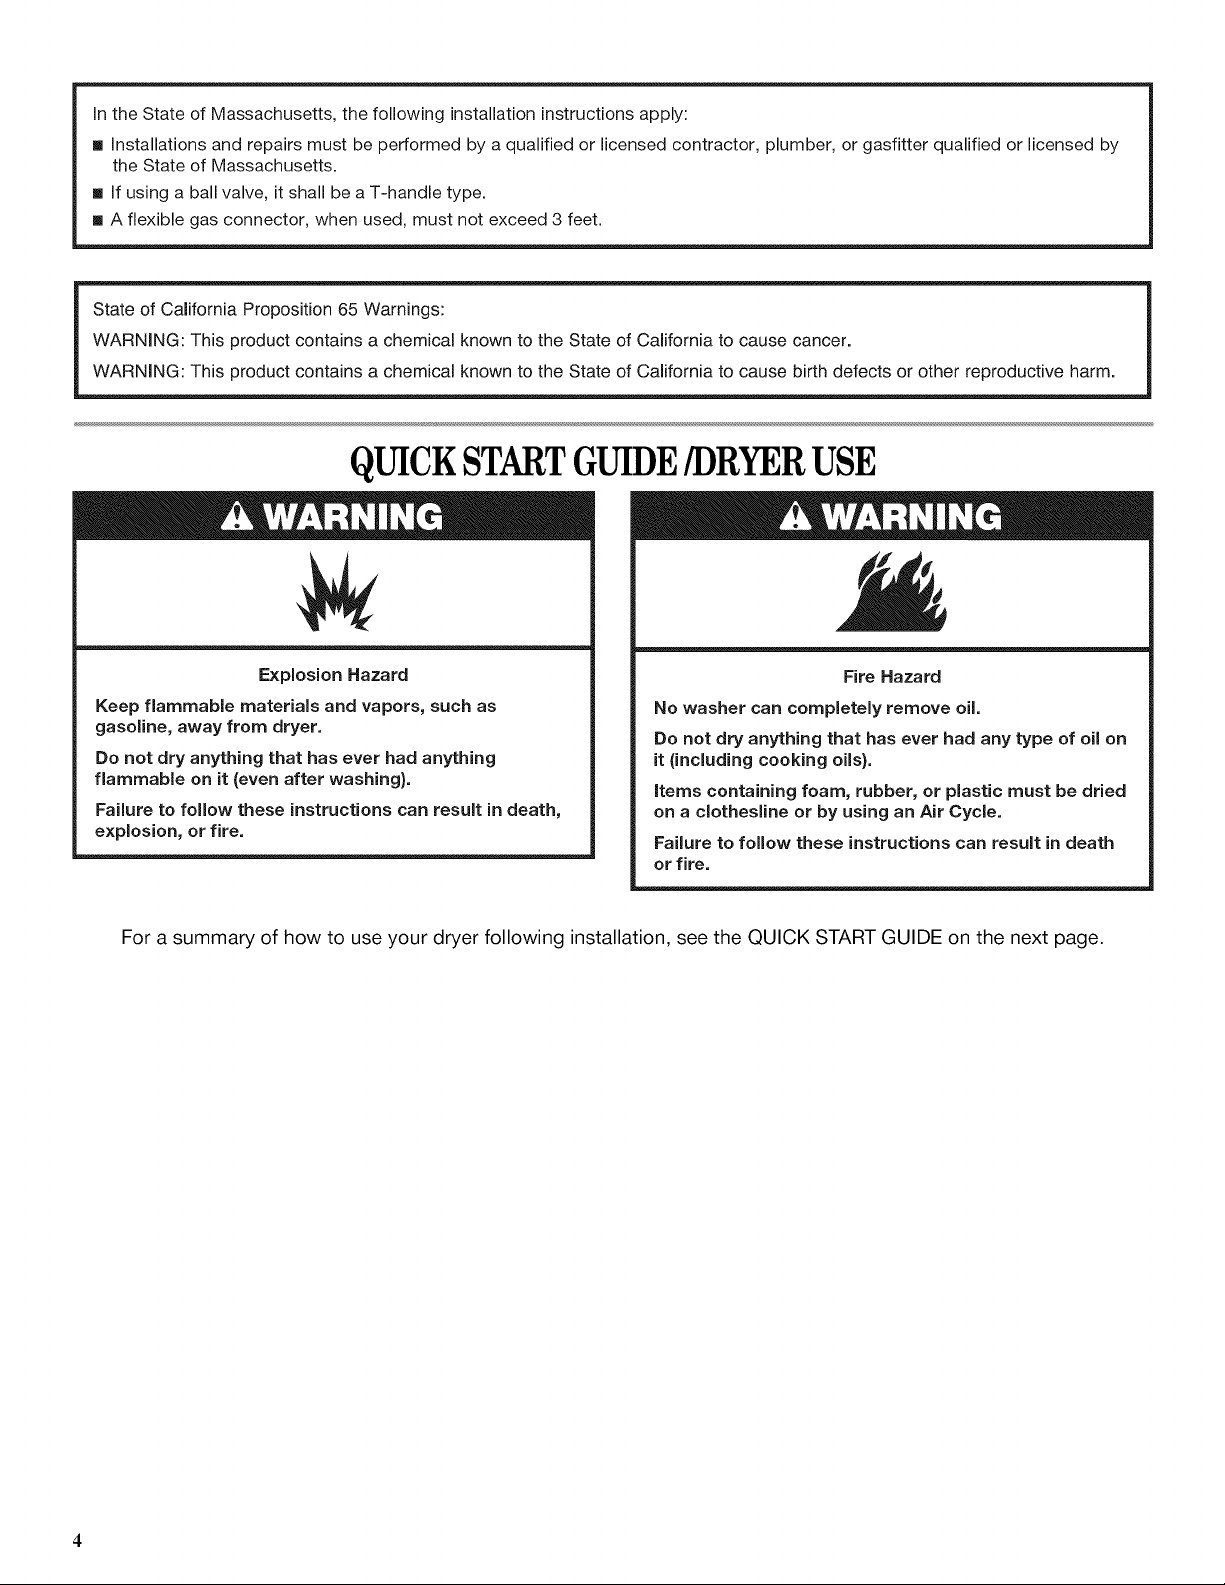
IntheStateofMassachusetts,thefollowinginstallationinstructionsapply:
mInstallationsandrepairsmustbeperformedbyaqualifiedorlicensedcontractor,plumber,orgasfitterqualifiedorlicensedby
theStateofMassachusetts.
mIfusingaballvalve,itshallbeaT-handletype.
mAflexiblegasconnector,whenused,mustnotexceed3feet.
StateofCaliforniaProposition65Warnings:
WARNING:ThisproductcontainsachemicalknowntotheStateofCaliforniatocausecancer.
WARNING:ThisproductcontainsachemicalknowntotheStateofCaliforniatocausebirthdefectsorotherreproductiveharm.
QUICKSTARTGUIDE/DRYERUSE
Explosion Hazard
Keep flammable materials and vapors, such as
gasoline, away from dryer,
Do not dry anything that has ever had anything
flammable on it (even after washing).
Failure to follow these instructions can result in death,
explosion, or fire.
For a summary of how to use your dryer following installation, see the QUICK START GUIDE on the next page.
No washer can completely remove oil.
Do not dry anything that has ever had any type of oil on
it (including cooking oils).
items containing foam, rubber, or plastic must be dried
on a clothesline or by using an Air Cycle.
Failure to follow these instructions can result in death
or fire.
Fire Hazard
4

QUICKSTARTGUIDE
7Fandem
7300
STATUS
wet
damp •
oool down
complete
AUTO DRY TIMED DRY TEMP
Delicate 60
Normal e _'_- @ 40 _ high
Heavy Duty _ 0 20 _ low
_ _ @a(_r dry
power hold to start/pause
medium
_ cycle si#nal
WARNING: To reduce the risk of fire electric shock, or injury to persons, readthe IMPORTANTSAFETYINSTRUCTIONS
before operating this appliance.
This Useand Care Guidecovers several different models. Your dryer may not have all the cycles and features described.

NOTE:Notallcyclesareavailableonallmodels.
Pressthecycleselectorbuttontoselectthedryingcyclethat
matchesthetypeofloadyouaredrying.SeeAUTODRYor
TIMEDDRYCycleSettingschart.
AUTO DRY TIMED DRY
Delicate 60
@ @
=o.ma,
Heavy Duty@ // \ \ @ 20
Air Dry
Use the Air Dry temperature setting with TIMED DRY cycles for
items that require drying without heat such as rubber, plastic, and
heat-sensitive fabrics. This chart shows examples of items that
can be dried using Air Dry.
Type of Load Est.
Time*
(Minutes)
Foam rubber - pillows, padded bras, stuffed toys 20 - 30
Plastic - shower curtains, tablecloths 20 - 30
Rubber-backed rugs 40 - 50
push to
select
Cycle selection button
AUTO DRY Cycles
AUTO DRY Cycles allow you to match the cycle to the load you
are drying. See the following AUTO DRY Preset Cycle Settings
chart. Each cycle dries certain fabrics at the recommended
temperature.
A sensor detects the moisture in the load and automatically
adjusts the drying time for optimal drying.
AUTO DRY Cycle Settings
AUTO DRY Cycles Temperature Est.
Load Type Cycle
HEAVY DUTY High 45
Heavyweight items, towels, jeans
NORMAL Medium 35
Corduroys, work clothes, sheets
DELICATE Low 30
Lingerie, blouses, washable
woolens
TIMED DRY Cycles
Use TIMED DRY Cycles to select a specific amount of drying time
and a drying temperature. Press the TEMP button to change the
drying temperature from the default setting. The default drying
temperature is High.
Time
(Minutes)
TIMED DRY Cycle Settings
TIMED DRY Cycles Temperature Cycle Time*
Load Type (Minutes)
Olefin, polypropylene, sheer nylon 10 - 20
*Reset time to complete drying, if needed.
When using Air Only
• Check that coverings are securely stitched.
• Shake and fluff pillows by hand periodically during the cycle.
• Dry item completely. Foam rubber pillows are slow to dry.
NOTE: AUTO DRY Cycles are not available when using the Air
Only setting.
Cycle Signal
The Cycle Signal produces an audible sound when
the drying cycle is finished. Press CYCLE SIGNAL
to turn On or Off at any time before or during a
cycle.
You can change AUTO DRY Cycles, TIMED DRY Cycles, and the
drying temperature on TIMED DRY Cycles at any time before
pressing START/PAUSE.
• Three short tones sound if an unavailable combination is
selected. The last selection will not be accepted.
Changing Cycles after starting dryer
1. Press the POWER button. This ends the current cycle and
turns the dryer OFE
2. Press the POWER button again or press the cycle selector to
turn on the dryer.
3. Select the desired cycle and options.
4. Press and hold START/PAUSE. The dryer starts at the
beginning of the new cycle.
Changing Drying Temperature
You can change the drying temperature on Timed Dry cycles at
any time by pressing the TEMP button until the desired drying
temperature is lit.
@ cycle signal
©
TIMED DRY High 60, 40, 20
Heavyweight items,
bulky items, bedspreads,
work clothes
*Reset time to complete drying, if needed.
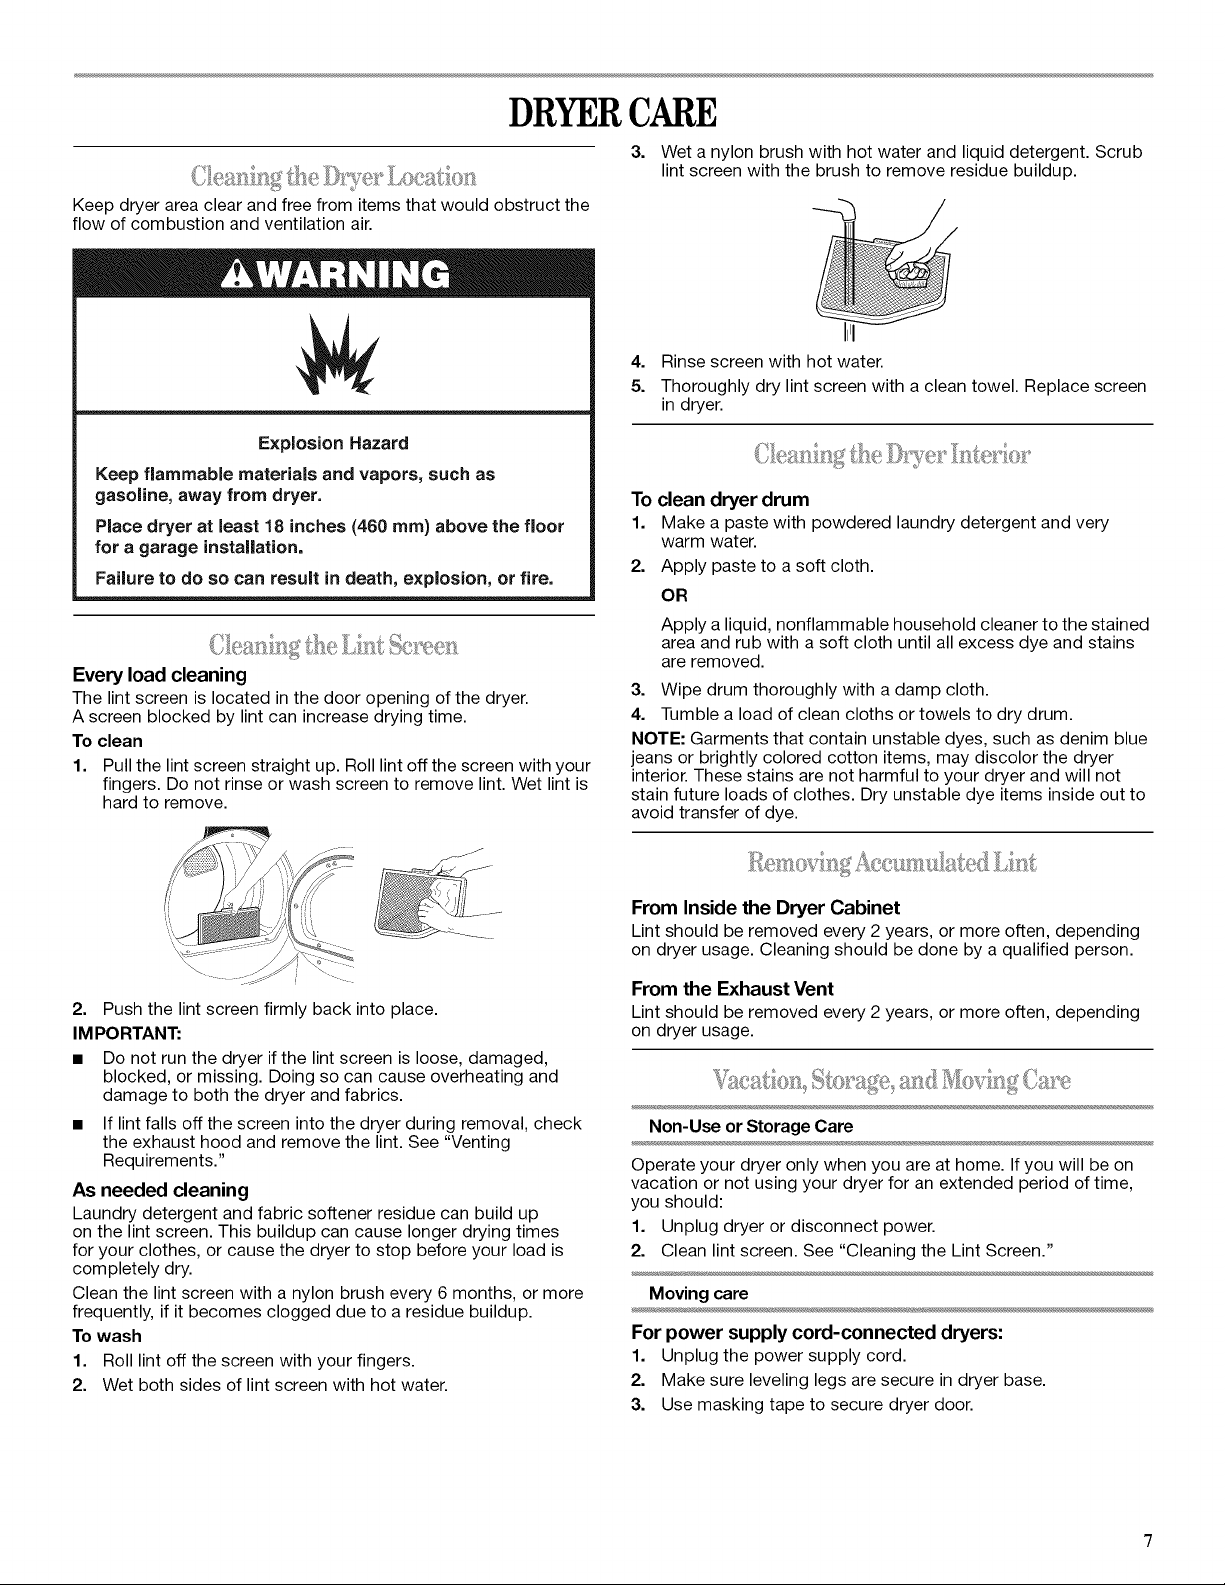
DRYERCARE
Keep dryer area clear and free from items that would obstruct the
flow of combustion and ventilation air.
Explosion Hazard
Keep flammable materials and vapors, such as
gasoline, away from dryer.
Place dryer at least 18 inches (460 ram) above the floor
for a garage installation.
Failure to do so can result in death, explosion, or fire.
Every load cleaning
The lint screen is located in the door opening of the dryer.
A screen blocked by lint can increase drying time.
To clean
1. Pull the lint screen straight up. Roll lint off the screen with your
fingers. Do not rinse or wash screen to remove lint. Wet lint is
hard to remove.
3. Wet a nylon brush with hot water and liquid detergent. Scrub
lint screen with the brush to remove residue buildup.
4. Rinse screen with hot water.
5. Thoroughly dry lint screen with a clean towel. Replace screen
in dryer.
To clean dryer drum
1. Make a paste with powdered laundry detergent and very
warm water.
2. Apply paste to a soft cloth.
OR
Apply a liquid, nonflammable household cleaner to the stained
area and rub with a soft cloth until all excess dye and stains
are removed.
3. Wipe drum thoroughly with a damp cloth.
4. Tumble a load of clean cloths or towels to dry drum.
NOTE: Garments that contain unstable dyes, such as denim blue
jeans or brightly colored cotton items, may discolor the dryer
interior. These stains are not harmful to your dryer and will not
stain future loads of clothes. Dry unstable dye items inside out to
avoid transfer of dye.
_/
2. Push the lint screen firmly back into place.
IM PORTANI"."
• Do not run the dryer if the lint screen is loose, damaged,
blocked, or missing. Doing so can cause overheating and
damage to both the dryer and fabrics.
• If lint falls off the screen into the dryer during removal, check
the exhaust hood and remove the lint. See "Venting
Requirements."
As needed cleaning
Laundry detergent and fabric softener residue can build up
on the lint screen. This buildup can cause longer drying times
for your clothes, or cause the dryer to stop before your load is
completely dry.
Clean the lint screen with a nylon brush every 6 months, or more
frequently, if it becomes clogged due to a residue buildup.
To wash
1. Roll lint off the screen with your fingers.
2. Wet both sides of lint screen with hot water.
From Inside the Dryer Cabinet
Lint should be removed every 2 years, or more often, depending
on dryer usage. Cleaning should be done by a qualified person.
From the Exhaust Vent
Lint should be removed every 2 years, or more often, depending
on dryer usage.
V_ o
Non-Use or Storage Care
Operate your dryer only when you are at home. Ifyou will be on
vacation or not using your dryer for an extended period of time,
you should:
1. Unplug dryer or disconnect power.
2. Clean lint screen. See "Cleaning the Lint Screen."
Moving care
For power supply cord-connected dryers:
1. Unplug the power supply cord.
2. Make sure leveling legs are secure in dryer base.
3. Use masking tape to secure dryer door.

For direct-wired dryers:
Electrical Shock Hazard
Disconnect power before servicing.
Replace all parts and panels before operating.
Failure to do so can result in death or electrical shock.
,% , = _ ,_ y_, _ _ +
The dryer light automatically turns on inside the dryer drum when
you open the door.
1. Disconnect power.
2. Disconnect wiring.
3. Make sure leveling legs are secure in dryer base.
4. Use masking tape to secure dryer door.
Reinstalling the dryer
Follow the "Installation Instructions" to locate, level, and connect
the dryer.
TROUBLESHOOTING
First try the solutions suggested here and possibly avoid the cost of a service call...
For additional recommendations, refer to your Installation Instructions.
Dryer will not run
Is the dryer door firmly closed?
Was the START/PAUSE button firmly pressed?
Large loads may require pressing and holding the Start button
for 2-5 seconds.
Has a household fuse blown, or has a circuit breaker
tripped?
There may be 2 household fuses or circuit breakers for the
dryer. Check that both fuses are intact and tight, or that both
circuit breakers have not tripped. Replace the fuse or reset the
circuit breaker. If the problem continues, call an electrician.
Is the correct power supply available?
Electric dryers require 240-volt power supply. Check with a
qualified electrician.
Was a regular fuse used?
Use a time-delay fuse.
Unusualsounds
To change the drum light
1. Unplug dryer or disconnect power.
2. Open the dryer door. Locate the light bulb cover on the back
wall of the dryer. Remove the screw located in the lower right
corner of the cover. Remove the cover.
3.
Turn bulb counterclockwise. Replace the bulb with a 10-watt
appliance bulb only. Replace the cover and secure with the
screw.
4. Plug in dryer or reconnect power.
Are the four legs installed, and is the dryer level front to
back and side to side?
The dryer may vibrate if not properly installed. See the
Installation Instructions.
Is the clothing knotted or balled up?
When balled up, the load will bounce, causing the dryer to
vibrate. Separate the load items and restart the dryer.
No heat
Has a household fuse blown, or has a circuit breaker
tripped?
The drum may be turning, but you may not have heat. Electric
dryers use 2 household fuses or circuit breakers. Replace the
fuse or reset the circuit breaker. If the problem continues, call
an electrician.
Dryer displaying error message (WET indicator flashing)
WET indicator is flashing:
If the WET indicator on the dryer control panel is flashing, with
a pause between flashes,the dryer control has detected a
problem that requires service. Call for service.
Has the dryer had a period of non-use?
If the dryer hasn't been used for a while, there may be a
thumping sound during the first few minutes of operation.
Is a coin, button, or paper clip caught between the drum
and front or rear of the dryer?
Check the front and rear edges of the drum for small objects.
Clean out pockets before laundering.
Clothes are not drying satisfactorily, drying times are too long,
or load is too hot
• Is the lint screen clogged with lint?
Lint screen should be cleaned before each load.
 Loading...