

Page 1
R
English
User's Manual
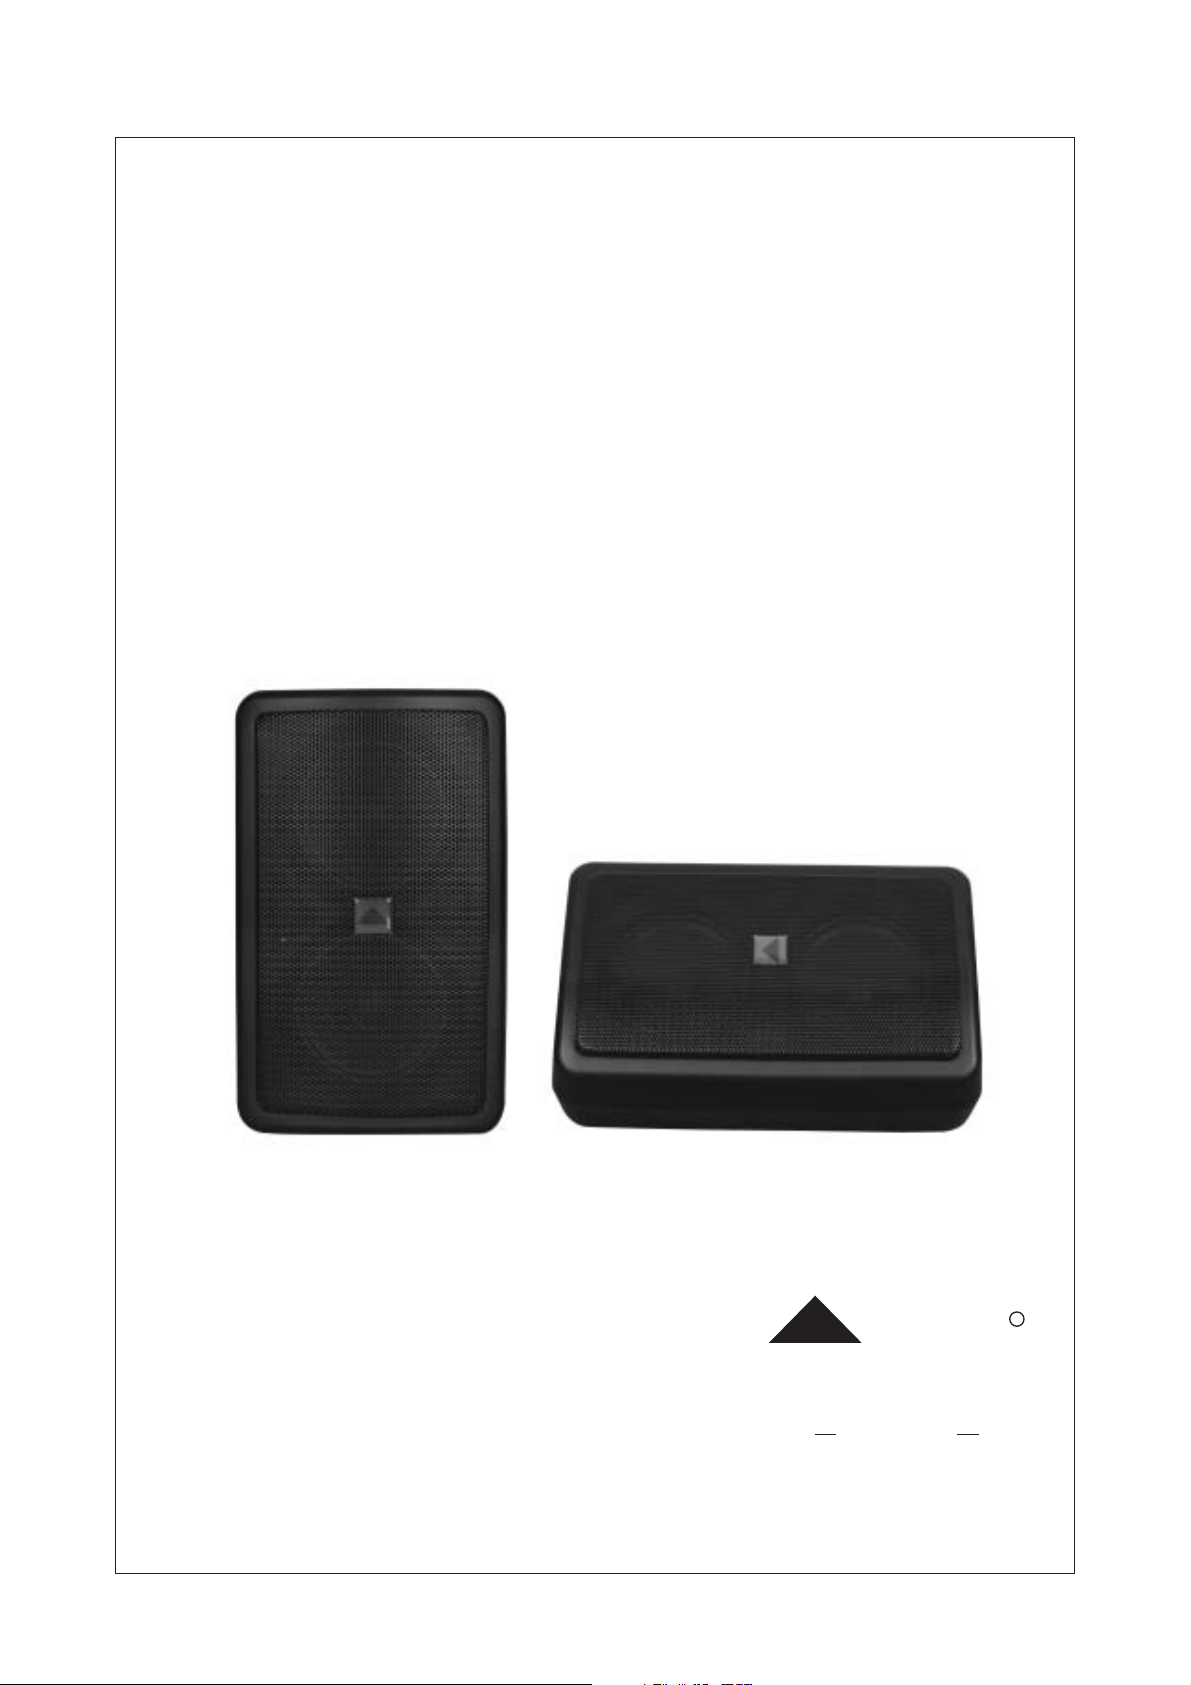
PAM Series
PAM5T Transformer 70.7V/100V Constant Voltage
PAM5 Passive Live Monitor
PAM5A Active Live Monitor
LTO
www.altoproaudio.com
Version 1.0 October 2003
Page 2

SAFETY INSTRUCTIONS
CAUTION
RISK OF ELECTRIC SHOCK
DO NOT OPEN
"Electric discharge"
This symbol, alert you to the presence of uninsulated dangerous voltage inside the product which constitutes aenclosure,
risk of electric shock.
"Exclamatory point"
This symbol, alert the user to the presence of important operating and maintenance instructions the owner's manualin
included to the product.
1. Read Instructions
All the safety and operation instructions should be read before using the product and retain them for future reference.
2. Water & Moisture
This product should not be used near water and will be protect from atmospheric agents in fixed or temporary installations.
3. Heat
This product should be situated away from heat sources such as radiators, or other devices which produce heat.
4. Liquid Entry
Care should be taken so that liquids are not spilled into the product and that objects do not fall on.
5. Service Assistance
This product should be serviced only by qualified service personnel when :
a. Liquids has spilled or objects have fallen into this product, or
b. This product has been exposed to rain, or
c. This product does not appear to operate normally or exhibits change in performance, or been dropped or itshas
cabinet / chassis damaged.
6. Package
The package of this product has been tested, inspect the package before open, if any damage is found, notify to
your dealer.
7. Hearing
This product produce high acoustic levels may cause permanent hearing loss, (SPL in for a defined period of time).
8. Installations
This product should be installed on the wall or in the floor with specific stands, according to the max weight.
1
Page 3

TABLE OF CONTENT
1. PAM5 Passive Live Monitor
1.1 Quick Start - Passive Speaker Cabinet
1.2 Input / Link Connections
1.3 Wire Connections
...............................................................................................................3
2. PAM5AActive Live Monitor ...............................................................................................................5
2.1 Quick Start - Active Speaker Cabinet
2.2 Control Elements for PAM5A Rear Panel
3. PAM5T Installation Speaker Cabinet
3.1 Quick Start Passive - Line 70.7/100V connection
3.2 Control Elements for PAM5T Rear Panel
4. Technical Specifications
......................................................................................................................8
......................................................................... ......................6
2
Page 4

1. PAM5 Passive Live Monitor
1.1 Quick Start - Passive Speaker Cabinet
Make all initial connections, with the power switches Off for all equipment and main volumes are closed.
Connect one side of the speaker cable to the (SPK+1/-1) or Binding Post of your stereo powerOutput CHA-CHB
amplifier and the other side to the (Jack for Live applications) or (for fixed installations).Input Link Push-Button
Caution: The Nominal Impedance is 16 ohm and the Minimum Impedance is 12 ohm.
Put more attention to the impedance value, when you connect more speakers with the same power amplifier.
1.2 Input / Link Connections
LTO
R
PAM5
SOUND REINFORCEMENT
SPEAKER SYSTEM
POWER HANDLING
AES 100 Watts
PEAK 200 Watts
IMPEDANCE
16 ohms nominal
MODEL
SER AL
DESIGNED AND DEVELOPMENT IN ITALY
LINK
INPUT
-
+
INPUT
(1)
(2)
Two types of linked connector are used, for Live application and for fixed instal-Mono Jack (1) Push-Button (2)
lation.
The Positive connection is usually marked with(+),orRedforpush-button.
In case of 1/4" Standard Jack, the Tip of the plug is positive connection.
The Negative connection is usually marked with(-),orBlack for push-button.
The sleeve of 1/4" Standard Jack will be the negative connection.
3
Page 5

1.3 Wire Connections
Here, we strongly recommend you to pay more attention to its electrical connection with the power amplifier, and
avoid any polarity mismatch issue. For further details, please refer to the following configuration.
LINK
INPUT
-
INPUT
CH B
L NE
2
3
OFF
BALANCED
INPU
L NE
2
1
3
OFF ON
CH A
BRIDGED INPUT
Set to stereo mode
+)
LF30HZ
F LTER
1 15V20K
C IP LM T
+
12
(GND)
PARALLEL
(MONO)
NPUT
CONNECT ON
ON
BR DGED
STEREO
LINK
INPUT
-
+
INPUT
+
SRT
T+)
R )
SGND
BRIDGED
MONO
CHANNEL A CHANNEL B
LINK
BREAKER
WARNNG
TOREDUCE THERISKOF FIRE
ORE ECTRC SHOCKDO NOT
EXPOSETH SAPPARATUSTO
RAN ORMOISTURE
SEEINSTRUC IONBEFORE
USNG!
LINK
MODEL
SERAL
-. Power Connections
TIPSLEEVE SLEEVETIP
TIPSLEEVE
+
-
BI WIRE
SPEAKON
INPUT
-
INPUT
INPUT
+
-
+
INPUT
Tip
Sleeve
1+
1+
1-
2-
2+
2+
Tip
1
Sleeve
RED
BLACK
Tip
Sleeve
+1
1
+
-
4
Page 6

2. PAM5A Active Live Monitor
2.1 Quick Start - Active Speaker Cabinet
Make all initial connections, with the power switches Off for all equipment and main volumes are closed.
Connect one side of the signal cable at your audio mixer in to Output Left - Right (with Stereo - Jack or XLR) and
the other side of the cable in to the Line Input (Combo) of your active speaker cabinet. Start always with the LINE
switch sensitivity in +6dB positions.
Caution: The Line Input (Combo) and Link (XLR) are connected in Balanced or Unbalanced mode (Positive 2 /
Negative 3 / Ground 1).
The input with RCA connector, work in direct mode and by-pass the Volume control.
2.2 Control Elements for PAM5A Rear Panel
(9)
INPUT
L NE
(7)
MIC
L NK
PUSH
CLIP10dB INPUT
SENSITIVITY
MIC
LINE
45dB 6dB
(10)
(8)
(6)
(5)
Max
VOLUNE
MODEL
SERIAL
LTO
PAM5A
ON POWER
(1)
(2)
AC~2 240V5FUSE 2A
OFF
(3)(4)
(1) Power Indicator
This LED lights up blue when the PAM5A active speakers are powered ON.
(2) Power Switch
This switch is used to turn the PAM5A active speakers ON or OFF.
Caution: Make sure your supply voltage is same to the value printed on the rear panel, before turn on the
switch, (230V - 50Hz # 115V - 60Hz).
5
Page 7

(3) Mains Fuse
The fuse is a security device for mistake in the power supply, replace the fuse with the same type (230V 2A # 115V - 4A).
Caution: Ask always at qualified personnel only.
(4) Power Cord
The power cord is a standard printed cable with ground makes for your security. Do not cut or replace the
connector, be sure that ground is always connected at voltage supply line.
Caution: Ask always at qualified personnel only.
(5) Main Volume
This control adjusts the proper signal present on the Combo Connector (Line Input).
The signal present on the RCA-Connector (Input) is out of the Volume Control.Caution:
(6) Out / Link
Balanced Output (XLR Male), can be used for linked at another PAM5A Active Speaker with the same signal
level of the first.
(7) Signal Input
Line Input on combined connector (XLR / Jack) for receive any type of signal Sources.
Balanced or unbalanced configuration is possible.
(8) Sensitivity Switch
Use this switch in LINE position at +6dB when you connect an Audio Mixer, use this switch in MIC position at
-45dB when you connect a Microphone.
(9) Direct Aux Input
Direct Aux Input, with RCA connector, the signal work without volume control at -10dB of sensitivity.
(10) Limiter Indicator
When the LED indicator, flashes in Red colour the limiter circuit is engaged, when the LED indicator switches
In fixed Red, the signal is excessive, adjust the Volume control or decrease the Mixer Output.
3. PAM5T Installation Speaker Cabinet
3.1 Quick Start Passive - Line 70.7V/100V connection
Make all initial connections, with the power switches Off for all equipment and main volumes are closed.
The 70.7V or 100V connection is possible only with power amplifier included the output transformer for same
voltage value 70.7V/100V.
Connect one side of the bi-wire cable at your 70.7V or 100V power amplifier and the other side at the Input of
PAM5T (push-button) or with a Mono Jack .
After this, select the desired power level of PAM5T, read the value in the 70.7V list from 60W (83 ohm) to 7.5W
(666 ohm) or in 100V list from 60W (166 ohm ) to 7.5W (1.33kohm).
Caution: Before switching ON the external power amplifier, verify the correct position of the Power Selections
(Off - 7.5W/15W/30W/60W ) and the correct position of slider selection (Passive - Line 70.7V/100V).
6
Page 8

3.2 Control Elements for PAM5T Rear Panel
LTO
PAM5T
SOUND REINFORCEMENT
SPEAKER SYSTEM
POWER HANDLING LINE 70.7V/100V
AES 60 W PEAK 120 W Z 83/166 ohms
POWER HANDLING PASSIVE
AES 100 W PEAK 200 W Z 16 ohms
MODEL
SER AL
70V
W
166
60W
83
83
83
166
166
30W
Off
15W
333
7 5W
666
LINK
INPUT
-
LINE 70.7V/100VPASSIVE
(3)
100V
666
1 33K
166
166
333
333
666
666
1 33k
60W
30W
15W
7 5W
W
333
(2)
(1)
+
INPUT
DESIGNED AND DEVELOPMENT IN ITALY
(1) Input / Link Connection
Two types of linked connector are used, Mono Jack for Live application and push-button for fixed installation.
The Positive connection is usually marked with(+),orRedforpush-button.
In case of 1/4" Standard Jack, the Tip of the plug is positive connection.
The Negative connection is usually marked with(-),orBlack for push-button.
The sleeve of 1/4" Standard Jack will be the negative connection.
(2) Power Selections
With this rotary switch, it is possible to select the power level of the PAM5T from 7.5W minimum to 60W maximum, for two different Constant Voltages 70.7V or 100V. In Off position the speaker system is disconnected
from the Line.
(3) Passive - Line Selector
The type of work for PAM5T is selectable by a slider selector.
When in PASSIVE position, the PAM5Ts work in passive configuration at 16 ohm.
When in LINE 70.7V / 100V position, the transformer inside will be engaged.
7
Page 9

4. Technical Specifications
Power Handling
Frequency Response
Sensitivity (1watt @ 1mt)
Max SPL (1mt)
Speaker Complement
Connectors
Impedance
Enclosure Materials
Fixing Point
Dimensions
Weight
Power Amplifier
Frequency Response
Max SPL (1mt)
Speaker Complement
Connectors
Volume Control
Power Supply
Enclosure Materials
Fixing Point
Dimensions
Weight
PAM5 - Passive Live Monitor
100W AES Standard /200W Peak Power
75Hz - 16kHz @ +/- 10dB
94dB (1-2kHz octave band)
at 100W -114dB @ at 200W -117dB
Two 5-inch extended range speakers
INPUT - LINK On Mono jack for live application
Push-button for fixed installation
16ohms nominal -12ohms minimum
High resistant plastic, anthracite colour
4 M4 standard (2 Vertical and 2 Horizontal side)
315 (H) 195 (W) 195 (D)mm
4.5kg (10lbs)
PAM5A - Active Live Monitor
100W RMS (2 50W class AB) /200W Peak Power
75Hz - 16kHz @ +/- 10dB
at 1mt -114dB @ at 0.5mt - 120dB
Two 5-inch extended range speakers
MIC/LINE balanced input at -45/+6dB (Combo Connector)
AUX Input at -10dB with RCA connector
LINK Output at -45/+6dB with XLR
Continuous, work only on MIC/LINE input
230V - 115V@ 50 - 60Hz
High resistant plastic, anthracite colour
4 M4 standard (2 Vertical and 2 Horizontal side)
315 (H) 195 (W) 195 (D)mm
5.5kg (12lbs)
Power Handling
Frequency Response
Max. SPL (1mt)
Speaker Complement
Connectors
Enclosure Materials
Fixing Point
Dimensions
Weight
Power Handling
Frequency Response
Sensitivity (1watt @ 1mt)
Max SPL (1mt)
Impedance
PAM5T Installation Speaker Cabinet
60W AES Standard / 120W Peak (transformer-limited)
70.7V option, 60W (83ohm); 30W (166ohm); 15W (333ohm); 7.5W (666ohm); OFF
100V option, 60W (166ohm); 30W (333ohm); 15W (666ohm); 7.5W (1.33kohm); OFF
75Hz - 16kHz @ +/-10dB
at 60W -110dB @ at 120W -113dB
Two 5-inch extended-range speakers
INPUT - LINK on Mono Jack for live application, or
Push-button for Constant Voltage in fixed installation
Slide selector for PASSIVE (16ohm)/LINE (70.7V/100V)
Rotary switch for selectable power output (Off +5 step)
High resistant plastic, anthracite colour
4 M4 standard (2 Vertical and 2 Horizontal side)
315 (H) 195 (W) 195 (D)mm
5kg (11lbs)
PASSIVE CONFIGURATIONS
100W AES Standard /200W Peak Power
75Hz - 16kHz @ +/- 10dB
94dB (1-2kHz octave band)
at 100W -114dB @ at 200W -117dB
16ohms nominal - 12ohms minimum
8
Page 10

SEIKAKU TECHNICAL GROUP LIMITED
No. 1, Lane 17, Sec. 2, Han Shi W. Road, Taichung, 401 Taiwan
http://www.altomobile.com Tel: 886-4-22313737
email: info@altomobile.com Fax: 886-4-22346757
All rights reserved to ALTO Mobile. Due to continued development in response to
customer feedback, product features, specifications and/or internal/external design may be
changed without prior notice.No photocopying, translation or reproduction of any part of this user
manualisallowed without prior written permission.Copyright 2004 Seikaku Technical Group Limited.
c
NF01528-1.0
 Loading...