

Page 1

Troubleshooting
The troubleshooting guides are designed to be followed step by step, either by the end user or
remotely by telephone between A&H staff and the end user.
Compare screen shot pictures but bear in mind that screens may look different depending on the
settings of the computer used and the individual details of the customer’s configuration.
1. Do not assume that a lead/cable is good just because it worked last time or is new. Test leads
separately on equipment that is already working.
2. Do not assume that the network card in the computer is working just because it worked last time.
See if the computer will network with known working equipment or use a different computer with a
currently working network card.
3. Do not assume that you are using the correct network port on a computer that has more than one.
Contents
Cannot communicate p.2
MIDI does not work p.8
Unit forgets settings p.10
Routing not being stored p.12
PL unit(s) not showing on screen p.15
1
Page 2

Cannot communicate
This deals with direct network connection between an iDR unit and computer. Go through each
step below until the anomaly is found then attempt to communicate.
Disable all background tasks on the computer including firewall, Media Player, Quicktime etc.
1. If computer has more than one network card, check the appropriate one is in use.
2. Ensure only a single connection is in use e.g. wired OR wireless – not both.
3. Check the amber Link LED next to the network port on the rear of the iDR. It should be ON. If it is
not ON the depress the blue underpanel switch.
4. If the Link LED will not light, try another network cable.
5. If the Link LED still will not light try another computer. If it still does not light, contact
support@allen-heath.com +44 (0) 1326 370106.
Link LED is ON - Check the IP address and subnet mask in the iDR.
1. Hold Menu button until menu is displayed.
2. Use scroll button > to scroll to menu number 5 Network Setup.
3. Press Enter.
4. Menu number 5.1 DHCP Setup.
5. Enter.
6. Select No.
7. Enter.
8. Scroll > to 5.2 Set IP address.
9. Enter
Now read the IP address. The default address is 192.168.0.1. Whatever it is in your unit write it
down.
10. Press Enter repeatedly until you are out of the IP address.
11. Scroll > to 5.3 Set Sub-net.
12. Enter.
Now read the sub-net mask. The default is 255.255.255.0. Write this down.
13. Press Enter repeatedly until you are out of the sub-net mask.
14. ESC.
15. ESC.
Check and set the computer IP address.
Administration rights to the computer are essential in order to change the IP address.
We are not going to alter the iDR IP address or sub-net mask. Please note that if the iDR IP address
or sub-net mask is altered, the iDR needs to be switched OFF then back ON.
2
Page 3
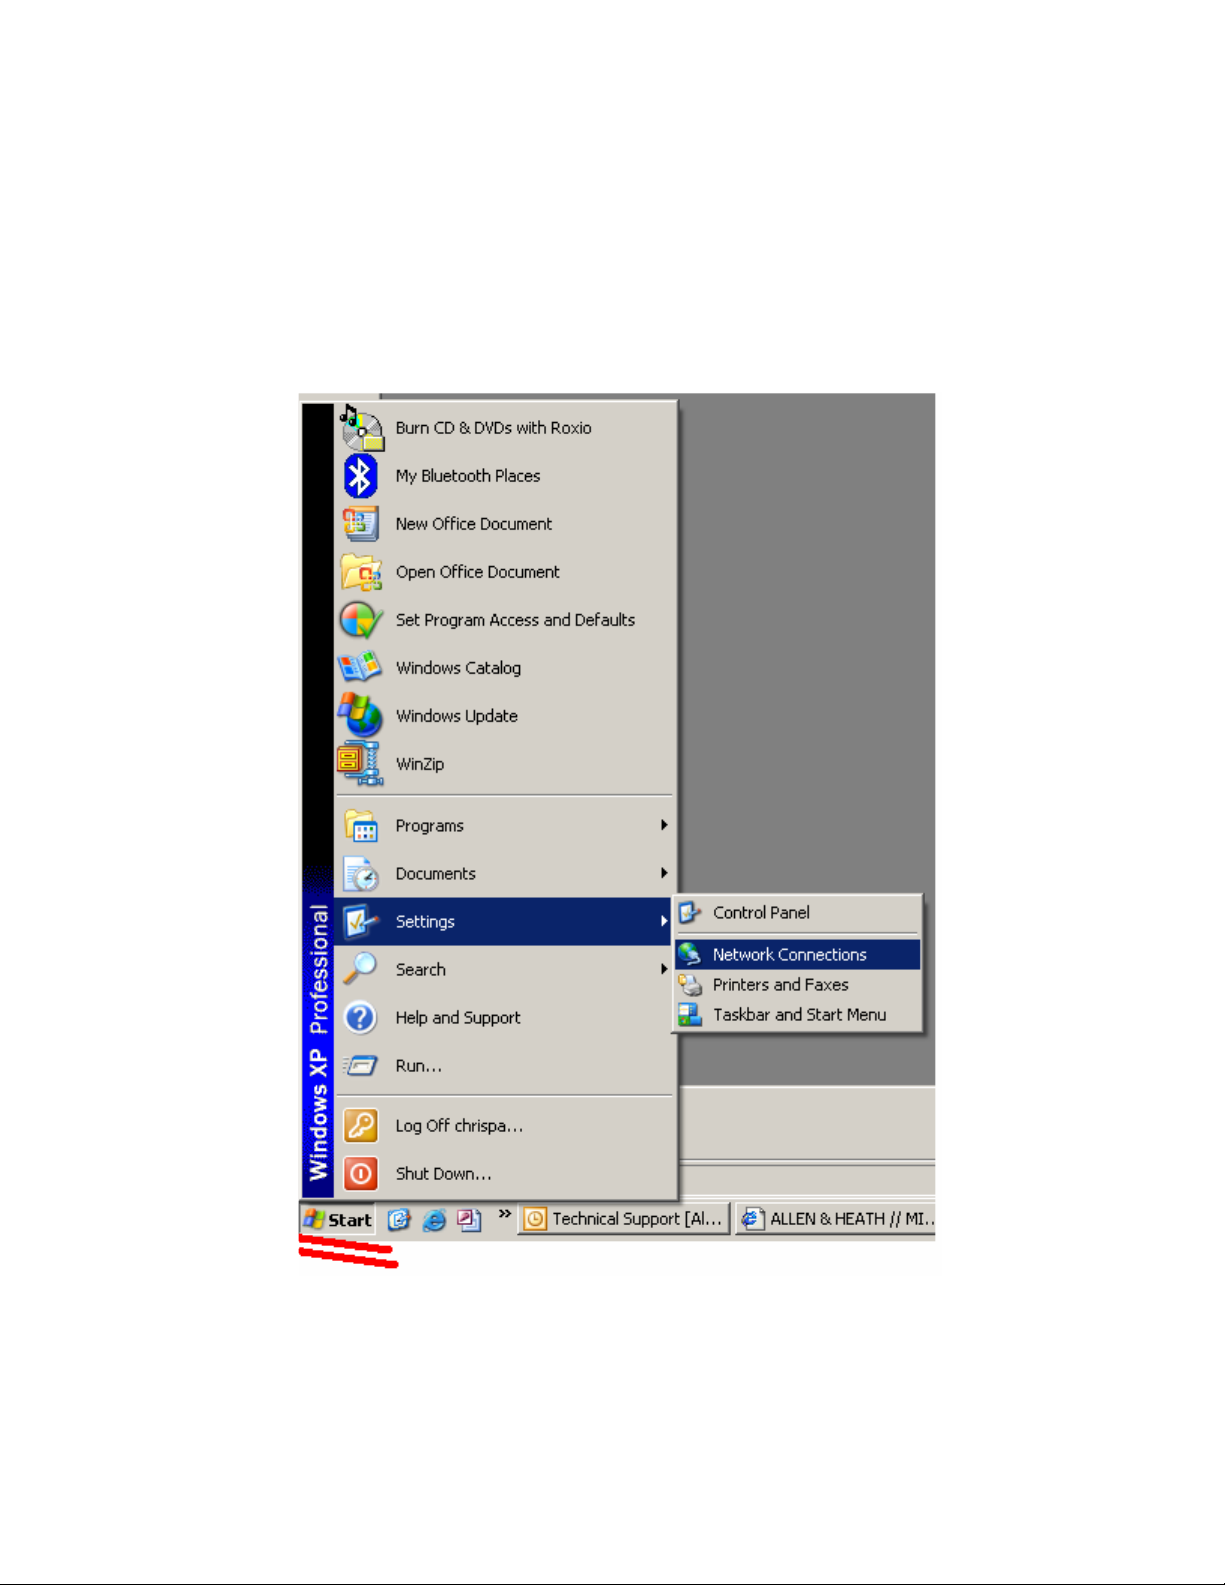
The following instructions refer to Windows XP.
1. Click on Start.
2. Settings.
3. Network Settings.
3
Page 4

4. Double click Local Area Connection or LAN.
4
Page 5
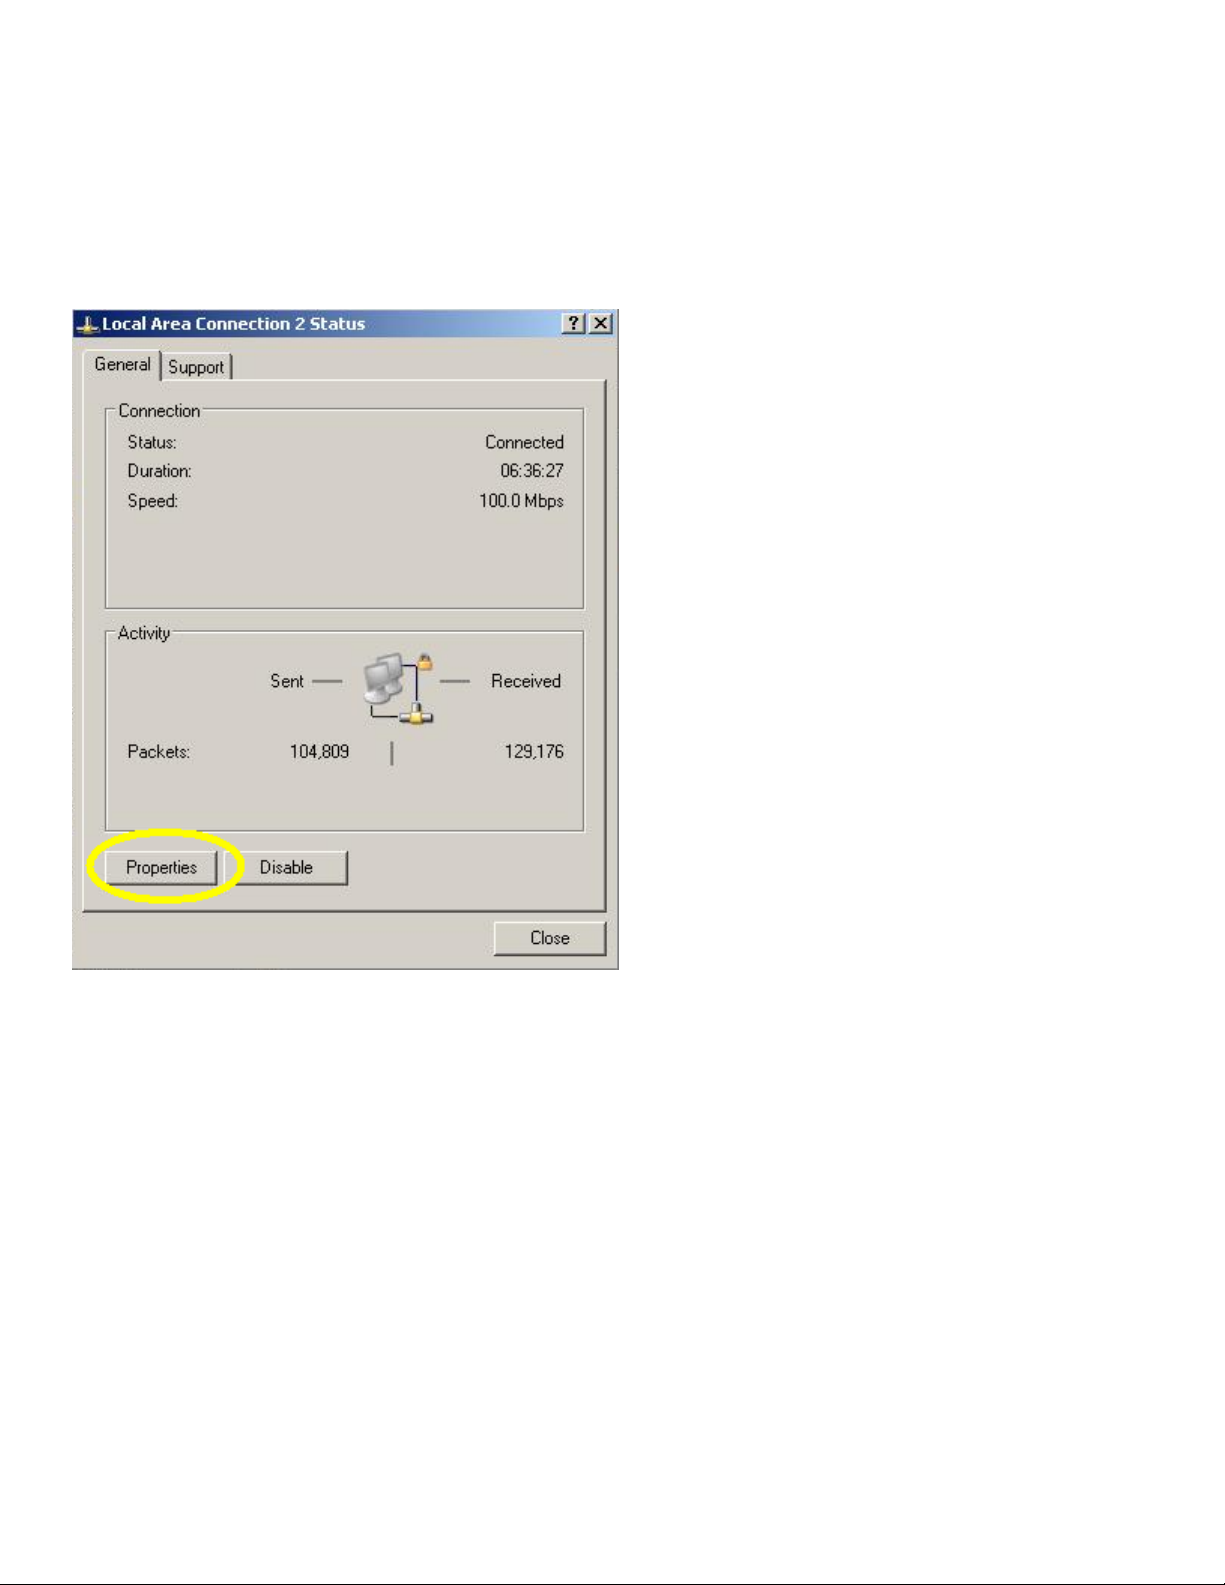
4. Click Properties.
5
Page 6

5. Select Internet Protocol (TCP/IP).
6. Click Properties.
7. Click Use The Following IP Address.
8. Type in the same IP address that you have written down from the iDR unit except that the last digit
which must be different in the computer and the iDR. The example below shows the iDR default IP
address 192.168.0.7 with the 1 in the iDR changed to a 7. Any last digit can be used as long as it
is different.
9. The sub-net mask must be identical in the iDR unit and on the computer. Here we see the default
sub-net mask. If your iDR did not have the default sub-net then refer to the sub-net you wrote
down.
10. Click OK.
6
Page 7

To recap:
1. The IP address in the computer must be the same as that in the iDR except for the last digit (or
block of digits).
2. The Sub-net mask must be the same in the computer as it is in the iDR.
3. DHCP in the iDR must be set to NO.
4. If more than one network connection is available e.g. wireless and wired, only one can be used –
turn one off.
5. The network port must be known to be working.
If connection is still not possible try another computer. If connection is still not possible, contact Allen
& Heath technical support support@allen-heath.com
+44 (0) 1326 370106.
7
Page 8

MIDI does not work
Check that MIDI is selected as a communication option as follows:
1. Click File.
2. Preferences.
3. Communications Options.
4. Click the drop down menu and choose an option that includes MIDI.
5. Click OK.
8
Page 9

6. Go back to File, Preferences.
7. Select MIDI channel number.
8. Choose appropriate MIDI channel.
9. Click OK.
9
Page 10

Unit forgets settings
The most likely reason for a unit to apparently forget setting is that the update procedure
has not been carried out correctly.
1. Ask what device settings are being lost (EQ, level, routing etc).
2. Open the Preset Manager window. The picture below shows the default configuration –
the customer’s window may look different.
10
Page 11

3. Select the preset where the settings are being forgotten.
4. Is the device in question (EQ, level, routing etc) included in the Contents list?
The device whose settings are not being remembered has to be in the Contents list in the
preset in order to be U
If the device is not in the Contents list then add it as follows:
1. Select the preset that is ‘forgetting’ the settings.
2. Highlight the device in the Select Devices To Add list (we see inputs selected as an
example).
3. Add the device.
4. Click U
whatever device needs to be stored then OK.
pdate. A new window may appear. If so then tick the switch or channel or
pdated (stored).
11
Page 12

Routing not being stored
1. Open Preset manager.
2. Select and recall desired preset.
3. Open the Routing matrix
4. Select the Switch Matrix tab and ensure the desired routing crosspoint box is ticked. This
example shows i/p 1 routed to o/p 1.
12
Page 13

5. Now select the Preset Select tab and ensure the i/p 1 to o/p 1 crosspoint is GREEN.
6. Open the Preset manager.
7. Highlight the routing matrix in the Contents list.
13
Page 14

8. Check the Crosspoint Levels box.
9. Click OK.
14
Page 15

PL unit(s) not showing on screen
PL simulators are only shown off-line. PL toolboxes are shown on & off-line.
1. Go to File, Preferences, Communications Options.
2. If PL Options is already available click on it – if not click on Communications Options.
3. Select an option that includes PL-Anet. We have chosen the above as an example.
4. Click OK.
15
Page 16

5. Return to File, Preferences but this time click PL Options.
6. Choose the number and type of PL devices you require for the configuration and click OK.
7. We have chosen 1x PL-3 and 1xPL-6 as an example.
The chosen PL devices will now appear on screen as simulators to the right and tool boxes to the left
as shown below.
16
 Loading...