

Page 1
IX SERIES
Important
Important
Important
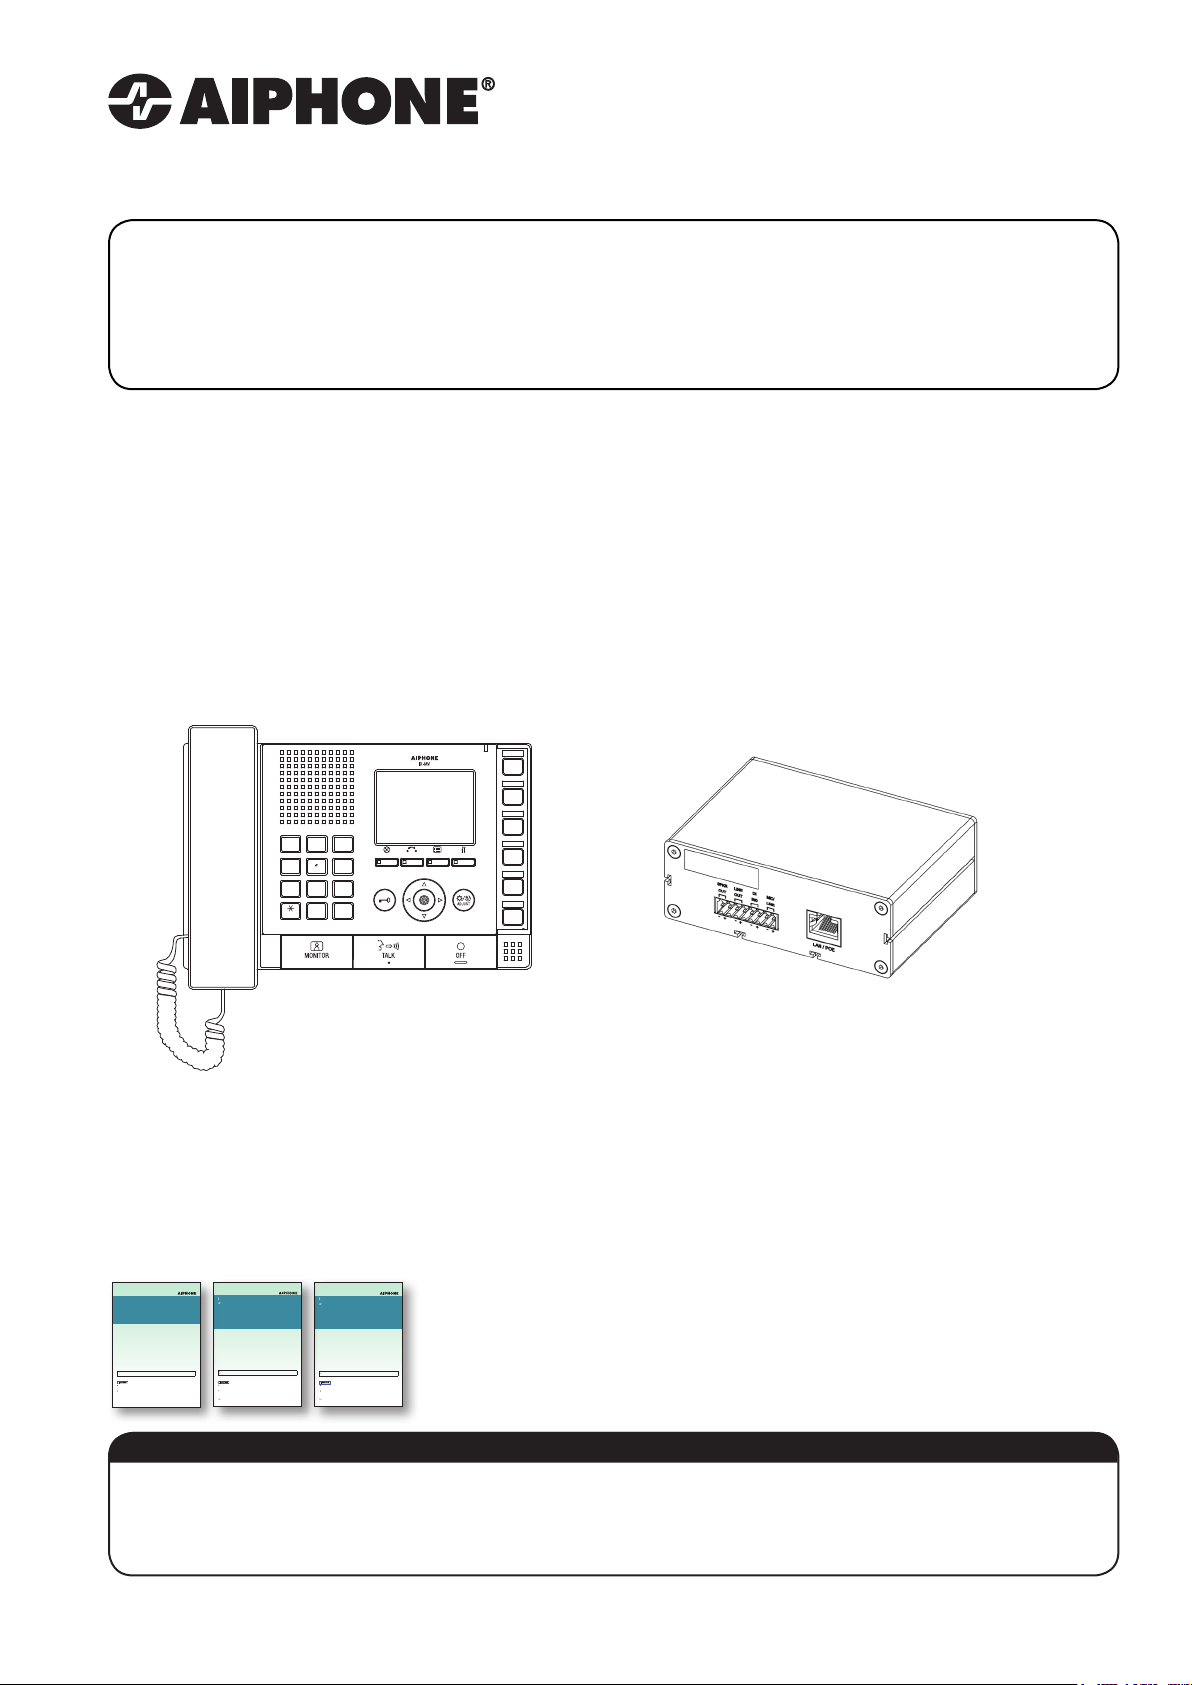
IX-PA Network Paging Adaptor
Installation & Programming Guide
0616
IX System
IP network-compatible intercom
IX Support Tool
Setting Manual
Software version 2.0.0.0 or later
Before configuring and using the system, read Setting Manual and Operation Manual (PDF) carefully.
*For the installation and connection of each device, refer to Installation Manual.
y Begin installation after reading and understanding the procedures for system
configuration.
y
The setting data should be backed up and stored in a safe location after configuration is
complete.
The illustrations and images in this manual may vary from the actual ones.
IX System
IP network-compatible intercom
Master Station (IX-MV)
Web Setting Manual
Software version 2.00 or later
Before configuring and using the system, read Setting Manual and Operation Manual (PDF) carefully.
*For the installation and connection of each device, refer to Installation Manual.
y Begin installation after reading and understanding the procedures for system
configuration.
y
The setting data should be backed up and stored in a safe location after configuration is
complete.
The illustrations and images in this manual may vary from the actual ones.
1
4
GHI
7
PQRS
2
3
ABC
DEF
5
6
JKL
MNO
8
9
TUV
WXYZ
#0
IX-MV
IX System
IP network-compatible intercom
Video Door Station (IX-DA)
Audio Only Door Station (IX-BA)
Web Setting Manual
Software version 2.00 or later
Before configuring and using the system, read Setting Manual and Operation Manual (PDF) carefully.
*For the installation and connection of each device, refer to Installation Manual.
yBegin installation after reading and understanding the procedures for system
configuration.
y
The setting data should be backed up and stored in a safe location after configuration is
complete.
The illustrations and images in this manual may vary from the actual ones.
TRANSFERPRIVACY LIST
SETTING
IX-PA
ATTENTION:
This is an installation and programming manual addressing wiring and programming for the IX-PA paging
adaptor. For general IX Series programming, a complete set of instructions (IX Web Setting Manual / IX Operation
Manual / IX Support Tool Setting Manual)
can be found on the DVD-ROM provided with the IX-MV master station.
Page 2
WIRING:
The IX-PA is a paging adaptor designed for use with the Aiphone IX Series network intercom system. The paging adaptor
has an address book that supports up to 50 stations and can be connected to 3rd party devices. The paging adaptor can be
accessed by an IX-MV master station or an instance of the IX Mobile App to allow messages to be broadcast through the
IX-PA 600Ω or 8Ω output. A 3rd party device can be connected to the audio input to send messages to the paging adaptor's
address book.
IX-PA
PoE Switch
IX-MV
CAT5e / CAT6
1
2
3
ABC
DEF
SETTING
TRANSFERPRIVACY LIST
5
6
4
MNO
JKL
GHI
7
8
9
PQRS
WXYZ
TUV
#0
Audio Input
Trigger Input
600Ω Output
8Ω Speaker Output
Step 1: Logging into the IX-PA Paging Adaptor
IMPORTANT!
The IX Series equipment must be programmed and operational prior to programming the IX-PA paging adaptor.
The IX-PA adaptor is defaulted to DHCP. When it powers on with factory default settings, it will request a DHCP address. If
it does not receive one, it will wait for any computer using ARP to locate X.X.X.168 and respond, and then use that address
until it is rebooted or a static IP address is assigned. The assigned IP address will be announced through the 8Ω speaker
(if attached). When a static address is assigned, it will not request DHCP nor listen for .168, it will simply power on with the
address assigned. Enter the announced or default .168 IP address into a web browser address bar to access the IX-PA.
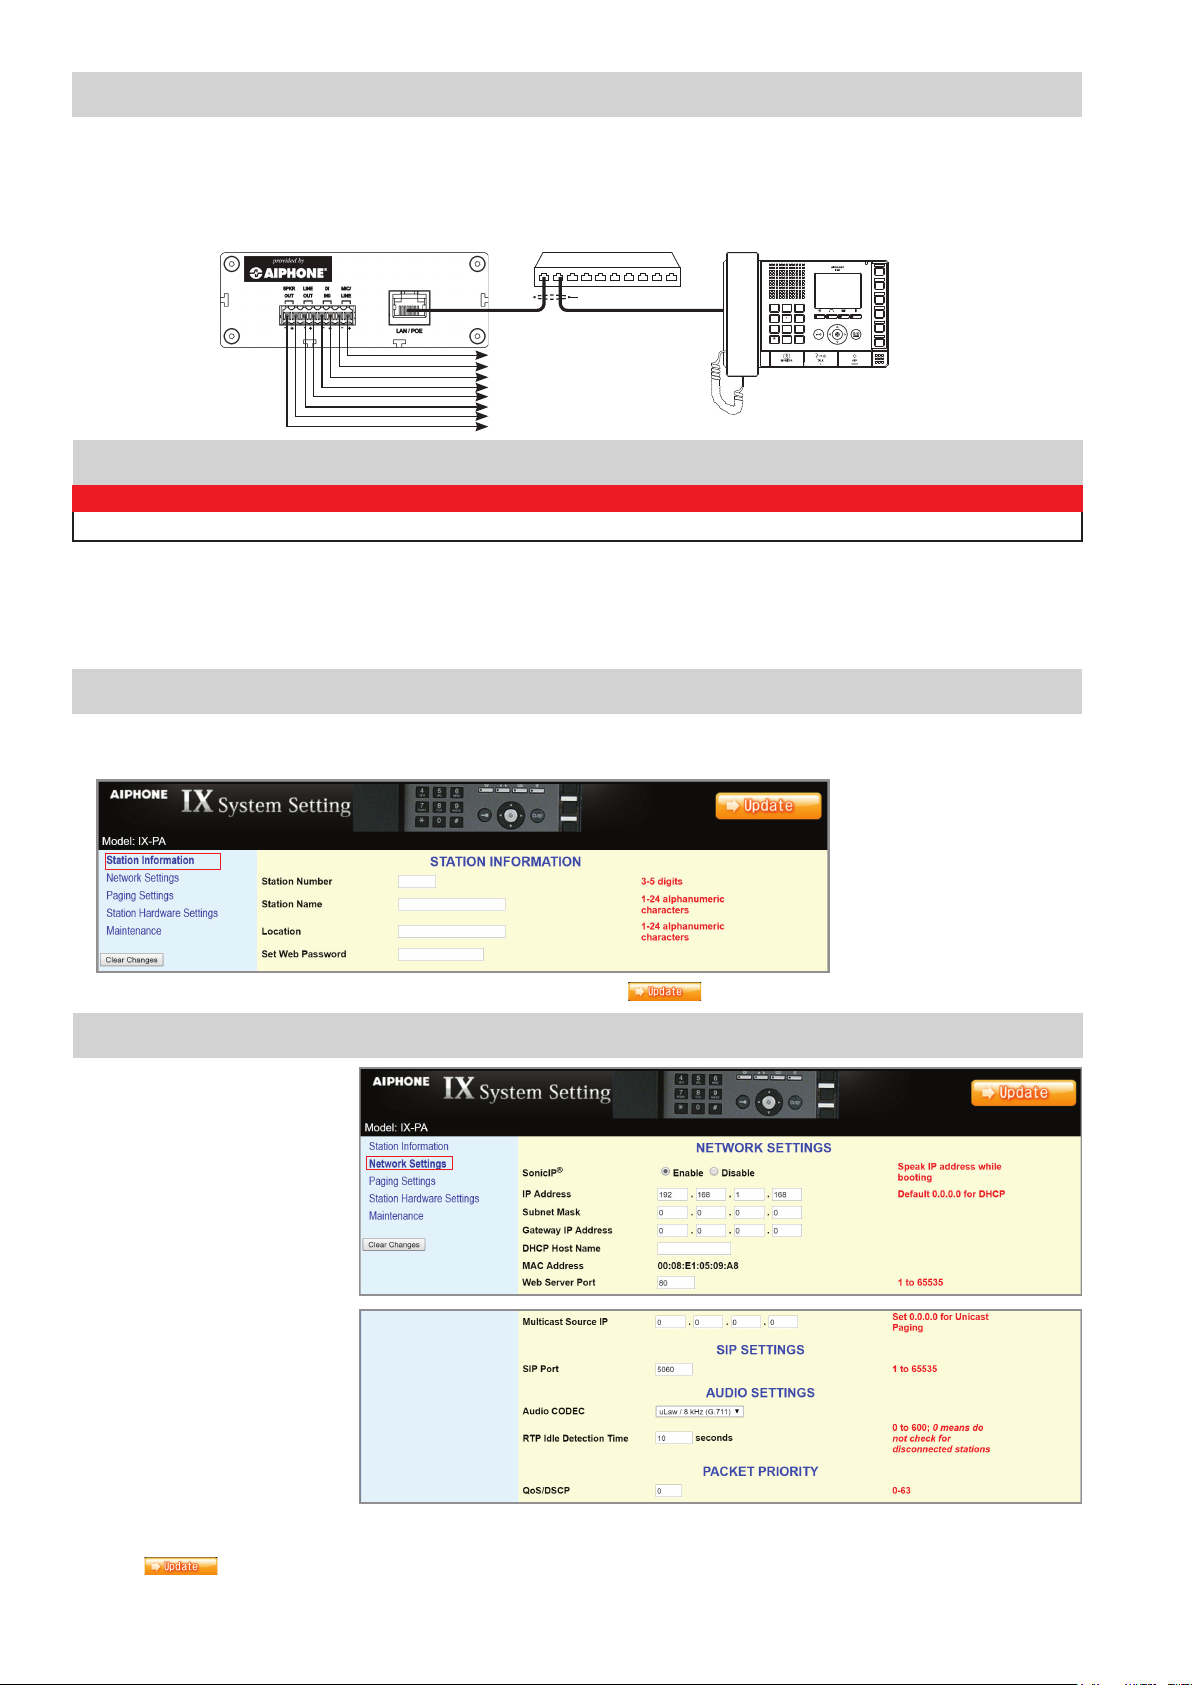
Step 2: Assigning Station Information
Once logged into the adaptor, the Station Information screen shows Station Number, Station Name, and Location
assignments. An optional Web Password can also be assigned to the adaptor from this screen to prevent unauthorized access.
Note the Station Number & Station
Name for use in Step 7: Adding the
IX-PA to an IX Series System.
After entering a unique Station Number and Station Name, click the
Step 3: Network Settings
Select Network Settings from the
menu on the left. Enter a unique IP
Address*, Subnet Mask, and Gateway
IP Address. Consult with your IT
department for the appropriate
addresses to be assigned.
* If changes are made to the IP address, the
web browser will need to be redirected to
the new IP address after updating.
There are additional settings on
the Network Settings page that
can be adjusted: SIP Settings,
Audio Settings, and Packet
Priority. The default settings will
work in most cases. Adjust as
necessary.
Note any Network Settings changes for use
in Step 8: Assigning IP Address.
Click the
button to save any Network Settings changes and restart the adaptor.
button to save and restart the adaptor.
2 | IX-PA Installation & Programming Guide
Page 3

Step 4: Paging Settings / Address Book
Select Paging Settings from the menu on the left. The Paging Pretone heard from speakers connected to this adaptor can be
selected. Rebroadcast to this station's address book can be enabled, allowing any page the IX-PA receives sent to all stations
in its address book. Under Outgoing Paging Settings, the Trigger Input Setting, Paging Priority, Paging Timeout, and Paging
Response Timeout can all be adjusted. The Address Book destinations will need to be populated if the paging adaptor is to be
used to broadcast a 3rd party source to the IX Series stations. These destination IP addresses will need to match those in the
programmed IX Series system. A maximum of 50 stations can reside in the paging adaptor's address book.
Click the button to save any Paging Settings and Address Book changes and restart the adaptor.
Step 5: Station Hardware Settings (optional)
Select Station Hardware Settings from the menu on the left. From this screen, Output Volume, Input Sensitivity, Input Gain,
and Input Source can be adjusted. The Output Volume by default is set to the max level. Use the drop down to select the
desired output if it needs to be lowered. The Input Sensitivity can be adjusted between Low, Normal, and High by using the
drop down. The Input Gain can be adjusted between Normal, High, and Max by using the drop down.
Select between Microphone and Line using the Input Source drop down.
Click the button to save the Station Hardware Settings and restart the adaptor.
Step 6: Maintenance (optional)
Select Maintenance from the menu on the left. If a Syslog server is being used on the network, the IP address for the server
can be entered here. If Syslog Address remains 0.0.0.0, the log will be broadcast. Enable Debug Mode for additional Syslog
messages to aid in troubleshooting. The adaptor can also be restored to factory defaults, the rmware can be updated, or can
be rebooted from the Maintenance window.
Click the
button to save Syslog Address / Debug Mode settings and restart the adaptor.
3
Page 4

Aiphone Corporation | www.aiphone.com | tech@aiphone.com | (800) 692-0200
Step 7: Adding the IX-PA to an IX Series System
Now that the IX-PA has been programmed, the IX Series system must be updated to see the adaptor. Open the IX Support Tool
and select the system to be updated. From the menu on left, select Identication from the Station Information tree. On the
next available line, enter the number and name of the IX-PA assigned in Step 2. Select Master Station from the Type drop down.
Click the button to save changes.
Step 8: Assigning IP Address
Now that the paging adaptor has been added, the IP address will need to be assigned. From the menu on the left, select
IP Address from the Network Settings tree. The newly added station will be in the list of stations, but the IP Address and
Subnet Mask will be blank. Enter the IP Address and Subnet Mask, making sure it matches what was set to the IX-PA during
its initial programming in Step 3.
Click the
button to save changes.
Step 9: Removing the IX-PA from the IX-MV Address Book (optional)
Select Address Book from the System Information tree on the left. Click the Open Stations List button. Each master station
in the system will be listed on the left and all devices in the system will be listed across the top. By default, the newly added
station will be listed in each master station's address book. If a station is not to appear in a master station's address book,
uncheck the appropriate box.
4 | IX-PA Installation & Programming Guide
 Loading...