


Contents Page:
Home
Part 4: Short Description-Microcontrol Cl. 975 - 1 - 5
1. General ................................................. 3
2. Description of the Controls ..................................... 4
2.1 KeysontheFrontPanel........................................ 4
2.2 InternalSwitches............................................ 5
2.3 Display ................................................. 6
3. Description of the Function Keys ................................. 7
3.1 “STOP”Keyand“O”Key...................................... 7
3.2 “START”Keyand“CLEAR”Key .................................. 7
3.3 “ Σ ”Key ................................................ 7
3.4 “SEAMBEGINNING”Key ...................................... 7
3.5 “+”and“-”Keys ........................................... 8
3.6 “SEWINGSUPPRESSION”Key................................... 8
3.7 “DRYRUN/TERMINATE”Key.................................... 8
3.8 “THREADING”Key.......................................... 8
4. Selecting the Sewing and Testing Programs ........................... 9
4.1 DisplayoftheProgramVersion.................................... 9
4.2 SewingProgram ............................................ 10
4.3 SewinginIntervalOperation ..................................... 10
4.4 SewingatLowRpminIntervaloperation .............................. 10
4.5 SewingatHouse-shapedSeamRpm ................................ 11
4.6 SewingatMaximumRpm....................................... 11
4.7 RaisingandLoweringtheSewingHead............................... 11
4.8 DisplayoftheSynchronizerPosition................................. 11
4.9 TimerTestandMemoryTest ..................................... 12
4.10 ContinuityTest ............................................. 12
4.11 TestoftheFrontPanelElements................................... 12
4.12 TestoftheInputElements....................................... 14
4.13 SelectingInputElements ....................................... 14
4.14 SelectingOutputElements ...................................... 16
4.15 Positioninginthe2ndPosition .................................... 17
4.16 Positioninginthe1stPosition .................................... 17
4.17 Positioninginthe1stand2ndPosition ............................... 17
5. Function Displays and Error Messages .............................. 18
5.1 DisplayofOperatingAids....................................... 18
5.2 ErrorMessagesoftheSewingPrograms .............................. 18
5.3 ErrorMessagesoftheControls.................................... 20
1. General
The MICROCONTROL controls of the DÜRKOPP ADLER 975 - 1 - 5
have as an integral part the comprehensive MULTITEST testing and
monitoring system.
A microcomputer assumes the control tasks, monitors the sewing
procedure and displays operator errors and malfunct ions.
Special programs aid in making mechanical settings and make
possible a quick inspe ction of the input and output elements without
additional me asuring equipment.
Errors and testing results are shown in a 2 x 16-digit display.
During fault-free operation the display shows information to the
operating a nd the sewing sequences.
For program testing and error diagnosis it is possible to blank out the
summation counter and to alternatively receive a cycle display of the
parallel-operating PROM components for the left and right clamping
tables as well as for t he sewing process.
With an operator error or a malfunction the function sequence is
interrupted. The cause is shown in the display by the appropriate error
symbol. In most case s the error symbol disappears after the cause of
the error is re medied and the CLEAR key pressed.
In some cases the main switch must be turned off when the error is
corrected for safety reasons.
A number of err or messages are meant only for th e maintenance staff.
All functions can be called up and changed by pressing the
appropriate key. The sewing unit must be in its base position for this.
When the sewing unit is turned on the con trols conduct a number of
self-tests. At this time the program and data memory and the display,
among other things, are checked as to fault-free functioning.
After the sewing unit is turned off the set values fo r the individual
functions ar e stored in the progra m and data memory ( battery
buffered) and automatically activated when next t urned on again.
ATTENTION !
This short description of the Microcontrol 975 - 1 - 5 is valid for the
Program Version 975A03 !
3
2. Description of the Controls
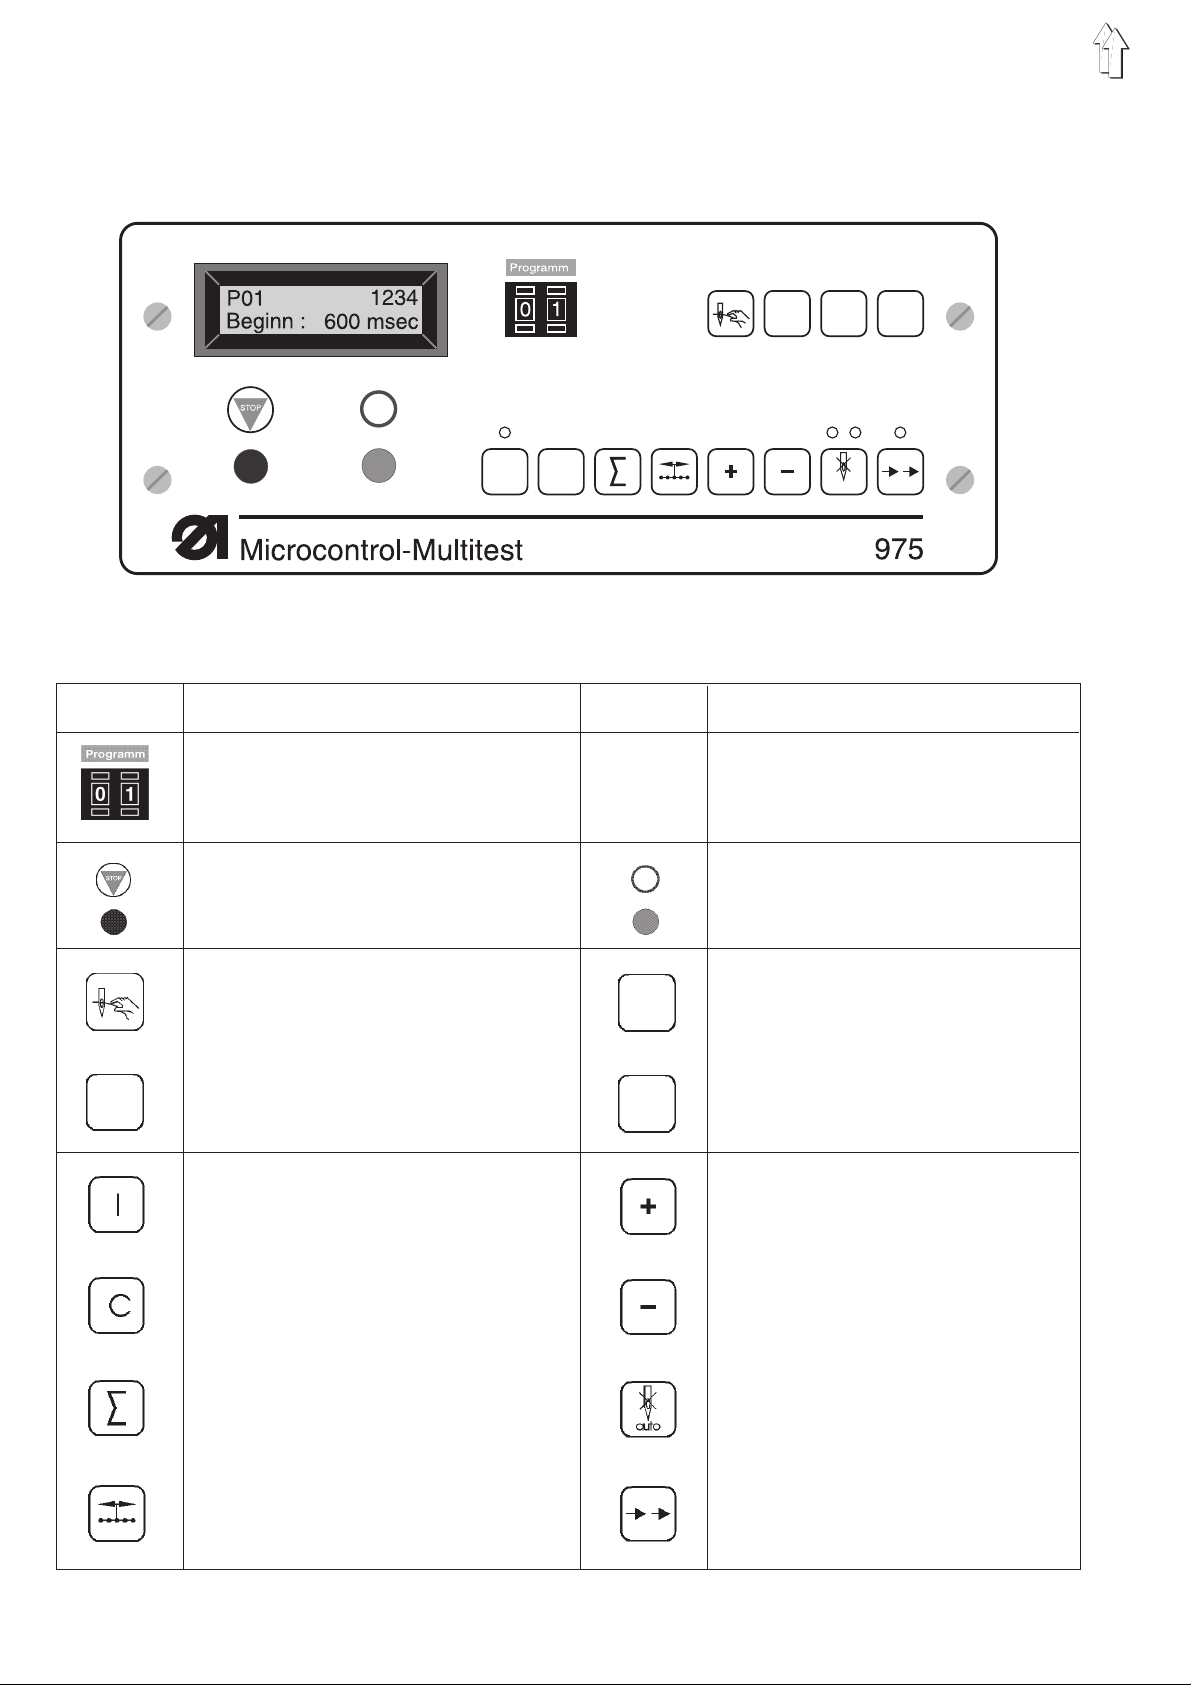
2.1 Keys on the Front Panel
CI
Key Function Key Function
Selecting sewing and testing programs
Stopping the current program Activating the function
Activating the selected program
Threading - Reserve -
auto
- Reserve - - Reserve -
Start Increasing the parameter value
Clear Decreasing the parameter value
( Cancelling an error message )
Reset counter Sewing suppression
Activating the function
Seam beginning Dry run / Terminate
4
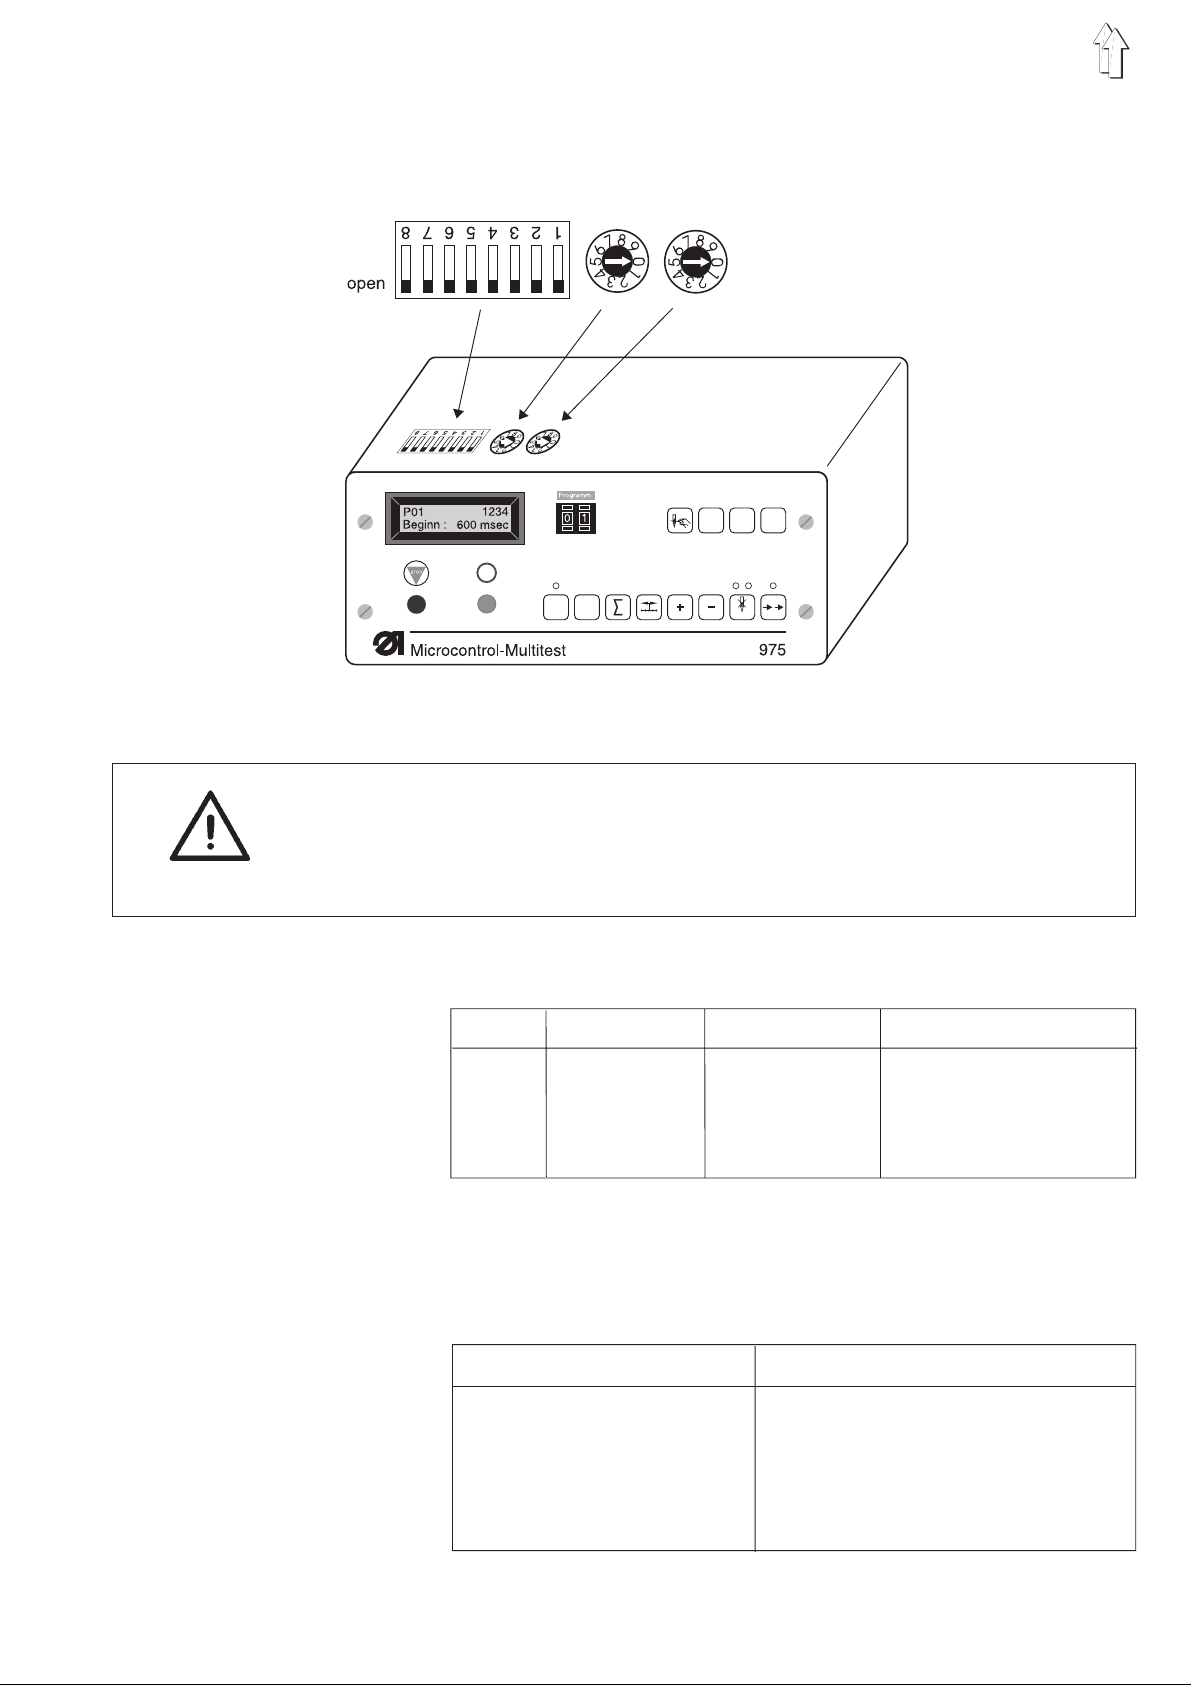
2.2 Internal Switches
DIP-switch b417 b401 b402
CI
auto
On the controls behind the display there are 3 pre-selector switches
for setting various machine parameter s.
ATTENTION !
The switches are e valuated only once after the sewing unit is turned
on.
After changing a switch position turn the main switch off and on again
or press the “ STOP ”key.
DIP-switch b417
b417 Function OFF ON
1 Display Piece counter Program cycle
2 Sewing Norm al Continuous test
sequence
3...8 - Reserve - ————— —————
Dials b40 1 and b402
With these switches the sewing rpms for the sewing of the
house-shaped seam ( b401 ) and for sewing at maximum rpm
( b402 ) are set.
Switch position Sewing rpm
0960min
11280min
21700min
32260min
4-9 3000min
-1
-1
-1
-1
-1
5
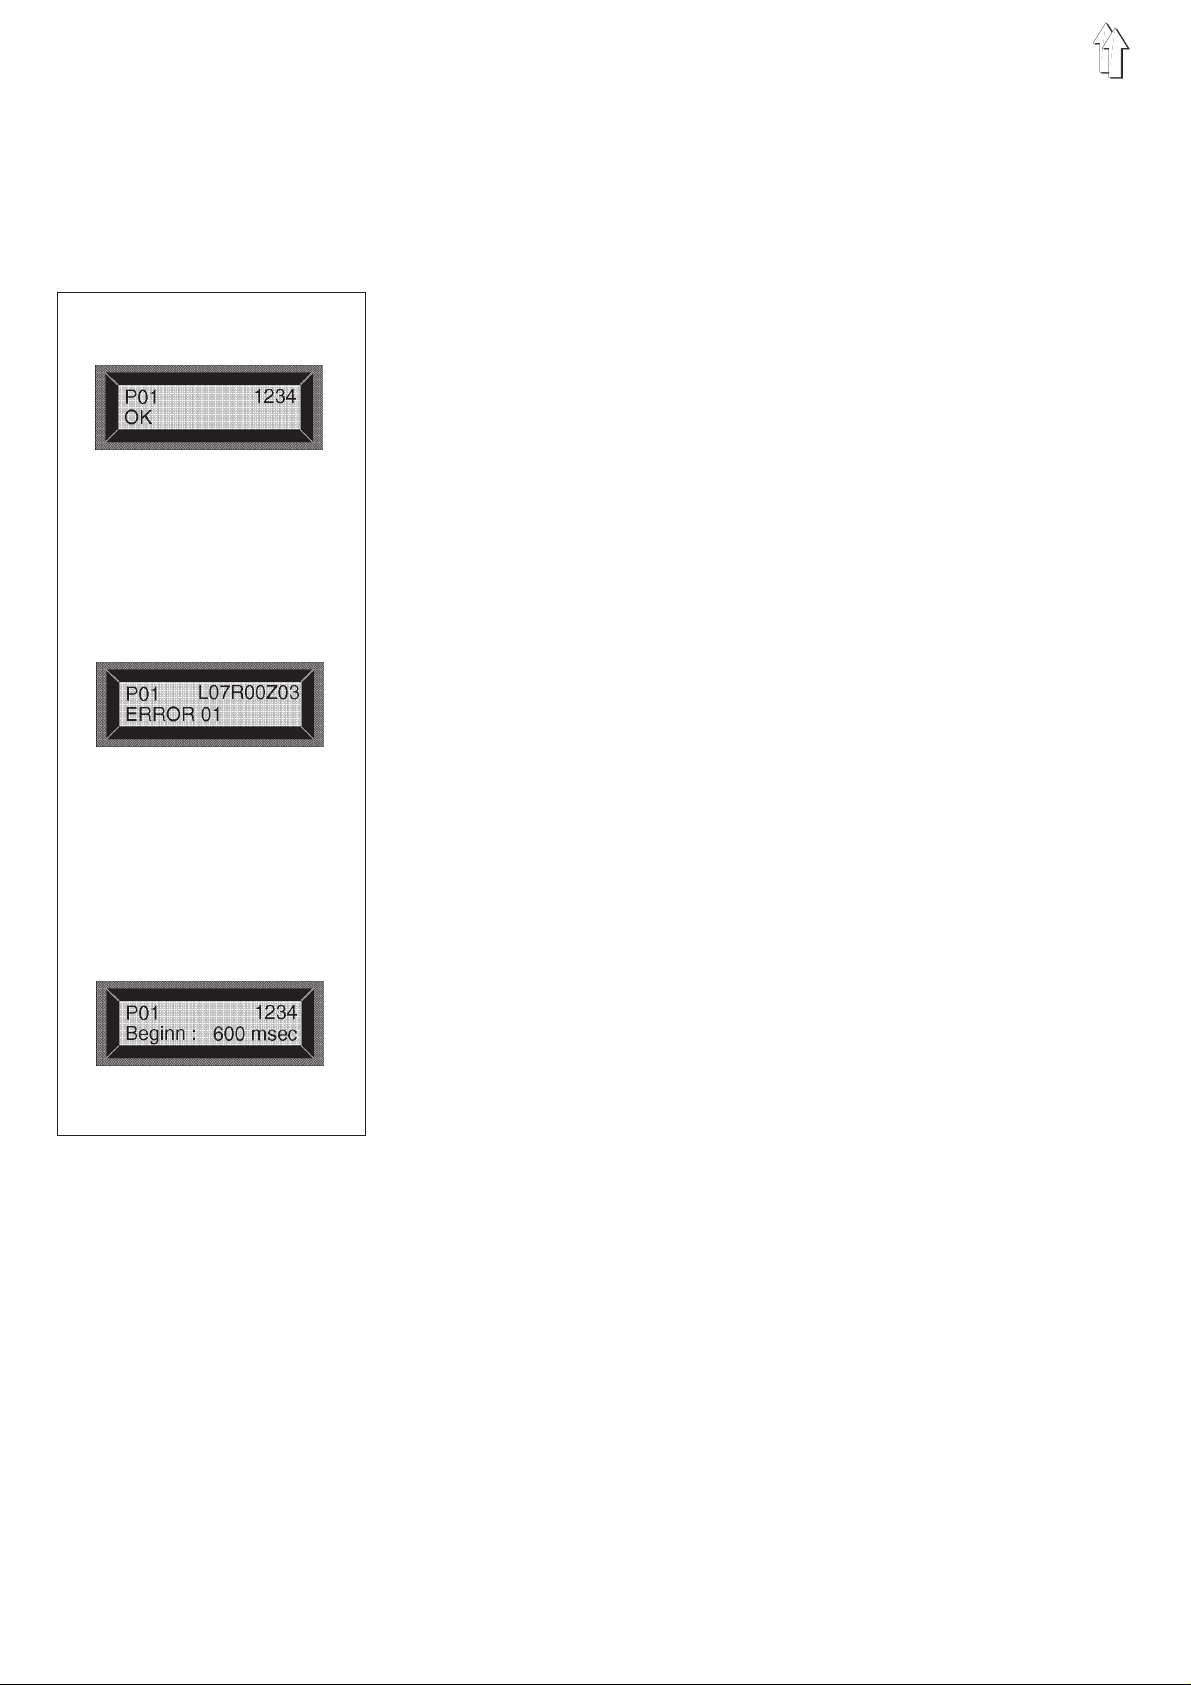
2.3 Display
The Microcont rol controls are equipped with a 2 x 16-digit display.
It shows program numbers, piece counts, status reports, error
messages, seam beginning delay, among other items.
The sewing unit is ready for operation when the prompt to press the
“ START ” key appears in the display.
Example 1:
P01 = Program number
1234 = Piece count
OK = Status report
Example 2:
P01 = Program number
L07R00Z03 = Program cycle
ERROR 01 = Error message
Example 3:
P01 = Program number
1234 = Piece counter
Begin: 600 msec = Seam beginning delay
6
3. Description of the Keys
3.1 “ STOP ” Key and “ O ” Key
By pressing the “ STOP ” key all current procedures of the sewing unit
and the clamping tables are immediately interrupted.
By pressing the “ STOP ” key the sewing, aid and testing programs set
with the “ PROGRAM ” switch are activated.
By pressing the “ O ” key the selected output and input elements or the
front panel elements in the various testing programs are activated.
3.2 “ START ” Key and “ CLEAR ” Key
By pressing the “ START ” key the command for the initial run of the
clamping tables is issued after the sewing unit is turned on.
By pressing the “ START ” key a STOP command is cancelled.
By pressing the “ CLEAR ” key slight errors are cancelled after the
malfunction ha s been corrected.
If, after pressing the “ CLEAR ” key, the error message does not
disappear, then the service technician must be notified.
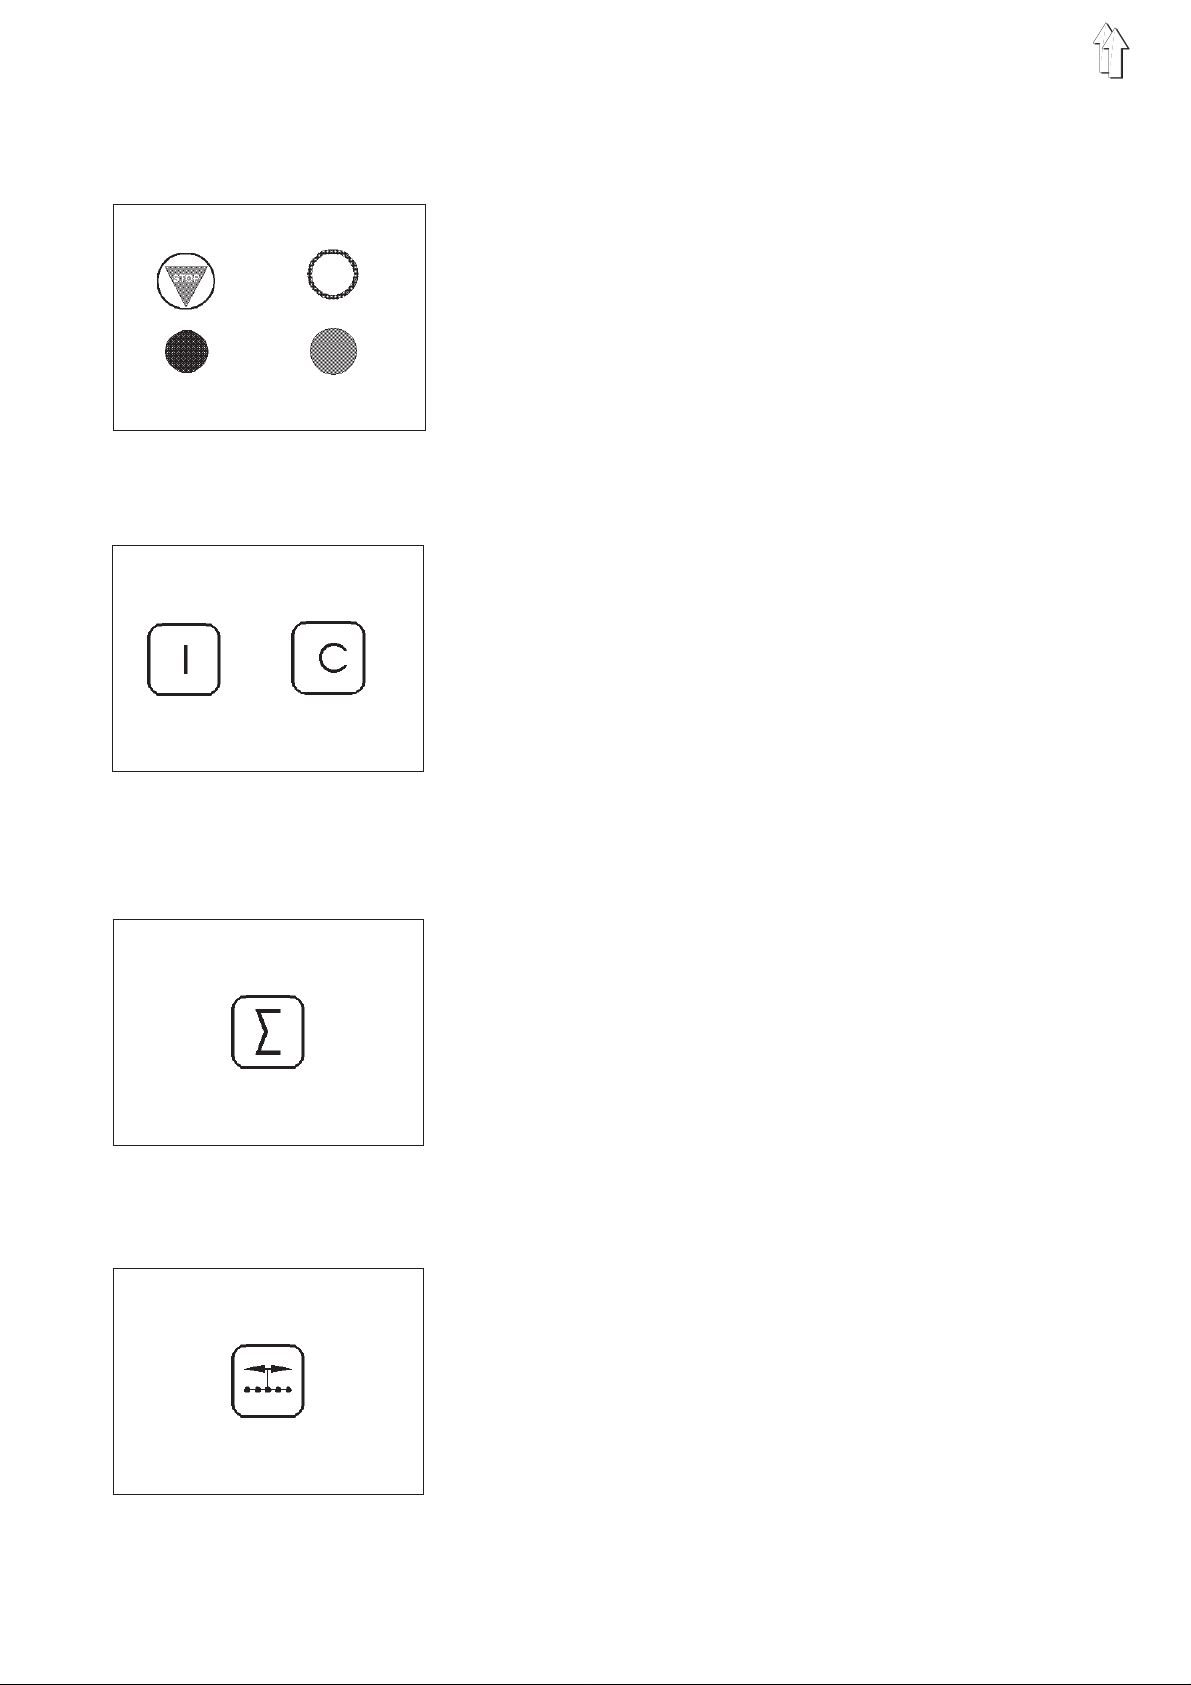
3.3 “ Σ ” Key
3.4 “ SEAM BEGINNING ” Key
By pressing the “ Σ ” key the piece count ( in the up per right of the
display ) is reset to 00 00.
The piece count sho ws the number of pieces finished since the last
reset.
In program 40 the sewing process is activated by pressing the “ Σ ”
key, if one of the two clamping tables is in sewing position.
By pressing the “ SEAM BEGINNING ” key t he set delay is show n in
the display.
With the “ SEAM BEGINNING ” key held down, the delay can be set
with the “ + ”and“- ” keys.
Setting range: 0....600 msec
The set value re mains in the memory e ven after the sewing u nit is
turned off.
7
 Loading...