

Page 1

smart-0.book Page i Thursday, February 8, 2001 9:43 AM
Smart Manager
User’s guide
2.0
Page 2

smart-0.book Page ii Thursday, February 8, 2001 9:43 AM
Copyright © 2001 Acer Incorporated
All Rights Reserved.
Smart Manager 2.0
User’s guide
Changes may be made periodically to the information in this publication without obligation
to notify any person of such revision or changes. Such changes will be incorporated in new
editions of this manual or supplementary documents and publications. This company makes
no representations or warranties, either expressed or implied, with respect to the contents
hereof and specifically disclaims the implied warranties of merchantability or fitness for a
particular purpose.
Record the model number, serial number, purchase date, and place of purchase information in
the space provided below. The serial number and model number are recorded on the label
affixed to your computer. All correspondence concerning your unit should include the serial
number, model number, and purchase information.
No part of this publication may be reproduced, stored in a retrieval system, or transmitted, in
any form or by any means, electronic, mechanical, photocopy, recording, or otherwise,
without the prior written permission of Acer Incorporated.
Model Number : _________________________________
Serial Number: ___________________________________
Purchase Date: ___________________________________
Place of Purchase: ________________________________
Acer and the Acer Logo are registered trademarks of Acer Inc. Other company’s product
names or trademarks are used herein for identification purposes only and belong to their
respective companies.
Page 3

smart-0.book Page iii Thursday, February 8, 2001 9:43 AM
1 Overview 1
Introduction 3
Basic features 3
Key benefits 3
System requirements 4
2 Installation 5
Installation 7
Uninstall 11
3 Running the utility 13
Running the utility 15
Server site 15
Terminal site (Windows-based terminal site) 17
Features 19
Menu options 19
Toolbar 24
Terminal settings 28
Changing status 38
Contents
Page 4

smart-0.book Page iv Thursday, February 8, 2001 9:43 AM
iv
Page 5

smart-0.book Page 1 Thursday, February 8, 2001 9:43 AM
1 Overview
Page 6

smart-0.book Page 2 Thursday, February 8, 2001 9:43 AM
This chapter gives an overview of the product.
Page 7

smart-0.book Page 3 Thursday, February 8, 2001 9:43 AM
Introduction
Your Smart Manager 2.0 is the simplest, most powerful way to manage
your Acer WT 300/WT 300E terminals. From the server console, the
administrator can view, change the current terminal configuration of
any user, and quickly upgrade to a new image on both remote and
local Acer WT 300/WT 300E terminals.
Compatible with other network management tools, your Smart
Manager 2.0 provides maximum flexibility in upgrading and
configuring your Acer WT 300/WT 300E terminals.
Basic features
• Install on multiple-user Windows® 2000 Server operating systems
• View in detail any user’s current configuration (image version,
terminal settings, etc.)
• Remote upgrade terminal images quickly and easily
• Device parameters can be standardized or customized
3
Key benefits
• Saves valuable time and resources by executing enhancements and
upgrades using many connectivity schemes quickly and efficiently
from a single location
• Installs quickly and is easy to use
• Provides complete control and management of your Acer WT 300/
WT 300E terminals
• Compatible with other network management tools
Page 8

smart-0.book Page 4 Thursday, February 8, 2001 9:43 AM
4
1 Overview
System requirements
The following system requirements are needed for Smart Manager 2.0
to work properly:
• A network server running Windows® 2000 Server or later with
Winsock ver 1.1 or later network interface library
• 4 MB free hard disk space on the server side
• 32 MB random-access memory (RAM)
Page 9

smart-0.book Page 5 Thursday, February 8, 2001 9:43 AM
2 Installation
Page 10

smart-0.book Page 6 Thursday, February 8, 2001 9:43 AM
This chapter describes how to install the Smart
Manager 2.0.
Page 11
smart-0.book Page 7 Thursday, February 8, 2001 9:43 AM
Installation
Consider the following when installing Smart Manager 2.0:
• The Windows® 2000 Server should be installed and running on the
system before installing Smart Manager 2.0.
• Close any running applications.
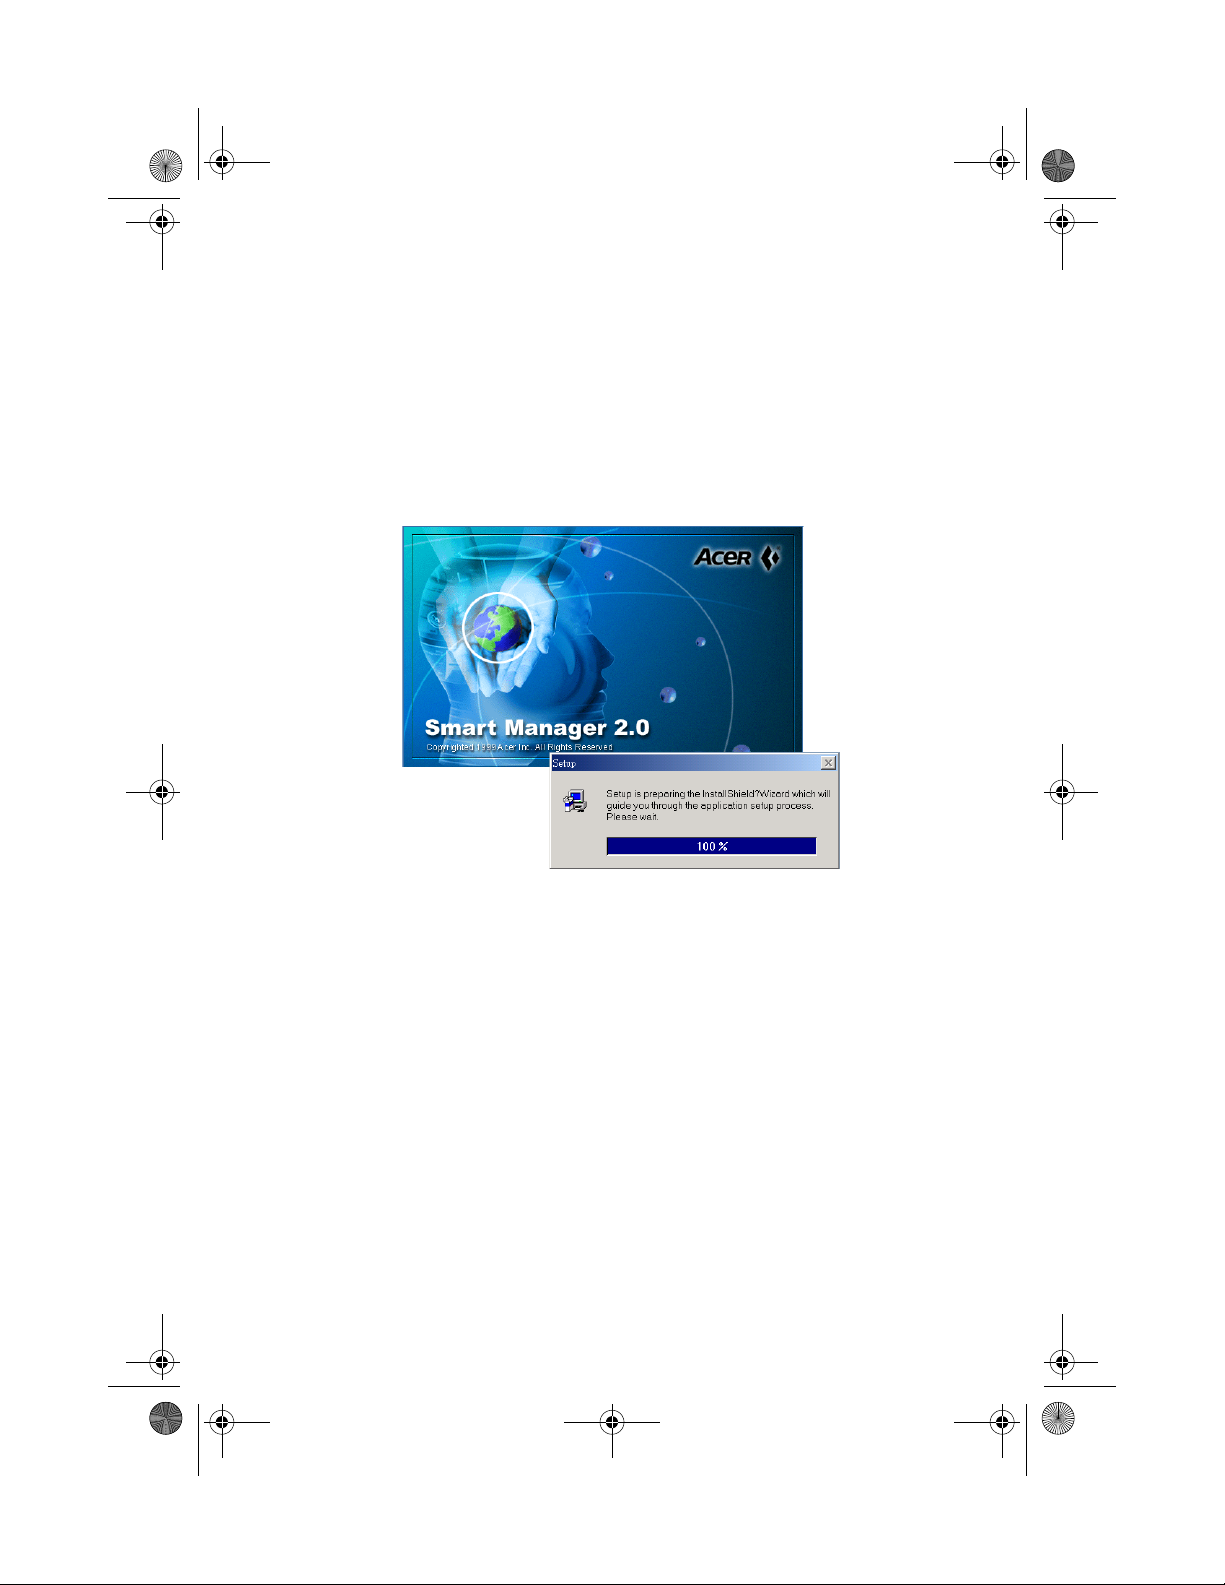
• Run the utility installation program, i.e. Setup.exe. The setup
screen appears.
7
Page 12
smart-0.book Page 8 Thursday, February 8, 2001 9:43 AM
8
2 Installation
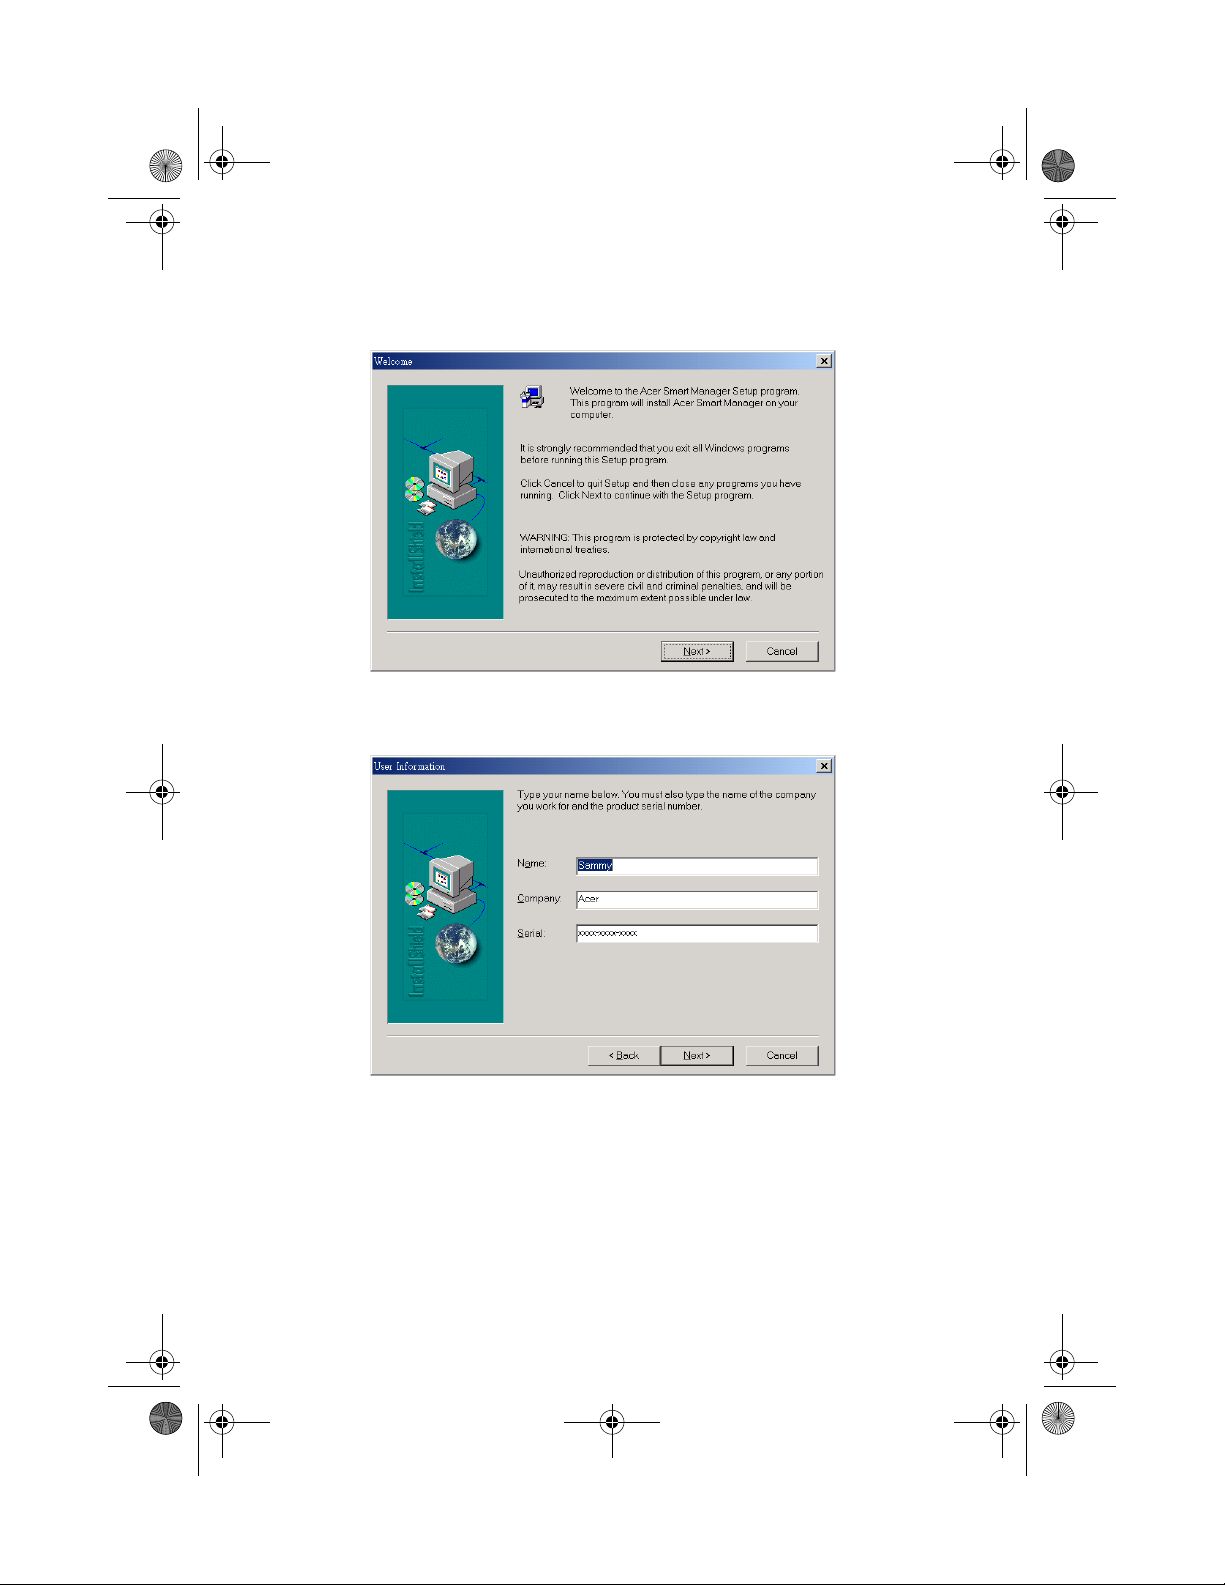
• The Setup program welcome screen appears.
• Click on Next and the User Information dialog box appears.
Page 13
smart-0.book Page 9 Thursday, February 8, 2001 9:43 AM
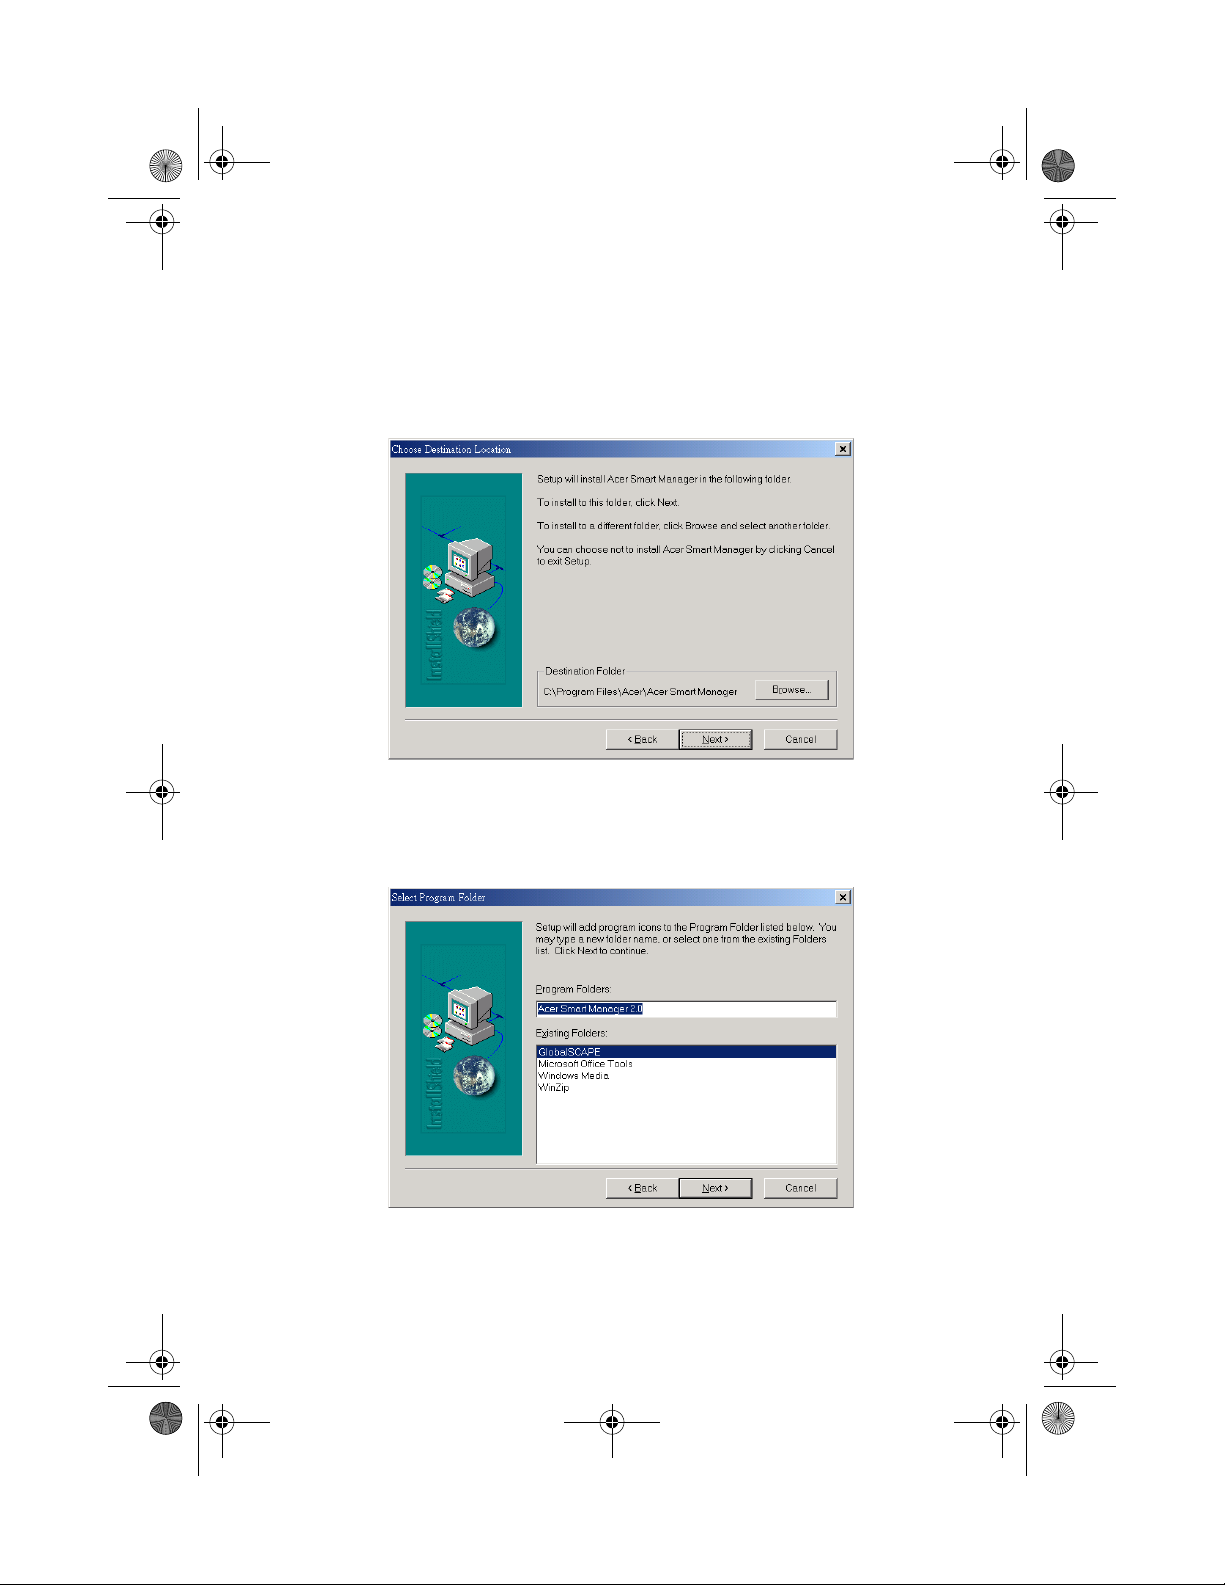
• When the Choose Destination Location dialog box appears, check
the specified location in the Destination Folder box. If you want to
accept the default location, simply click on Next. If not, then click
on Browse and enter the desired location where you want the
setup program to copy the necessary files.
9
• In the Select Program Folder dialog box, specify the desired
program folder for the Smart Manager 2.0 software. Then click on
Next to proceed with the installation.
Page 14

smart-0.book Page 10 Thursday, February 8, 2001 9:43 AM
10
2 Installation
• After you click on Next, the installation program starts copying
the files. When the installation is completed, the following
message box appears:
• Click Finish to complete the installation. After clicking Finish, you
will be asked to restart your computer before you can use the
program. Choose Yes to restart your computer; otherwise, choose
No. Click Finish to exit the installation program.
Page 15

smart-0.book Page 11 Thursday, February 8, 2001 9:43 AM
Uninstall
To uninstall Smart Manager 2.0 follow the steps below:
• Click on the Start menu, point to Programs and select Smart
Manager 2.0.
• Click Uninstall Smart Manager.
• Click Yes to confirm the uninstall.
• The uninstall shield appears on the screen.
• Click on OK after all components have been successfully removed.
11
• Reboot the system.
Page 16

smart-0.book Page 12 Thursday, February 8, 2001 9:43 AM
12
2 Installation
Page 17

smart-0.book Page 13 Thursday, February 8, 2001 9:43 AM
3 Running the
utility
Page 18

smart-0.book Page 14 Thursday, February 8, 2001 9:43 AM
This chapter discusses how to run the Smart
Manager 2.0 utility.
Page 19

smart-0.book Page 15 Thursday, February 8, 2001 9:43 AM
Running the utility
Smart Manager 2.0 must first be installed in the system before it can be
used. Every time you want to upgrade a new version image, you must
first run the Smart Manager 2.0 utility.
Note: The new version image may come in the form of a diskette
or a CD-ROM.
Server site
To run the server site, follow the steps below:
1 Click on the Start menu, point to Programs and select Smart
Manager 2.0.
2 Click Smart Manager to run the utility program.
3 To load the image, go to the Image menu and choose Load
image from the pulldown menu.
15
Page 20

smart-0.book Page 16 Thursday, February 8, 2001 9:43 AM
16
3 Running the utility
4 The following dialog box will be displayed. Select or specify a
terminal you want to use, the Disk on Chip (DOC) size, the image
location and version. Click OK.
5 A dialog box will appear requiring you to open the image file to
be loaded. Open the file from its location which might be located
on the hard drive or CD-ROM drive. Click and open New Image
from the dialog box.
Page 21

smart-0.book Page 17 Thursday, February 8, 2001 9:43 AM
6 When the new image is loaded, the system will first verify it. The
process might take a few minutes.
17
7 Any time the terminal connects to the server, the new image will
be loaded automatically onto the terminal’s Disk On Chip (DOC)
Flash ROM.
Terminal site (Windows-based terminal site)
To run the terminal site follow the steps below:
1 Press F2 in the Terminal Connection Manager to run the Terminal
Properties Setting Program. Please refer to your Acer WT 300/WT
300E user’s guide for more information.
Page 22

smart-0.book Page 18 Thursday, February 8, 2001 9:43 AM
18
3 Running the utility
2 Click on the Misc tab and check the Enable Remote Upgrade
Function checkbox.
Note: For more information on changing the settings of the
terminal, refer to the Acer WT 300/WT 300E user’s guide.
3 Specify the network address of the server.
4 Click OK to apply.
5 Reboot the terminal.
Page 23

smart-0.book Page 19 Thursday, February 8, 2001 9:43 AM
Features
Your Smart Manager 2.0 utility is very flexible with a variety of
features that make it easier for the network administrator to upgrade
the image running on the server.
Menu options
1 File
This is where you quit the Smart Manager 2.0 utility program.
19
Page 24

smart-0.book Page 20 Thursday, February 8, 2001 9:43 AM
20
3 Running the utility
2Image
The image menu allows you to load and unload images to and
from the terminal.
3View
The view menu command gives you the option to display or hide
certain components of your Smart Manager 2.0 user interface, like
the toolbar, status bar, large icon, small icon, list, details, sort by
and refresh options.
Page 25

smart-0.book Page 21 Thursday, February 8, 2001 9:43 AM
Note: For information on how to use toolbar, see page 24.
4 Terminal
The terminal menu allows you to save and download terminal
settings and configure the terminal’s setttings.
21
5 Connection
The connection menu allows you to create a new connection,
delete or edit a connection, set a startup connection, or download
and save connection settings.
Page 26

smart-0.book Page 22 Thursday, February 8, 2001 9:43 AM
22
3 Running the utility
To add a new connection, click New Connection from the
pulldown menu. In the Add New Connection dialog box, choose
the type of connection (Microsoft Remote Desktop Client, Citrix
ICA Client or Ericom PowerTerm WBT Emulator) that you want to
create.
To set a startup connection, click Set Startup Connection from the
pulldown menu. In the Connection Startup dialog box, choose
between making your connection a default connection or
automatically starting the connection at startup.
6Tools
This menu lets you view the address book and events of the
terminal.
Page 27

smart-0.book Page 23 Thursday, February 8, 2001 9:43 AM
7Help
This is where you get information about your Smart Manager 2.0,
like its version number.
23
Below is a screenshot of the “About Acer Smart Manager”.
Page 28

smart-0.book Page 24 Thursday, February 8, 2001 9:43 AM
24
3 Running the utility
Toolbar
The Toolbar contains the following buttons:
1 Back button - returns to the previous page you viewed
2 Forward button - views a page you viewed before clicking the
back button
3 Load button - lets you load an image
4 Refresh button - repeat the process of producing a display
image
5 Download Property Settings to Terminals button - lets you
load the file that you have set in the Terminal Property Settings to
the terminal site.
Page 29

smart-0.book Page 25 Thursday, February 8, 2001 9:43 AM
6 Download Connection Settings to Terminals button - lets you
load programs from a file to the terminal site.
7 Address book button - displays the terminal name, IP address,
version number and terminal UUID.
25
Page 30

smart-0.book Page 26 Thursday, February 8, 2001 9:43 AM
26
3 Running the utility
To view the terminal information, click the terminal name and
then click on the properties button located on the
toolbar.
8 Event viewer button - displays the series of events in the
server.
Page 31

smart-0.book Page 27 Thursday, February 8, 2001 9:43 AM
To view the programs or events executed by the terminal, click
the date and then click on the details button located on
the toolbar.
27
9 Help button - displays the copyright, version number and
release date of the Smart Manager 2.0 utility.
Page 32

smart-0.book Page 28 Thursday, February 8, 2001 9:43 AM
28
3 Running the utility
Terminal settings
Smart Manager 2.0 conveniently allows administrators to view or
configure the terminal’s settings from the server site.
The terminal settings include general information, terminal settings
manager, connection manager, session/process manager and
communication manager.
To enter terminal settings, double-click on the terminal name (i.e.,
WT3308M) that you want to view from the terminal area display.
Page 33

smart-0.book Page 29 Thursday, February 8, 2001 9:43 AM
1 General information
Lets you view the general information of the terminal currently
being monitored.
29
2 Terminal settings manager
The terminal settings manager includes the following tabs:
a General
The general tab displays information about the manufacturer
and the terminal.
Page 34

smart-0.book Page 30 Thursday, February 8, 2001 9:43 AM
30
b Keyboard
c Mouse
3 Running the utility
The keyboard tab is where you set the language of the
keyboard from the locale pulldown box. You can also set the
character key delay and repeat rates.
The mouse tab is where you set the mouse button
configuration and set the speed and acceleration of the
mouse.
Page 35

smart-0.book Page 31 Thursday, February 8, 2001 9:43 AM
dDisplay
The display tab is where you set the video display resolution
and enable the screensaver.
31
Note: Make sure that the resolution you select is supported by
your monitor; otherwise, your monitor will only display a blank
screen.
Page 36

smart-0.book Page 32 Thursday, February 8, 2001 9:43 AM
32
eNetwork
The network tab is where you specify other network settings.
You can choose to Obtain an IP Address from a DHCP
Server or Specify an IP Address. The following screen
shows the information that needs to be supplied by the user.
fPrinters
The printers tab is where you set the port of the printer.
3 Running the utility
Page 37

smart-0.book Page 33 Thursday, February 8, 2001 9:43 AM
gMisc
The misc tab enables you to identify your computer, support
the automatic remote upgrade function, control the sound
volume and set the organization name under administration.
The Security feature is only available for terminals equipped
with a Smart Card. When Lock Connection Setting from is
enabled, the terminal’s connection entry can not be
configured or changed.
33
Page 38

smart-0.book Page 34 Thursday, February 8, 2001 9:43 AM
34
3 Running the utility
3 Connection manager
The connection manager displays the list of terminals connected to
the server.
When you double-click the connection name, it lets you edit the
type of connection setting in the net connection tab. If you want
to automatically log on to the server, you must click Automatic
Logon and then set the username and domain.
Page 39

smart-0.book Page 35 Thursday, February 8, 2001 9:43 AM
The application tab is where you can specify an application, like a
Windows Desktop or other specified file or application, to run
once you log on to the server.
35
4 Session/Process Manager
The session/process manager lets you view the active sessions and
processes currently running in the terminal. In the users tab, you
can view the current running sessions of the user or terminal.
Page 40

smart-0.book Page 36 Thursday, February 8, 2001 9:43 AM
36
3 Running the utility
The processes tab lets you view what programs are being used or
executed by the terminal.
5 Communication Manager
The communication manager lets you send a message, converse or
broadcast a message to all connected terminals. To send a
message, type your message in the textbox and then click Send.
Page 41

smart-0.book Page 37 Thursday, February 8, 2001 9:43 AM
To converse with the terminal, type your message in the
administrator textbox and then click Request Conversation.
To broadcast message to all the terminals, type the message in the
under broadcast textbox and then click Broadcast.
37
Page 42

smart-0.book Page 38 Thursday, February 8, 2001 9:43 AM
38
3 Running the utility
Changing status
The Smart Manager 2.0 can change the status of individual terminals
connected to the server using Upgrade Image, Disconnect and
Reboot Computer.
Upgrade Image
Upgrade image is used when the server has already downloaded a new
image version and the terminals that are connected have not been
upgraded yet. You can manually upgrade the terminals using this
option.
Disconnect
This option allows you to disconnect a terminal from the server.
Reboot Computer
You can reboot any terminal connected through the server by using
the Reboot computer option.
 Loading...