

Page 1

802.11b Wireless
CardBus PC Card
Quick Installation
M73-APO01-630
Page 2

INSTALLATION
Caution: Do not insert the Wireless PC Card
into your computer until the procedures in
“Install the Driver & Utility” has been
performed.
Install the Device
1. Locate the CardBus slot of your system.
2. Align the Wireless PC Card in the CardBus
slot. Push evenly and slowly until it is seated.
3. Once the device has been connected to your
computer, Windows will detect the new
hardware and then automatically copy all of
the files needed for networking.
Install the Driver
In Windows 98
1. In Add New Hardware Wizard, click Next.
2. Select Search for the best driver for your
device (Recommended). Click Next.
3. Insert the supplied CD-ROM into the
CD-ROM drive. Select Specify a location:
and click Browse to provide the appropriate
path (e.g. D:\WIN98). Click Next.
4. Click Next, Windows will copy all the
necessary files to your system.
5. If you are asked to insert Windows 98
CD-ROM, please do so. Click OK.
6. Click Finish to complete the installation.
1 -
-
Page 3

7. When Windows prompts you to restart your
computer, click Yes.
In Windows ME
1. Select Specify the location of the driver
(Advanced), click Next.
2. Insert the supplied CD-ROM into the
CD-ROM drive. Select Search for the best
driver for your device (Recommended) and
click Browse to provide the appropriate path
(e.g. D:\WINME.) Click Next.
3. Click Next, Windows will copy all the
necessary files to your system.
4. Click Finish to complete the installation.
5. When Windows prompts you to restart your
computer, click Yes.
In Windows 2000
1. In Found New Hardware Wizard, click
Next.
2. In Install Hardware Device Drivers, select
Search for a suitable driver for my device
(recommended), click Next.
3. Insert the supplied CD-ROM into the
CD-ROM drive. Select Specify a location,
click Next.
4. Click Browse to provide the appropriate path
(e.g. D:\WIN2000). Click OK.
5. Click Next, Windows will copy all the
necessary files to your system.
6. In Digital Signature Not Found window,
click Yes to continue.
2 -
-
Page 4

Click Finish to complete the installation.
In Windows XP
1. Select Install from a list or specific location
(Advanced) and click Next.
2. Insert the supplied CD-ROM into the
CD-ROM drive. Select Include this location
in the search: and click Browse to provide
the appropriate path (e.g. D:\WINXP). Click
Next.
3. Click Continue Anyway to proceed.
Windows will copy all the necessary files to
your system.
4. Click Finish to complete the installation.
Verify
To verify if the device exists in your computer
and is enabled, go to Start
Settings
Control Panel System ( Hardware)
Device Manager. Expand the Network adapters
category. If the 802.11b Wireless LAN CardBus
(Mini-) PCI NIC is listed here, it means that
your device is properly installed and enabled.
Install the Utility
1. Insert the supplied CD-ROM into the
CD-ROM drive. Double click on Setup.exe
to install the Wireless LAN Utility.
2. When the Welcome screen appears, click
Next to continue.
2. In License Agreement, click Yes to accept
the terms.
3 -
-
Page 5
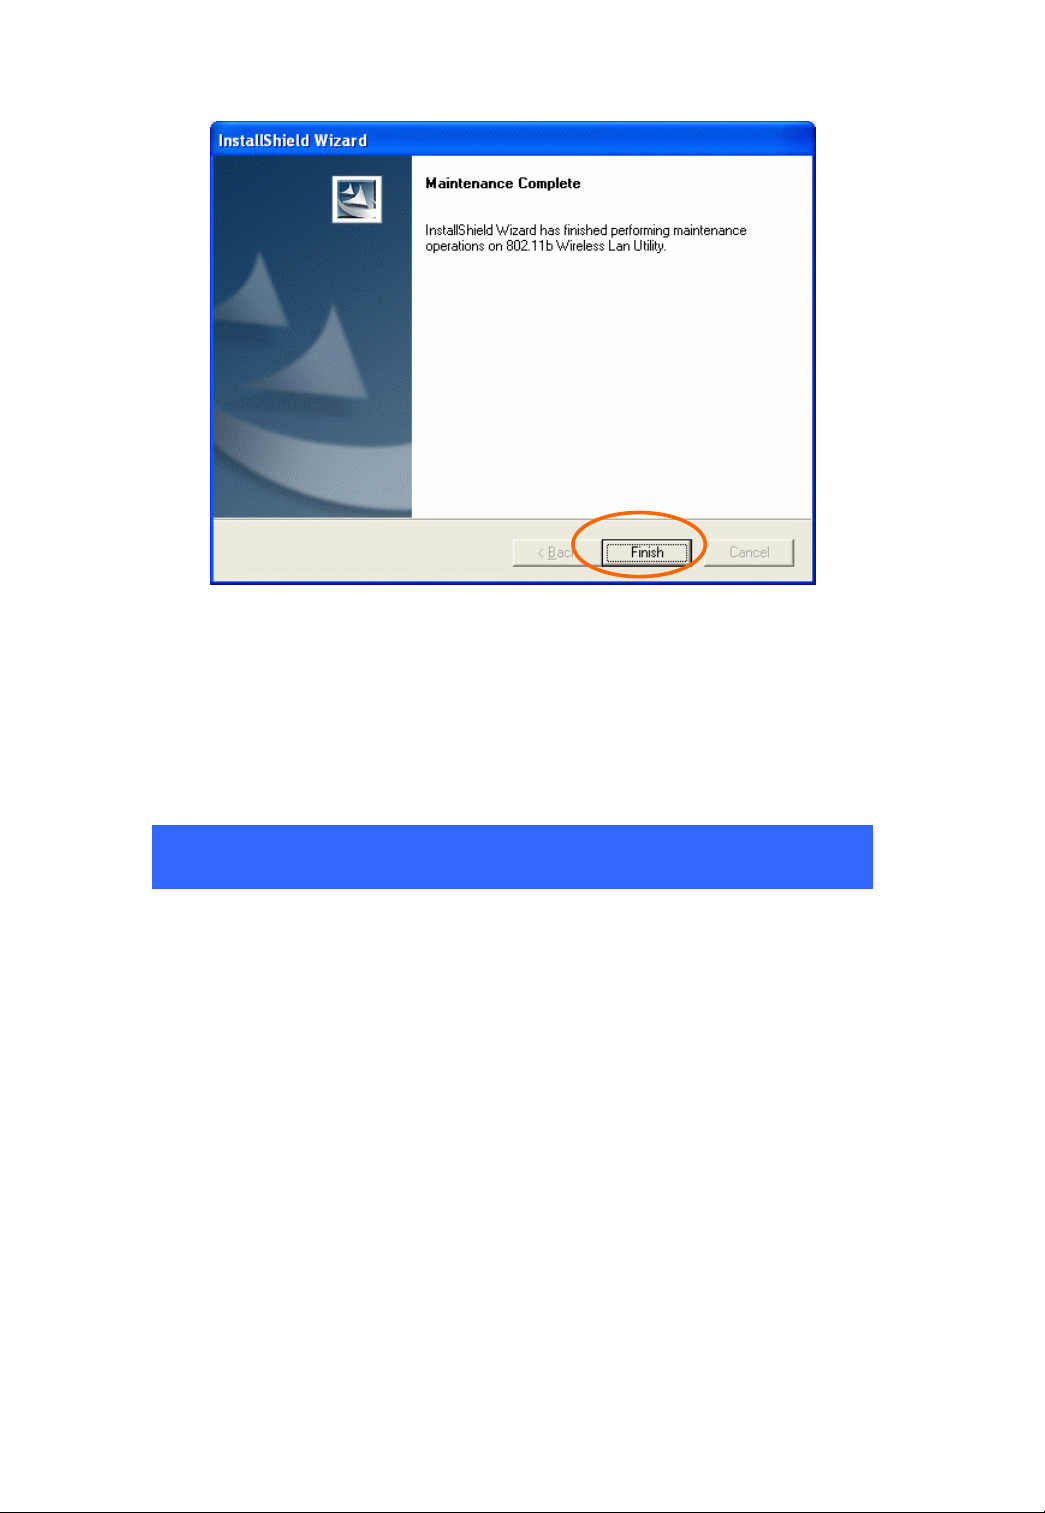
3. Click Finish to complete the installation.
NETWORK CONNECTION
Once the driver has been installed, you must
make some changes to your network settings.
In Windows 98/ME
1. Go to Start Settings Control Panel
Network.
2. Make sure that the following components are
installed.
802.11b Wireless LAN CardBus(Mini-) PCI NIC
IPX/SPX-compatible Protocol
NetBEUI
TCP/IP
If any components are missing, click on the Add
button to add them in. All the protocols and
clients required and listed above are provided by
Microsoft.
4 -
-
Page 6
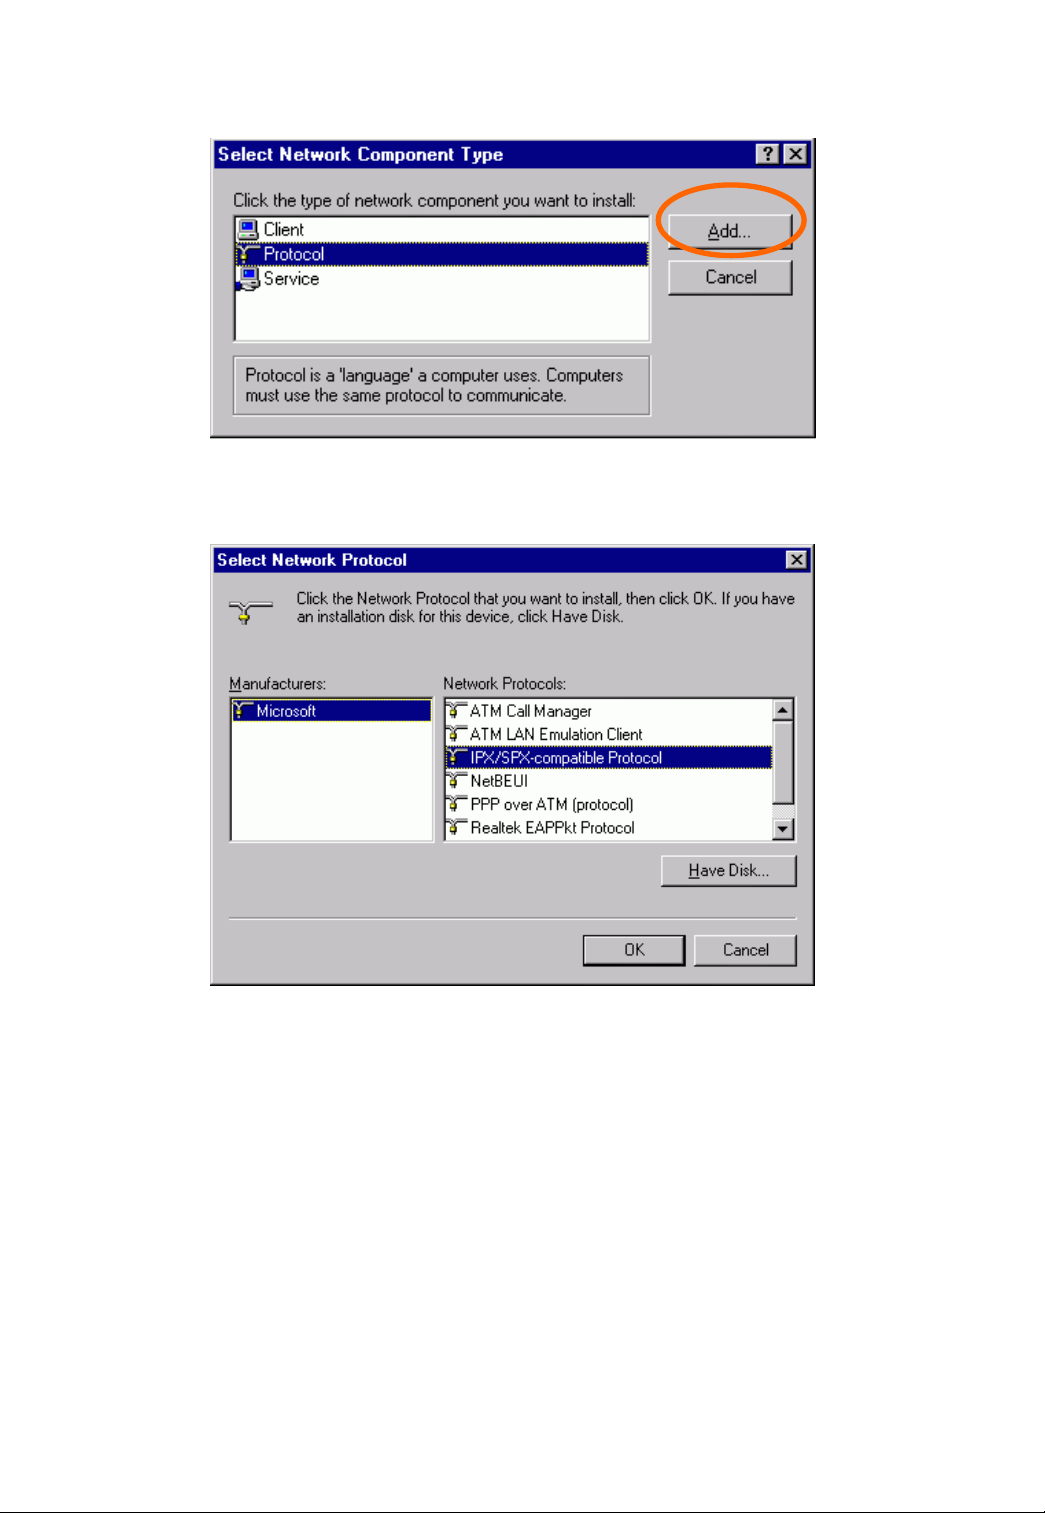
3. After clicking Add, highlight the component
you need, click Add.
4. Highlight Microsoft, and then double click
on the item you want to add. Click OK.
5. For making your computer visible on the
network, enable the File and Print Sharing.
6. Click the Identification tab. Make up a name
that is unique from the other computers'
names on the network. Type the name of
your workgroup, which should be the same
used by all of the other PCs on the network.
7. Click the Access Control tab. Make sure
that “Share-level access control” is selected.
If connecting to a Netware server, share level
can be set to “User-level access control.”
5 -
-
Page 7

8. When finished, restart your computer to
activate the new device.
9. Once the computer has restarted and
Windows has booted up, a Logon window
will appear and require you to enter a
username and password. Make up a
username and password and click OK. Do
not click the Cancel button, or you won’t be
able to log onto the network.
10. Double-click the Network Neighborhood
icon on the windows desktop, and you should
see the names of the other PCs on the
network.
In Windows 2000/XP
1. (In Windows 2000)
Go to Start Settings Control Panel
Network and Dial-up Connections
Local Area Connection Properties.
(In Windows XP)
Go to Start Control Panel Network
Connections Wireless Network
Connection Enabled 802.11b Wireless
LAN CardBus(Mini-) PCI NIC
Properties.
-
6 -
Page 8

2. Make sure that you have all the following
components installed.
7 -
-
Page 9

Client for Microsoft Networks
NWLink NetBIOS
802.11b EAPPkt Protocol
Internet Protocol (TCP/IP)
3. If any components are missing, click on the
Install… button to select the
Client/Service/Protocol required. After
selecting the component you need, click
Add… to add it in.
-
8 -
Page 10

4. For making your computer visible on the
network, make sure you have installed File
and Printer Sharing for Microsoft
Networks.
5. When finished, you must restart your
computer to complete the installation.
CONFIGURATION
After successful installation of the Wireless PC
Card’s Driver and Utility, a Network Status icon
will display in the system tray. Meanwhile,
a Utility Shortcut icon
desktop.
-
9 -
will appear on the
Page 11

Accessing the Configuration Utility
Double-click on to open the Configuration
Utility.
Click Advanced to enter the Configuration
Window.
All settings are categorized into 6 Tabs:
10 -
-
Page 12

Config Tab
The Config tab allows you to configure WEP
encryption and add/remove Profile(s).
Item Description
Available
Wireless
Network(s)
Configure Highlight an available network, click
Displays all available networks.
Configure to set up WEP encryption (see
diagram below).
11 -
-
Page 13

Refresh Click the button to refresh and search for
all available networks.
Item Description
Available
Profile(s)
Add
Displays all available profiles.
Click the button and the Wireless
Network Properties window will appear.
In the Network Name (SSID) field, enter
your desired network name listed in the
above Available Wireless Network(s)
box, and click OK.
12 -
-
Page 14

Remove
Set Default
Highlight the unwanted profile listed in
the Available profile(s) box, and click
the button to remove it.
Highlight a profile, click the button to set
it as a default profile.
-
13 -
Page 15

Advanced Config Tab
y
The Advanced Config Tab allows you to change
advanced configuration settings, such as the Ad
Hoc default channel, Power Save and Radio
Off.
Item Description
Ad Hoc default
channel
Select the appropriate channel from
the list provided to correspond with
our network settings. All devices
14 -
-
Page 16

in the wireless LAN must be
configured to share the same radio
channel in order to function properly.
Power Save
CAM
(Constantly
Awake Mode)
Max (Power
Save Mode)
Keeps the PC card powered up
continuously so there is little lag in
message response time.
Consumes the most power but offers
the highest throughput. Is
recommended for desktop computers
and devices that use AC power.
Causes the access point to buffer
incoming messages for the client
adapter, which wakes up periodically
and polls the access point to see if
any buffered messages are waiting for
it. The PC card can request each
message and then go back to sleep.
Conserves the most power but offers
the lowest throughput. Is
Fast (Power
Save Mode)
Encryption
Algorithm
recommended for devices which
power consumption is the ultimate
concern (such as small
battery-powered devices).
Switched between PSP mode and
CAM mode, depending on network
traffic. This mode switched to CAM
when retrieving a large number of
packets and switches back to PSP
after the packets have been retrieved.
It is recommended when power
consumption is a concern but you
need greater throughput than that
allowed by Max PSP.
WEP (Wired Equivalent Privacy)
AES (Advanced Encryption Standard
)
-
15 -
Page 17

TKIP (Temporal
Key
Integrity
Protocol
)
Select one from the list to ensure the
security of your wireless network.
Preamble
Mode
A preamble is a signal used in
wireless environment to synchronize
the transmitting timing including
Synchronization and Start frame
delimiter. (Note: Please check the
setting of AP first.)
Auto Select Auto for the USB adapter to
select the Preamble type
automatically depending on the
Access Point Preamble type.
Long In a "noisy" network environment,
the Preamble Type should be set to
Long Preamble.
Short The Short Preamble is intended for
applications where minimum
overhead and maximum performance
is desired. In a "noisy" network
environment, the performance would
be decreased.
Show icon in
System Tray
Check this box to show icon in
system tray.
Radio Off Check/Uncheck this box to
disable/enable the radio module
function of the Wireless PC Card.
Rescan Searches for all available networks.
Click this button to rescan and issue
an updated list of all available sites.
-
16 -
Page 18

Status Tab
The Status Tab displays basic link information,
including Channel Set, MAC Address,
Network Type and Power Save Mode.
-
17 -
Page 19

Statistics Tab
The Statistics tab shows the available statistic
information. Press Reset button to renew this list
of statistics.
-
18 -
Page 20

About Tab
Click on the About tab to view basic version
information about the Configuration Utility.
Exit Tab
Click on the Exit tab to exit the application.
-
19 -
 Loading...