

Page 1

ABBYY FlexiCapture 8.0
Professional
Data Capture Operator’s Guide
© 2009 ABBYY. All rights reserved.
Page 2
Overview..................................................................................................................................... 2
Loading images........................................................................................................................... 2
Recognition................................................................................................................................. 3
Verification.................................................................................................................................3
Export.......................................................................................................................................... 7
Appendix..................................................................................................................................... 8
Overview
The typical data capture process involves the following four steps:
1. Loading images – At this step, document images are added to the project
2. Recognition – At this step, the data on the images are recognized
3. Verification – At this step, the recognized data are verified
4. Export – At this step, the verified results are saved
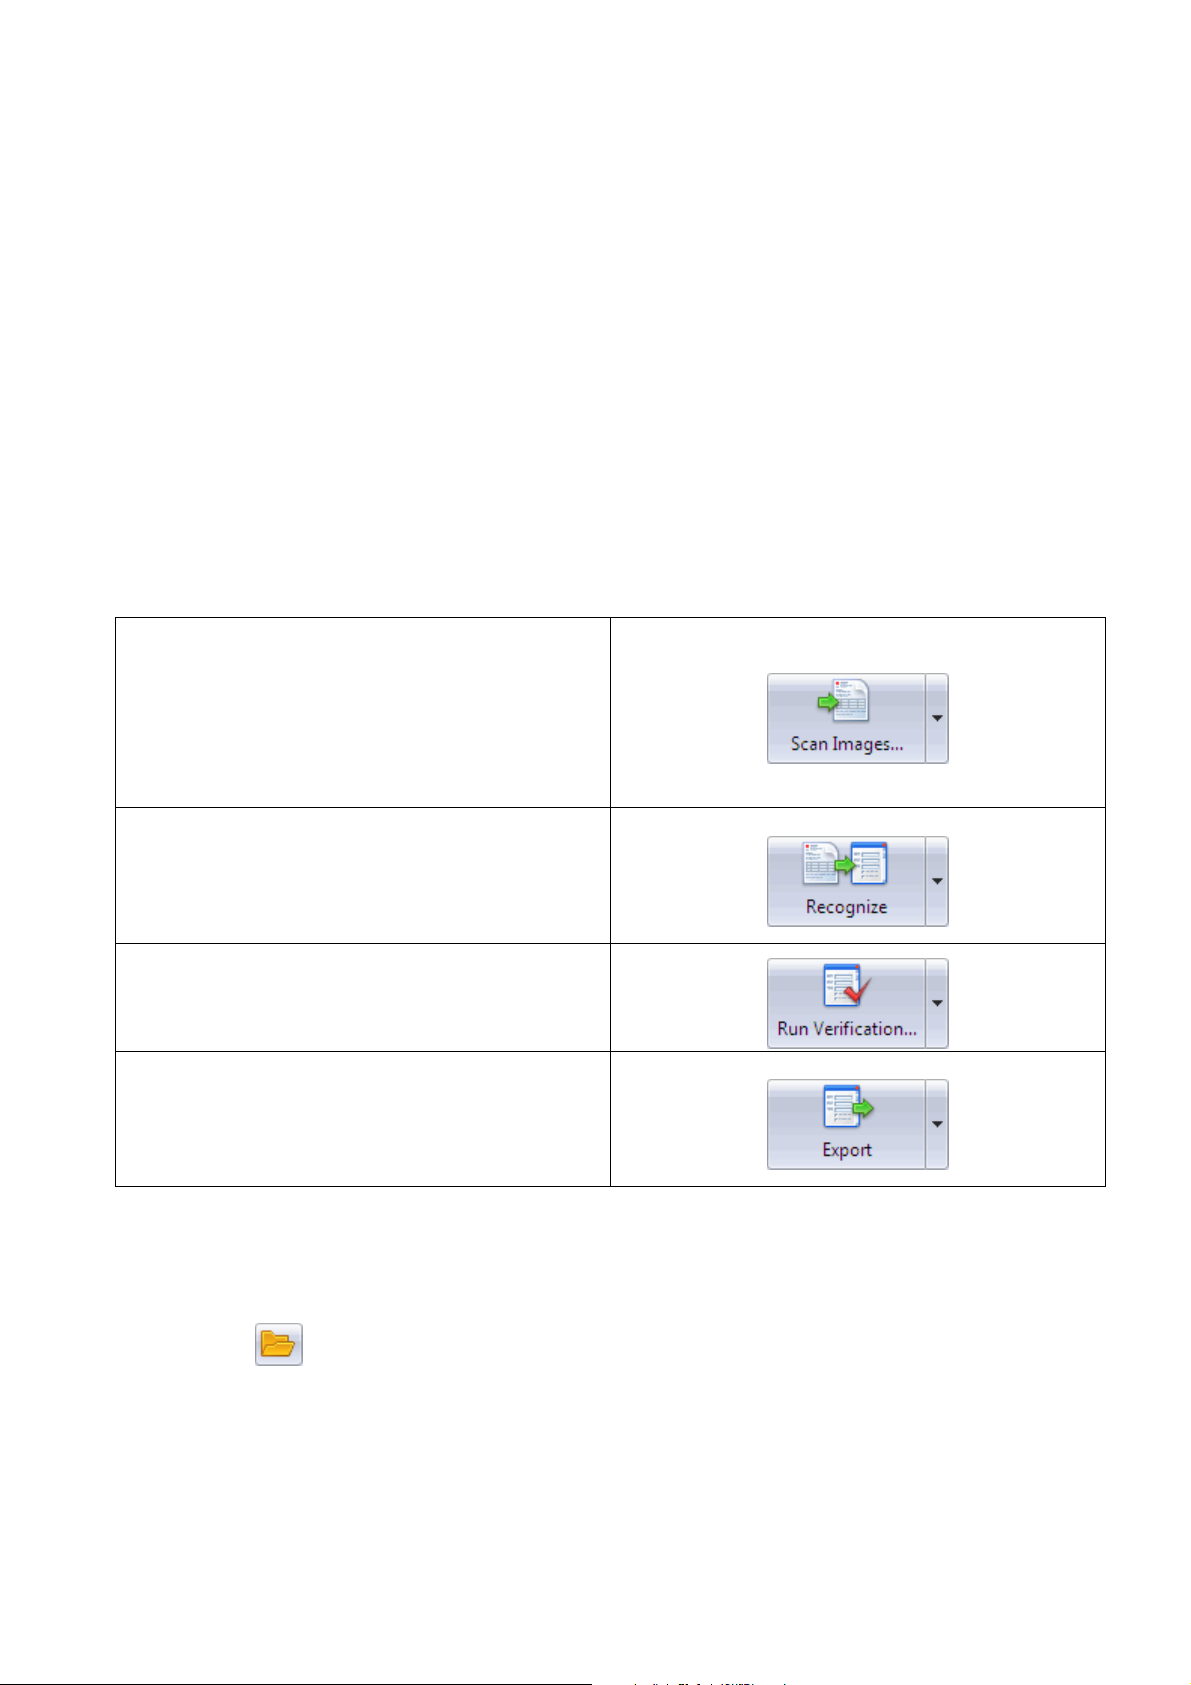
Each step has its own button on the toolbar:
Loading images
The arrow to the rights selects how images will
be obtained. You can Load Images, Scan
Images, or Import Images using one of the
available image import profiles. The caption of
the button changes to reflect your choice.
Recognition
Starts the recognition process. Click the arrow to
the right to select the Analyze or Match
Template command.
Verification
Starts the verification process. Click the arrow to
the right to select the Re-check Rules command.
Export
Export the data based on the template settings.
Click the arrow to the right to select the Export
to File or Export to Database command.
Loading images
First, you must select a project:
1. Click
2. Select a batch or create a new batch into which the images are to be loaded. To create a new
batch, right-click anywhere in the main window and select New Batch on the shortcut menu.
If you try adding images to a project that contains no batches, a new batch will be created
automatically.
Now you must load the images into the batch. There are several ways of loading images:
and select the desired project.
© 2009 ABBYY. All rights reserved.
Page 3

1. You can load existing image files. To load existing images, click the arrow next to the Import
Images… button and select Load Images... Alternatively, you can press the Ctrl+O keyboard
shortcut.
2. You can scan paper documents. To scan paper documents, click the arrow next to the Import
button and select Scan Images... The program will prompt you to select a scanner.
3. You can import images using one of the image import profiles that were earlier created by the
administrator.
If there are image import profiles available, their names will be displayed on the drop-down
menu of the Import button. Select the desired profile to start importing images.
Clicking Import Images… opens the Select Import Profile dialog box. Select the desired
import profile and click Import to start importing images.
Once you select an image import profile, its name will be displayed on the Import Images…
button so that you don’t have to select this profile from the list next time you want to use it.
Images may be imported in background mode if an appropriate import profile was created. Selecting
this type of profile automatically loads images into the batch from a dedicated “hot” folder.
After you add the images, unprocessed pages appear in the list.
Recognition
Clicking the Recognize. Button starts the recognition process.
The recognition process may be launched automatically as soon as images are added into the batch.
To enable this option, select Tools>Options, click the Document Processing tab, and check
Recognize added images automatically.
The Confidence Level column displays the percentage of reliably recognized characters.
Once the recognition process is complete, you may verify the results.
Verification
Verification consists in checking the recognized data for errors.
For multi-page documents, you must first check if the pages have been correctly assembled into
documents. Then the recognized data are verified using group and context verification modes. You
can also verify the data in the document window. Rules are also checked at this stage.
1. Checking document assembly. This check is not required when processing one-page documents —
you can go directly to data verification.
For multi-page documents, you must first check if the program has assembled the pages into
documents correctly.
If the order of pages in a document does not match the order specified for this document or if the
values of the key field are not identical on all the pages, the document is marked with a red flag and
an error message is displayed in the document window.
If this is the case, first make sure that pages were not mixed up at
the scanning stage. Many assembly errors can be corrected by
simply changing the order of pages.
© 2009 ABBYY. All rights reserved.
Page 4
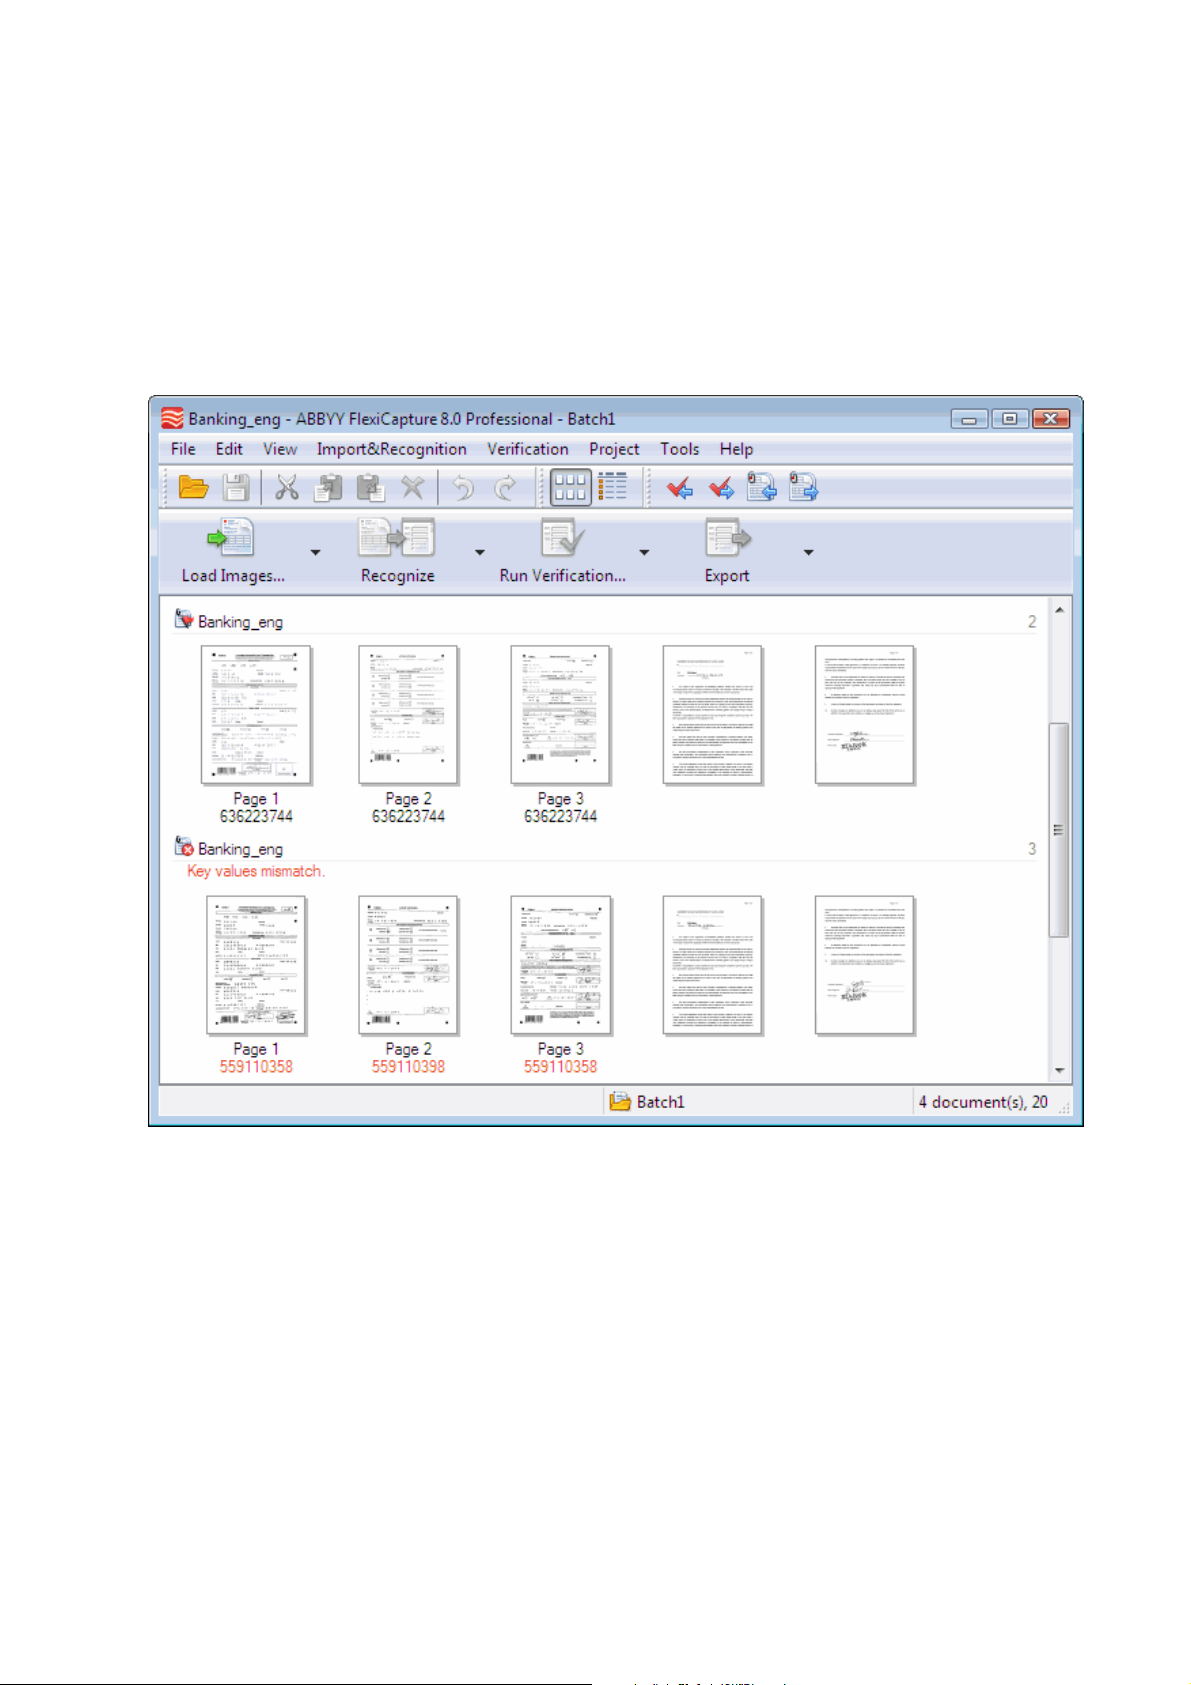
You can check document assembly in thumbnail view (Figure 1). In this view, you can change the
position of pages and even move them between documents with the mouse.
If key field values are used to ensure correct document assembly, the values of the key fields are
displayed below the image of each page (Figure 1). If key field values are not identical on the pages
of the same document, they will be displayed in red.
A mismatch of key field values may occur if they have been recognized or filled out incorrectly.
Verify the key field values. If the mismatch persists, the mismatching pages are from different
documents. Find the pages with identical key field values and assemble them into documents.
Note: To change the scale of the thumbnail images, hold down the CTRL key and scroll the mouse
wheel.
Figure 1. Document pages in thumbnail view
Next, start the verification process by clicking Run Verification. First, the group verification
window opens. Once the group verification is finished, the context verification window opens.
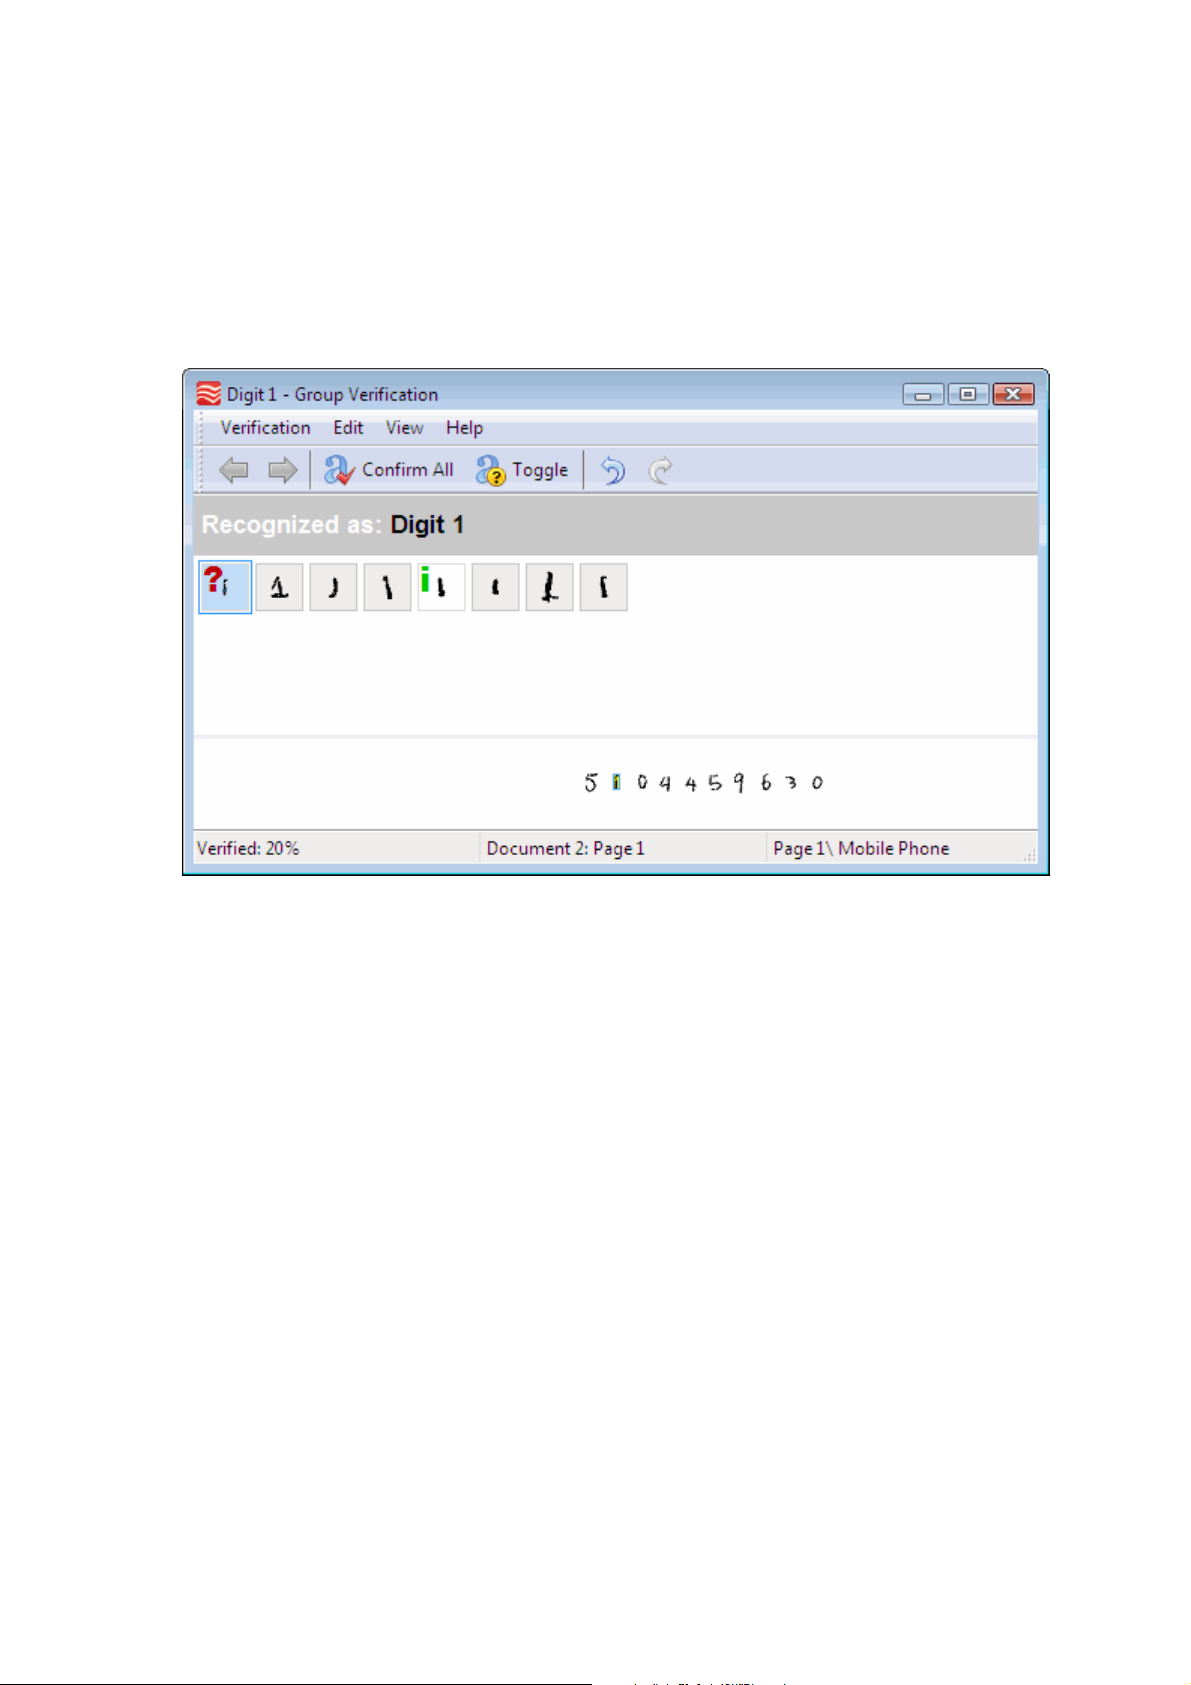
2. Group verification groups together the images of characters that have been recognized identically.
Identical characters (e.g. digits 1 in Figure 2) are shown in groups so that you can confirm the
obviously correctly recognized characters and postpone the incorrect or dubious ones until the next
verification stage.
If you have doubts about a character:
1. Right-click the character and select Show Character Image on the shortcut menu or press
F2. The image of the field containing the character being verified will be displayed.
2. In the verification window, select View > Field Image > Show Field Image or press the
Ctrl+I keyboard shortcut. The verification window will be split into two panes and the
appropriate field will be displayed in the bottom pane when you rest the mouse cursor on a
dubious character.
© 2009 ABBYY. All rights reserved.
Page 5
If a character has been recognized incorrectly:
1. Select the incorrect character and type its correct value. The value will be displayed in
green in the left top corner of the character image.
2. If you are not sure if the character has been recognized correctly even after you have
viewed it in context, click the character once to mark it with a red question mark. You can
also click the Toggle button on the toolbar to change character status.
To confirm that a character has been recognized correctly, right-click the character and select
Confirm on the shortcut menu. You can also confirm all the currently displayed characters by
clicking Confirm All on the toolbar.
Figure 2. Group verification of digits
3. Context verification allows you to verify uncertainly recognized characters in the context of their
fields, whose possible range of values is known in advance. For example, you may know which
countries are possible in the Country field, and can easily correct any errors in this field.
To correct recognition errors, you can use the standard insert and overwrite modes commonly
provided by text editing software. Press the Insert button on the keyboard to switch between the
modes.
View the recognition results for each field and either correct or confirm them by pressing Enter or
clicking Confirm Field on the toolbar.
The fields whose values do not correspond to their pre-defined data type, are marked with a red flag
and an error message is displayed for them. Likewise, the program will flag the fields whose values
do not satisfy the rules that were specified for them. You must either correct the values in these fields
or postpone the fields until a later stage by clicking the Postpone button.
© 2009 ABBYY. All rights reserved.
Page 6

Figure 3. Context verification window
4. The document window also allows you to check and correct recognized characters (Figure 4). To
open the document window, double-click the name of a page. The document window displays the
data, the image of the page, and rule errors (if any). Click the Layout button to change the window
layout.
In the data section, uncertain characters are displayed in red and fields with invalid data types and
failed rules are highlighted. Use the and buttons to go to the previous/next error. These
buttons consecutively go through assembly errors, uncertain characters, rule errors, etc.
Figure 4. Document window
5. Rule validation. Rules that have not been met are marked with flags: yellow flags are used for
warnings and red flags are used for serious errors.
If there are rule errors, check if the relevant data have been recognized correctly. If a field has been
recognized incorrectly, correct the error. If a field has been filled out incorrectly and the error cannot
be corrected right away, do not export the document.
To check the rules again, click the arrow to the right of the Run Verification button and select Re-
check Rules. If the data have been corrected and the rules are satisfied, the flags will be removed.
© 2009 ABBYY. All rights reserved.
Page 7

Export
Once you have verified the recognized data, click the Export button to export them. The data will be
exported based on the document template settings.
Instead of using the template settings, you can export the data to a file or database by selecting the
corresponding item from the drop-down menu to the right of the Export button and specifying the
desired export settings.
© 2009 ABBYY. All rights reserved.
Page 8
Appendix
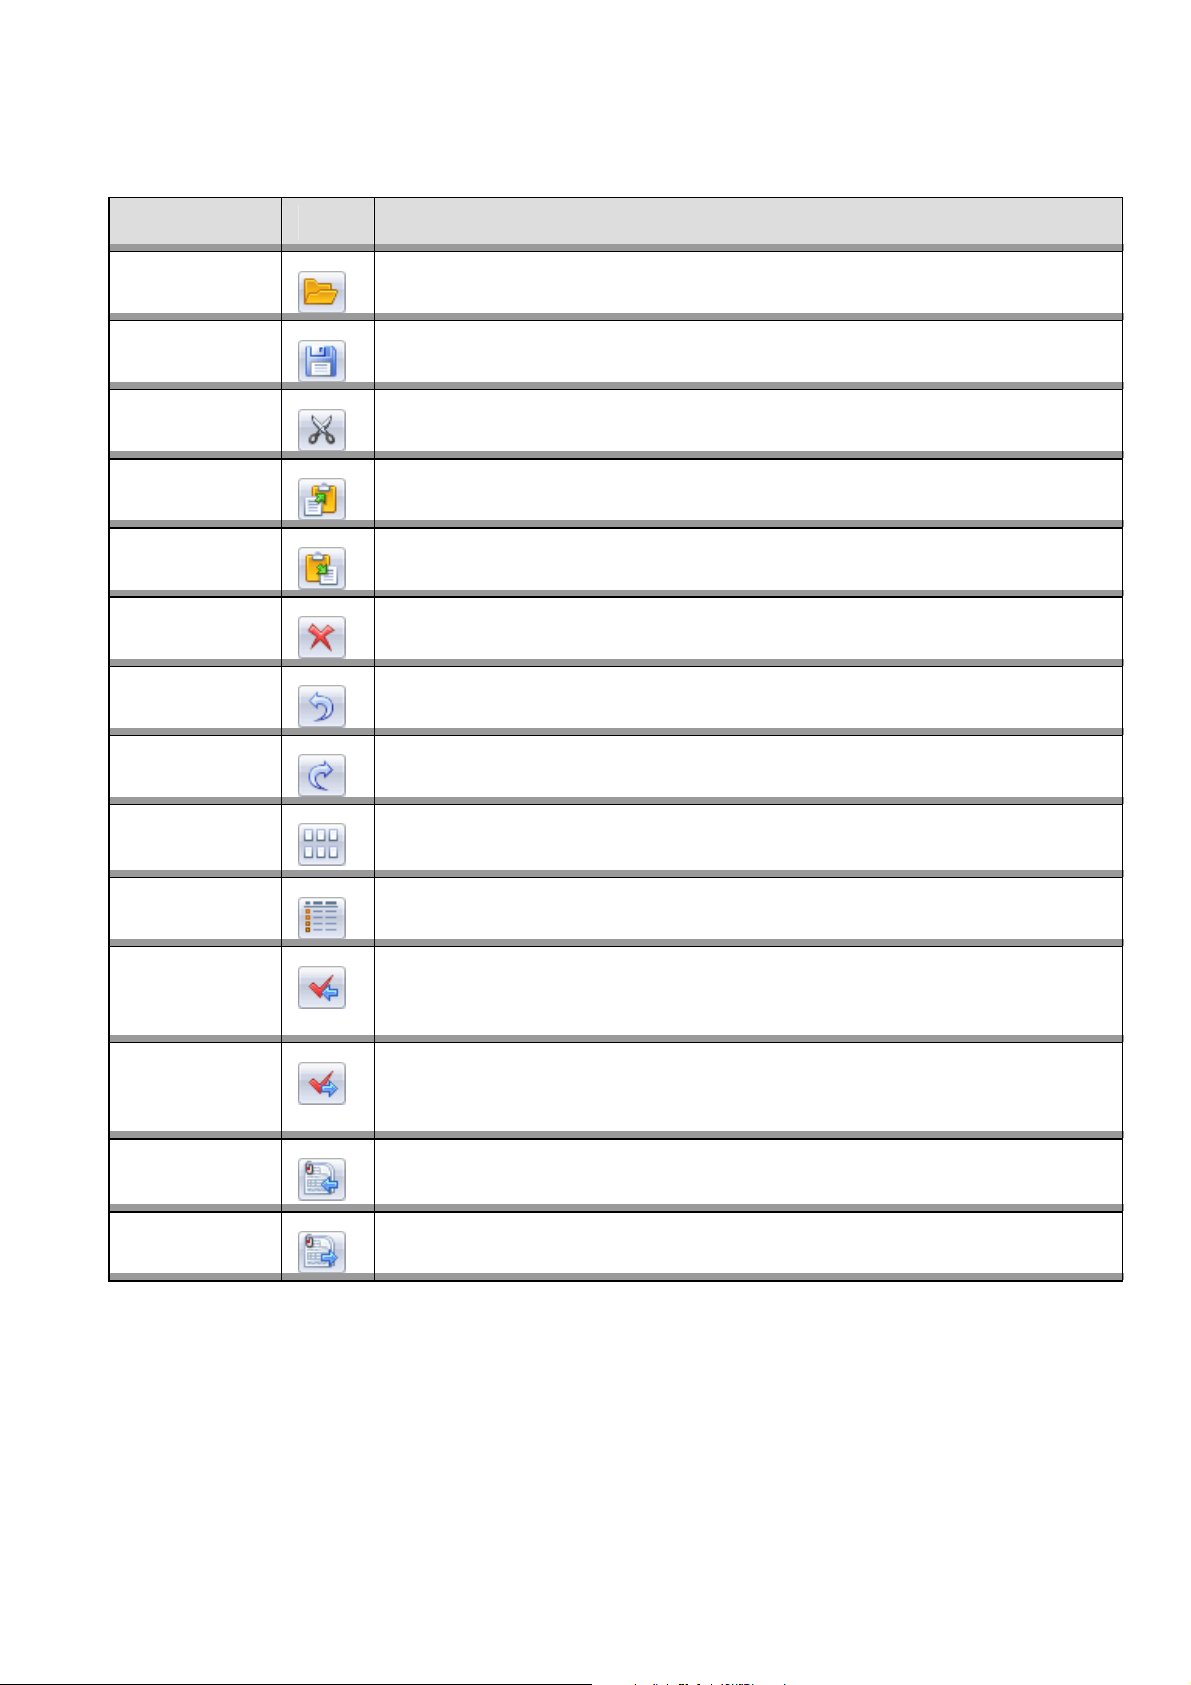
The buttons on the standard toolbar in the main window
Name Button Description
Open Project
Save Changes
Cut
Copy
Paste
Delete
Undo
Redo
Thumbnails
View
Opens another project
Saves changes
Cuts a selected object when you work with data in the document window
Copies a selected object
Pastes a previously copied object from the clipboard
Deletes a highlighted object
Undoes the previous action
Redoes a previously undone action
Shows document page images as thumbnails
Details View
Previous Item to
Verify
Next Item to
Verify
Previous
Document
Next Document
Shows documents and their pages as a detailed list
Returns to the previous item to verify. The program navigates all errors, including
assembly errors, uncertainly recognized characters, rule errors, mismatches of key fields,
etc.
Moves forward to the next item to verify. The program navigates all errors, including
assembly errors, uncertainly recognized characters, rule errors, mismatches of key fields,
etc.
Returns to the previous document
Moves forward to the next document
© 2009 ABBYY. All rights reserved.
Page 9

The buttons on the toolbar in the group verification window
Name Button Description
Previous Page
Next Page
Confirm Screen
Change Characters
State
Undo
Redo
Takes you to the previous page if all characters do not fit on a single
screen
Takes you to the next page if all characters do not fit on a single screen
Confirms correct recognition of all characters and takes you to the next
screen.
Changes character status to rejected or confirmed
Undoes the previous action
Redoes a previously undone action
The buttons on the toolbar of the context verification window
Name Button Description
Previous Field
Returns to the previous field
Next Field
Confirm/Skip
Field
Postpone
Previous
Uncertain
Character
Next Uncertain
Character
Undo
Redo
Goes to the next field
Confirms correct recognition of all characters in a field and takes you to
the next field. If the field value does not fit the field format, the button
name changes to Skip Field. If the field value cannot be corrected, its
verification can be deferred or skipped.
Postpones field verification if its value cannot be corrected
Returns to the previous uncertainly recognized character
Goes to the next uncertainly recognized character
Undoes the previous action
Redoes a previously undone action
© 2009 ABBYY. All rights reserved.
Page 10

Hot keys in the group verification window
N
g
p
m
N
r
r
N
py
t
g
m
Menu Command Hot Keys
Verification Confirm All Enter
Postpone All Ctrl+Enter
Toggle Space
Previous PagePa
View Field Image > Show Field Image Ctrl+I
Field Image > On To
Field Image > On Botto
Symbols Menu Show Character ImageF2
Confirm Ctrl+E
Postpone Ctrl+R
Reset Esc
ext Page Page Down
e Up
Alt+1
Alt+2
Hot keys in the field verification window
Menu Command Hot Keys
Verification Confirm Field Enter
Postpone Ctrl+Enter
Previous Uncertain Characte
ext Uncertain Characte
F4
Shift+F4
Previous Field Page Up
Edit Cut Ctrl+X
Co
Paste Ctrl+V
Delete Del
Insert Line Break Shift+Enter
Merge Characters Ctrl+M
View Field Data > Recognized Tex
Field Data > Character Images Cuttin
Field Image > Show Field Image Ctrl+I
Field Image > On Top Alt+1
Field Image > On Botto
ext Field Page Down
Ctrl+C
Alt+F1
Alt+F2
Alt+2
Show Character Image F2
© 2009 ABBYY. All rights reserved.
Page 11

Hot keys for both verification windows
Command Hot Keys
Zoom into a field Ctrl+Num+
Zoom out of a field Ctrl+NumUndo Ctrl+Z
Redo Ctrl+Y
Select All Ctrl+A
Full Screen F11
Display Help F1
Close Alt+F4
© 2009 ABBYY. All rights reserved.
 Loading...