

Page 1
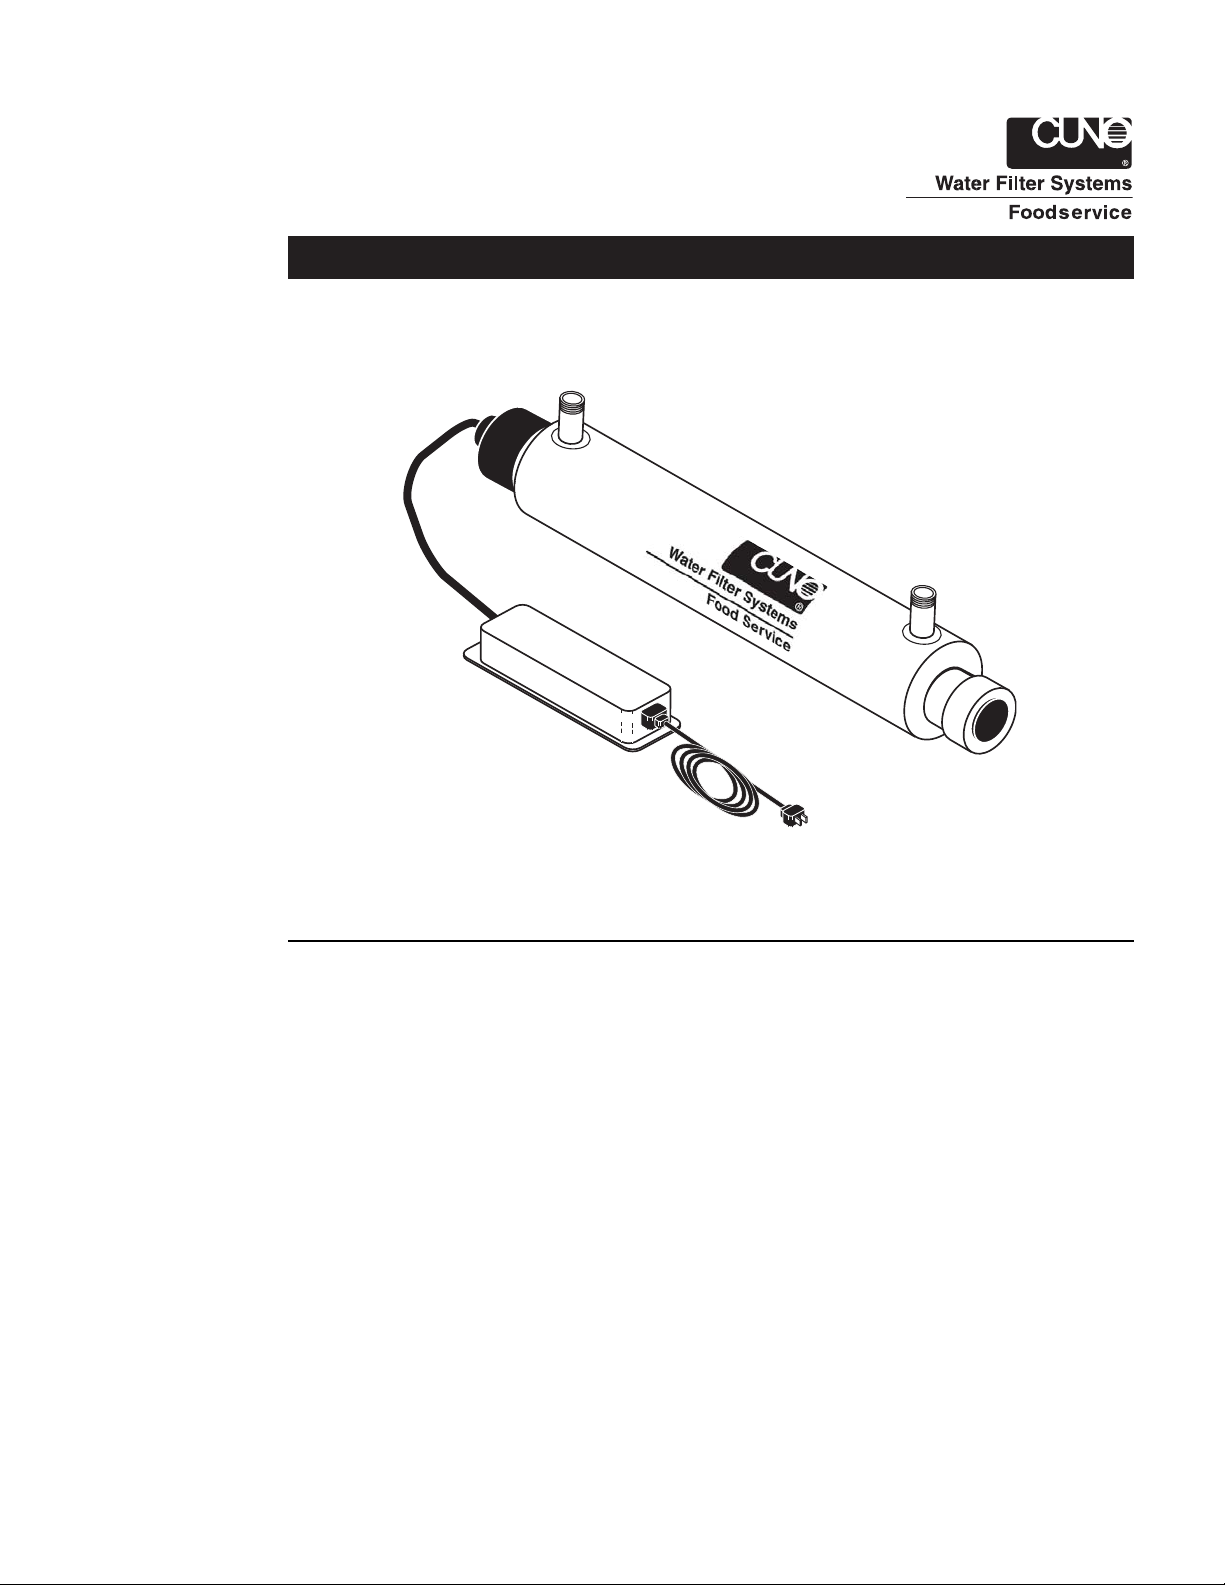
For CUNO®Food Service CFSUV-5 and CFSUV-5-2
INSTR4200 0304
Installation and
Operating Instructions
New Electronic ICE Ballast
This UV system contains a patented electronic ICE ballast. It is designed to provide constant UV output over a
wide range of input voltages or frequencies.
Warning: The light given off by this unit can cause serious burns to unprotected eyes and skin. Never look
directly at a burning UV lamp. When performing any work on the UV sterilizer always unplug the unit first.
Never operate the UV system while the UV lamp is outside of the UV chamber.
Note: The UV lamp inside of the sterilizer is rated at an effective life of approximately 9,000 hours. To ensure
continuous protection, replace the UV lamp annually.
Page 2

1
Safety Instructions
Warning: To guard against injury, basic safety precautions should be observed, including the following:
1. READ AND FOLLOW ALL SAFETY INSTRUCTIONS.
2. DANGER: To avoid possible electrical shock, special care should be taken since water is present near electrical
equipment. Unless a situation is encountered that is explicitly addressed by the provided maintenance and troubleshooting sections, do not attempt repairs yourself. Contact CUNO Food Service Authorized Distributor for service.
3. Carefully examine the UV system after installation. It should not be plugged in if there is water on parts not
intended to be wet.
4. Do not operate the UV system if it has a damaged cord or plug, if it is malfunctioning or if it is dropped or
damaged in any manner.
5. Always disconnect water flow and unplug the UV system before performing cleaning or maintenance activities.
Never yank the cord to remove from an outlet; grasp the wall plug and pull to disconnect.
6. Do not use this UV system for other than intended use (potable water applications). The use of attachments not
approved, recommended or sold by the manufacturer or distributor may cause an unsafe condition.
7. Intended for indoor use only. Do not install this UV system where it will be exposed to the weather or to temperatures
below freezing. Do not store this UV system where it will be exposed to temperatures below freezing unless all water
has been drained from it and the water supply has been disconnected.
8. Read and observe all the important notices and warnings on the UV system.
9. If an extension cord is necessary, a cord with a proper rating should be used. A cord rated for less amperes or
watts than the UV system rating may overheat and create a fire hazard. Care should be taken to arrange the cord
so that it will not be damaged, tripped over or pulled.
10. SAVE THESE INSTRUCTIONS.
Water Chemistry
Water quality is extremely important for the optimum performance of the UV system. The following levels are recommended for installation:
• TOTAL IRON count is less than 0.3 ppm (mg/l)
• HYDROGEN SULFIDE count is less than 0.05 ppm (mg/l)
• SUSPENDED SOLIDS count is less than 10 ppm (mg/l)
• MANGANESE count is less than 0.05 ppm (mg/l)
• HARDNESS count is less than 7 gpg (where total hardness is less than 7 gpg, the UV system should operate
efficiently provided the quartz sleeve and/or sensor probe is cleaned periodically)
If the water chemistry contains levels in excess of those mentioned above, proper treatment is recommended to correct
these water problems prior to the installation of the UV system. Consult a CUNO Food Service Authorized Distributor for
pretreatment recommendations.
Before Installing the System
The CUNO Food Service UV system is packaged as follows:
• Stainless Steel Reactor Chamber
• UV Lamp with Quartz Sleeve
• Patented Electronic ICE Ballast
NOTE: A minimum of a 5 micron sediment filter (not included) must precede the UV system.
NOTE: For cold water use only.
NOTE: For potable water use only.
Page 3

2
Installing the UV System
CAUTION:
• The UV system must be connected to a ground fault interruptor.
• The electronic ballast should be mounted either above or beside the reactor chamber. This will prevent moisture
caused by condensation from entering the ballast enclosure, a potential for ballast failure and electrical shock hazard.
• The UV system must be installed within 5 ft (1.5 m) of an electrical outlet.
• The electronic ballast must be connected to a grounded receptacle and the lamp connector ground wire connected
to the reactor chamber.
• The complete water system, including any pressure or hot water tanks, must be sanitized before the start-up of
the UV system to destroy any residual contamination.
Installation
Note: The reactor chamber should be mounted in the vertical position with the lamp connector on top. The water flow
must enter from the bottom port and exit from the top port to ensure optimum operating efficiency. If the chamber cannot be mounted vertically, horizontal mounting should only be done with the ports facing up. Leave enough space to
allow for the removal of the UV lamp and/or quartz sleeve (typically leave a space equal to the size of the system itself).
1. Remove the UV system from the shipping carton. For shipping purposes, the UV lamp is packed in a separate
cardboard tube. Carefully remove the UV lamp from the tube, being careful to handle by the ends only. Remove
the plastic end cover. Do not touch the glass itself.
2. Insert the UV lamp into the quartz sleeve, making sure the connection end is inserted last and centering spring is
inside of quartz sleeve. Affix the lamp connector to the UV lamp pins, press-fit into the aluminum gland nut, and
replace the plastic end cover.
3. Mount the reactor chamber to the wall with the supplied clamp(s). Mount the electrical ballast to the wall either
above or beside the reactor chamber.
4. Various connection methods can be used to connect the water source to the UV system, however union type
connectors are recommended. The use of a flow restrictor device is strongly recommended when installing the
UV system in order that the manufacturers recommended flow rate is not exceeded. In addition, the use of a
bypass assembly is recommended for emergency use of untreated water when the UV system is being serviced.
NOTE: When the UV system is returned to service after being on bypass, the complete water system must be
sanitized once again to destroy any contamination that may have entered the distribution system while on
bypass. DO NOT SOLDER CONNECTIONS WHILE ATTACHED TO THE UV SYSTEM AS THIS COULD DAMAGE THE
O-RING SEALS.
5. Prior to connecting to the power source outlet, check all connections to ensure that they are secure, slowly turn
on the water supply, and check for leaks. The most likely cause for leaks is from the o-ring seal. In case of a leak,
shut off water, drain the cell, remove the retainer nut, wipe the o-ring and threads clean, and reinstall.
6. Once it is determined that there are no leaks, ground the reactor chamber. To do so, attach the green wire
coming from the electronic ballast to the grounding lug on the reactor chamber. Remove the green cap nut and
slide the eyelet connector onto the screw. Fasten the cap nut to the screw with a 5/16” wrench.
7. Plug the electronic ballast into the power source outlet. Ensure that the ‘POWER-ON LED’ is illuminated. The
audible alarm will enter a self-test mode when power is first applied to verify the ballast operation.
NOTE: If the ballast enters alarm condition, power must be disconnected for 30 seconds to allow ballast to reset.
NOTE: To clear any air from the lines and to flush any warm water from the system, open any downstream cold water
tap and allow to run for 1-2 minutes.
NOTE: As the system requires time to reach its full operating capacity, allow the sterilizer to operate for 3-5 minutes
prior to use.
Operating and Maintenance Instructions
• Always disconnect power before performing any work on the UV system.
• Regularly inspect the UV system to ensure that the UV light is still glowing and that its LED indicator is still
glowing green.
• Replace the UV lamp annually to ensure a high bacteria and virus kill rate.
• Always drain the UV cell if leaving the system in an area subject to freezing temperatures.
Page 4

3
UV Lamp Replacement
1. Disconnect the power.
2. There is no need to disconnect the UV system from the water supply or to drain the water from the reactor
chamber, nor do you need to remove the reactor chamber from the UV system. Lamp replacement is a quick and
simple procedure requiring only a slotted screwdriver to perform the job. After 9,000 hours of continuous
operation (approximately one year), the UV lamp should be replaced.
3. Remove plastic end cover on the UV system. Remove lamp connector from gland nut and carefully slide the UV
lamp slightly out of chamber. Remove the lamp connector from lamp and fully remove lamp (be extremely careful
when handling UV lamp as they are extremely fragile).
4. To install the new lamp, carefully remove from protective tube being careful to handle by the ends only. Do not
touch the glass itself. Slide UV lamp into the reactor chamber. Affix lamp connector to the UV lamp, slide lamp
fully into cell, press fit lamp connector into aluminum gland nut and replace plastic end cover.
5. Reconnect the power source. Verify “POWER-ON” LED is illuminated and ballast audible start-up sequence operates.
Quartz Sleeve Replacement and/or Cleaning
1. Mineral deposits and sediment may accumulate on the quartz sleeve decreasing UV output. Good maintenance of
filtration equipment will reduce the accumulation of residues. If necessary, remove the quartz sleeve after a few
months and clean with a commercially available scale remover and lint free cloth. Repeat the process as often as
necessary to keep the quartz sleeve clean.
2. If the water contains any hardness minerals (calcium or magnesium), iron or manganese, the quartz sleeve will
require periodic cleaning. To remove the quartz sleeve, first remove the UV lamp as outlined in Step 1, 2 & 3 of
the UV lamp replacement instructions above and follow these steps:
A. Shut off water supply and drain all lines.
B. Remove the lower connection on the reactor and drain the UV chamber (use a small bucket under the unit to
prevent a spill).
C. Remove aluminum gland nut from chamber. Do not allow quartz sleeve to fall.
D. Carefully remove o-rings from the quartz sleeve. As the o-ring may tend to adhere to the quartz sleeve, it is
recommended to replace the o-rings annually.
E. Clean the quartz sleeve with a lint free cloth and commercially available scale remover and then rinse.
F. Reassemble the quartz sleeve in the UV chamber allowing the sleeve to protrude an equal distance from both
ends of the UV chamber.
G. Lubricate the o-rings with food grade lubricant and slide onto each end of the quartz sleeve and reassemble
the gland nuts (hand tight is sufficient).
H. Retighten all the connections, turn on the water and check for leaks.
I. Reinstall the UV lamp and lamp connector as per prior instructions.
J. Plug in ballast and verify the “POWER-ON” LED is illuminated and ballast power-up sequence operates.
NOTE: If the system is put on a temporary bypass or if it becomes contaminated after the sterilizer, it will be necessary to sanitize the downstream lines before resuming the use of the water.
Page 5

4
CFSUV-5 CFSUV-5 -2
5 gpm (18.9 lpm) 5 gpm (18.9 lpm)
Length 35" (88.9 cm) 35" (88.9 cm)
Width 2.5" (6.4 cm) 2.5" (6.4 cm)
Height 2.5" (6.4 cm) 2.5" (6.4 cm)
Diameter 2.5" (6.4 cm) 2.5" (6.4 cm)
10 lbs (4.5 kg) 10 lbs (4.5 kg)
Volts 100-130V/50-60 Hz 200-250V/50-60 Hz
Power
Consumption
39W 39W
Lamp Watts 37W 37W
Amps 0.54 0.32
125 psi (862 kPa) 125 psi (862 kPa)
36-104°F (2-40°C) 36-104°F (2-40°C)
3/4" MNPT 3/4" MNPT
Yes Yes
Yes Yes
304 S.S. 304 S.S.
Model Type
Flow Rate
Dimensions
Shipping Weight
Visual "POWER-ON"
Audible Lamp Failure
Chamber Material
Electrical
Maximum Operating Pressure
Ambient Temperature Range
Inlet/Outlet Port Size
Part Number
56058-37
56058-38
56058-59
Quartz Sleeve with O-rings
Description
Replacement Lamp with O-rings
Ballast
Specifications
Replacement Parts
Page 6

Teflon is a registered trademark of E.I. DuPont.
5
Symptom Possible Causes Remedy
Pressure Drop
The sediment prefiler
is clogged
Replace filter cartridge with appropriate
5 micron cartridge.
NOTE: Check source water supply as
fluctuations may occur in source pressure
Quartz sleeve is stained
or dirty
Clean sleeve with scale cleaner and
eliminate the source of staining problem
The UV lamp is spent Replace UV lamp
Change in feedwater
quality
Have the source water tested to ensure
it is still within the allowable parameters
for use with this system
Contamination after the
UV system
It is imperative that the effluent water
stream be sanitized with chlorine after
the water leaves the UV system. The UV
system must have a bacteria-free
distribution system to work effectively
Warm Product Water
Common problem caused
by infrequent use
Run cold water tap until it returns to
ambient temperature
Water Appears "Milky"
Caused by air in the
water lines
Run water until air is purged
Problem with o-ring
seals
Ensure the o-ring is in place, check for
cuts or abrasions, clean o-ring, lubricate
with food grade lubricantand reinstall.
Condensation on
reactor chamber caused
by excessive humidity
Check location of UV system and
control humidity
Inadequate inlet/outlet
port connections
Check thread connections, reseal with
Teflon
®
tape and retighten
High Bacteria Counts
System Leaking Water
Troubleshooting Guide
CAUTION: When performing any work on the UV system, unplug the system first and never
look directly at the burning UV lamp.
Page 7

6
Manufacturer’s Warranty
Please read and complete the following warranty and mail the bottom half within 10 days of purchase.
Manufacturer warrants the UV system’s hardware and electrical systems, excluding wear parts, to be free from defects in
materials and workmanship for a period of two (2) years from the date of purchase by the original owner (consumer).
The warrantor will, at its option and expense, either repair or replace such systems subject to the following conditions,
exceptions and exclusions. No other warranties with respect to the systems other than those expressly included in this
one year warranty have been made by the Warrantor.
CONDITIONS, EXCEPTIONS AND EXCLUSIONS
The foregoing limited Warranty is subject to the following terms and conditions:
1. Water passed through the system must not contain:
A. Sulfur
B. Filterable solids
C. Greater than 0.3 ppm (mg/l) iron
D. Excessive hardness*
* Where total hardness is less than 7 gpg, the UV system should operate efficiently provided the quartz sleeve
and/or sensor probe is cleaned periodically. If total hardness is greater than 7 gpg, consult a CUNO
Foodservice Authorized Distributor for proper pretreatment.
IMPORTANT: To file a claim under this Warranty you must complete and mail the Warranty registration card supplied
with this Product to CUNO at the address below within ten (10) days of original retail purchase.
THIS WARRANTY DOES NOT COVER, AND IS INTENDED TO EXCLUDE, ANY LIABILITY ON THE PART OF CUNO,
WHETHER UNDER THIS WARRANTY OR UNDER ANY WARRANTY IMPLIED BY LAW, FOR ANY INDIRECT OR CONSEQUENTIAL DAMAGES FOR BREACH HEREOF OR THEREOF.
Note: Some states prohibit limitations on the duration of implied warranties and on the exclusion of indirect or consequential damages, and so the above limitation on implied warranties and on incidental and consequential damages
may not be applicable to you.
RESPONSIBILITY OF CUNO
CUNO's responsibility under this warranty shall be to repair at its expense, and at no charge to the original purchaserconsumer, any Product that is actually defective, malfunctioning, or otherwise in violation of this Warranty.
If CUNO, for any reason, cannot repair a Product covered hereby within two (2) weeks after receipt of the original purchaser-consumer's notification of a Warranty claim, then CUNO's responsibility shall be, at its option, either to replace
the defective Product with a comparable new unit at no charge to the consumer or to refund the full purchase price.
CUNO's obligations of repair, replacement, or refund are conditioned upon the consumer's return of the defective
Product to CUNO.
If any Product covered hereby is actually defective within the terms of this Warranty, then CUNO will bear all the reasonable and proper shipping or mailing charges actually incurred in the consumer's return of the Product set forth herein. If
the Product proves not to be defective within the terms of this Warranty, then all costs and expenses in connection with
the processing of the consumer's claim hereunder shall be borne by the consumer.
RESPONSIBILITY OF THE CONSUMER
The original purchaser-consumer's sole responsibility in the instance of a Warranty claim shall be to notify CUNO of the
defect, malfunction, or other manner in which the terms of this Warranty are violated. You may secure performance or
obligations hereunder by (in writing):
1. Identifying the Product involved (by model or serial number or other sufficient description that will allow CUNO to
determine which Product is defective).
2. Specifying where, when and from whom the Product was purchased.
3. Describing the nature of the defect, malfunction or other violation of this Warranty.
4. Sending such notification together with the defective Product and a $5.00 check or money order to cover postage
and handling to:
CUNO Incorporated, 400 Research Parkway, Meriden CT 06450 U.S.A.
THIS WARRANTY GIVES YOU SPECIFIC LEGAL RIGHTS, AND YOU MAY ALSO HAVE OTHER RIGHTS WHICH MAY
VARY FROM STATE TO STATE.
Page 8

CUNO Incorporated
400 Research Parkway
Meriden, CT 06450, USA
Toll Free: 1-888-218-CUNO
Worldwide: 203-237-5541
Fax: 203-238-8701
www.cunofoodservice.com • www.cuno.com
© 2004 CUNO Incorporated
WATER FILTER
WARRANTY/RECORD OF PURCHASE CARD
IMPORTANT NOTICE: THIS CARD MUST BE RETURNED WITHIN
TEN (10) DAYS OF PURCHASE TO REGISTER YOUR WARRANTY
PLEASE PRINT
THANK YOU
Filter Model #
Where Purchased
Business Address
Equipment this filter is used on
Model # (if known) Manufacturer
If the filter is used on more than one machine, please list below.
Equipment Model Manufacturer
DATE OF
PURCHASE
Street
Mo. Yr.
Your Name
Business Name
Address
Telephone Number ( )
E-mail Address
Street
City State & Zip Code
City State & Zip Code
Would you be interested in an autoship program for filter replacements?
Yes
No
 Loading...