


WARNING: READ BEFORE USING  PLAYSTATION®2 COMPUTER ENTERTAINMENT SYSTEM.
A very small percentage of individuals may experience epileptic seizures w exposed to certain light patterns or flashing lights. Exposure to certain patterns or backgrounds on a television screen or while playing video
games, including games played on the PlayStation® 2 console, may induce an epileptic seizure in these individuals. Certain conditions may induce previously undetected epileptic symptoms even in persons who have no history of prior seizures or epilepsy. If you, or anyone in your family, has an epileptic condition, consult your physician prior to playing. If you experience any of the following symptoms while playing a video game – dizziness, altered vision, eye or muscle twitches, loss of awareness, disorientation, any involuntary movement, or convulsions – IMMEDIATELY discontinue use and consult your physician before resuming play. 
WARNING TO OWNERS OF PROJECTION TELEVISIONS:
Do not connect your PlayStation® 2 console to a projection TV without first consulting the user manual for your projection TV, unless it is of the LCD type. Otherwise, it may permanently damage your TV screen.
USE OF UNAUTHORIZED PRODUCT:
The use of software or peripherals not authorized by Sony Computer Entertainment America may damage your console and/or invalidate your warranty. Only official or licensed peripherals should be used in the controller ports or memory card slots. 
HANDLING YOUR PLAYSTATION® 2 FORMAT DISC:
This disc is intended for use only with PlayStation® 2 consoles with the NTSC U/C designation.
•Do not bend it, crush it or submerge it in liquids.
•Do not leave it in direct sunlight or near a radiator or other source of heat. Be sure to take an occasional rest break during extended play.
Keep this compact disc clean. Always hold the disc by the edges and keep it in its protective case when not in use. Clean the disc with a lintfree, dry cloth, wiping in straight lines from center to outer edge.  Never use solvents or abrasive cleaners.
TABLE OF CONTENTS |
|
|
Getting Started . . |
. . . . . . . . . . . . . |
. .2 |
Memory Card . . . . . |
. . . . . . . . . . . . . . |
.2 |
Starting Up . . . . . . . |
. . . . . . . . . . . . . . |
.3 |
Menu Controls . . . . |
. . . . . . . . . . . . . . |
.3 |
Game Controls . . . . |
. . . . . . . . . . . . . . |
.3 |
Introduction . . . . . . |
. . . . . . . . . . . . . . |
.4 |
Main Menu . . . . . . . |
. . . . . . . . . . . . . . |
.5 |
Story Mode . . . . . . . |
. . . . . . . . . . . . . . |
.5 |
VS Mode . . . . . . . . . |
. . . . . . . . . . . . . . |
.6 |
Challenge Mode . . . |
. . . . . . . . . . . . . . |
.6 |
Database . . . . . . . . . |
. . . . . . . . . . . . . . |
.7 |
Options . . . . . . . . . . . . |
. . . . . . . . . . . . . |
.7 |
Playing the Game |
. . . . . . . . . . . . . |
10 |
The Game Screen . . |
. . . . . . . . . . . . . |
10 |
Pause Menu . . . . . . . |
. . . . . . . . . . . . . |
11 |
Advanced Game Controls . . . . . |
12 |
|
Jumping . . . . . . . . . . . |
. . . . . . . . . . . . . |
12 |
Attack . . . . . . . . . . . . . |
. . . . . . . . . . . . . |
12 |
Gembu Turtle Power . . . . . . . . . . . . . |
13 |
|
Dash . . . . . . . . . . . . . . |
. . . . . . . . . . . . . |
14 |
Combination Attacks . . . . . . . . . . . . . |
16 |
|
End of Stage Screen . . . . . . . . . . |
17 |
|
Turtles and Weapons . . . . . . . . . . |
18 |
|
Characters . . . . |
. . . . . . . . . . . . . .20 |
|
Power Ups . . . . |
. . . . . . . . . . . . .22 |
|
Credits . . . . . . . . . . . . . |
. . . . . . . . . . . . . |
24 |
Notes . . . . . . . . . . . . . . |
. . . . . . . . . . . . . |
30 |

ETTING STARTED 
2 |
|
|
|
|
|
slot 1 |
|
|
|
|
disc tray |
|
|
|
|
|
(OPEN) button |
USB connector |
|
|
|
|
|
S400 i.LINK connector |
|
|
|
|
|
controller port 1 |
|
|
|
|
|
controller port |
|
|
|
|
|
PlayStation®2 |
entertainment system |
||||
according to the instructions |
instruction manual. Make sure |
||||
the MAIN |
|
(located in the back |
console) is |
||
turned on. |
the RESET button. |
|
indicator |
||
up, press the open button |
tray will open. |
||||
the Teenage |
Ninja |
disc on the |
|||
with the label |
|
up. Press the open button |
|
||
the |
close Attach game controllers and |
|
|||
appropriate. Follow |
instructions and |
||||
to this manual for |
|
the software |
|||
MEMORY CARD |
|
|
|
||
load your game in progress, |
memory card (8MB) (for |
||||
PlayStation®2) is required |
the memory card into |
||||
card slot 1 (memory |
|
is not used) of the PlayStation®2 |
|||
computer entertainment system before starting |
You can |
||||
load your |
games from the |
|
any memory |
||
card containing previously |
|
Mutant Ninja Turtles™ |
|||
games. |
|
|
|
|
|
|
|
Mutant Ninja Turtles™ uses |
58 KB |
||
memory card data to |
|
. Make sure there |
|||
is enough free |
|
|
card before starting |
||
play. Do |
|
remove a memory card |
|
||
loading |
|
or after the power |
|
. |
|
STARTING
|
ANALOG CONTROLLER |
L2 button |
R2 button |
L1 button |
R1 button |
directional 

 buttons
when pushed down) |
|
button |
SELECT button |
|
|
|
|
|
ANALOG mode button |
|
button |
START button |
|
|
right |
|
|
MENU CONTROLS
directional buttons |
▲ |
Highlight |
|
▼ |
|
||
|
▲ ▼ |
|
|
≈ button |
|
Select Item, Advance |
|
|
|
to Next Screen |
|
|
|
Cancel, |
|
÷ button |
|
Game |
|
CONTROLS |
|
|
|
button |
|
Attack |
|
√ button |
|
Attack |
|
Ω |
|
Jump Move |
|
ç |
|
Throw |
|
å button |
|
|
|
ß button |
|
Switch Shuriken |
|
∂ |
|
|
|
|
|
Upper Cut |
|
left analog stick |
|
Tag |
for 2P cooperative mode) |
|
|
|
|
÷ button |
|
Game |
|
Note: These are the default |
game. |
||
Controls can be adjusted |
Options menu |
||
(see Options,Controller Settings on p. 8).

NTRODUCTION
Are |
for a |
a ride? It’s Turtle |
Leonardo™, |
|
Michelangelo™, Donatello™, and Raphael™ |
their next |
|||
adventure! Whether |
taking |
row of Purple Dragon |
||
Gang members or |
|
of Mousers, the Teenage |
||
Ninja |
|
always find some |
all of |
|
radically |
|
exploits, it’s a good |
live under the |
|
watchful |
of their wise sensei, |
|
||
Come along with the teenage |
as they clean up the |
|||
“Turtle-ize” |
|
And those Purple Dragon |
|
|
out! |
|
off!! |
|
|
get started: |
|
|
|
|
1. Press the |
|
|
|
|
you see the |
Mutant Ninja |
|
||
Turtles™ Title Screen. The Main Menu appears (see Main Menu on p. 5).
MAIN MENU
The |
Menu |
first screen |
|
you press the START |
|
|
the Title Screen |
|
where you prep for |
action. |
|
From |
|
games, load |
|
change the game |
|
STORY
|
|
from the Main |
|
|
|
|
|
|
begin a full-length game |
|
|
|
|
one of the four brothers |
|
|
|
|
||
covers six |
over |
|
|
|
||
35 levels |
the story. You |
|
|
|
||
|
complete all levels in every |
|
|
|
||
stage as each of the four Turtles |
|
|
|
|||
unlock a special |
Story |
|
|
|
||
Mode |
|
one player in |
|
|
|
|
|
|
two players in cooperation |
|
|
|
|
To begin a game in |
|
|
|
|
||
1. |
Press the |
▼▲ to highlight STORY |
then |
|||
|
|
≈ button to move to the |
|
|
|
|
|
|
the directional buttons to select |
or 2 PLAYERS, and |
|||
|
then press the ≈ |
to the next screen. |
|
|||
3. |
Press the |
to select one of the four |
|
|||
|
|
|
move to the next |
|
|
|
4. |
confirmation screen asks if you |
|
proceed. Press the ≈ |
|||
|
button to start the game, |
|
button to cancel and |
|
||
|
return to the Turtle |
. |
|
|
|
|
|
|
Two DUALSHOCK®2 analog |
must |
|
||
|
|
be connected in order |
two-person game. |
|
||
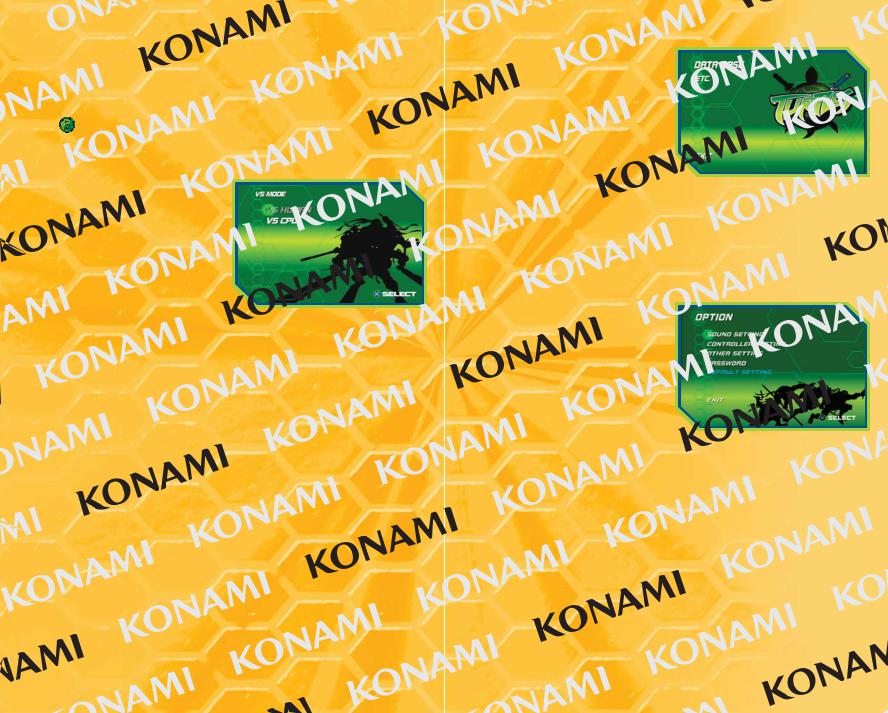
 MODE
MODE
There’s no such thing |
with no ego and |
prove |
|
it! VS |
where your Turtle stakes his |
one of his |
|
|
against a character that you’ve |
during Story Mode. |
|
|
NOTE: |
®2 analog controllers must |
|
|
|
order to play a two |
. |
To start |
VS game: |
|
|
1.Press the directional
to highlight |
MODE, and then |
|
|
|
button to move to |
|
|
screen. |
|
|
|
Choose to play against |
|
||
or CPU |
|
|
|
directional |
|
▼ to highlight |
|
HUMAN or VS CPU, and then |
|
||
press the ≈ button to move to |
|
||
next screen. |
|
characters are available after |
|
in Story |
|
|
|
|
where the challenge |
. There are more |
|
10 stages to be unlocked, |
random option. Press |
||
the directional |
a stage, and then |
||
button to select it |
the game. Highlight |
||
press the ≈ button for a surprise |
. |
||
CHALLENGE MODE
Challenge |
|
enemies in quick |
to-head |
|
battles. |
|
one life to give in this |
|
choose your attacks |
carefully |
you defeat an |
|
appears. You |
|
have just a few seconds to |
what’s inside the boxes |
|||
(health power- |
|
Shuriken supplies) before your next |
||
takes the |
|
complete Challenge Mode |
|
|
From the Main Menu, |
buttons ▼▲ to highlight |
|||
CHALLENGE |
the ≈ button to |
|||
2. Press the |
|
buttons ▼▲ to highlight |
|
|
then press the ≈ button to |
|
. |
||
DATABASE
The Database is |
information |
|
||
on |
Turtle and other characters |
|
||
|
stored in the archives. As the |
|
||
Turtles collect Makimono throughout |
|
|||
Story Mode, |
to this |
|
||
|
|
|
||
|
|
is information that |
|
|
might be useful during their |
|
|
||
1. From the Main Menu, |
directional buttons ▲ |
|||
|
Database |
Database screen appears. |
|
|
|
|
directional buttons ▲ again to |
Turtle or other |
|
|
character name. Press |
to enter the database. |
||
OPTIONS
Change the |
to make it easier |
|
|
||
|
the Main Menu, press the |
|
|
|
|
directional buttons ▲ |
highlight |
|
|
|
|
Options Press |
to |
|
|
|
|
|
|
select DEFAULT |
|
||
|
the main Options Menu |
|
|||
|
all options to their |
|
|
|
|
|
Settings |
|
|
|
|
|
Volume |
|
|
|
|
This is the background music |
|
. Crank it up for jammin’ |
|
||
Turtle tune |
|
|
|
|
|
SE |
|
|
|
|
|
This |
the volume of sound |
. |
|
||
Voice Volume |
|
|
|
|
|
While there’s definitely less |
and more walk in this |
still |
|||
|
volume. |
|
|
|
|
the audio mode to |
|
mono depending on what your |
|
||
hardware |
|
|
|
|
|
Default |
|
|
|
|
|
|
any changes to the original |
for the volume |
|||
|
are set to maximum and |
mode is set to stereo. |
|
||
|
change sound settings: |
|
|
|
|
|
|
1. |
Press the |
|
▼ to highlight an option. |
|
|
||
2. |
|
buttons |
▲ ▼ |
to adjust |
|
|
|
|
|
Mode, simply press the directional |
to change |
|
|||
|
|
the two modes |
|
|
|
|
|
. |
To reset everything |
Default, highlight DEFAULT and |
|
||||
|
≈ |
confirmation message, press |
button |
to |
|||
|
|
settings, or press |
cancel. |
|
|||
4. |
|
settings are complete, |
directional buttons to highlight |
||||
|
OK, and then press the |
|
|
return to the Options screen |
|
||
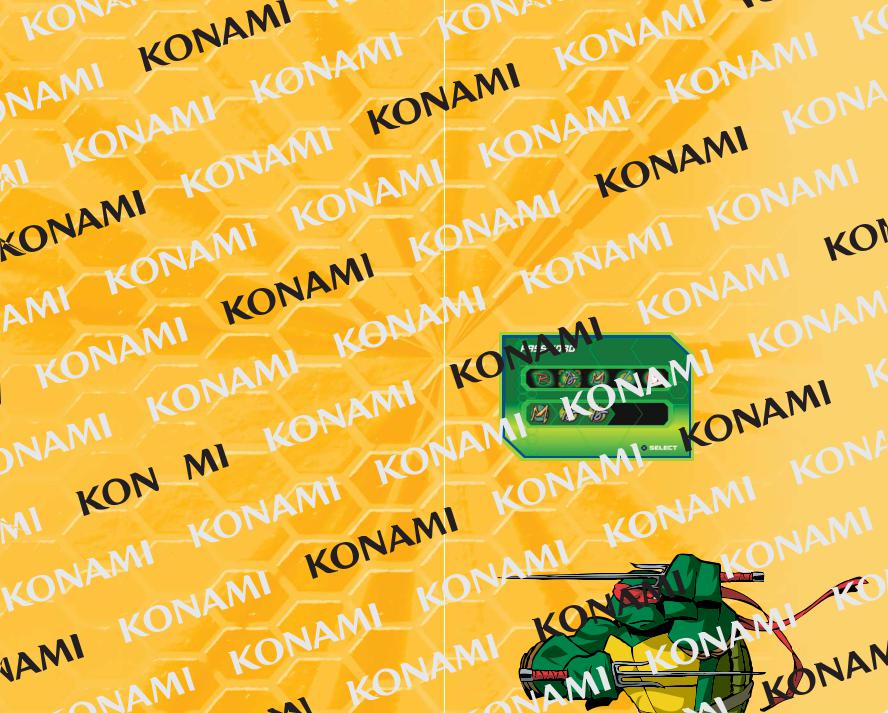
CONTROLLER SETTINGS
|
|
like to make the controls |
comfortable for your personal |
||||
|
can change them here |
|
|
|
|||
To change controller |
|
|
|
|
|||
1. |
Press the |
|
buttons ▼▲ to highlight |
|
|
||
|
the desired button that you |
|
that |
|
|||
|
action. To change the Vibration |
simply press the directional |
|||||
|
buttons |
▲ ▼ |
to |
between ON or OFF. |
|
|
|
3. |
To reset |
|
the Default, highlight DEFAULT |
the |
|||
|
|
|
confirmation message, |
the ≈ button again to |
|||
|
|
the default settings, |
|
button to cancel. |
|
||
4. |
When all settings |
|
the directional buttons |
|
|||
|
OK, and then press |
button to return to the |
|
||||
You |
|
the ç button at any time to |
|
|
|||
|
|
making any changes |
|
|
|
||
OTHER SETTINGS
You can |
game three more ways |
menu. |
||
Degree Difficulty |
|
|
|
|
your reflexes improve and |
|
increase the |
|
|
challenge, you |
increase |
of difficulty from |
|
|
EASY to |
HARD. Opponents appear more |
|
||
|
numbers, and respond |
quickly |
|
|
increases. |
|
|
|
|
Auto Save |
|
|
|
|
Turn this option |
automatically save games after |
|
||
completion Otherwise, games must |
|
. |
||
Hit Effect |
|
|
|
|
Turn off the visual |
“Thok” that appear when |
connect. |
||
|
any changes to the original |
defaults are NORMAL |
||
|
difficulty, OFF for |
and ON for Hit Effect. |
|
|
To change |
|
|
|
|
1. |
directional buttons ▼▲ to |
. |
|
|
2. |
the directional buttons |
highlighted setting |
||
3. |
To reset everything |
highlight DEFAULT and press |
|
|
≈ |
the confirmation message, press |
again |
|
|
default settings, or press the |
cancel. |
|
|
all settings are complete, |
the |
buttons ▼▲ to |
highlight OK, and |
button to return to the Options |
||
You can |
any time to return to |
|
|
Options |
making any changes |
|
|
PASSWORD
You are |
passwords when you perform |
|
Splinter’s expectations. The password is |
the five initials |
|
of |
Michelangelo, |
the Shredder™ |
Complete the designated |
bottom row and something |
|
special will |
to |
|
LAYING T
Are to shell? As Splinter slowly, to execute them with
Game Screen
4
3
5
 7
7
|
the amount of stamina |
|
life. This can be |
||
|
restored with |
|
Power-Ups on p. 22). |
||
2 |
Shuriken |
has three types of Shuriken |
available: normal, |
||
|
|
||||
|
and explosive. This |
|
|
Shuriken are |
|
|
equipped and in what |
|
|
|
|
3 |
Score |
|
|
|
|
|
Score |
successful combination |
defeated |
||
|
and stage advancement |
|
|
||
|
Lives Remaining |
|
|
|
|
|
Shows the |
of lives |
Turtle has remaining |
||
5 |
|
during a fight to show |
many consecutive |
||
|
|
||||
|
combination moves |
|
|
|
|
Gembu (Turtle |
|
|
|
|
|
The power of |
awesome to behold |
|
|||
|
|
outnumbered, |
|
|
the |
|
power of the Turtles. This |
|
how many |
||
summons you have |
. The |
will learn this most |
|||
and powerful |
Master Splinter regards |
|
|||
|
|
guardian Turtle |
accompanies snake, |
||
|
Feng Sui, the |
|
philosophy among |
||
|
Ninjas from |
|
|
|
|
7 Opponent Counter |
|
|
|
|
|
The |
busy when they’re cleaning |
|
|
|
|
|
fight, use this visual cue to |
|
|
bad guys |
|
|
approaching. |
|
|
|
|
|
DUALSHOCK analog controllers |
be |
|||
|
|
to play a two |
|
|
|
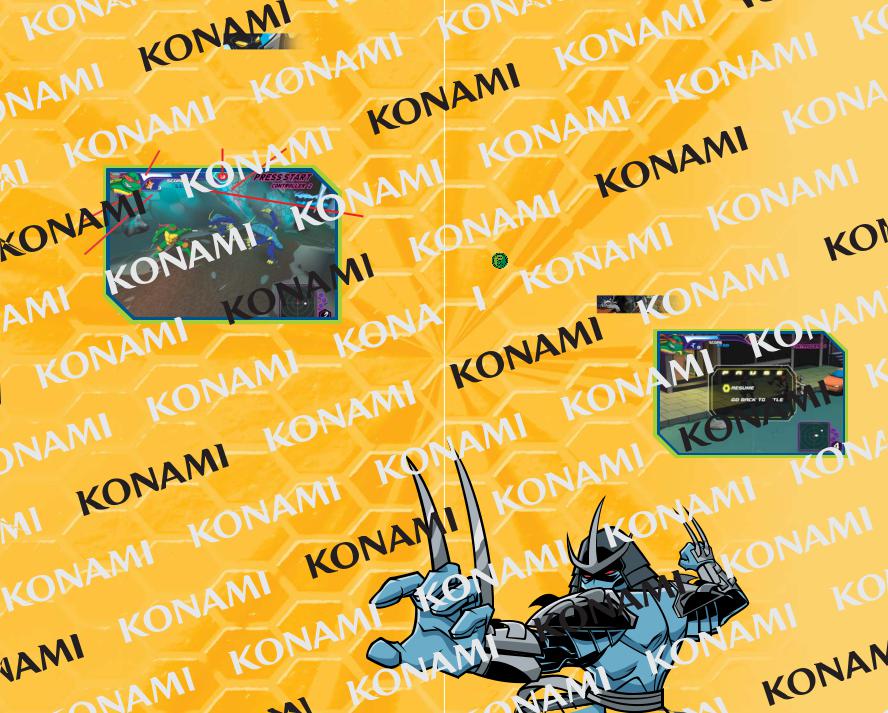
 AUSE MENU
Press START |
during |
a |
. The |
pause menu are |
|
and GO BACK |
|
Press the directional |
|
to highlight your |
then |
button to proceed.
 Loading...