

Page 1
WA9905/WA9906
-
RFID MODULES HF
-
KR3
-
2S/LF
-
ID1
INSTALLATION SHEET
Important: All Approval and safety information is outlined in the ‘WORKABOUTPRO4
Regulatory & Warranty Guide – part number 8000296 provided with each
WORKABOUTPRO4.
Warning
the rest of the body. This product must not be used in a holster or on a belt-clip.
:
The WORKABOUTPRO4 with the RFID option must not be held closer than 20 cm from
© 2014 Motorola Solutions, Inc. All Rights Reserved.
MOTOROLA, MOTO, MOTOROLA SOLUTIONS and the Stylized M Logo are trademarks or registered trademarks of Motorola Trademark
Holdings, LLC and are used under license. All other trademarks are the property of their respective owners..
February 12, 2014
80073681.A
Page 2
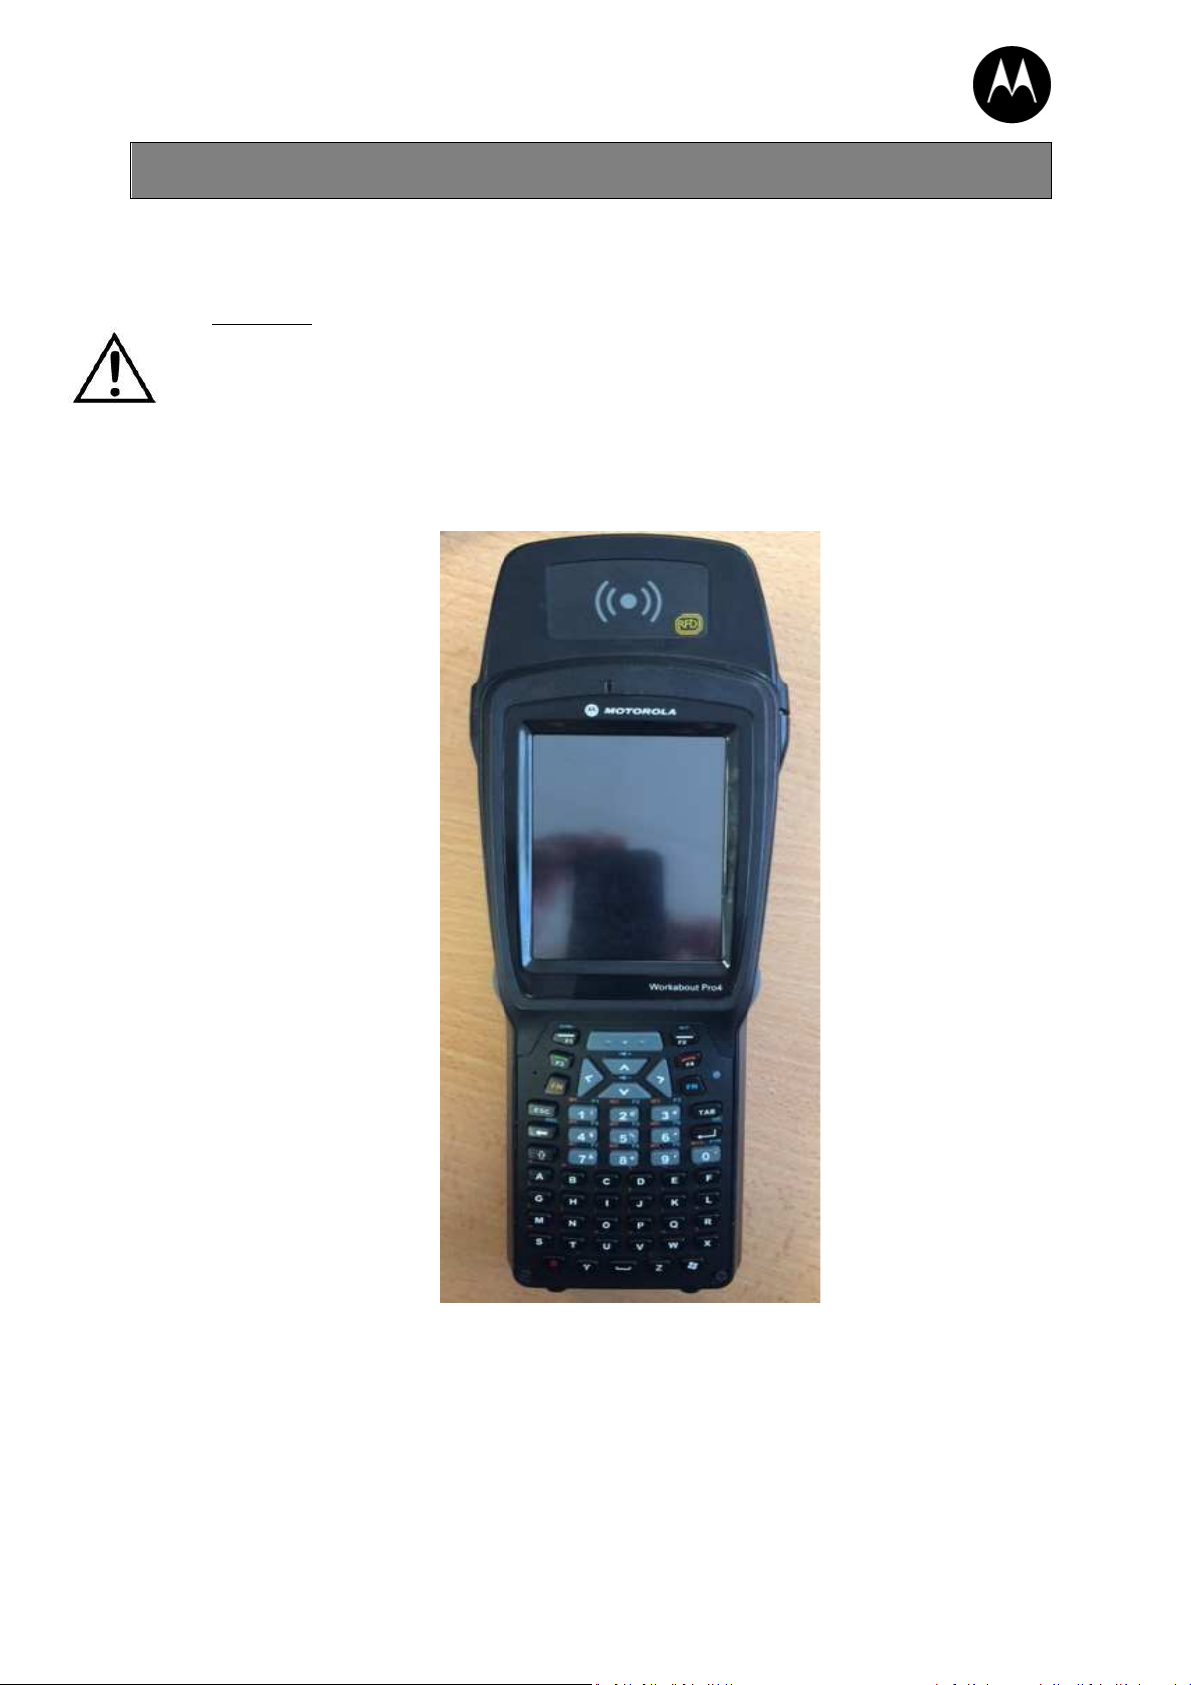
1. Product Description
B
Easily installable expansion modules for the WORKABOUT PRO 4 allow you to customise this hand-held
to meet your specific mobile computing requirements. This chapter outlines how to install the RFID
Module HF/LF.
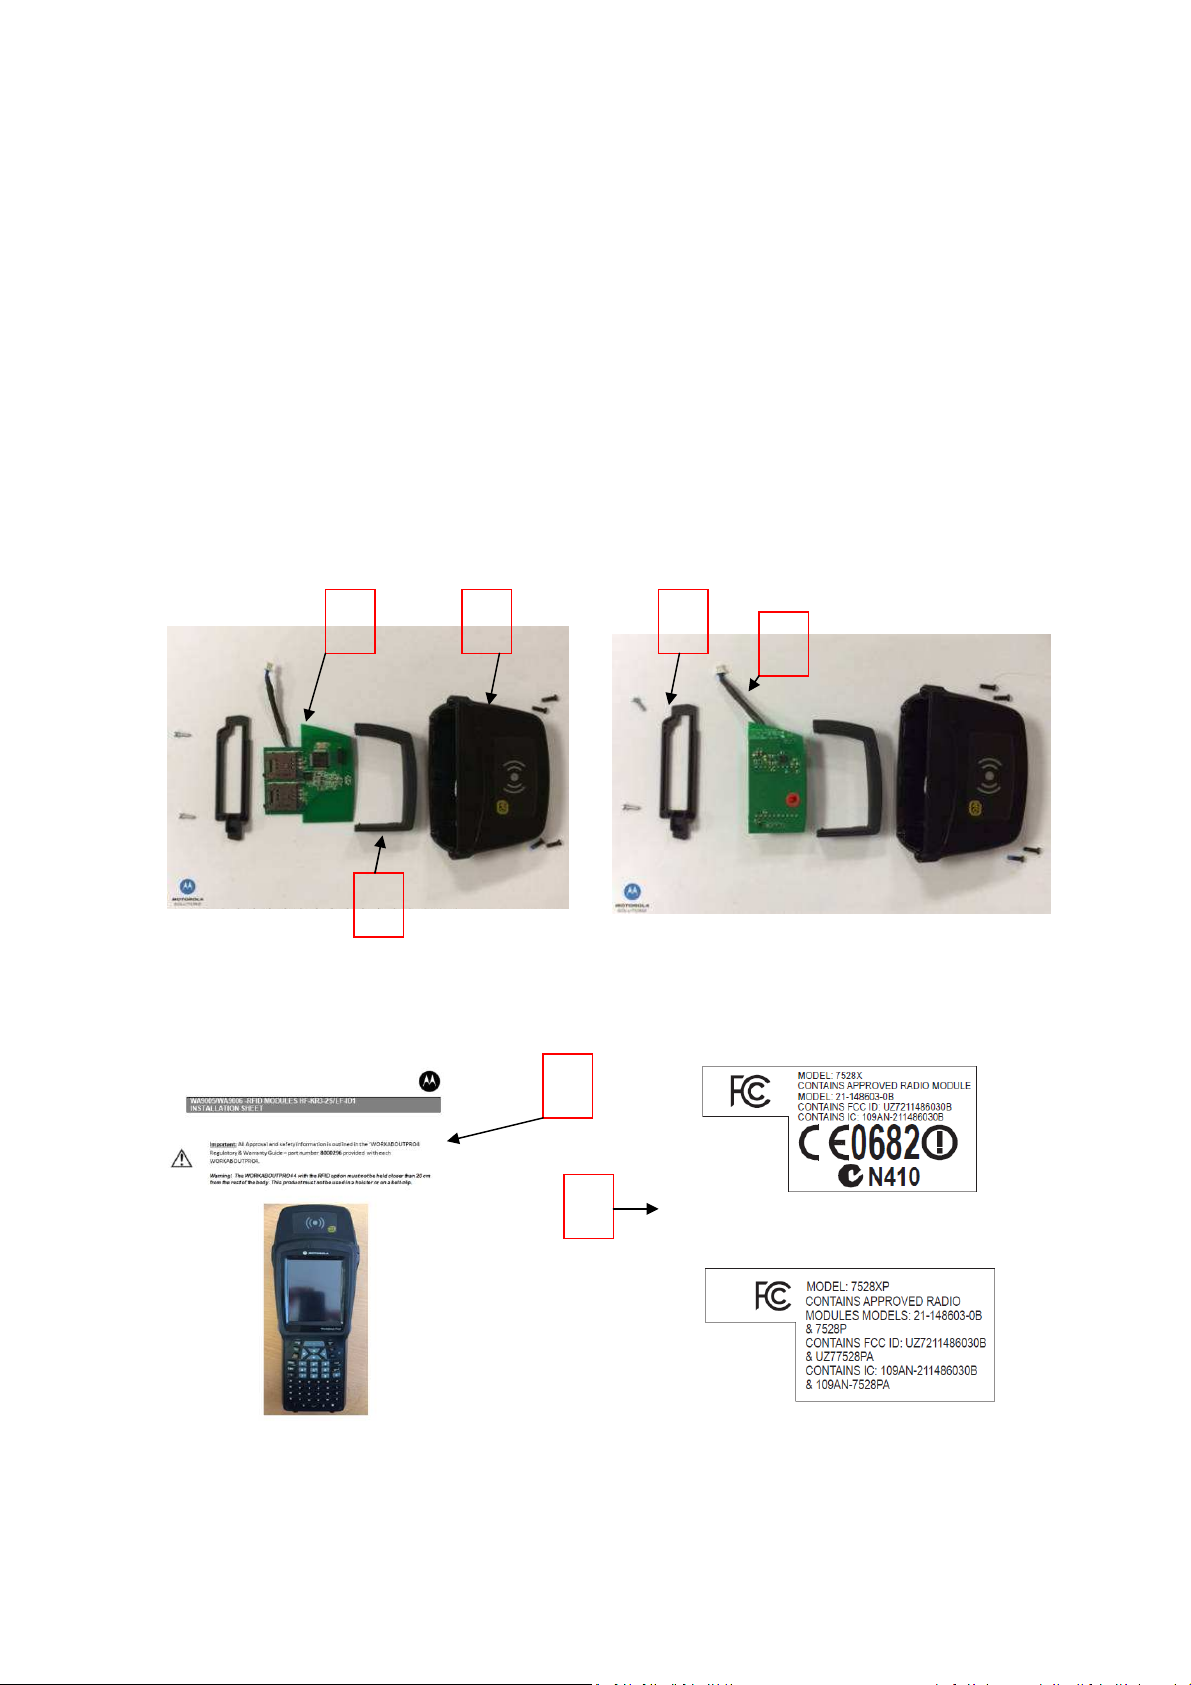
The RFID MODULE HF-KR3-2S (WA9905) or RFID MODULE LF-ID1 (WA9906) kits are
composed of 7 parts:
A. PCB ASSY MODULE HF-KR3-2S or PCB ASSY MODULE LF-ID1
B. PLASTIC MULTIPURPOSE ENDCAP
C. RUBBER PCB GUIDE
D. STOPPER BRACKET
E. USB CABLE
F. LABEL CE/FCC/IC FOR WORKABOUTPRO4
G. INSTRUCTION SHEET WAP4 HF/LF RFID MODULE
A
D
E
C
G
F
© 2014 Motorola Solutions, Inc. All Rights Reserved.
MOTOROLA, MOTO, MOTOROLA SOLUTIONS and the Stylized M Logo are trademarks or registered trademarks of Motorola Trademark
Holdings, LLC and are used under license. All other trademarks are the property of their respective owners..
February 12, 2014
80073681.A
Page 3

2. Product Installation
Before installing a module in the WORKABOUT PRO 4, all power sources must be turned off.
• Remove the batteries. If your unit is using AC power, disconnect it.
With the power shut down, you can install the RFID Module HF/LF.
• Connect the USB cable on the RFID Module.
© 2014 Motorola Solutions, Inc. All Rights Reserved.
MOTOROLA, MOTO, MOTOROLA SOLUTIONS and the Stylized M Logo are trademarks or registered trademarks of Motorola Trademark
Holdings, LLC and are used under license. All other trademarks are the property of their respective owners..
• Slide the RFID Module in the PCB guide.
February 12, 2014
80073681.A
Page 4
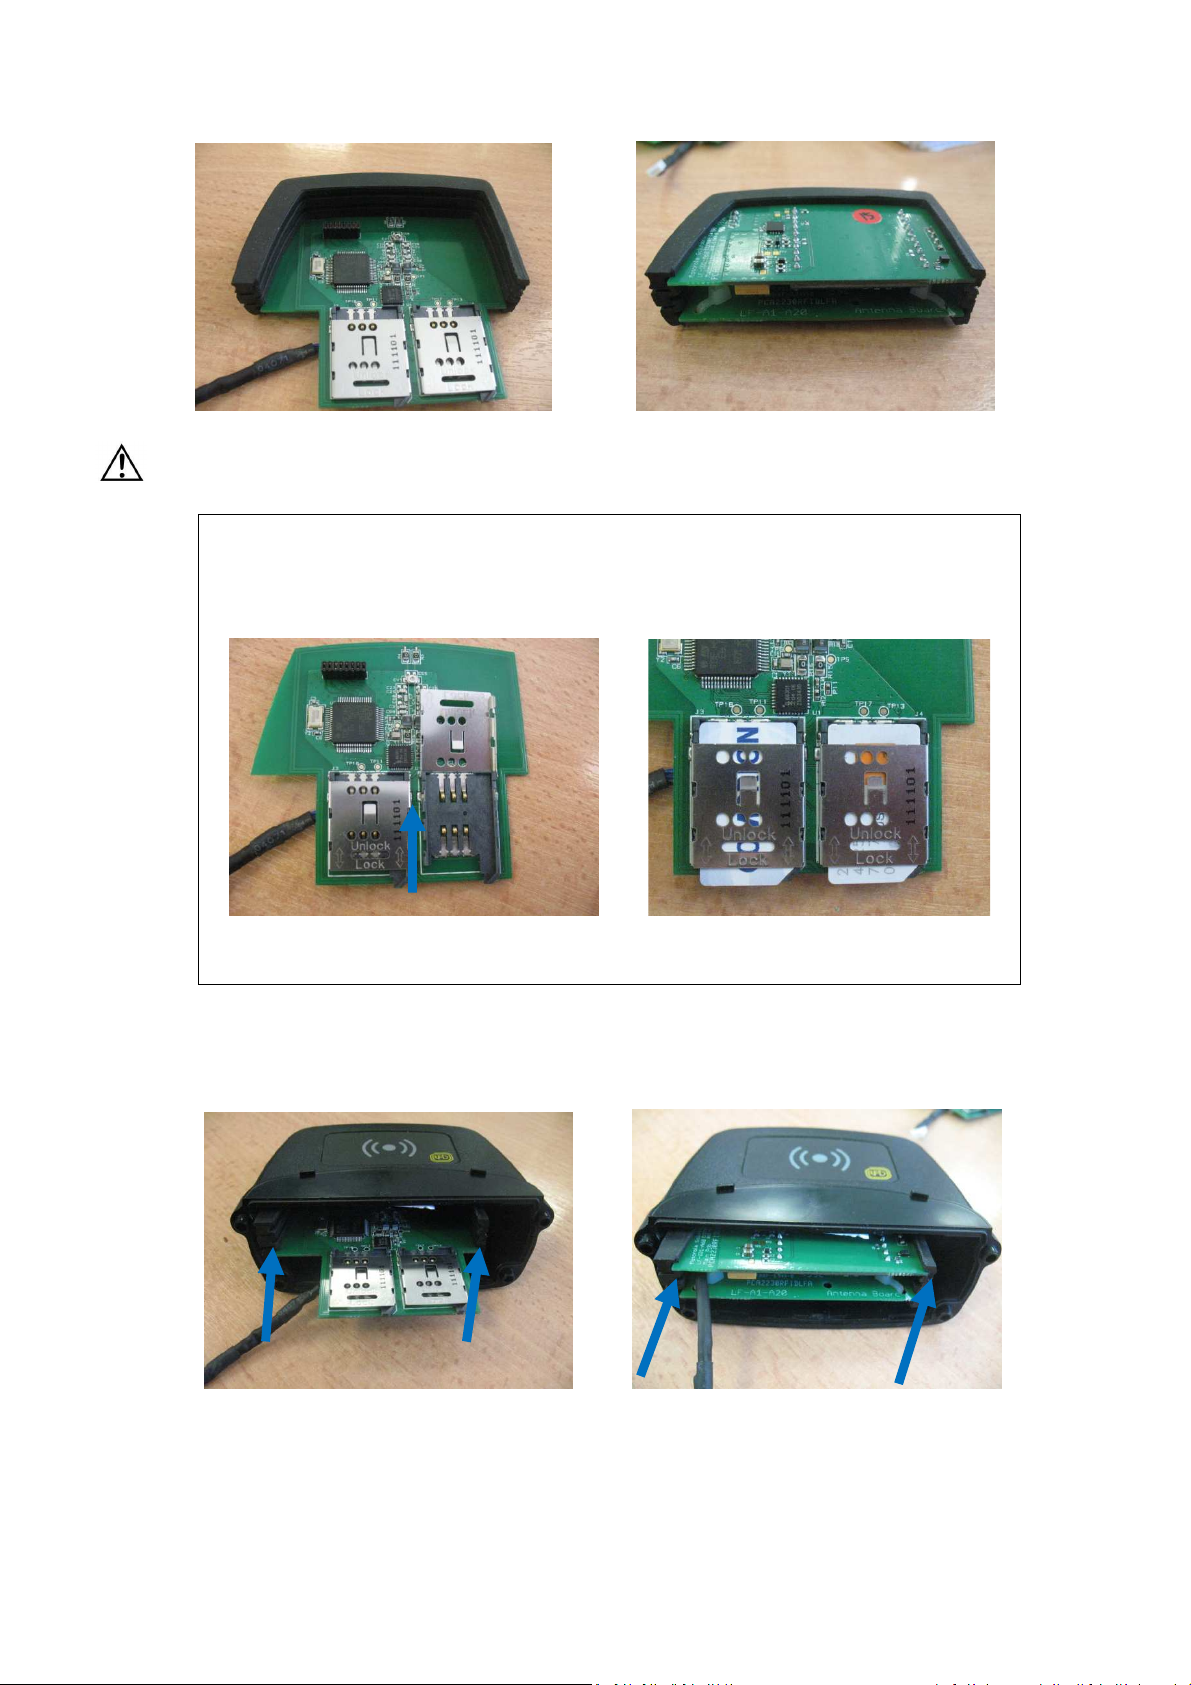
•
Make sure you slide HF PCB only in the bottom slot of the PCB guide LF PCB
Adding SAM cards (optional):
• Insert one or two SAM cards in their sockets:
Unlock 1 or 2 SAM sockets Put 1 or 2 SAM cards and lock them
• Slide the PCB guide in the Multi purpose End Cap.
• Slide and Screw the stopper into the Multi purpose EndCap.
© 2014 Motorola Solutions, Inc. All Rights Reserved.
MOTOROLA, MOTO, MOTOROLA SOLUTIONS and the Stylized M Logo are trademarks or registered trademarks of Motorola Trademark
Holdings, LLC and are used under license. All other trademarks are the property of their respective owners..
February 12, 2014
80073681.A
Page 5

MODEL: 7528XHF
CONTAINS IC: 109AN
-
211486030B & 109AN
-
7528HFA
• Remove existing End cap at the top of the WORKABOUT PRO 4.
• Connect the USB cable to USB connector.
• Assemble and Screw the new RFID Endcap
• Before Replacing battery, Stick the right CE/FCC/IC Label in the location following:
IF the model number of WorkAboutPro4 is 7528XHF or LF put this label:
CONTAINS APPROVED RADIO MODULE
MODEL: 21-148603-0B
CONTAINS FCC ID: UZ7211486030B & UZ77528HFA
IF the model number of WorkAboutPro4 is 7528XPHF or LF put this label:
© 2014 Motorola Solutions, Inc. All Rights Reserved.
MOTOROLA, MOTO, MOTOROLA SOLUTIONS and the Stylized M Logo are trademarks or registered trademarks of Motorola Trademark
Holdings, LLC and are used under license. All other trademarks are the property of their respective owners..
February 12, 2014
80073681.A
Page 6

MODEL: 7528XPHF
10
9AN-7528PA & 109AN
-
7528HFA
CONTAINS APPROVED RADIO
MODULES
MODELS: 21-148603-0B &7528P
CONTAINS FCC ID: UZ7211486030B &
UZ77528PA & UZ77528HFA
CONTAINS IC: 109AN-211486030B &
For detailed instructions, pleased refer to the WORKABOUT PRO 4 Hand-Held Computer User Guide.
© 2014 Motorola Solutions, Inc. All Rights Reserved.
MOTOROLA, MOTO, MOTOROLA SOLUTIONS and the Stylized M Logo are trademarks or registered trademarks of Motorola Trademark
Holdings, LLC and are used under license. All other trademarks are the property of their respective owners..
February 12, 2014
80073681.A
Page 7

3. Software installation:
• Copy and install the two latest CAB file named ““WAP 4 HF.CAB” or “LF Tools.CAB” and “RFID
Driver_WAP 4_WM65_HF_KRX_2S.CAB” or “RFID Driver_WAP 4_WM65_LF_ID1.CAB”
© 2014 Motorola Solutions, Inc. All Rights Reserved.
MOTOROLA, MOTO, MOTOROLA SOLUTIONS and the Stylized M Logo are trademarks or registered trademarks of Motorola Trademark
Holdings, LLC and are used under license. All other trademarks are the property of their respective owners..
February 12, 2014
80073681.A
Page 8

• After installation, select “HF Demo” or LF Demo” in Program File folder, the connection panel opens:
Select TAG type
• To read the ID of a TAG, press the Read ID Button or Scan Button. Put the TAG in front of the
antenna.
© 2014 Motorola Solutions, Inc. All Rights Reserved.
MOTOROLA, MOTO, MOTOROLA SOLUTIONS and the Stylized M Logo are trademarks or registered trademarks of Motorola Trademark
Holdings, LLC and are used under license. All other trademarks are the property of their respective owners..
February 12, 2014
80073681.A
Page 9

4. Reading area:
Reading Area
Tag
This area depends on the TAG type, TAG packaging, Tag position and environment (metallic
or not).
RFID MODULE HF-KR3-2S/LF-ID1
RFID Regulatory information
© 2014 Motorola Solutions, Inc. All Rights Reserved.
MOTOROLA, MOTO, MOTOROLA SOLUTIONS and the Stylized M Logo are trademarks or registered trademarks of Motorola Trademark
Holdings, LLC and are used under license. All other trademarks are the property of their respective owners..
February 12, 2014
80073681.A
Page 10

IMPORTANT NOTE FOR NORTH AMERICA:
The RFID must not be used whilst the host WORKABOUTPRO4 is being powered by the ac/dc
adaptor.
FCC Information to Users:
Radiation Exposure Compliance
This product complies with the FCC RF exposure limits for an uncontrolled environment. For
continued compliance, the product must not be held closer than 20 cm from the rest of the body.
This product must not be used in a holster or on a belt-clip.
Federal Communication Commission Interference Statement.
This equipment has been tested and found to comply with the limits for a Class B digital device,
pursuant to Part 15 of the FCC Rules.
These limits are designed to provide reasonable protection against harmful interference in a
residential installation. This equipment generates uses and can radiate radio frequency energy and, if
not installed and used in accordance with the instructions, may cause harmful interference to radio
communications. However, there is no guarantee that interference will not occur in a particular
installation.
If this equipment does cause harmful interference to radio or television reception, which can be
determined by turning the equipment off and on, the user is encouraged to try to correct the
interference by one of the following measures:
• Reorient or relocate the receiving antenna.
• Increase the separation between the equipment and receiver.
• Connect the equipment into an outlet on a circuit different from that to which the
receiver is connected.
• Consult the dealer or an experienced radio/TV technician for help.
THIS DEVICE COMPLIES WITH PART 15 OF THE FCC RULES. OPERATION IS SUBJECT TO THE
FOLLOWING TWO CONDITIONS: (1) THIS DEVICE MAY NOT CAUSE HARMFUL INTERFERENCE, AND (2)
THIS DEVICE MUST ACCEPT ANY INTERFERENCE RECEIVED, INCLUDING INTERFERENCE THAT MAY
CAUSE UNDESIRED OPERATION.
FCC Caution: Any changes or modifications not expressly approved by the party responsible for
compliance could void the user's authority to operate this equipment.
Emissions Information for Canada:
This Class B digital apparatus complies with Canadian ICES-003.
Cet appareil numérique de la classe B est conforme à la norme NMB-003 du Canada.
This device complies with Industry Canada license-exempt RSS standard(s). Operation is Subject to
the following two conditions: (1) this device may not cause interference, and (2) this device must
accept any interference, including interference that may cause undesired operation of the device
© 2014 Motorola Solutions, Inc. All Rights Reserved.
MOTOROLA, MOTO, MOTOROLA SOLUTIONS and the Stylized M Logo are trademarks or registered trademarks of Motorola Trademark
Holdings, LLC and are used under license. All other trademarks are the property of their respective owners..
February 12, 2014
80073681.A
Page 11

CE Marking:
Please CE marking and details of other country markings refer to the Declaration of
Conformity (Doc) at
http://www.motorolasolutions.com/doc .
COMPANY HEADQUARTERS SUPPORT SERVICES
Motorola Solutions, Inc. Contact the Motorola Solutions Global Customer Support at:
1301 E. Algonquin Rd http://www.motorolasolutions.com/support.
Schaumburg, IL 60196-1078, U.S.A.
http://www.motorolasolutions.com
 Loading...