

Page 1

user instructions
Oz completo GB 19-05-1999 15:54 Pagina 3
Page 2
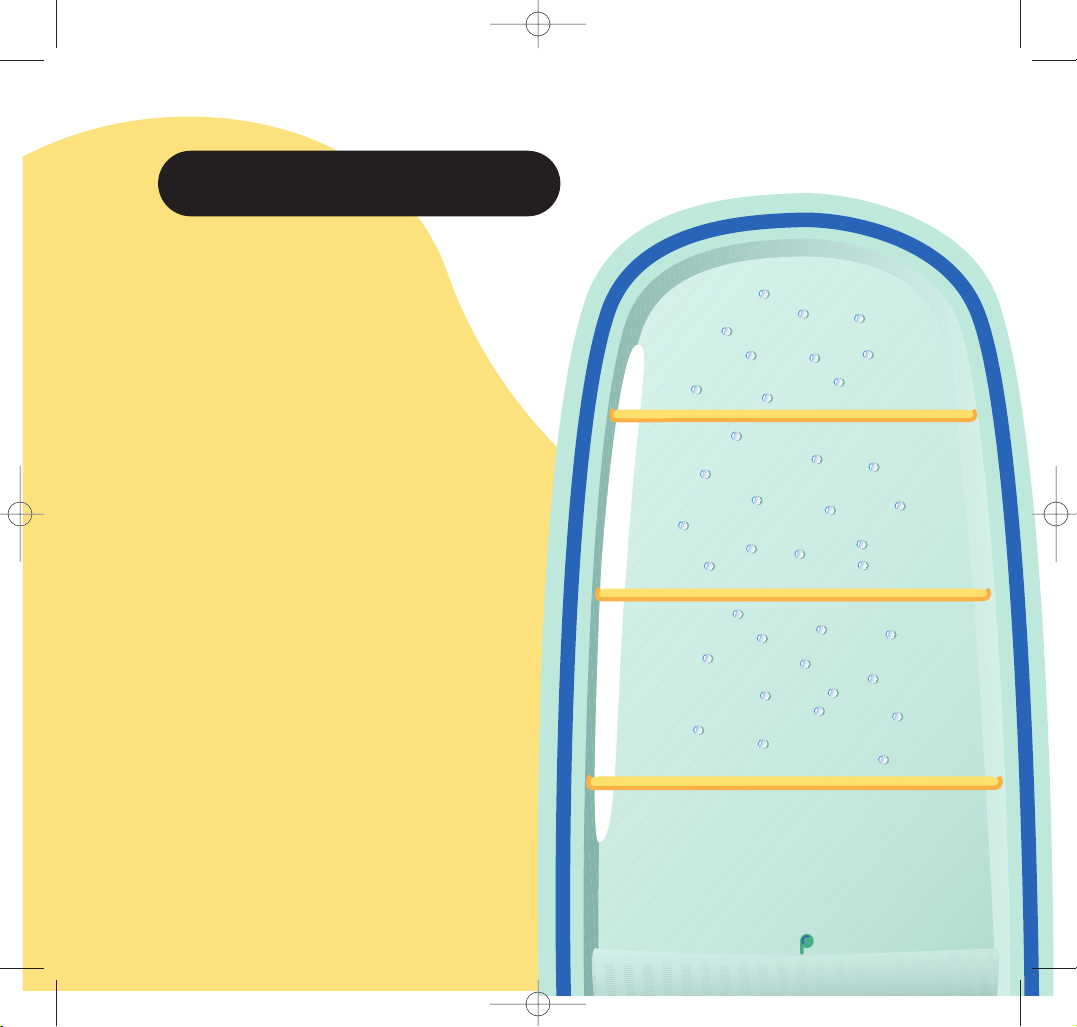
The formation of frost and/or water droplets on the
back wall of the compartment is quite normal and
occurs in all refrigerators; it is due to the presence of
the rear-mounted evaporator.
In OZ, the phenomenon is more obvious because
of the aquamarine colour of the compartment and
because of the light shining down it from the interior
light fitted vertically on the left-hand side.
This phenomenon does not, however, in any way affect
normal operation of the appliance.
Important
22210-5301
1577
*
Oz foglio aggiuntivo ING 19-05-1999 16:00 Pagina 1
Page 3
Congratulations!
By buying OZ, you have chosen a top quality product,
designed to make your home life easier and more
comfortable.
OZ
is covered by a guarantee: the guarantee certifica-
te is attached. If it is missing, ask your retailer for it.
Oz completo GB 19-05-1999 15:54 Pagina 5
Page 4

invites you to read this instruction booklet carefully and
to keep it in a safe place so that it is easily available for future reference , if required.
If, one day, you unfortunately have to part with , make
sure that you give this booklet to the new owner, so that he
has all the information needed for the operation and maintenance of the appliance.
The warnings you are about to read have been prepared to
ensure your safety and that of others: please read them very
carefully before installing and using the appliance.
OZ
OZ
Important recommendations and advice
Oz completo GB 19-05-1999 15:54 Pagina 2
Page 5

3
If OZ is replacing a refrigerator with a mechanical
locking catch, make sure that this device is rendered
inoperable before discarding the appliance: this is to
avoid the possibility of children accidentally shutting
themselves in the appliance and thus endangering
their lives.
OZ has been designed to be operated by adults. Do
not allow children to tamper or play with it.
When moving OZ, take great care not to damage the
refrigerant circuit and avoid any leakage of fluid.
OZmust not be located near to radiators or cookers.
Also avoid exposure to direct sunlight for prolonged
periods.
After installing OZ, make sure that the power supply
cable is not trapped .
Air must be able to circulate freely round the back of
OZ and care must be taken to avoid any damage to
the refrigerant circuit.
Never place electrical appliances (for example ice
cream makers) inside OZunless expressly approved
by the manufacturer.
Always remember to remove the plug from the power
socket before cleaning OZ or carrying out any maintenance work (even if only replacing the interior light bulb).
It is dangerous to modify or try to modify the characteristics of OZ.
If any electrical work is required to install OZ, this must only be carried out by a
qualified electrician.
In the event of a breakdown or damage to the power supply cable, never attempt
to repair OZ yourself. Repairs carried out by inexperienced persons may cause
serious damage. Contact your nearest local Service Centre and always insist on
genuine spare parts.
Never use any mechanical devices or other artificial means to speed up the defrosting process: carefully follow the instructions in the “Defrosting” section.
General safety
Service and repairs
Oz completo GB 19-05-1999 15:54 Pagina 3
Page 6
4
Like all domestic refrigerators, OZis designed solely
for the storage and freezing of foodstuffs.
OZ’s refrigerant circuit contains R 600 A isobutane
hydrocarbon: maintenance work and any topping up
must be carried out only by authorised personnel.
In all refrigerators and freezers, some surfaces become covered with frost. Before trying to remove this
frost, check the defrosting instructions in this manual.
Never use metal objects to clean the appliance: they
could seriously damage the paintwork and surfaces.
Never use sharp tools to remove the frost from OZ.
Use the special plastic scraper supplied with the
appliance.
Never place hot liquids or food inside OZ, or containers fitted with a lid and filled to the brim.
Never place fizzy drinks in the freezer compartment:
the containers could explode.
During operation, the condenser and compressor located at the back of OZ become
hot. Make sure that the appliance has been installed in accordance with the instructions
contained in this booklet: inadequate ventilation can cause damage to the appliance and
cause it to malfunction
Warning:The OZsigns on the back of the appliance are ventilation openings and must always be kept clear of obstructions.
If OZ is transported in a horizontal position, the oil contained in the compressor can
flow into the refrigerant circuit. To allow the oil to flow back into the compressor, stand
OZupright and wait for at least 2 hours before switching the appliance on.
Use
Installation
Oz completo GB 19-05-1999 15:54 Pagina 4
Page 7
5
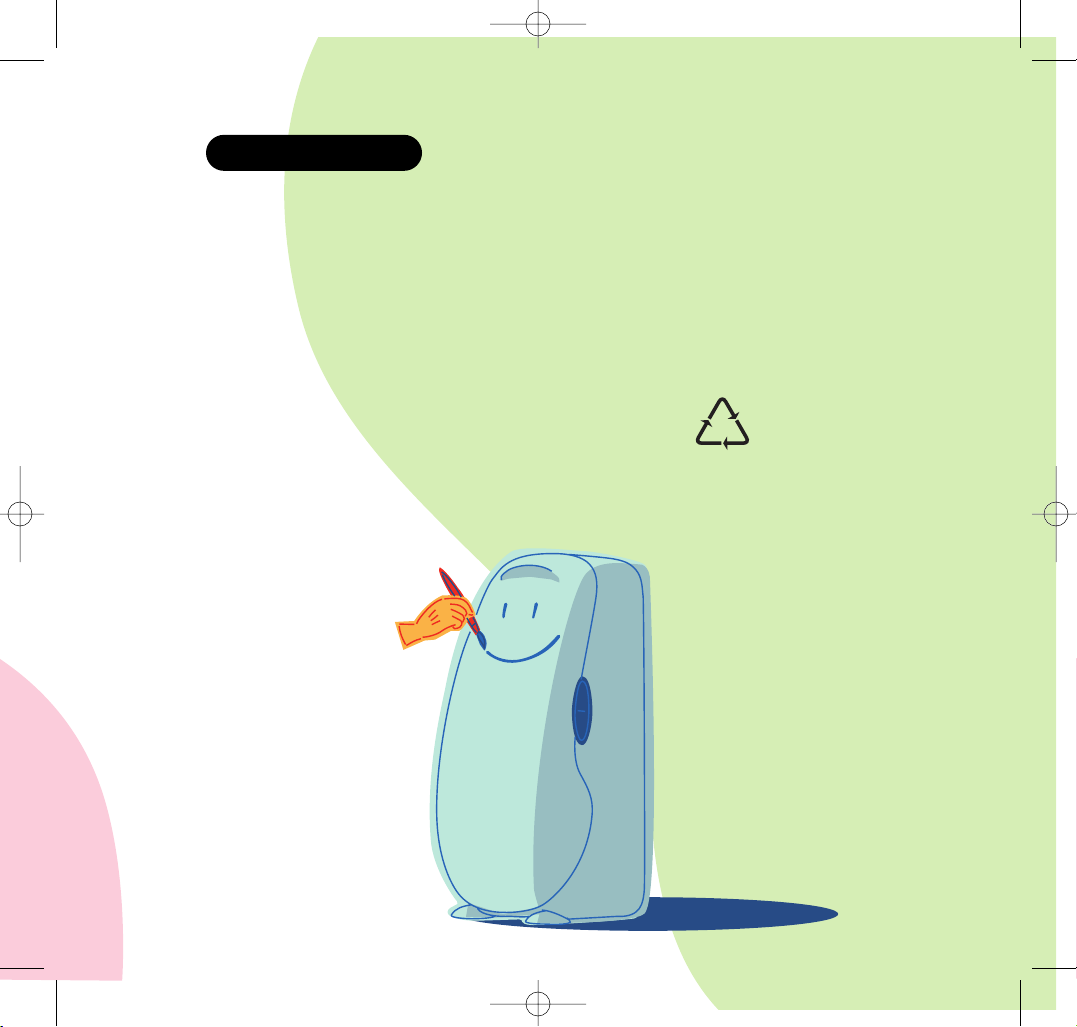
In its refrigerant circuit and insulation layer, OZuses only R 600 A natural
isobutane gas, which is totally free of CFC (Chloro Fluoro Carbons).
Do not dispose of OZ at normal urban refuse or scrap disposal sites.
Contact your local authorities for information on collection centres for proper disposal of refrigerators.
During disposal, ensure that the refrigerant circuit is not damaged, especially at the back of the appliance.
All materials marked with the symbol , used to manufacture OZ,
can be recycled.
Environmental protection
Oz completo GB 19-05-1999 15:54 Pagina 5
Page 8
OZ
OZ
OZ
Oz completo GB 19-05-1999 15:54 Pagina 6
Page 9
Index
Installation
• Moving 9
• Positioning 10
• Cleaning the inside 12
• Electrical connections 13
Technical characteristics
• Rating plate 14
• EEC directives 15
Use and operation
• Operation and temperature adjustment 17
• Refrigerating food and drinks 18
• Movable shelves 19
• Movable baskets 19
• Freezing fresh food 20
• Storing deep-frozen food 22
• Thawing 24
• Ice cubes 24
• Defrosting 24
Maintenance
• Periodic cleaning 27
• Periods out of use 28
• Interior light 29
Service
• T echnical service 30
• Spare parts 31
Oz completo GB 19-05-1999 15:54 Pagina 7
Page 10
8
Installation
Oz completo GB 19-05-1999 15:54 Pagina 8
Page 11

9
Moving
OZis easy to move, if handled correctly: with one hand
placed in the rear recess, slightly tilt the appliance
backwards, then slide it along on the roller located at
the bottom.
Oz completo GB 19-05-1999 15:54 Pagina 9
Page 12

10
To ensure correct operation, place OZ in a suitable
position, away from sources of heat such as radiators,
stoves, direct sunlight, etc.
OZ performs best at ambient temperatures
between:
+ 16 °C and + 38 °C (Class N - ST)
Make sure that there is nothing to obstruct the free
circulation of air round the appliance: there must be
a minimum clearance of 10 cm between the
top of Oz and overhanging wall units and
between the back of the appliance and the
wall.
If there is adequate air circulation round the top and
back of the appliance, the sides may be in close contact with the sides of adjacent kitchen units.
Positioning
Oz completo GB 19-05-1999 15:54 Pagina 10
Page 13

11
In order to ensure that OZ is perfectly stable, screw
the two feet in or out, by inserting the special key provided into one of the holes and moving it to the right or
left, as required.
Check that OZis perfectly level, using the spirit level
supplied. Place it on a perforated shelf inside the
appliance; when the bubble is over the circle on the
instrument, the appliance is level (Slight variations do
not affect the correct functioning).
Oz completo GB 19-05-1999 15:54 Pagina 11
Page 14

12
Before starting up OZfor the first time and, therefore, before connecting to the power supply, clean the
inside with warm water and neutral soap, then dry
thoroughly. This simple operation will eliminate the
characteristic “new” smell of appliances which have
just been purchased.
Do not use detergents or abrasive powders:
they will damage the finish.
Cleaning the inside
Oz completo GB 19-05-1999 15:54 Pagina 12
Page 15

13
Pull the electric cable out of the storage recess
in the back of the appliance.
Before inserting the plug into the
power socket, carefully check that the
voltage and frequency quoted on the
rating plate correspond to your home
electricity supply.
WARNING: THIS APPLIANCE MUST BE
EARTHED.
The manufacturer declines any liability
should this safety measure not be
observed.
If the plug that is fitted to your appliance is not
suitable for your socket outlet, it must be cut off
and the appropriate plug fitted.
Remove the fuse from the cut off plug.
The cut off plug should then be disposed of to
prevent the hazard of shocks in case it should
be plugged into a 13amp socket in another part
of your home.
Important
The wires in the mains lead are coloured in
accordance with the following code:
Green and Yellow - Earth
Blue - Neutral
Brown - Live
If you fit your own plug, the colours of the wires
in the mains lead of your appliance may not correspond with the markings identifying the terminals in your plug, proceed as follows:
The manufacturer declines all responsibility
if these safety regulations are not complied
with.
Electrical connection
Important
Connect the Green and Yellow (earth) wire to the terminal in the plug which is marked with the letter «E» or
the earth symbol , or coloured green and yellow.
Connect the blue (neutral) wire to the terminal in the
plug which is marked with the letter «N» or coloured
black.
Connect the brown (live) wire to the terminal in the
plug which is marked with the letter «L» or coloured
red.
The plug moulded onto the lead incorporates a fuse.
For replacement, use a 13amp BSI362 fuse. Only ASTA
or BSI approved fuses should be used.
The plug must not be used if the fuse cover/carrier is
lost. The cover/carrier is indicated by the coloured
insert at the base of the plug.
Oz completo GB 19-05-1999 15:54 Pagina 13
Page 16

14
OZ’s technical data is given on the rating plate, loca-
ted on the inside of the door, at the bottom.
Power supply voltage and frequency 220-240 V/50 Hz
Total power absorbed 90W
Average daily units electricity* 0,72 kWh
Gross capacity Fridge 211 l
Freezer 19 l
Net capacity Fridge 198 l
Freezer 19 l
Star rating
Rating plate
Technical specifications
Technical characteristics
*This figure is based on standard test results in accordance with European
Standard EN 153. Actual consumption will depend on how the appliance is
used and where it is located.
Oz completo GB 19-05-1999 15:54 Pagina 14
Page 17

15
This appliance conforms to d.m. (ministerial decree) of
13th April 1989 and EEC Directive no. 87/308 of 2nd
June 1987, relating to the suppression of radio-electrical interference.
In addition, this appliance conforms to the
following EEC Directives:
• 73/23/EEC of 19th February 1973 (Low Voltage) and
subsequent modifications;
• 89/336/EEC of 3rd May 1989 (Electromagnetic
Compatibility) and subsequent modification.
EEC directives
Oz completo GB 19-05-1999 15:54 Pagina 15
Page 18

16
The care with which OZhas been designed is evident
in the numerous features developed to make it easy
and safe to use and enhance its performance.
The temperature inside OZ is kept constant due to
the airtight door closure (achieved by means of the
mechanical lock, located at the bottom of the appliance) and the large rubber seal.
The door opens easily and smoothly: this smooth
action is assisted by the large spherical wheel located
in the centre of the door which, in view of the high
carrying capacity of the door liner (about 60 litres),
acts as a stabiliser.
OZ is sturdy, easy to use and durable, due to the
strong, oversize hinge in special aluminium alloy that
joins the door to the refrigerator chassis.
The clean design of OZ is enhanced by the absence
of any projections: all edges and sections are rounded,
even on the inside.
Use and operation
Oz completo GB 19-05-1999 15:54 Pagina 16
Page 19

17
To switch OZ on, use a coin to turn the thermostat
knob from the Off position ‘O’ to a higher setting,
based on the required temperature:
low numbers 1-2-3: warmer
high numbers 4-5-6: colder
Mid values (3-4) are usually the most suitable for normal use.
The numbers are also indicated on the thermostat
knob in Braille.
To switch OZoff, simply turn the knob back to position ‘O’.
Operation and temperature adjustment
Oz completo GB 19-05-1999 15:54 Pagina 17
Page 20

18
For most efficient use of OZ’s refrigerator compartment:
• do not place hot f ood or evaporating liquids in the
compartment;
• always wrap or cover foods, especially those which
are strong-smelling (peeled garlic and onions should
be wrapped in aluminium foil);
• arrange food so that air can circulate freely.
Meat (all types). Wrap in plastic film or aluminium
foil.
The maximum storage time for this type of food is one
or two days.
Cooked foods, cold dishes, etc. Cover well and
place on any shelf.
Fruit and vegetables. Wash well, then place in the
bottom basket in the door liner.
Refrigerating food and drinks
Oz completo GB 19-05-1999 15:54 Pagina 18
Page 21

19
Shatterproof and durable, because they are made of
lacquered steel, the three shelves can be removed for
periodic cleaning or to divide up the available space to
suit requirements.
To remove the baskets from the door liner, push the
side guides upwards and pull them out of their location.
Movable shelves
Movable baskets
Oz completo GB 19-05-1999 15:54 Pagina 19
Page 22

20
There is no need to alter the thermostat setting to
freeze food. However, if you wish to speed up the freezing process, set the thermostat to the highest value
‘6’. With the knob in this position, the temperature in
the refrigerator compartment could also drop below
0°: if this happens, move the thermostat to a lower
setting. Once freezing has been completed, turn the
thermostat knob back to its original position.
Follow these rules in order to ensure efficient freezing
and correct storage of food:
• the maximum quantity of food that can be
frozen by placing it in the top part of the
compartment in any 24 hour period is 2 kg;
• the freezing process takes 24 hours: during this
time, do not place any other food in the freezer compartment;
• freeze only fresh, thoroughly cleaned, top quality
food;
Freezing fresh food
OZ’s freezer compartment is suitable for
freezing fresh food and for long-term storage of
ready-frozen or deep-frozen foods.
A slight formation of frost on the seal does not affect
the correct functioning of the appliance.
To open the freezer compartment flap, press firmly at
the top to release the catch.
Oz completo GB 19-05-1999 15:54 Pagina 20
Page 23

21
•divide the food to be frozen into small portions: freeze as fast as possible; when necessary, it is then easy
to defrost the required quantity;
•wrap food in aluminium foil or in plastic film, making
sure that the wrap adheres closely to the food and
that there are no openings;
• do not place food to be frozen in contact with f ood
that is already frozen, in order to avoid raising the
temperature of the latter.;
• remember that salt reduces the storage time of
foods, and that lean foods store better and longer than
fatty foods;
• do not consume ice lollies straight from the freezer:
they can cause frost burns ;
• write the date on which food was frozen on each
pack, so as to be able to keep a check on storage time;
• never place fizzy drinks in the freezer
compartment: the containers could explode.
Oz completo GB 19-05-1999 15:54 Pagina 21
Page 24

22
If you have only just purchased OZ, or if you are switching back on after a period out of use, run the
appliance for at least 2 hours with the thermostat
knob placed on the highest setting ‘6’ before putting
any type of food in the compartment. After 2 hours,
turn the knob down to the required setting for normal
use.
To make efficient use of OZ’s freezer compartment,
follow these simple rules:
• when buying deep-frozen food, make sure that it is
in perfect condition and has been properly stored;
•get deep-frozen food back home and into the freezer
compartment as quickly as possible;
• do not open the freezer compartment flap too frequently and leave it open only as long as is necessary;
• Warning: once food has been thawed, it
deteriorates rapidly and must not, in any circumstances, be re-frozen;
• do not consume foods that have exceeded their
recommended storage life: always check the sell-by
dates on packs.
Storing deep-frozen food
Oz completo GB 19-05-1999 15:54 Pagina 22
Page 25

23
In the event of a power cut, DO NOT open
the freezer compartment flap, for any reason. If the power cut is brief (up to 12
hours), the frozen food will not be affected. If the power cut lasts longer, consume
the food as soon as possible:an increase in
the temperature of frozen foods reduces
their storage life.
Important
Oz completo GB 19-05-1999 15:54 Pagina 23
Page 26

24
Before cooking frozen or deep-frozen foods, thaw
them in the refrigerator or at room temperature. Small
quantities of frozen or deep-frozen foods may be
cooked straight from the freezer, remembering to
increase the cooking time.
OZ is supplied with a tray for making ice cubes. The
tray should be placed in the top part of the freezer
compartment.
Thawing
Ice cubes
Frost on the evaporator is eliminated automatically
each time the compressor stops. The defrost water is
collected in a basin located at the back of OZ, where
it evaporates.
Warning: periodically clean the defrost
water drain hole, located at the bottom of
the channel in the refrigerator compartment. Do this using the special small green
rod located in the hole.
Defrosting
Oz completo GB 19-05-1999 15:54 Pagina 24
Page 27

25
Remove frost from the freezer compartment whenever
the layer of frost has reached a thickness of 3-4 mm.
To remove the frost, use the special plastic scraper
supplied with OZ.
There is no need to disconnect the power supply
during this operation.
If a thick layer of ice has built up in the freezer compartment, proceed as follows:
• turn the thermostat knob to position ‘O’, or unplug
the appliance;
• wrap food in several sheets of newspaper and put it
in a very cool place, to avoid a rise in temperature
which would reduce its storage life;
• cover the bottom of the freezer compartment with a
sponge cloth to absorb the defrost water;
• once defrosting has been completed, turn the thermostat knob to the required setting or place the plug
back in the power socket: 2 or 3 hours after switching
back on, OZwill again be ready to store frozen food.
Oz completo GB 19-05-1999 15:54 Pagina 25
Page 28

26
Always remove the plug from the power socket before
carrying out any maintenance.
Maintenance
Oz completo GB 19-05-1999 15:54 Pagina 26
Page 29

27
Periodically clean OZ using warm water and bicarbonate of soda. The movable baskets in the door liner
may be washed in a basin using warm water (maximum 30°C) and neutral soap.
Dry the baskets thoroughly, away from a heat source,
before fitting them back in the door liner.
Periodic cleaning
Oz completo GB 19-05-1999 15:54 Pagina 27
Page 30

28
When OZis not in use, always remember to:
• remove the plug from the power socket;
• remove all food from the refrigerator and freezer
compartments;
• defrost and thoroughly clean the inside of the
appliance and all accessories;
• leave the door and freezer flap slightly ajar to avoid
the formation of unpleasant smells.
Periods out of use
Oz completo GB 19-05-1999 15:55 Pagina 28
Page 31

29
OZhas a 13 W interior fluorescent light inside the frid-
ge compartment.
If the fluorescent tube does not come on when the door
is opened:
• remove the plug from the power socket;
• unscrew the two fixing screws and remove the pro-
tection screen;
• rotate the fluorescent tube 1/4 of a turn and pull it
out. To refit the tube push into the socket and twist the
tube.
• check that the bulb is properly located. If the fault
persists, replace the tube with one of the same
wattage.
Interior light
Oz completo GB 19-05-1999 15:55 Pagina 29
Page 32

30
If you notice that OZis malfunctioning, check that:
• the plug is properly inserted in the power socket;
• there is not a mains power cut;
• the thermostat knob is turned to a setting higher than ‘1’.
If the fault persists, contact your local Zanussi Service Force
Centre by telephoning 0870 5 929929.
Your call will be automatically routed to the Service Centre covering
your post code area.
The manufacturer accepts no responsibility for any
printing or transcription errors in this booklet and
reserves the right to make any modifications that are
felt to be necessary or useful, also to improve operation, without altering fundamental operational and
safety characteristics.
In order to ensure prompt service, always remember to specify the
following when calling: type of fault found with OZ; Model number (Mod.); Product number (Prod. No.); Serial number (Ser. No.).
This information can be found on the guarantee certificate or on
the rating plate on the inside of the door, at the bottom.
Service
Technical service
Oz completo GB 19-05-1999 15:55 Pagina 30
Page 33

Genuine spare parts for OZ are certified by the product manufacturer and bear the mark
Genuine spare parts for OZ are only available from
Zanussi Service Force Centres.
31
DISTRI
PARTS
Spare parts
Oz completo GB 19-05-1999 15:55 Pagina 31
Page 34

Standard guarantee conditions
We, Zanussi Limited, undertake that if within 12
months of the date of the purchase this Zanussi
appliance or any part thereof is proved to be defective
by reason only of faulty workmanship or materials, we
will, at our option repair or replace the same FREE OF
CHARGE for labour, materials or carriage on condition
that:
•The appliance has been correctly installed and used
only on the electricity supply stated on the rating plate
• The appliance has been used for normal domestic
purposes only, and in accordance with the manufacturer’s instructions
• The appliance has not been serviced, maintained
repaired, taken apart or tampered with by any person
not authorised by us
• All service work under this guarantee must be
undertaken by Zanussi Service Force Centre.
• Any appliance or defective part replaced shall become the Company’s property
• This guarantee is in addition to your statutory and
other legal rights
Home visits are made between 8.30amand 5.30pm
Monday to Friday. Visits may be available outside these
hours in which case a premium will be charged.
Exclusions
This guarantee does not cover:
• Damage or calls resulting from transportation,
improper use or neglect, the replacement of any light
bulbs or removable parts of glass or plastic
• Costs incurred for calls to put right an appliance
which is improperly installed or calls to appliances
outside the United Kingdom
• Appliances f ound to be in use within a commercial
environment, plus those which are subject to rental
agreements
• Products of Zanussi manufacture which are not
marketed by Zanussi Limited
European Guarantee
If you should move to another country within Europe
then your guarantee moves with you to your new home
subject to the following qualifications:
•The guarantee starts from the date you first purchased your product
• The guarantee is for the same period and to the
same extent for labour and parts as exists in the new
country of the use for this brand or range of products
• This guarantee relates to you and cannot be tranferred to another user
Peace of mind for 12 months
Oz completo GB 19-05-1999 15:55 Pagina 32
Page 35

33
Graphic design and illustrations: Guido Scarabottolo
• Your new home is within the European Community
(EC) or European Free Trade Area
•The product is installed and used in accordance with
our instructions and is only used domestically, i.e. a
normal household
•The product is installed taking into account regulations in your new country
Before you move please contact your nearest
Customer Care centre, listed below, to give them
details of your new home. They will then ensure that
the local Service Organisation is aware of your move
and able to look after you and your appliances.
France Senlis +33 (0)3 44 62 29 99
Germany Nurnberg +49 (0)911 323 2600
Italy Pordenone +39 (0)1678 47053
Sweden Stockholm +46 (0) 8 738 79 50
UK Slough +44 (0)1753 219897
Oz completo GB 19-05-1999 15:55 Pagina 33
Page 36

2222 004-13
1762
*
Oz completo GB 19-05-1999 15:54 Pagina 2
 Loading...