

Yolink Smart Lock M1, YS7606-UC User Manual
User Guide
YS7606-UC
YoLink Smart Lock M1

Contents
Package List···································································1
General Warning & Cautions···············································2
Introduction···································································4
Features·······································································6
Product Requirements······················································6
Set Up YoLink Smart Lock M1···············································7
Installation·····································································11
Using YoLink App with Smart Lock M1·························17YoLink
Set the Admin Password··················································20
Unlock the Door······························································21
Lock the Door································································24
Maintaining the YoLink Smart Lock M1··································26
Specifications································································28
Troubleshooting·····························································29
Customer Service & Warranty············································31

Package List
A. B.
C.
D.
E. F.
G.
F1 F2 F3
H.
1
GENERAL WARNING & CAUTIONS
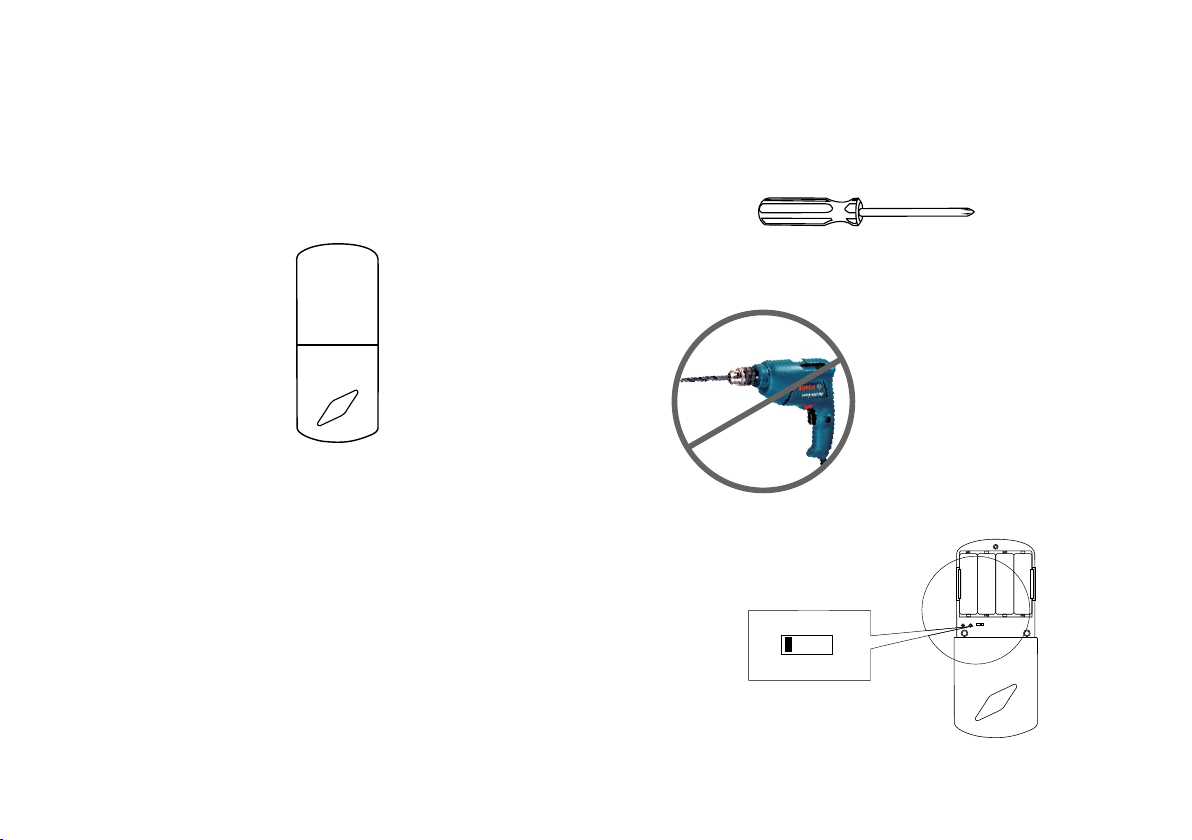
The back module (part B) needs to be protected
from weather.
Left Handed & Right Handed Setting
When entering the doorway, if the hinges are
on the left, turn the button into 1 on back
module. If the hinges are on the left, turn the
button into 2 on back module (Part B).
Tools Required (not included)
DO NOT USE
POWER DRILL
C S
2
1
1 2
2

Battery Precautions
Do not mix old with new batteries.
Do not use rechargeable batteries.
Remove batteries from product when storing for extended periods of time.
Do not dispose of batteries in fire as they may explode. Please follow your local battery
disposal procedure.
Do not punctur e batteries. Electr olyte l eakage from the batt eries is corrosive and can
cause serious harm to the eyes or sk in. If swallowed, th e electrolyte can be toxic.
Do not allow conduc tive mate rial s suc h as j ewel ry or metal tools to make con tact with
the batteries w hich ma y c ause a sho rt circ uit. Wi th a short circuit, the batteries and
conductive material ca n bec ome e xtre mely hot a nd ca use burns.
3

Introduction
Along with the YoLink App, connect the Smart Lock M1 to your home network. After set up the
Smart Lock M1, you will be able to lock or unlock your door, manage different user password with
internet connection.
UNLOCK BU TTON
SET BUTTON
C S
1 2
KEYPAD
0~9 DIGITAL BUTTO N
LEFT HANDED OR
RIGHT HANDED
LOCK BUTTON
BACK MODU LE
FRONT MODULE
4
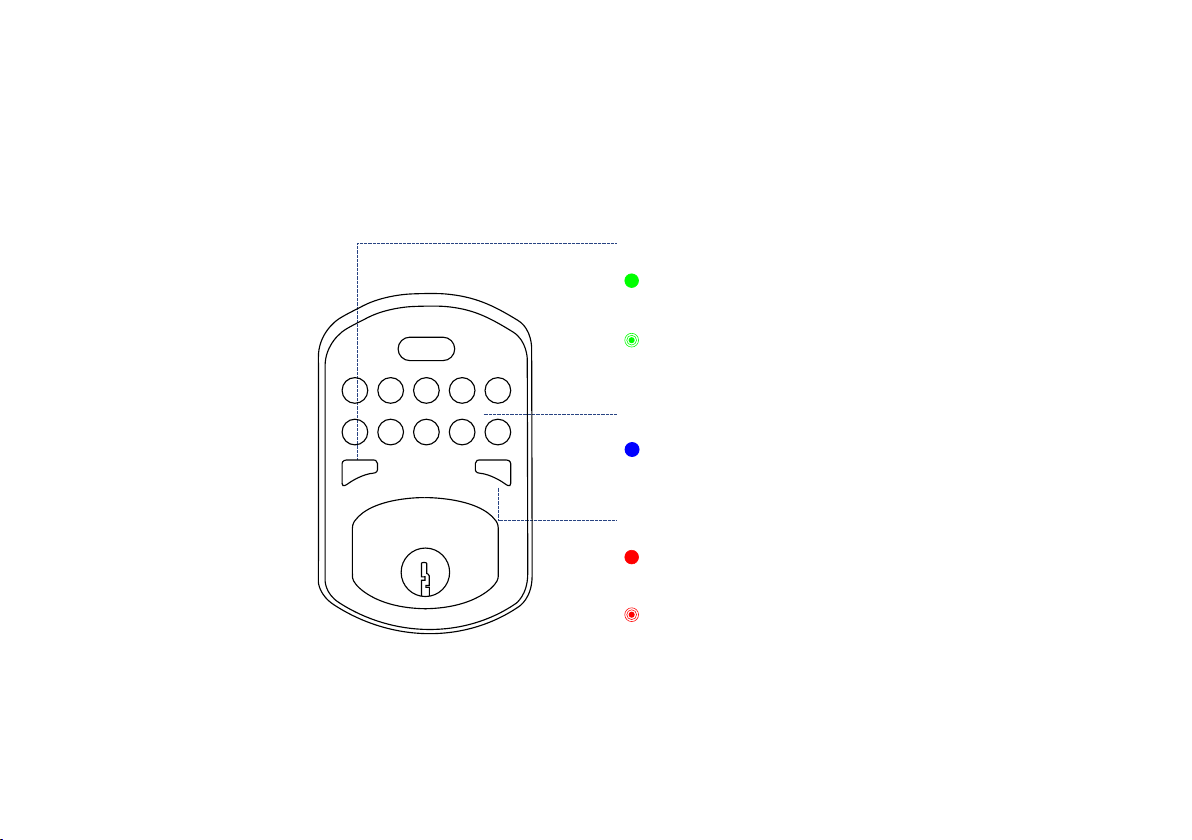
LED light can show you the current status. See the explanation below:s
UNLOCK BU TTON L IGHT
Green Onc e
Door i s unl ock ed.
Blinkin g Green
Conn ect ing t o clo ud.
KEYPAD LIGHT
Blue
Ente rin g pas swo rd.
LOCK BUTTON LIG HT
Red Once
Door i s loc ked .
Blinkin g Red
Fact ory R ese tti ng.
5

Features
Three Ways to Unlock - YoLink Ap p, password and key.
Control from Anywhere - CONVENIENTLY OPEN AND CLOSE your door with your mobile
device anywhere, anytime.
User Management - Set user password or visitor password via YoLink App when the account
is an admin account.
Scramble PIN Code - R andom digits BEFORE, AFTE R, or IN THE MID o f the right
passwo rd.
Continuous Incorrect Password Alert - Remind you with beeps and 5 minutes of keypad locked
when entering incorrect password 5 times in 5 minutes.
Battery Status - Update surplus of battery power and send low battery alert.
Automation - Set up rules for “If this then that” function.
Product Requirements
A Screwdriver.
A YoLink Hub.
A smartphone or tablet running iOS 9 or higher; Android 4.4 or higher.
6
Set Up YoLink Smart Lock M1
Follow the steps below to set up your YoLink Smart Lock M1 via YoLink App.
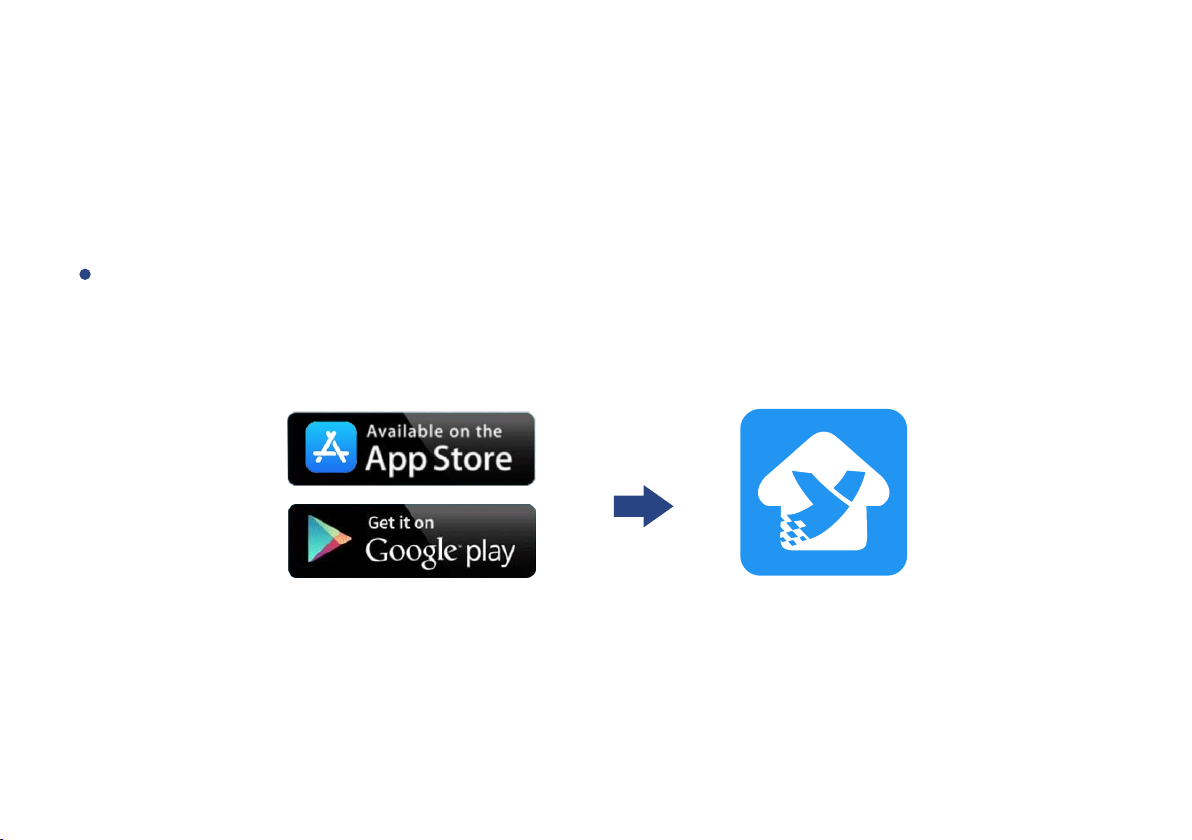
Step 1: Set up YoLink App
Get the YoLink App from the Apple App Store or Google Play.
7
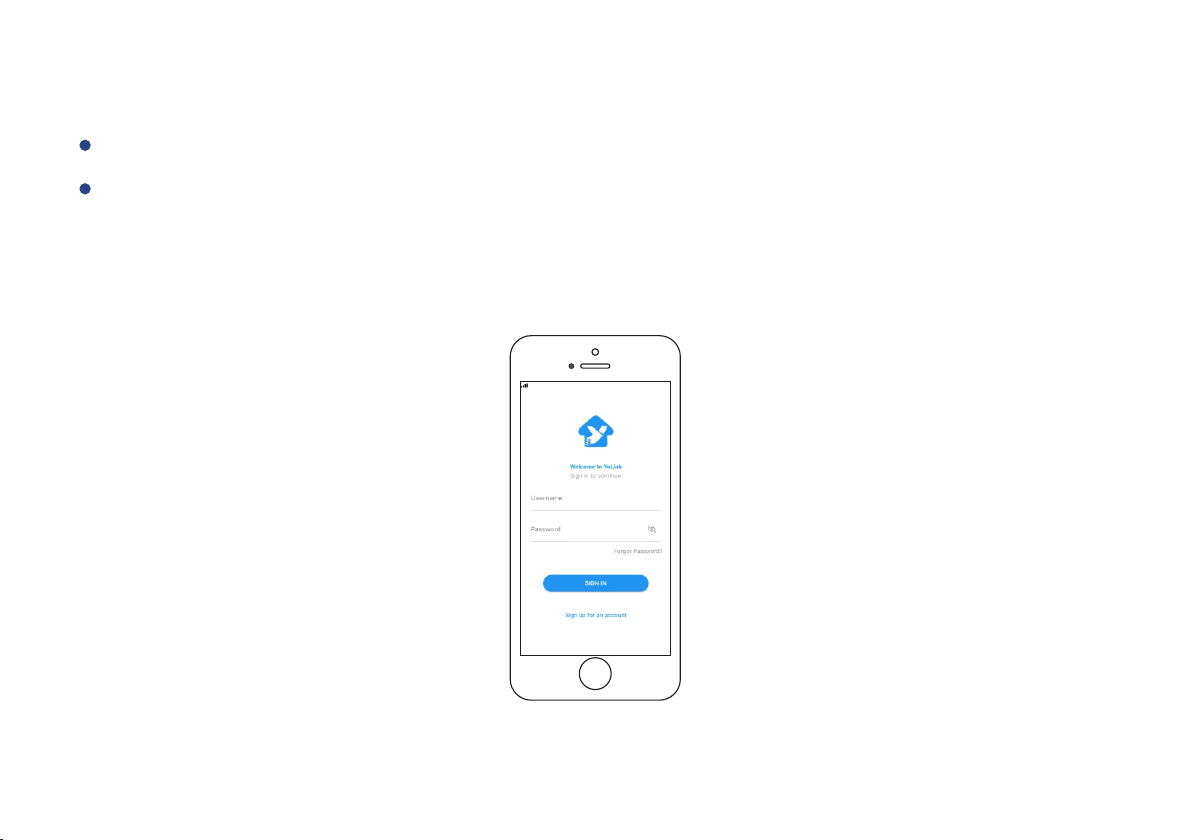
Step 2: Log in or sign up with YoLink account
Open the App. Use your YoLink account to log in.
If y ou do n’t ha ve a YoLink ac co unt, t ap Sign u p f or an acc ou nt and fo ll ow the st ep s
to s ig n u p an ac co unt.
8
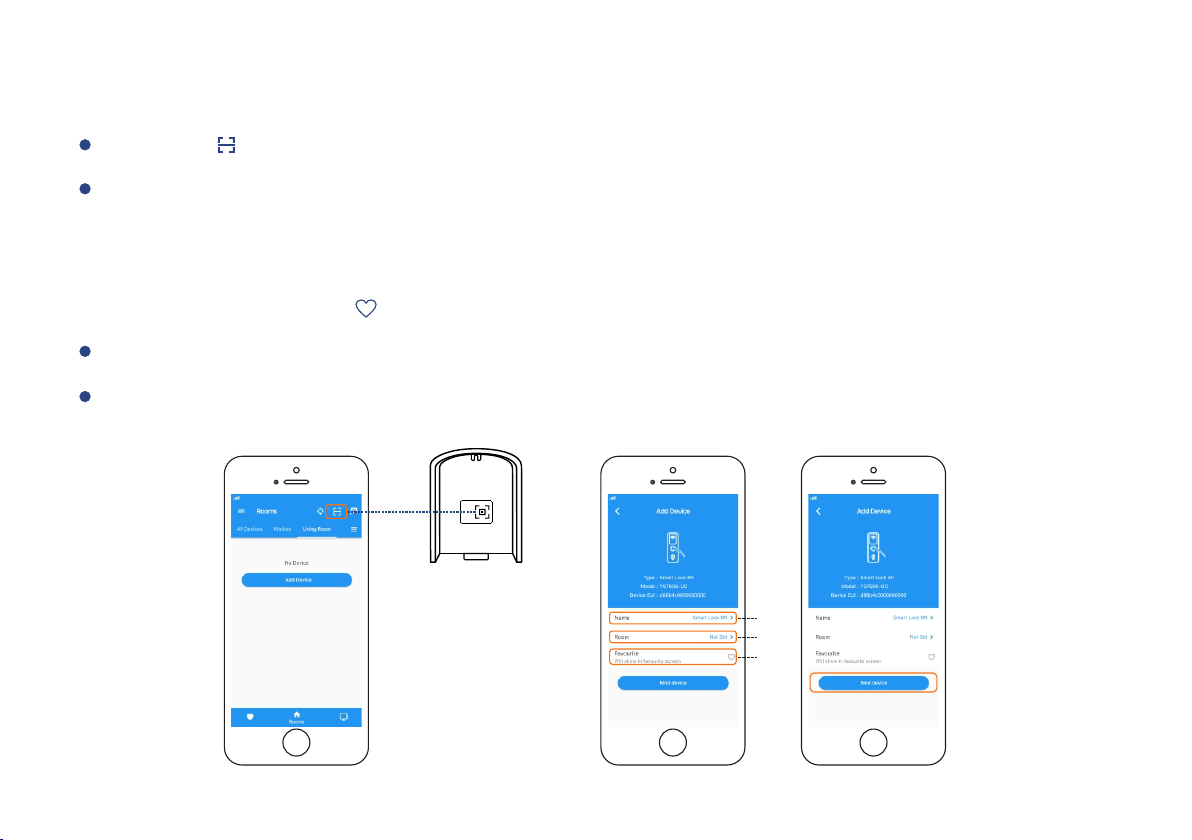
Step 3: Add device to YoLink App
Tap the “ ” in YoLink App. Scan the QR Code on the device.
You can customize the name, set the room, add to/remove from favourite.
a. Name - Name YoLink Smart Lock M1.
b. Room - Choose a room for YoLink Smart Lock M1.
c. Favourite - Click “ ” icon to add/remove from Favourite.
Tap the “Bind Device” to add the device to your YoLink account.
Follow the following page to install the device, power it on. And the device is ready to go.
a
b
c
9
 Loading...