

Page 1
YAMAHA Digital Mixers:
A Redundancy Guide
How to achieve “Mirroring” with:
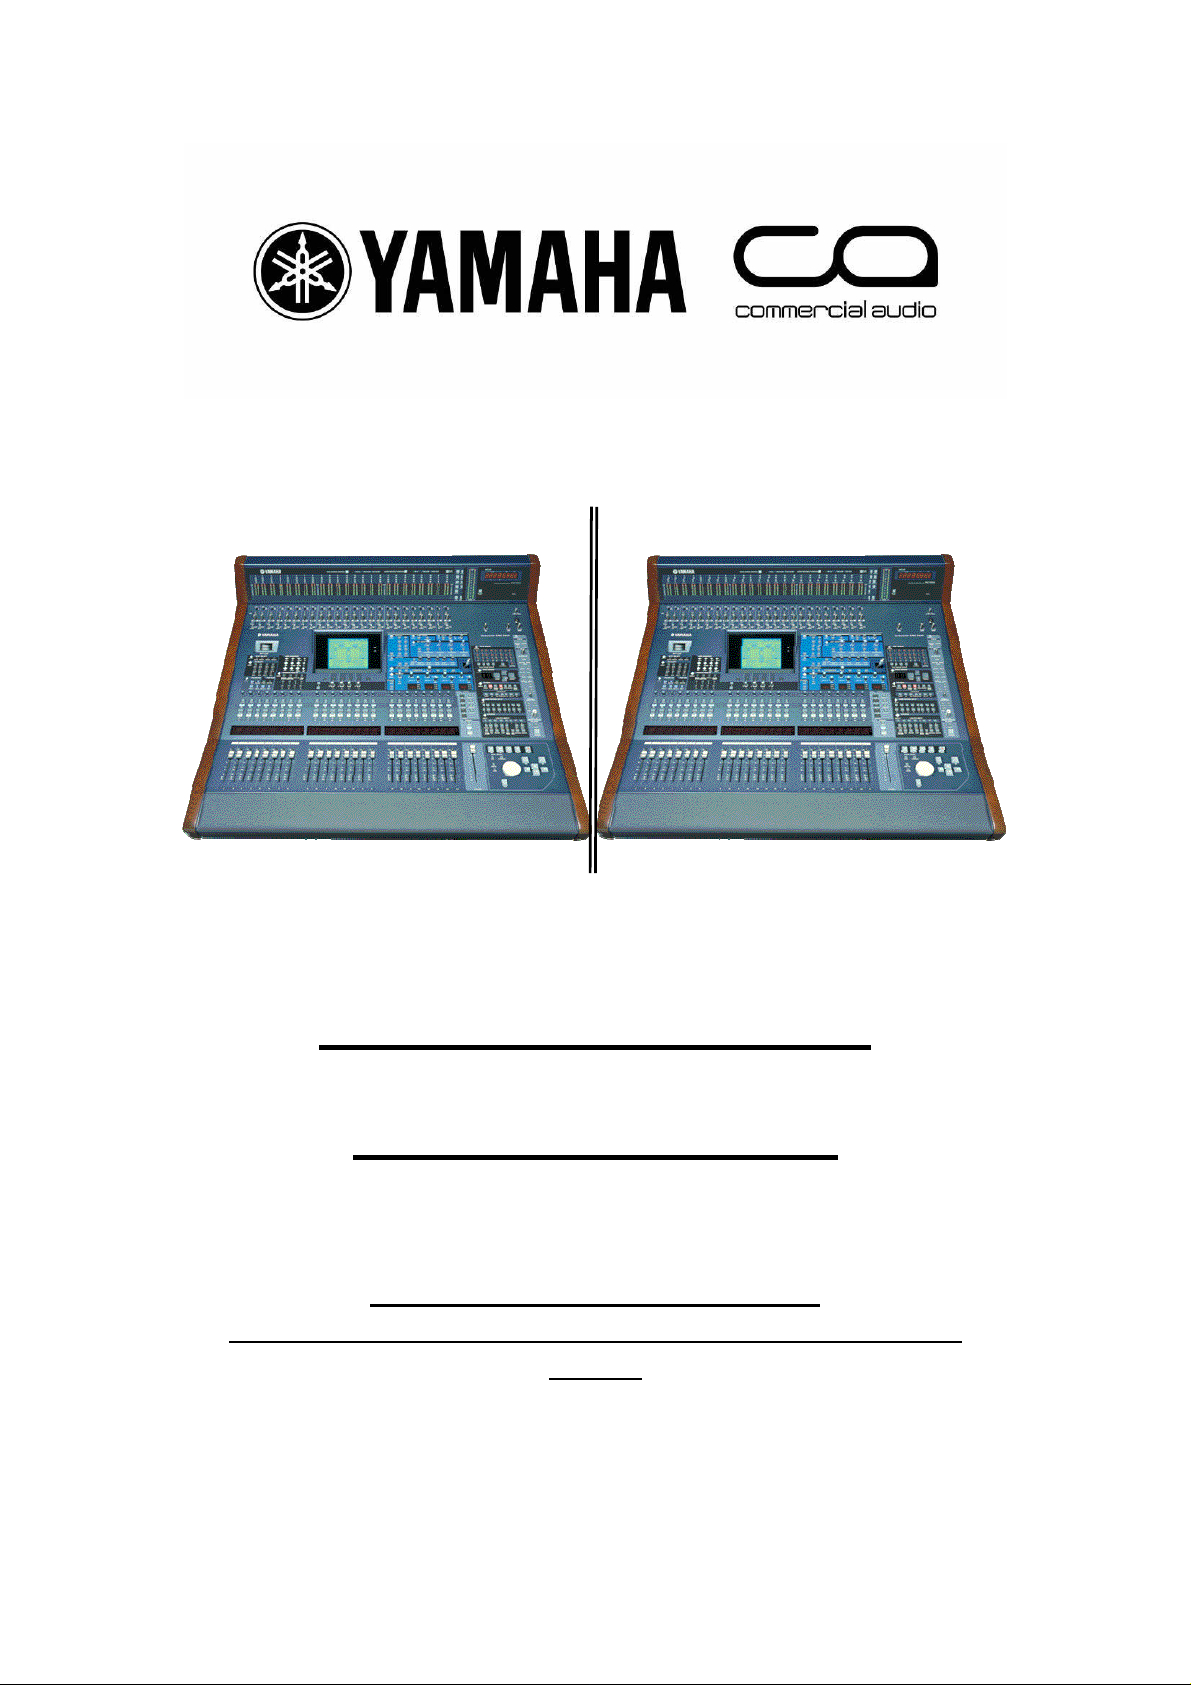
PM5D(RH), M7CL, LS9, DM2000, DM1000, 02R96,
01V96
1 YAMAHA Digital Mixers: A Redundancy Guide
Page 2
Concept
In mission-critical applications such as live TV broadcasts to millions of
viewers, it may be necessary to have a spare mixing console
connected to the audio system with all the same inputs and settings as
the main console. Then in the event of an accident or failure, it is quick
and easy to swap from main to spare console and continue mixing
without interruption.
This concept will work with all of Yamaha’s current range of digital
mixers, but for this example DM2000 will be used. The procedure is
basically the same with all the other digital mixers, with just small
variations in the Display menus and Setup functions.
Preparation
1. Obviously both consoles need to be identical, and with the same
MY-cards installed.
2. All inputs (analog and digital) need to be split to both consoles.
3. A memory card or a PC running Studio Manager software is
needed to transfer the memories from the main console to the
backup console.
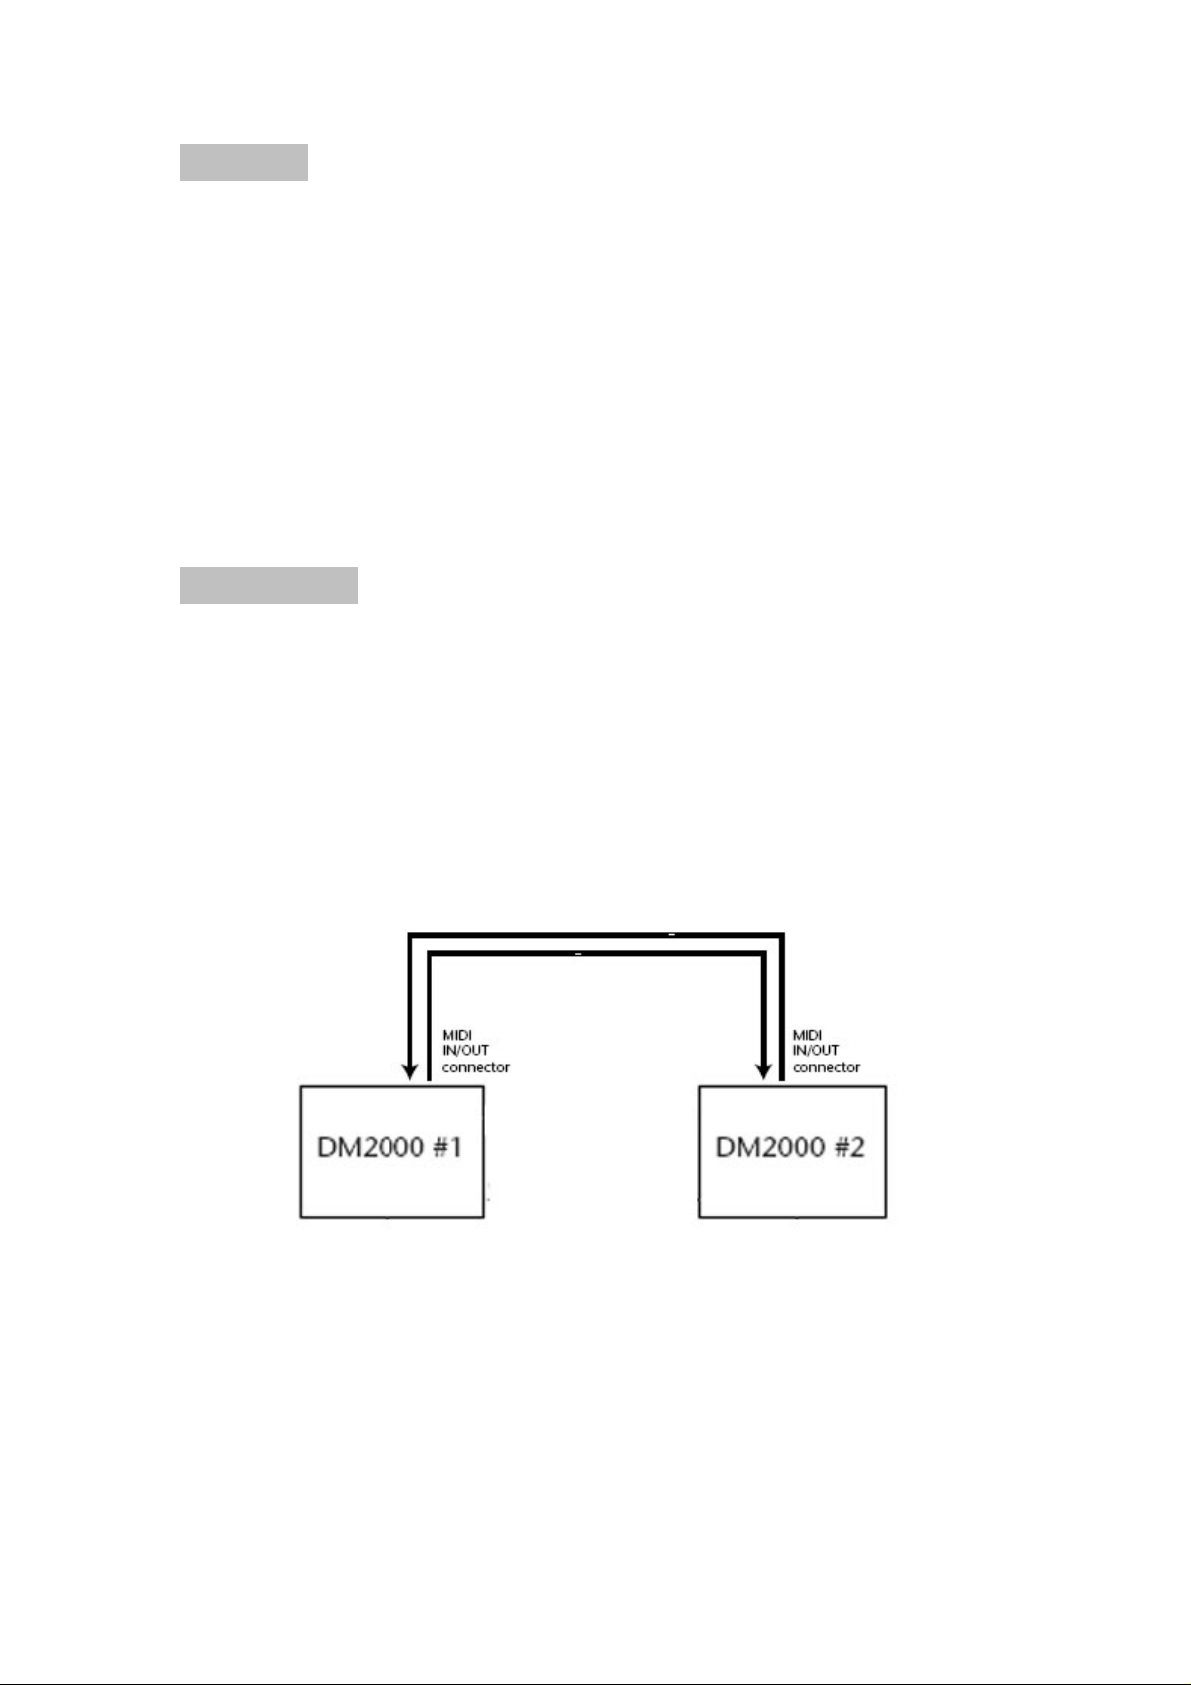
4. 2 MIDI cables need to be connected between the two consoles:
Console #1 OUT to Console #2 IN;
Console #1 IN to Console #2 OUT.
2 YAMAHA Digital Mixers: A Redundancy Guide
Page 3

Console Setup
1. Open the MIDI SETUP page on Console #1 (using the [MIDI]
DISPLAY ACCESS key) and turn on Tx and Rx for both
PROGRAM CHANGE and PARAMETER CHANGE. Also make
sure the Tx and Rx CHANNEL number is the same (see
diagram below).
2. Make sure the MIDI Program Assign Table (on the PGM ASGN
page) contains the default settings. If it doesn’t, then
INITIALIZE it, so PGM 1 recalls Scene 1, PGM 2 recalls Scene
2 and so on…
3. Open the MIDI/HOST page on Console #1 (found in the
[SETUP] menu) and set the GENERAL Rx PORT and Tx PORT
to MIDI (as shown below).
3 YAMAHA Digital Mixers: A Redundancy Guide
Page 4

4. Now save an ALL DATA file for Console #1 onto the memory
5. Then insert the memory card into Console #2 and load the file
6. Now both consoles will have the same Scene Memories,
Control
Because of the MIDI connections, any mixing parameter that is edited
on Console #1 will also be changed on Console #2, and vice versa:
they will completely mirror each other. Also when a Scene is recalled
on one console, the same will be recalled on the other console.
But one thing to remember is that if any Scenes or Libraries are
modified and Stored on one console during a show rehearsal or soundcheck, then an ALL DATA file should be saved onto the memory card
and transferred into the other console (or use Studio Manager to
transfer the session file). It is important to keep all the memories
synchronised so that when a Scene is recalled, all the mixing
parameters on both consoles will be identical.
Here is a list of functions that are mirrored:
• All Mixing Parameters:
• DIO settings
card (or USB memory in the case of M7CL and LS9), or
alternatively synchronise from Console to PC with Studio
Manager and save the Session.
that was saved in the previous step. Or load the Studio
Manager Session that was just saved into the Editor for Console
#2 and synchronise from PC to Console.
Libraries, MIDI and Setup data.
• REMOTE setup
o EQ
o PAN
o COMP
o GATE
o DELAY
o INSERT
o FADERS
o CHANNEL ON
o ROUTING
o AUX SENDS
o MATRIX
• METER
• PAIR
• GROUP
• INPUT PATCH
• OUTPUT PATCH
• EFFECTS
• GRAPHIC EQUALIZERS
• SCENE MEMORY
RECALL
• SCENE FADE TIME
• RECALL SAFE
4 YAMAHA Digital Mixers: A Redundancy Guide
Page 5

Here is a list of functions that are not mirrored, but will need to be
edited on each console separately if necessary. Or…set them up on
one console and transfer them to the other console via memory card or
Studio Manager:
• LOAD/SAVE to Memory Card (in [DATA] menu)
• Some [SETUP] functions in the PREFER2 and PREFER3 menus:
o SET Time & Date; Sensitivity; Display Brightness;
o SMPTE/MTC Settings; Insert Time Link to Locate
Memory
• MIDI/HOST settings in [SETUP] menu
• INPUT PORT NAME, OUTPUT PORT NAME, TIME REF, TIME
SEG settings in [SETUP] menu
• CH STATUS and LOCK functions in [UTILITY] menu
• CH NAME settings in INPUT PATCH and OUTPUT PATCH menus
• MIDI SETUP, Program Change Table, Control Change Table,
BULK DUMP settings in the [MIDI] menu
• PLUG INS in the [EFFECTS/PLUGINS] menu
• SCENE MEMORY SORT and PASTE functions
• AUTOMIX functions
• USER DEFINED KEY assignments (though BANK SELECT is
mirrored)
• LOCATOR functions
• MIX C-R SOURCES and MIX MONITOR SOURCES functions in
the [MONITOR] menu.
• ENCODER MODE / FADER MODE / AUX SELECT / MATRIX
SELECT
• Currently displayed menu.
TIP
And of course with DM2000, remember that the analog input GAIN,
+48V, PAD, INSERT of channels 1-24 need to be set individually on
each console, and there is no way to copy these with a memory card or
with Studio Manager: they must be set manually.
Why not use the CASCADE function?
In this case, the CASCADE function should not be used. CASCADE
links the output buses of both consoles together, and can link display
pages, ENCODER MODE and FADER MODE and so on, but it does
not mirror the mixing parameters. Instead, it makes both consoles
work like one big console with twice the number of input channels, but
no extra output channels.
5 YAMAHA Digital Mixers: A Redundancy Guide
Page 6

Using Studio Manager with 2 Consoles
1. Connect a separate USB cable from the PC to each Console.
2. Select the correct settings for Studio Manager in the MIDI/HOST
page of the [SETUP] menu for each Console:
i. Choose USB 1, ID1 for Console #1
ii. Choose USB 1, ID2 for Console #2
3. Launch Studio Manager, and in the Setup Window (File menu),
create a Workspace for two DM2000 consoles, as shown below:
6 YAMAHA Digital Mixers: A Redundancy Guide
Page 7

4. Then in the MIDI Ports tab of the Setup Window, select the USB
ports to use for communicating with the Consoles:
i. YAMAHA USB IN 0-1 and 1-1
ii. YAMAHA USB OUT 0-1 and 1-1
5. In the System Setup window of each Console Editor, select the
correct In Port, Out Port and ID for each Console, as shown below.
(The ID here must correspond with the ID selected in the
MIDI/HOST page of the Console).
6. When synchronising with the consoles, remember to check the “All
Libs” option to save/load all the Scene Memories and Libraries.
7. To transfer the data from Console #1 to #2, first sync from Console
#1 to PC, then save the session onto the PC. Next, open this
session into the Editor for Console #2 and sync from PC to Console
#2.
8. Now you are ready to enjoy “Mirroring” redundancy with Yamaha
Digital Mixers!
7 YAMAHA Digital Mixers: A Redundancy Guide
Page 8

Download the latest manuals, firmware and software
from:
www.yamahaproaudio.com
8 YAMAHA Digital Mixers: A Redundancy Guide
 Loading...